Repository navigation
Get started
This guide takes you from no SafeHouse to a working install with the default modules on, in about ten minutes. It is for site administrators who can install a plugin from a ZIP file.
You need:
- WordPress 6.6 or later and PHP 8.1 or later
- a single WordPress site: SafeHouse refuses network activation on multisite (you can still activate it on each site of a network separately)
- an administrator account
- access to the site's files (SFTP, FTP or your host's file manager) or WP-CLI, so that you can recover if a setting ever locks you out
WooCommerce is optional. Wordfence is optional too: SafeHouse works as the only security plugin or next to Wordfence.
- Open Releases.
- Under the latest release, download
shouse-x.y.z.zip. - Optional: verify the download before you install it.
SafeHouse is not in the WordPress.org plugin directory. Later updates come from the Design House update host, signed, as described in Signed updates.
- In wp-admin, go to Plugins → Add Plugin (Add New Plugin in WordPress 6.x).
- Select Upload Plugin, choose
shouse-x.y.z.zipand select Install Now. - Select Activate Plugin.
SafeHouse appears in the admin menu, below Settings.
To install without the browser, unpack the ZIP into wp-content/plugins/ so that the plugin lives in wp-content/plugins/shouse/, then run wp plugin activate shouse.
SafeHouse e-mails you when something important changes, for example when a new administrator appears or a plugin you run has a known vulnerability.
- Go to SafeHouse → General.
- In Alert recipients, enter one or more e-mail addresses, separated by commas. Leave it empty to use the site's admin e-mail address.
- Select Save Changes.

Check that the site can send mail. If it cannot, set up SMTP mail.
Skip this step if visitors connect straight to your server.
If the site is behind Cloudflare, go to SafeHouse → General, set Proxy in front of the site to Cloudflare and select Save Changes. For any other proxy, CDN or load balancer, follow Behind Cloudflare or a proxy.
Without this, SafeHouse sees the proxy's address instead of each visitor's, and Login limits cannot block by address.
Go to SafeHouse → Modules. Each row is one module with its own switch and a status badge. Select Details to see what a module does and its settings.
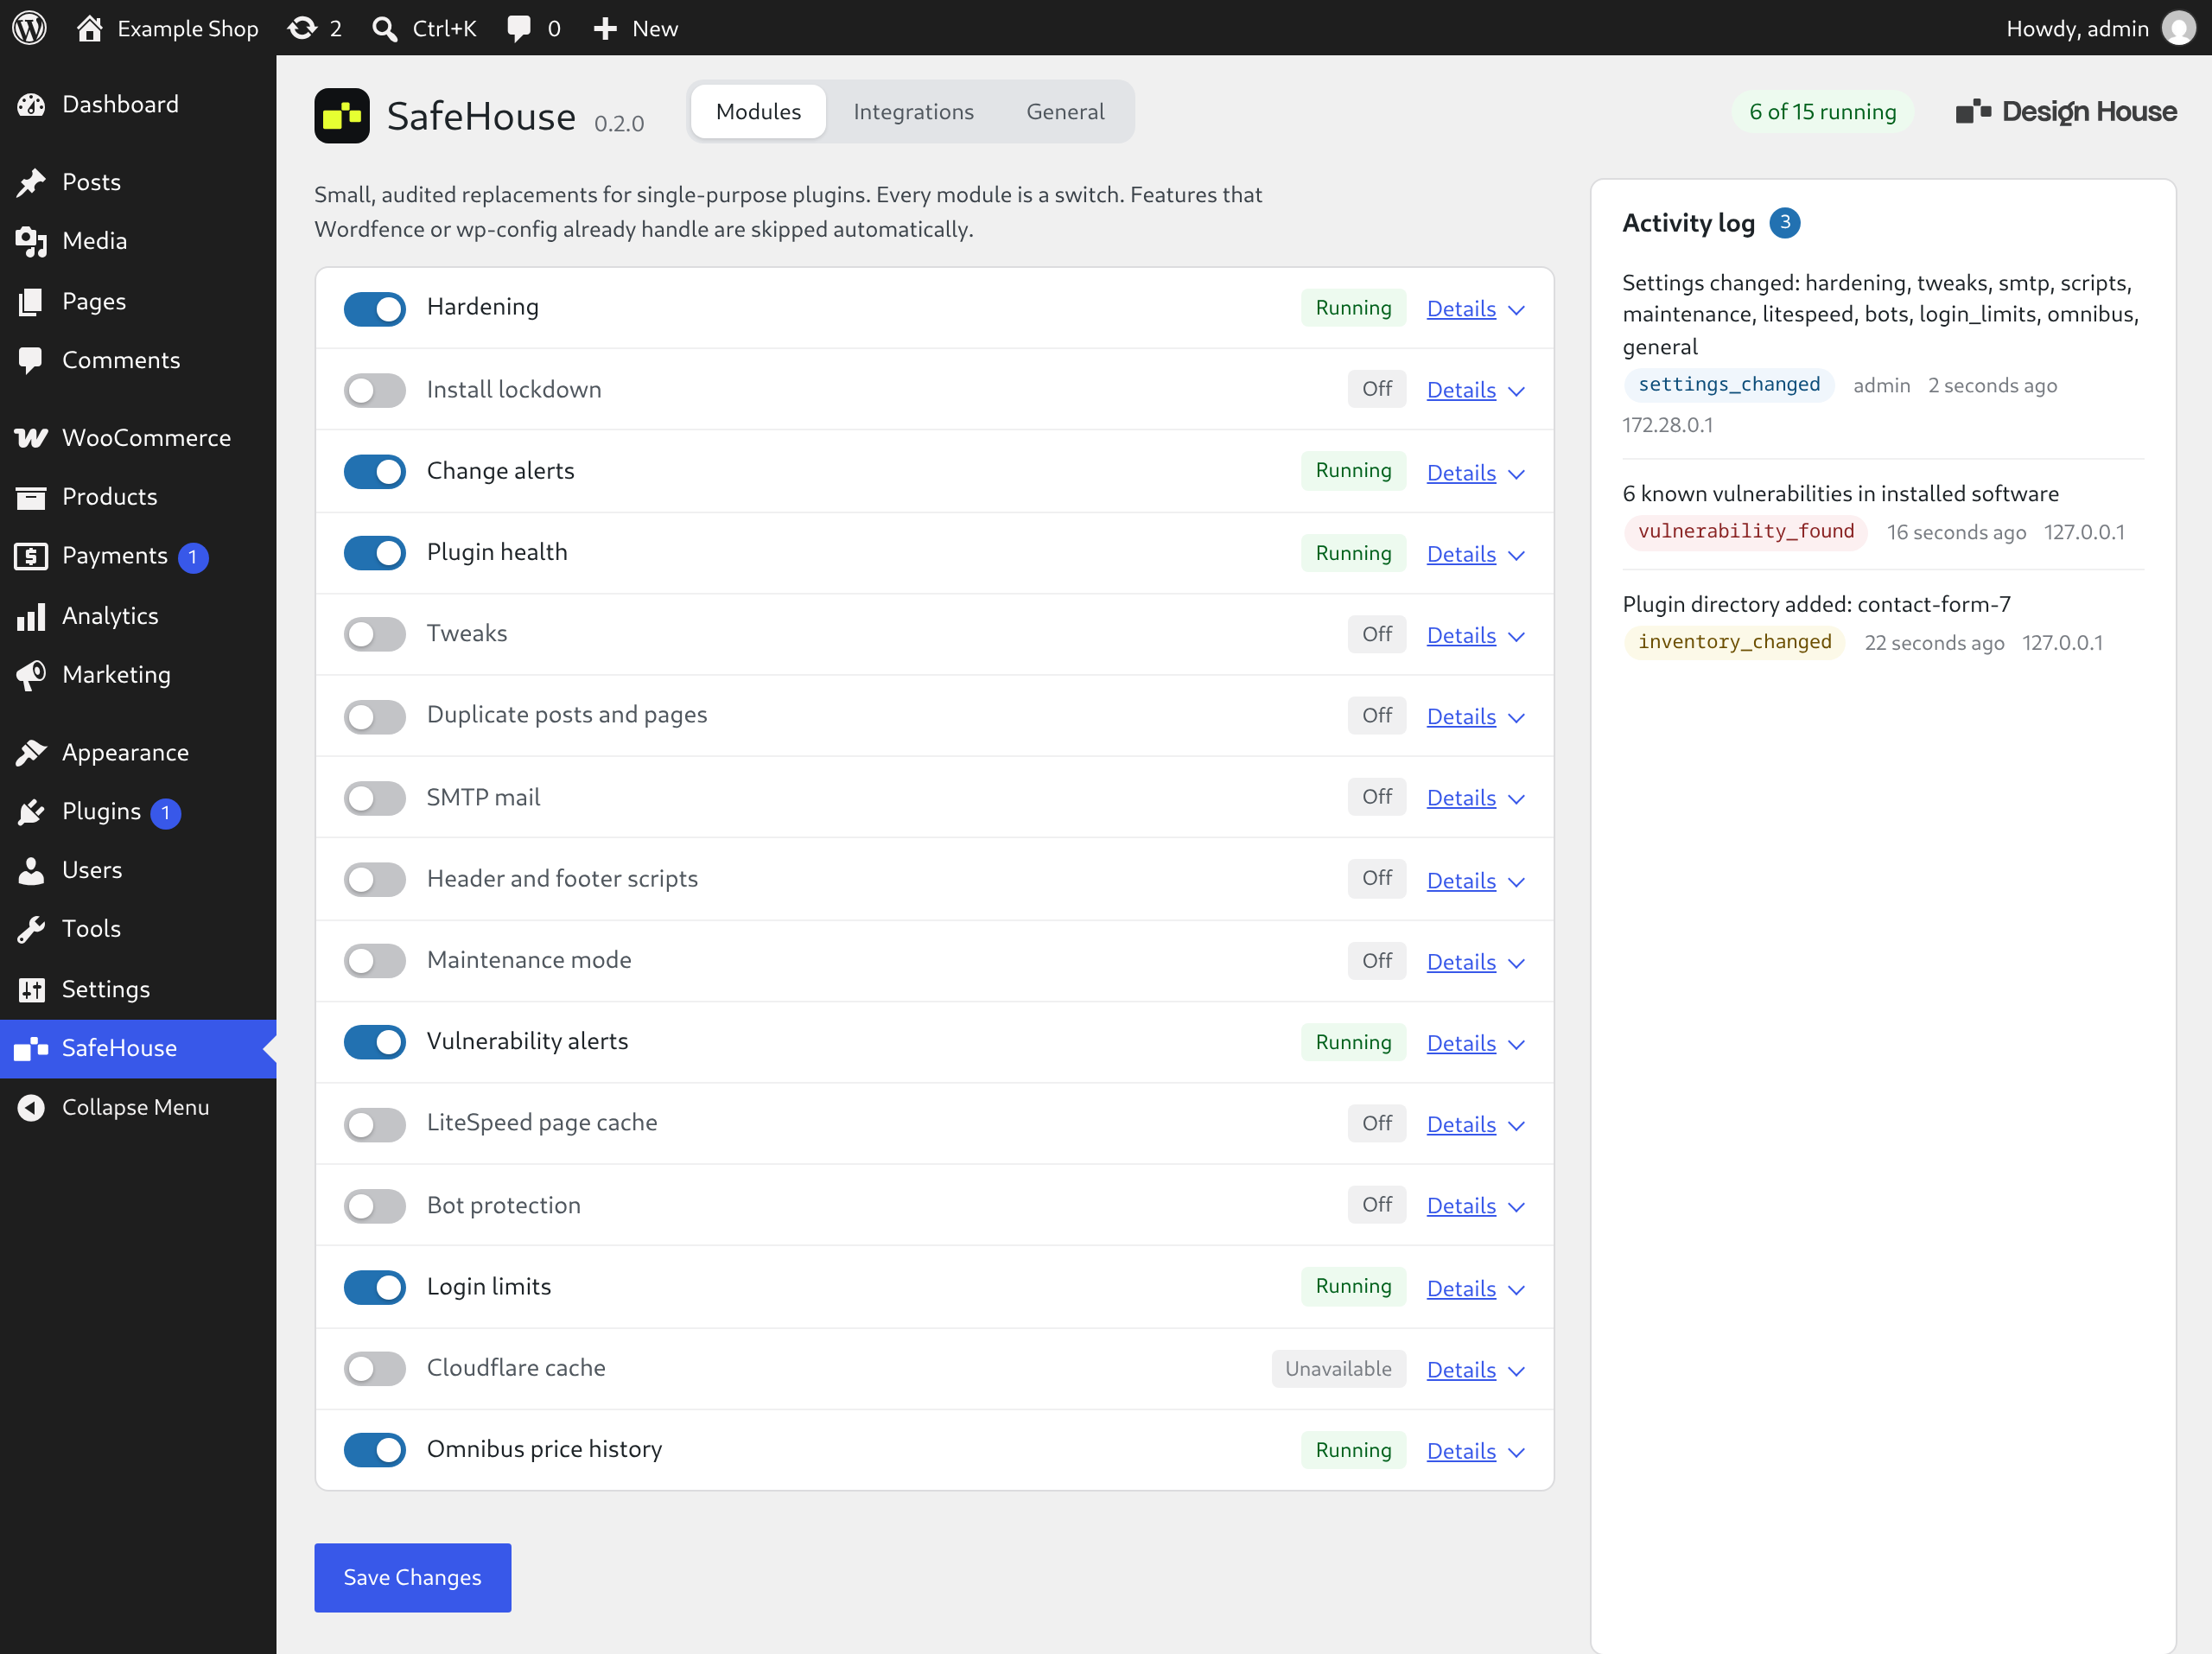
These modules are on after activation:
- Hardening
- Change alerts
- Plugin health
- Vulnerability alerts, unless Wordfence is active
- Login limits, unless Wordfence brute force protection is on
- Omnibus price history, when WooCommerce is active
Everything else is off until you switch it on. Modules lists them all and explains the badges.
Before you switch on more modules, make sure you could use one of the routes on Recover from a lockout. For example, open wp-content over SFTP once, or run wp shouse status. If you always log in from the same fixed address, add it to the Login limits allowlist.
On the settings page, the header shows how many modules run, for example 6 of 15 running. Every module you switched on shows Running.
With WP-CLI:
wp shouse statusThe output is similar to this (one row per module):
module           enabled  running  source    overlaps
hardening        yes      yes      settings
lockdown         no       no       settings
watch            yes      yes      settings
plugin_health    yes      yes      settings
...
login_limits     yes      yes      settings
omnibus          yes      yes      settings
Then open Tools → Site Health. SafeHouse adds its own checks there, such as "SafeHouse registration check", "SafeHouse plugin health" and "SafeHouse login limits". Anything SafeHouse finds worth fixing shows up as critical or recommended.
The first results arrive with WordPress's scheduled tasks. About five minutes after activation, Change alerts records its baseline and Vulnerability alerts downloads its data; about ten minutes after activation, Plugin health runs its first check. WordPress runs scheduled tasks when the site gets visits, unless your host runs them from a system cron. To get results at once, open the module's Details and select Check now.
- Switch on Bot protection to stop sign-up spam and fake orders.
- Switch on Install lockdown if nobody should install plugins day to day.
- If you run Wordfence, read Running with Wordfence.
- If you manage many sites, read Configure in wp-config and Deploy with git or CI.
- Remove plugins SafeHouse makes unnecessary: Replacing other plugins.