Working with Play is easy. You don’t even need a sophisticated IDE, because Play compiles and refreshes the modifications you make to your source files automatically, so you can easily work using a simple text editor.
However, using a modern Java or Scala IDE provides cool productivity features like auto-completion, on-the-fly compilation, assisted refactoring and debugging.
Play provides a command to simplify Eclipse configuration. To transform a Play application into a working Eclipse project, use the eclipsify command:
without the source jars:
[My first application] $ eclipsify
if you want to grab the available source jars (this will take longer and it's possible a few sources might be missing):
[My first application] $ eclipsify with-source=true
Note if you are using sub-projects with aggregate, you would need to set skipParents appropriately:
import com.typesafe.sbteclipse.core.EclipsePlugin.EclipseKeys

object ApplicationBuild extends Build {

  override def settings = super.settings ++ Seq(
      EclipseKeys.skipParents in ThisBuild := false)
Note Also, if you did not want to trigger a compilation before running
eclipsify, then just add the following to your settings:
EclipsePlugin.EclipseKeys.preTasks := Seq()
You then need to import the application into your Workspace with the File/Import/General/Existing project… menu (compile your project first).
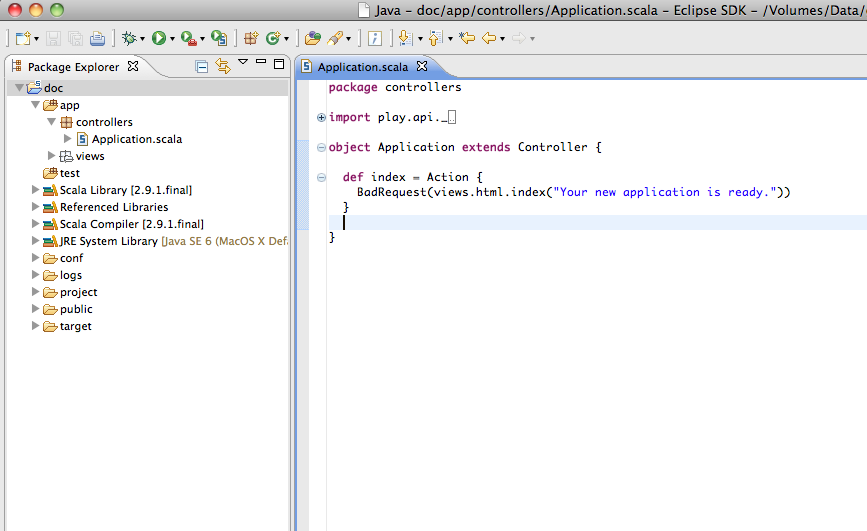
You can also start your application with play debug run and then you can use the Connect JPDA launcher using Debug As to start a debugging session at any time. Stopping the debugging session will not stop the server.
Tip: You can run your application using
~runto enable direct compilation on file change. This way scala template files are auto discovered when you create a new template inviewand auto compiled when the file changes. If you use normalrunthen you have to hitRefreshon your browser each time.
If you make any important changes to your application, such as changing the classpath, use eclipsify again to regenerate the configuration files.
Tip: Do not commit Eclipse configuration files when you work in a team!
The generated configuration files contain absolute references to your framework installation. These are specific to your own installation. When you work in a team, each developer must keep his Eclipse configuration files private.
Play provides a command to simplify Intellij IDEA configuration. To transform a Play application into a working IDEA module, use the idea command:
without the source jars:
[My first application] $ idea
if you want to grab the available source jars (this will take longer and it's possible a few sources might be missing):
[My first application] $ idea with-sources
You then need to import the application into your project (File->New Module->Import existing Module)
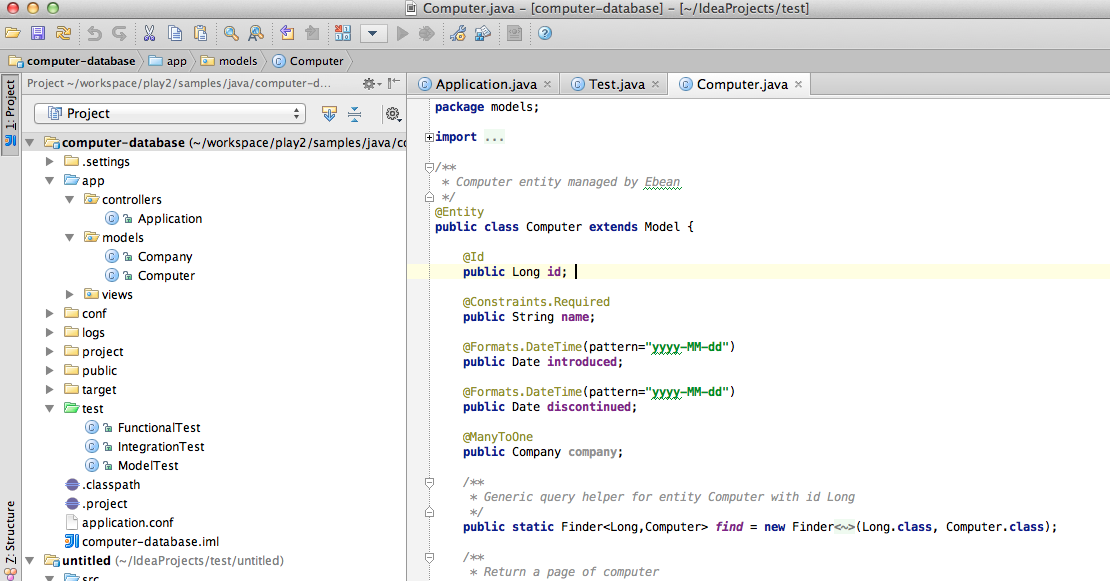
Tip: There is an Intellij IDEA issue regarding building Java based Play2 apps while having the Scala plugin installed. Until it's fixed, the recommended workaround is to disable the Scala plugin.
To debug, first add a debug configuration
- Open Run/Debug Configurations dialog, then click Run -> Edit Configurations
- Add a Remote configuration, then select
Remote - Configure it:
- Set a name
- Transport: Socket
- Debugger mode: Attach
- Host: localhost
- Port: 9999
- Select module you imported
- Close dialog - click Apply
Start play in debug mode:
$ play debug
which should print:
Listening for transport dt_socket at address: 9999
Set some breakpoints. Run the web app by executing the task play (again I had to do this in same terminal I ran play debug). Finally, browse http://localhost:9000. IntelliJ should stop at your breakpoint.
If you make any important changes to your application, such as changing the classpath, use idea again to regenerate the configuration files.
Play does not have native Netbeans project generation support at this time. For now you can generate a Netbeans Scala project with the Netbeans SBT plugin.
First edit the plugins.sbt file
resolvers += {
  "remeniuk repo" at "http://remeniuk.github.com/maven"
}

libraryDependencies += {
  "org.netbeans" %% "sbt-netbeans-plugin" % "0.1.4"
}
Now run
$ play netbeans
Next:
– Play 2.0 for Scala developers – Play 2.0 for Java developers