CMS Mechanism to display a Mukau webpage

Create new pages by clicking the Add child page button. This creates a child page of the section you are currently in. In this case a child page of the ‘Home’ page.

On the left of the page chooser screen are listed all the types of pages that you can create. Clicking the page type name will take you to the Create new page screen for that page type (see below).
Clicking the Pages using … Page links on the right will display all the pages that exist on the website of this type. This is to help you judge what type of page you will need to complete your task.

Once you’ve selected a page type you will be presented with a blank New page screen. Click into the areas below each field’s heading to start entering content.
There may be instances in which you will want to add images to a page. There are two main ways to add images to pages, either via a specific image chooser field, or via the rich text field image button. The steps below will explain the first method.
Often a specific image field will be used for a main image on a page, or for an image to be used when sharing the page on social media.
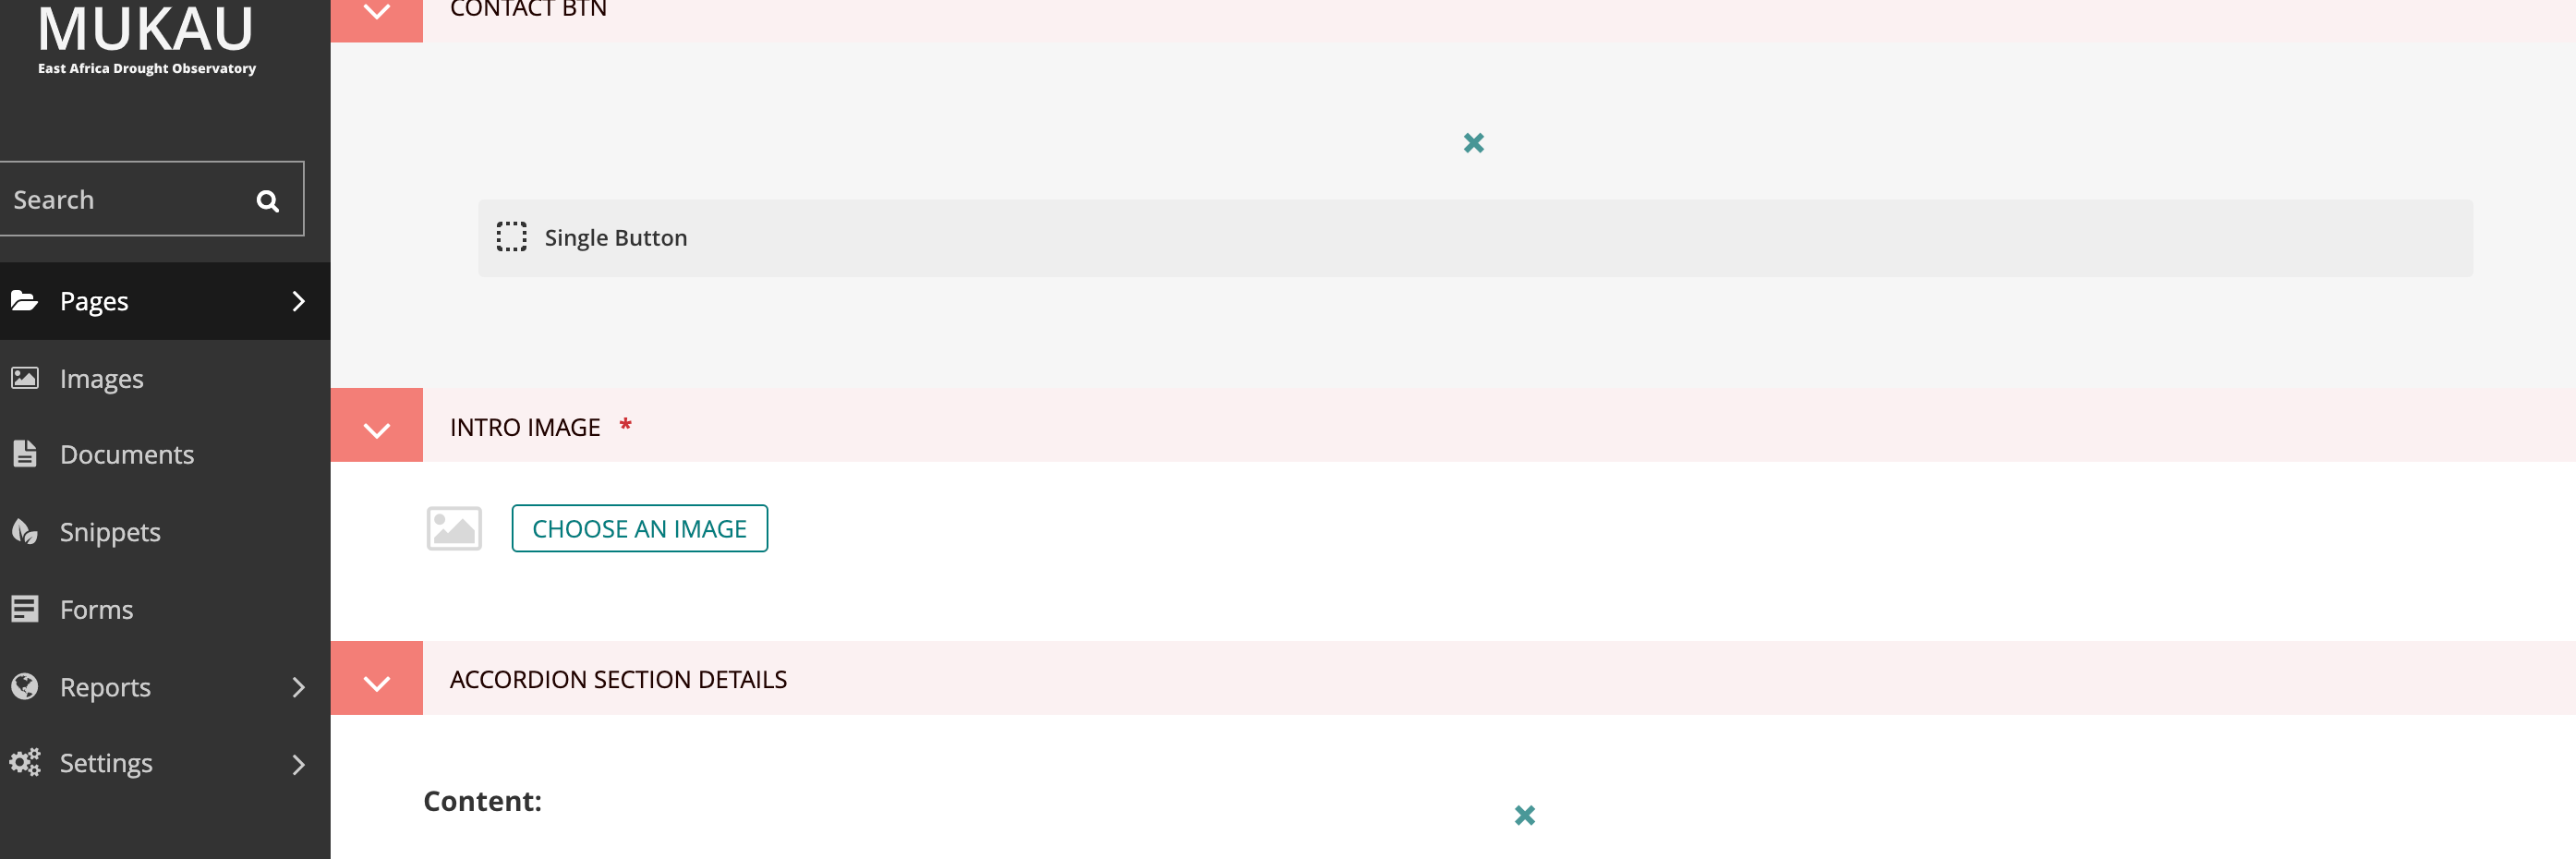
You insert an image by clicking the Choose an image button.
You have two options when selecting an image to insert:
- Selecting an image from the existing image library, or…
- Uploading a new image to the CMS When you click the Choose an image button you will be presented with a pop-up with two tabs at the top. The first, Search, allows you to search and select from the library. The second, Upload, allows you to upload a new image.
The image below demonstrates finding and inserting an image that is already present in the CMS image library.
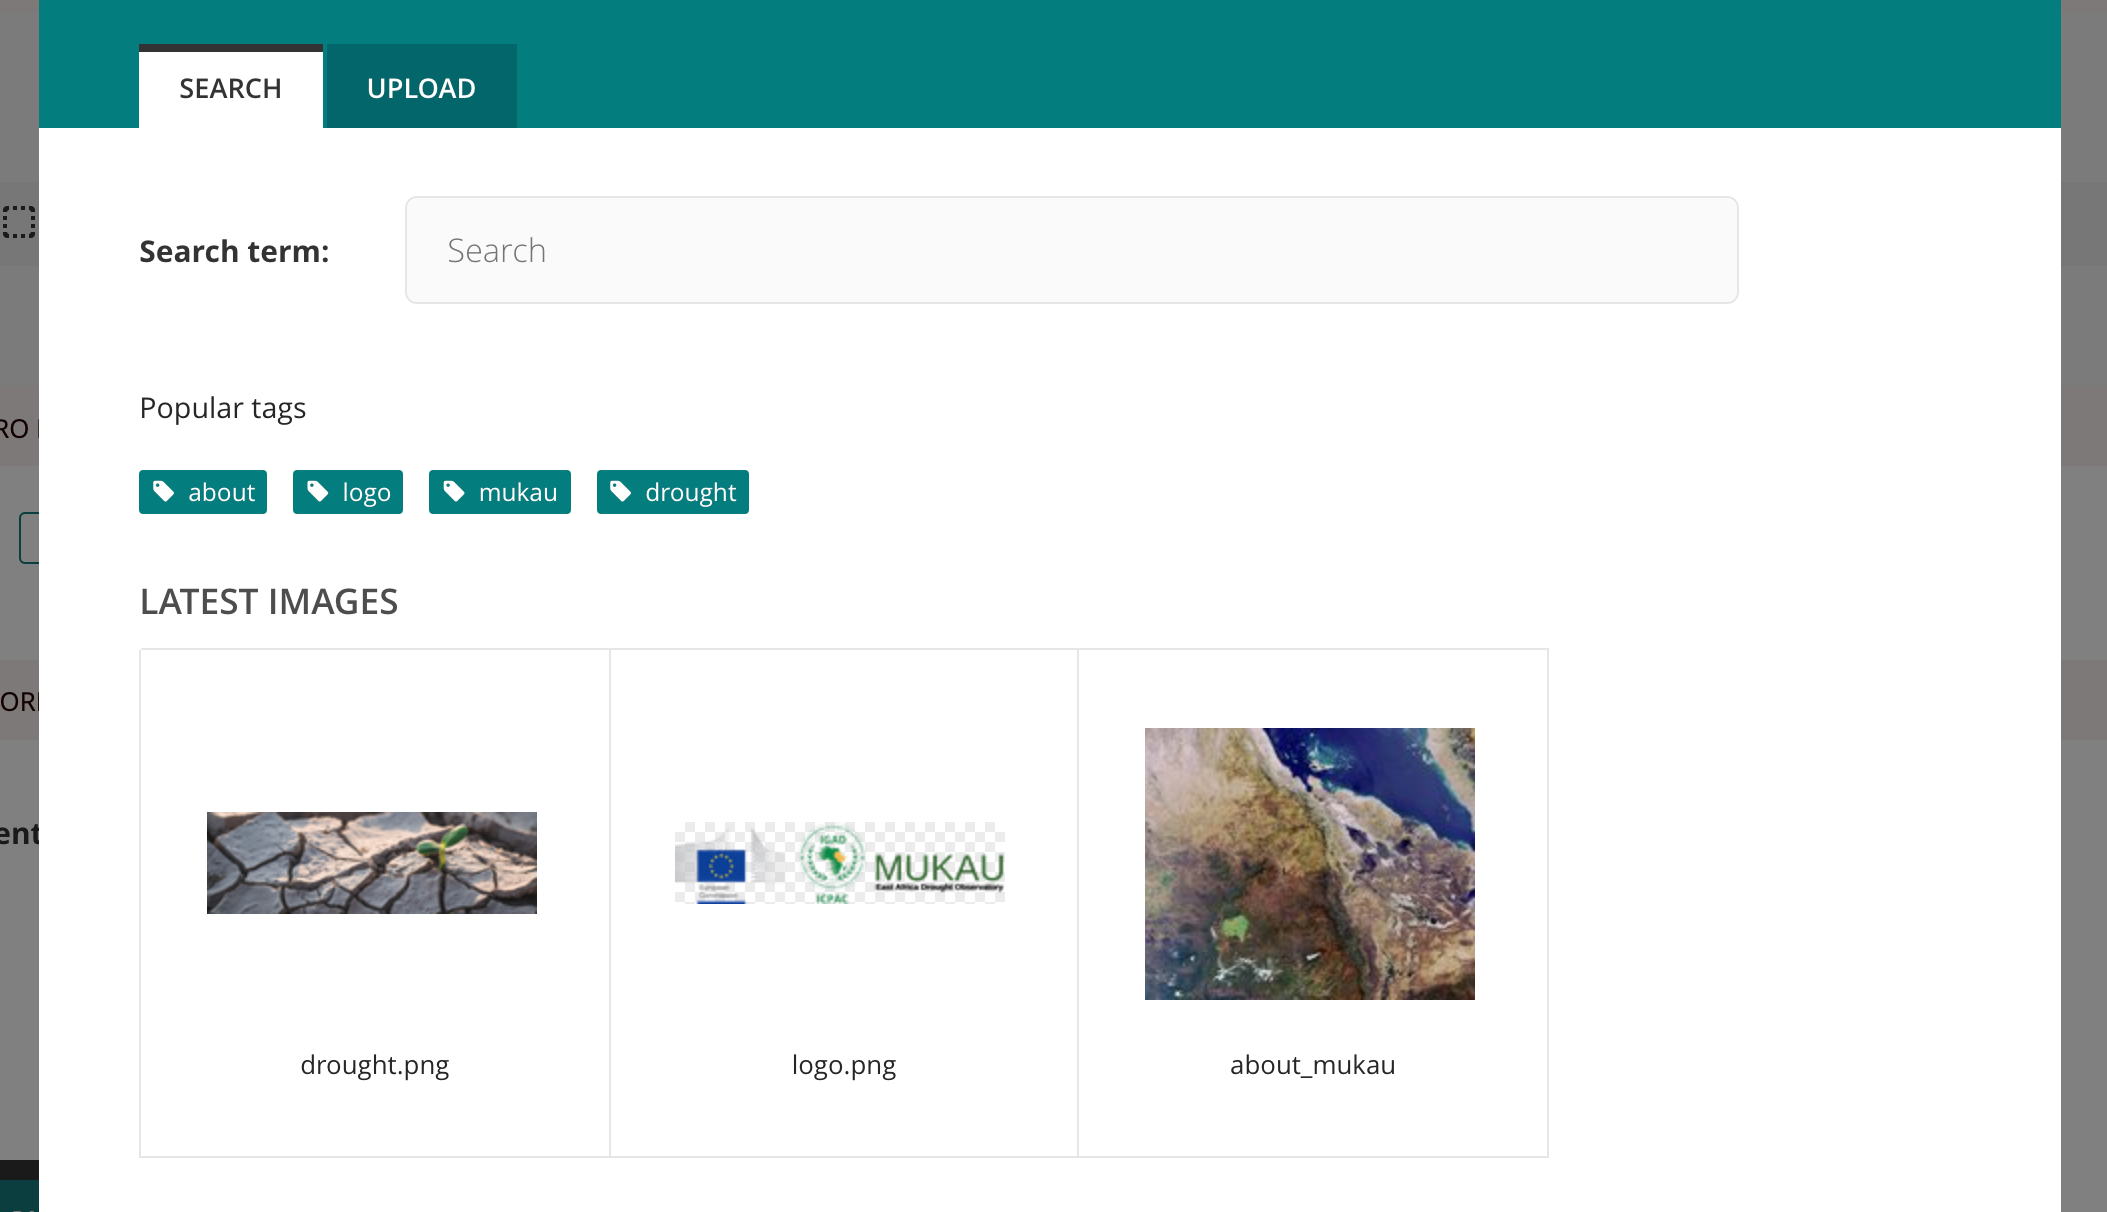
- Typing into the search box will automatically display the results below.
- Clicking one of the Popular tags will filter the search results by that tag.
- Clicking an image will take you to the Choose a format window (see image below).

- You must include an image title for your uploaded image
- Click the Choose file button to choose an image from your computer.
- Tags allows you to associate tags with the image you are uploading. This allows them to be more easily found when searching. Each tag should be separated by a space. Good practice for creating multiple word tags is to use an underscore between each word.
- Click Upload to insert the uploaded image into the carousel. The image will also be added to the main CMS image library for reuse in other content.
--

Similar to images, there are a variety of points at which you will want to add links. The most common place to insert a link will be in the body text of a page. You can insert a link into the body text by clicking the Insert link button in the rich text toolbar.
Whichever way you insert a link, you will be presented with the form displayed below.
- Search for an existing page to link to using the search bar at the top of the pop-up.
- Below the search bar you can select the type of link you want to insert. The following types are available:
- Internal link: A link to an existing page within your website.
- External link: A link to a page on another website.
- Email link: A link that will open the user’s default email client with the email address prepopulated.
- Phone link: A link that will open the user’s default client for initiating audio calls, with the phone number prepopulated.
- You can also navigate through the website to find an internal link via the explorer.
It is possible to embed media into the body text of a web page by clicking the Embed button in rich text toolbar. Copy and paste the web address for the media into the URL field and click Insert.
A common feature of the Edit pages for all page types is the three tabs at the top of the screen. The first, Content, is where you build the content of the page itself.
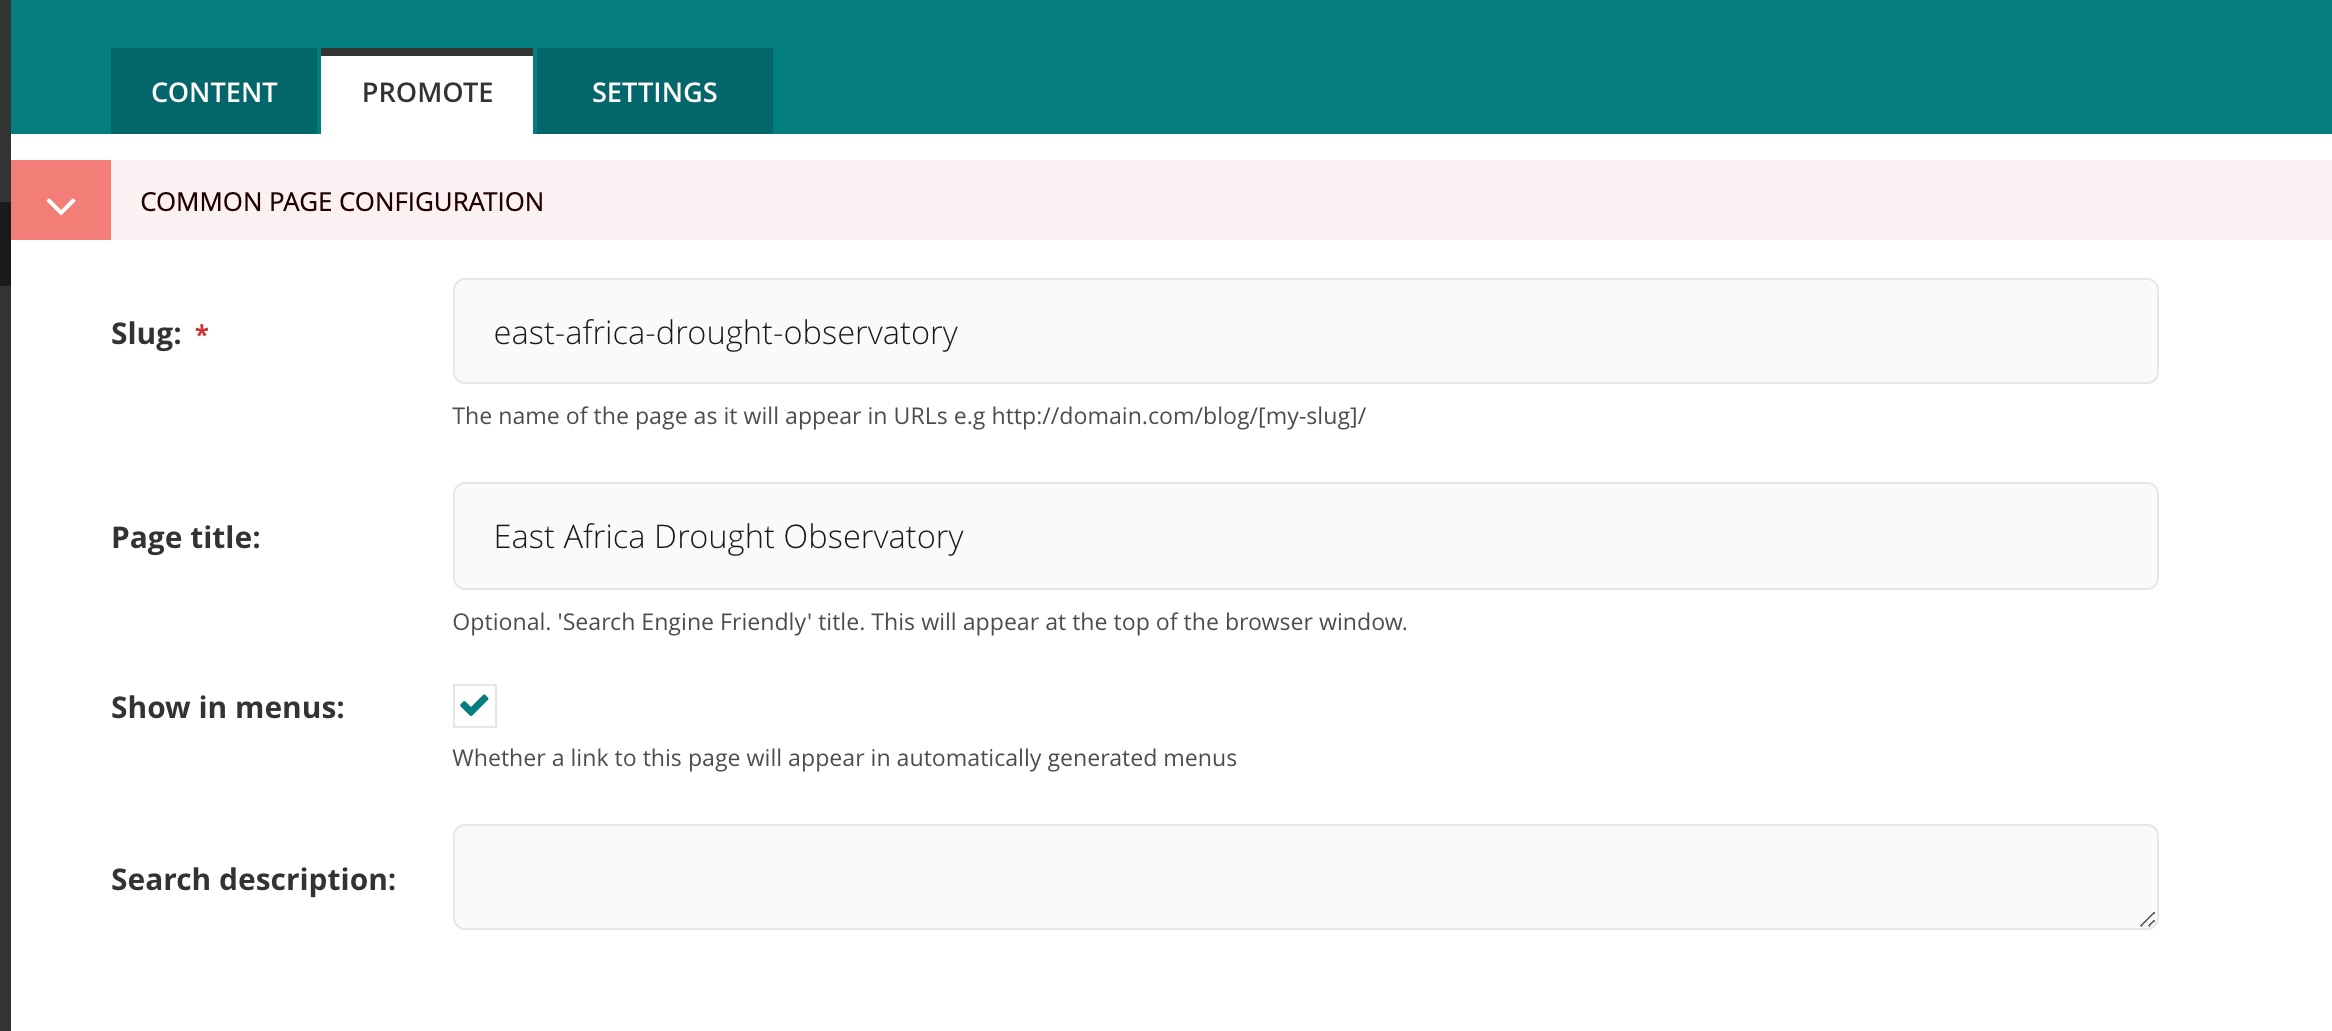
The second, Promote, is where you can set all the ‘metadata’ (data about data!) for the page. Below is a description of all default fields in the promote tab and what they do.
Slug: The last part of the web address for the page. E.g. the slug for a blog page called ‘East Africa Drought Observatory’ would be east-africa-drought-observatory (www.example.com/about/east-africa-drought-observatory). This is automatically generated from the main page title set in the Content tab. This can be overridden by adding a new slug into the field. Slugs should be entirely lowercase, with words separated by hyphens (-). Page title: An optional, search-engine friendly page title. This is the title that appears in the tab of your browser window. It is also the title that would appear in a search engine if the page was returned as part of a set of search results. Show in menus: Ticking this box will ensure that the page is included in automatically generated menus on your site. Note: A page will only display in menus if all of its parent pages also have Show in menus ticked. Search description: This field allows you to add text that will be displayed if the page appears in search results. This is especially useful to distinguish between similarly named pages.
The Settings tab has two fields by default.

Go Live date/time: Sets the time at which the changes should go live when published. See Scheduled Publishing for more details. Expiry date/time: Sets the time at which this page should be unpublished.
The Save/Preview/Submit for moderation menu is always present at the bottom of the page edit/creation screen. The menu allows you to perform the following actions, dependent on whether you are an editor, moderator or administrator:
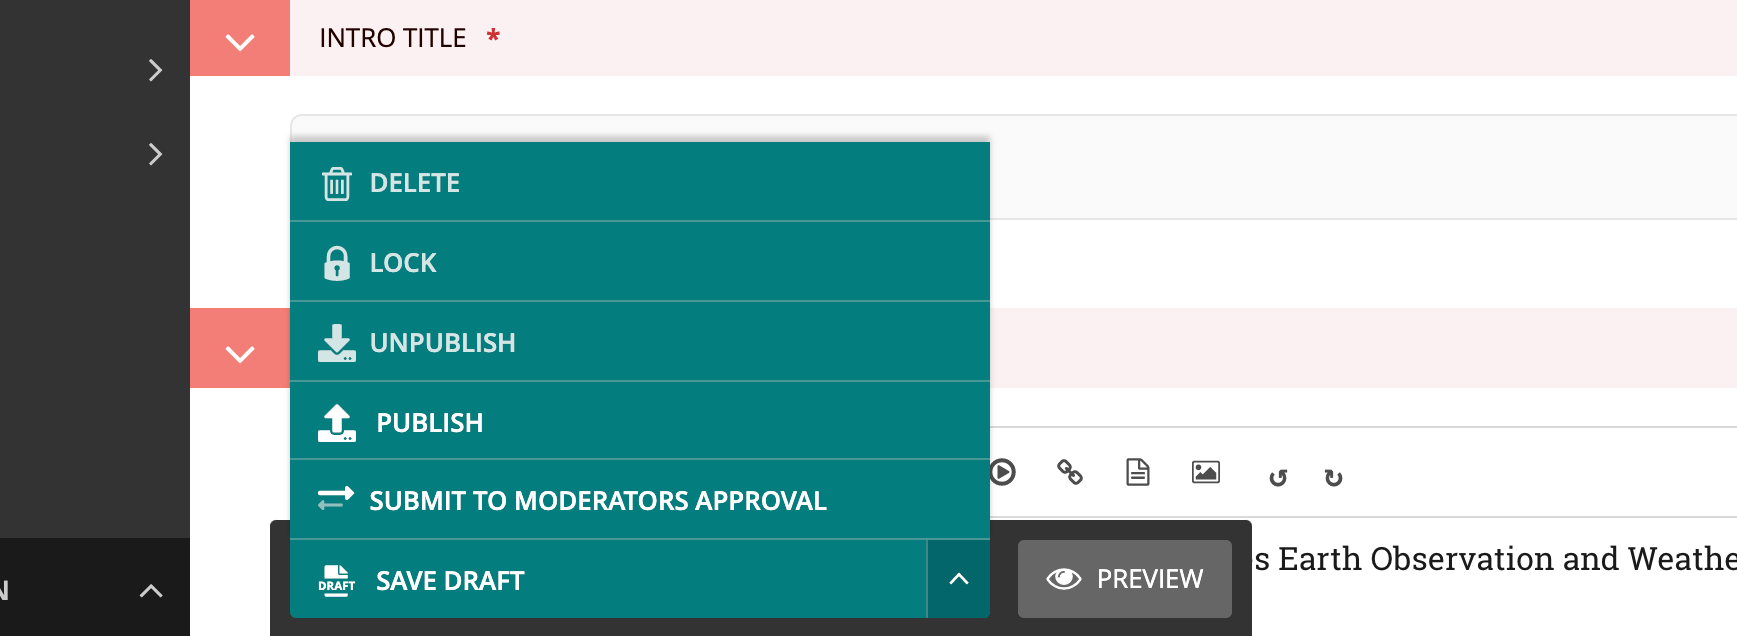
- Save draft: Saves your current changes but doesn’t submit the page for moderation and so won’t be published. (all roles)
- Submit for moderation: Saves your current changes and submits the page for moderation. The page will then enter a moderation workflow: a set of tasks which, when all are approved, will publish the page (by default, depending on your site settings). This button may be missing if the site administrator has disabled moderation, or hasn’t assigned a workflow to this part of the site. (all roles)
- Preview: Opens a new window displaying the page as it would look if published, but does not save your changes or submit the page for moderation. (all roles)
- Publish/Unpublish: Clicking the Publish button will publish this page. Clicking the Unpublish button will take you to a confirmation screen asking you to confirm that you wish to unpublish this page. If a page is published it will be accessible from its specific URL and will also be displayed in site search results. (moderators and administrators only)
- Delete: Clicking this button will take you to a confirmation screen asking you to confirm that you wish to delete the current page. Be sure that this is actually what you want to do, as deleted pages are not recoverable. In many situations simply unpublishing the page will be enough. (moderators and administrators only)