Setup
Note
Whenever you will need to return to the SoftAP menu (for example if the Wi-Fi information is wrong) follow this sequence:
Basic
- hold the left button pressed,
- reset with the side red button
- keep the left button pressed until the Wi-Fi pairing QR code shows-up.
Core2
- reset with the bottom left button
- touch CONFIG (left button) during restart
When you first boot the programmed device it will start in SoftAP mode: your M5Stack will behave like if it is a Wi-Fi access point. It will be waiting for you to connect to it (at the web address http://192.168.0.1) with your phone or computer so that you can easily configure it to join your own Wi-Fi (home, work, tethering, ...).
This state will be only necessary for a short time: once it will be connected to your own Wi-Fi, you will be able to access it from any device connected to that same Wi-Fi.
Once programmed (with a recent version), your device will boot-up like this
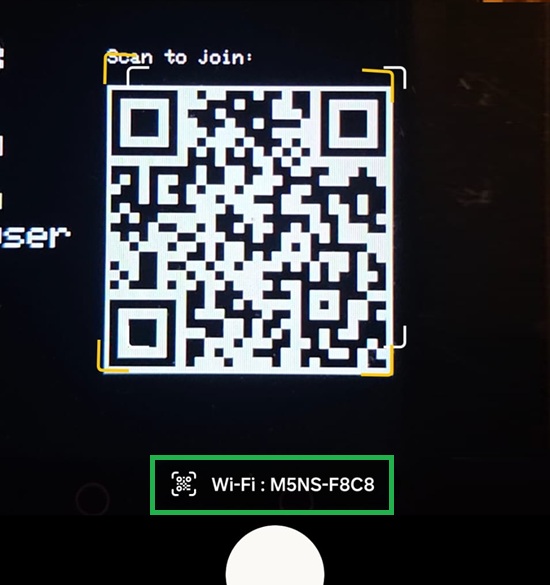
With your mobile phone (example below Android), follow the QR code link to join the M5Stack Wi-Fi network.
Since this network has no internet access, your phone may warn you about it - choose Connect only this time (or Always connect if you prefer).
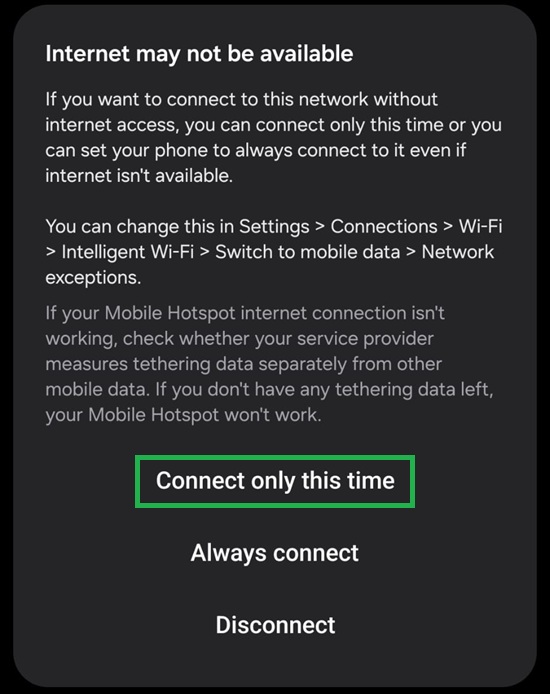
Wait until you phone connects to the M5Stack Wi-Fi.
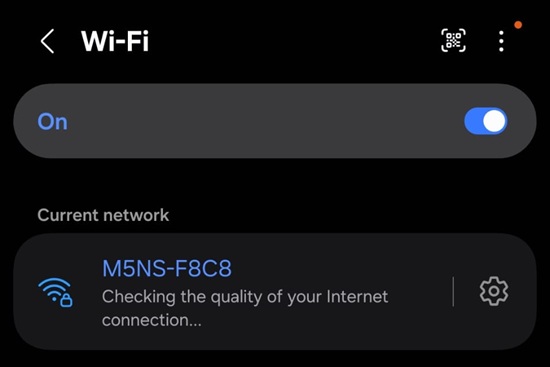
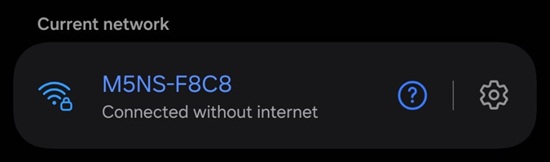
Navigate to http://m5ns-xxxx.local (be careful there is no 's' after http: do not use https), this is your own M5Stack web page. xxxx is 4 characters unique to your device (derived from its MAC address) so several devices on the same network never collide on the same address - it's shown as the Wi-Fi network name (SSID) on the SoftAP pairing screen above, and on the config QR-code page (press the right button to reach it).
You can find the same page navigating to http://192.168.0.1
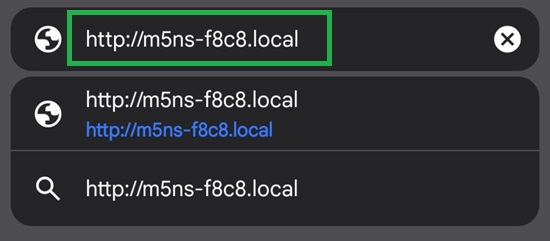
The M5Stack configuration web page will open.
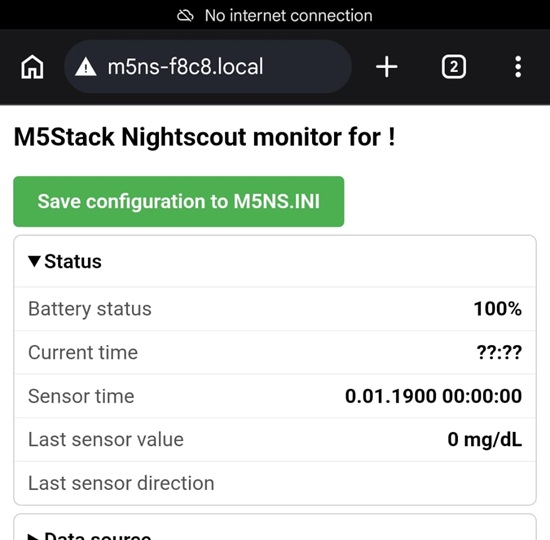
It is recommended that you setup only your Wi-Fi for now.
Be patient when you click links: the server is slow and needs some seconds to load the next page.
On the page that opened, scroll down to WiFi Configuration and select edit.
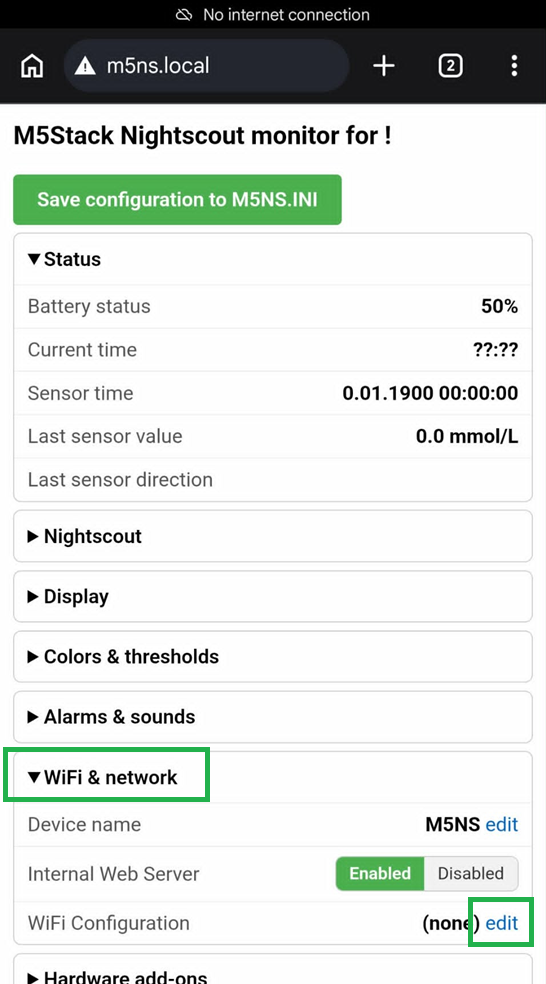
-
Using the drop down list, select your Wi-Fi. If you need to set another Wi-Fi name, manually enter the SSID name.
-
Type the security key below.
-
Scroll down to the bottom, and then Apply.
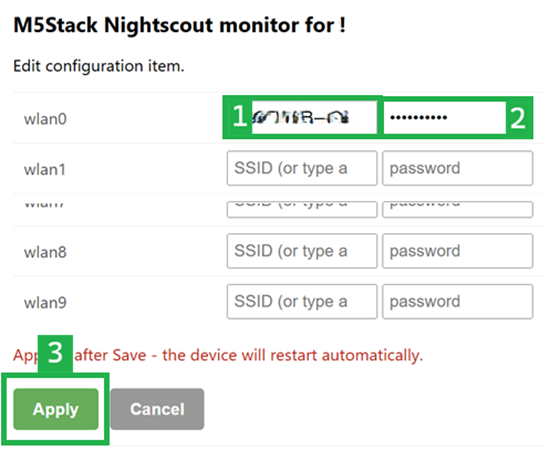
Wi-Fi changes will display. Wait until the device returns to the main menu then Save Configuration to M5NS.INI.
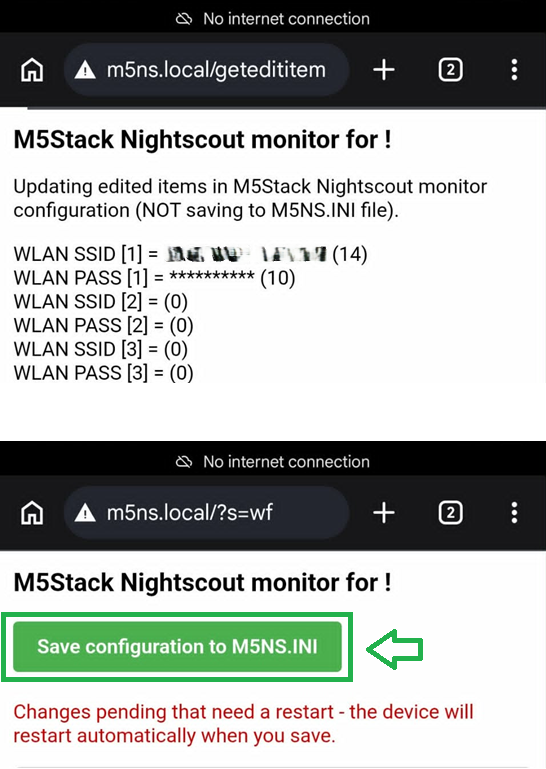
Your device will restart and will boot connected to your Wi-Fi network.
Now that your M5Stack has been configured to connect to your Wi-Fi network, you can connect to it in order to complete or change its configuration (any time, with any device on the same network).
Plug your device or reset it (red button on the side), it should boot-up like this
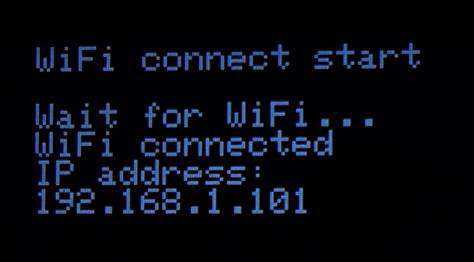
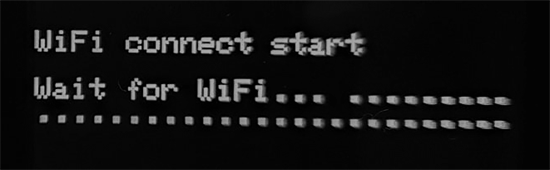
(If it remains like this you need to fix your Wi-Fi information that's probably wrong: reset with the side red button and keep the left button pressed until the Wi-Fi pairing screen shows-up and go back to SoftAP to check your Wi-Fi credentials).
and display the graphic screen (fully configured or only Wi-Fi configured)
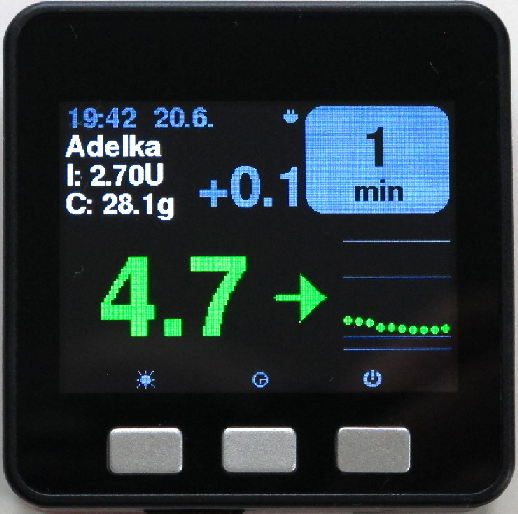
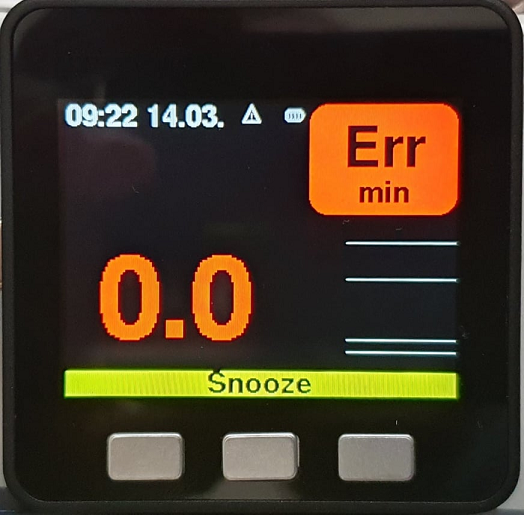
You can now access it through its web server browsing to http://m5ns-xxxx.local (xxxx is the same 4-character unique suffix as during SoftAP setup, see above) if you're on the same network (i.e. the device you use to browse the M5Stack is on the same Wi-Fi you defined in M5NS.ini) and you didn't customize device_name in M5NS.ini.
If you can't connect, click the right button until reaching the configuration QR code page, which shows your device's exact .local name and IP address.
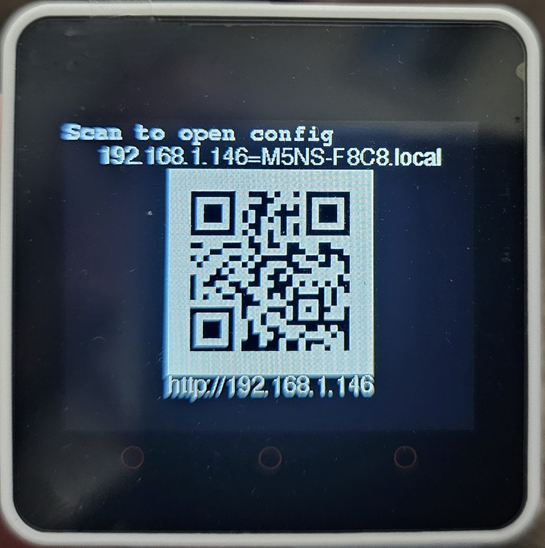
You can use your mobile phone (camera), or use the IP address to access the web server (it will look like https://192.168.1.199 but not necessarily these numbers).
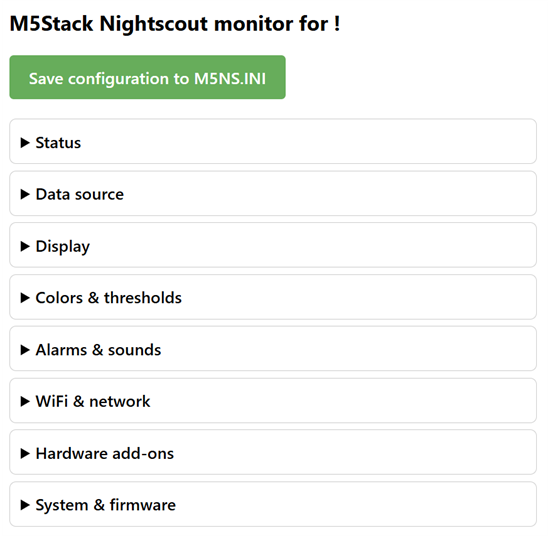
Your M5Stack_NightscoutMon will display its web page.
Selecting the Edit and Change links allows you to change the values. Changes apply immediately in memory; press Save configuration to M5NS.INI at the top of the page to write them to the device's internal memory (and to the SD card too, if you started with one inserted).
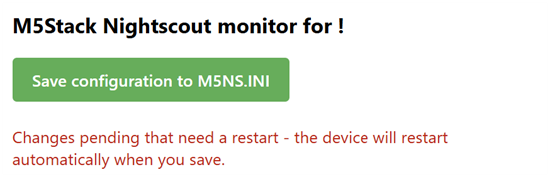
Some settings (the data source, device name, Wi-Fi networks, time zone/DST) only take effect after a restart. When one of these is pending, a red banner appears and the device restarts automatically the next time you Save.
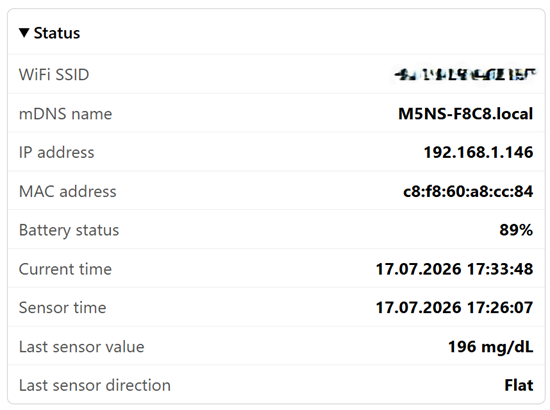
Read-only. Wi-Fi SSID, mDNS name (your device's m5ns-xxxx.local address), IP and MAC address, battery level, current time, sensor time (timestamp of the last received reading), last sensor value and trend direction.
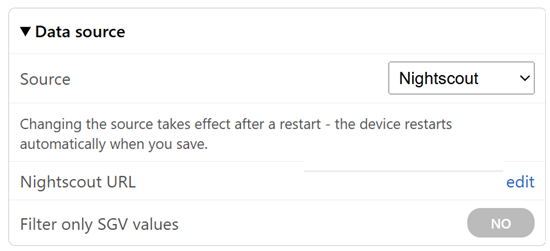
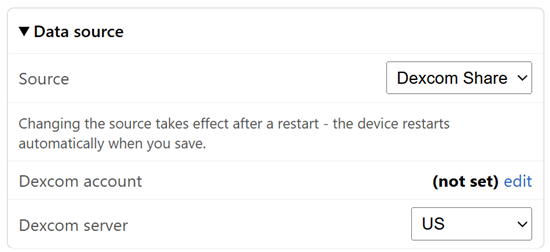
Chooses where glucose data comes from - only one source is ever active at a time. Changing the source needs a restart to take effect (see the banner above).
-
Nightscout: shows Nightscout URL (edit: your site address, e.g.
sitename.herokuapp.com, and Security token, left empty if your site isn't secured) and Filter only SGV values (only request SGV-type entries from Nightscout).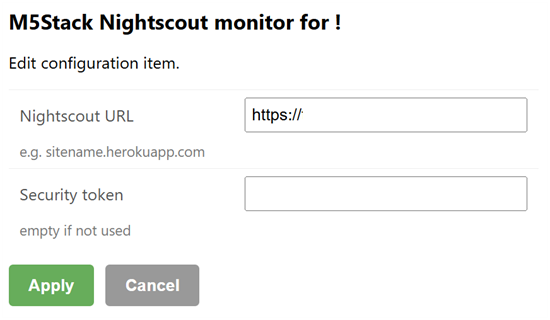
-
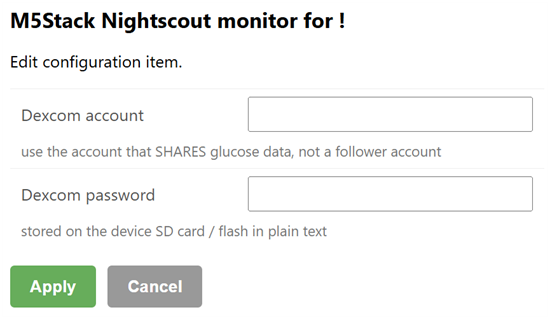
Dexcom Share: shows Dexcom account (edit: use the account that SHARES glucose data, not a follower account; stored on the device SD card / flash in plain text) and Dexcom server (US / Outside US / Japan - match the region of your Dexcom account).
-
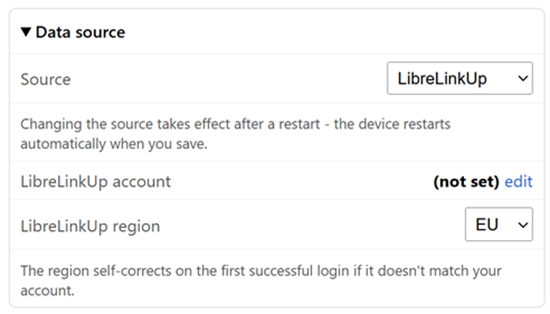
LibreLinkUp: shows LibreLinkUp account (edit: use a LibreLinkUp follower account, not the LibreView account itself; stored on the device SD card / flash in plain text) and LibreLinkUp region (leave at Auto (detect), the default: the device logs in through LibreLinkUp's universal entry point and detects your region automatically).
Controls what's shown on screen and how.
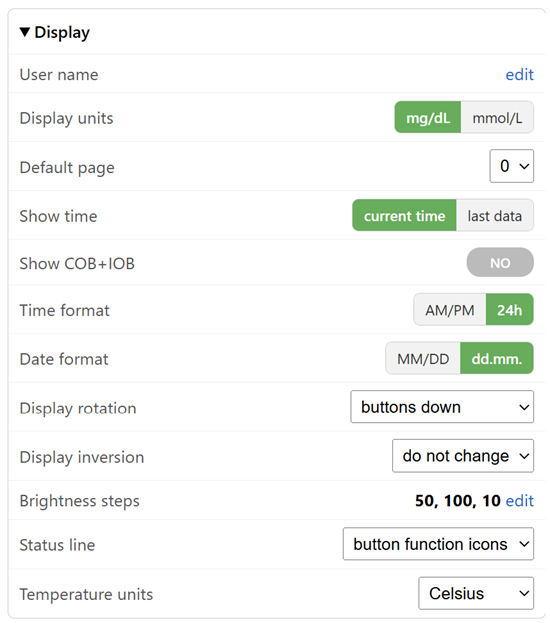
- Display units: mg/dL or mmol/L - applies to every glucose value shown, including the color thresholds and sound alarms below.
- Default page: which screen shows at startup; the device buttons cycle through the available pages.
- Status line: what the bottom info line shows - sensor info, button function icons, loop info + basal, or openaps info + basal.
- Temperature units: Celsius, Kelvin or Fahrenheit, for the optional temperature sensor add-on.
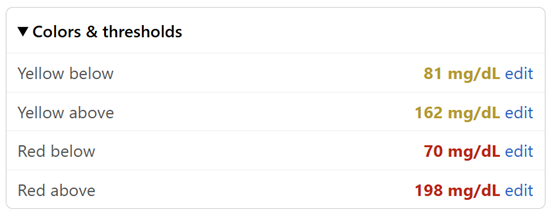
Glucose levels at which the on-screen number changes color: yellow below/above marks the warning band, red below/above marks out of range. Values are in the display units selected above.
Sound alerts, all thresholds in the display units selected above.
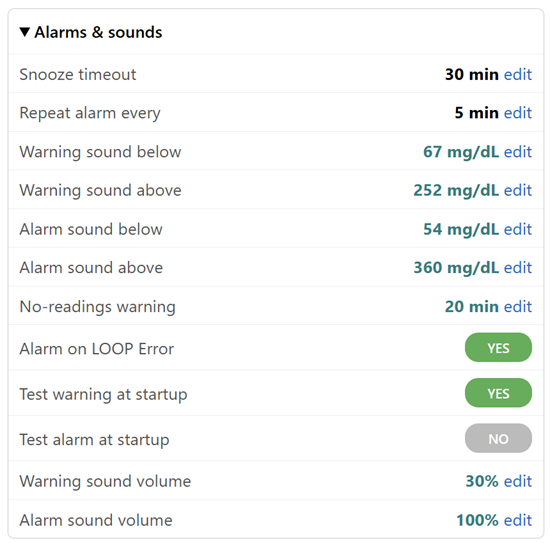
- No-readings warning: alert after this many minutes without a new reading.
- Warning/Alarm sound below/above: thresholds that trigger the warning or alarm tone.
- Snooze timeout / Repeat alarm every: how long a snooze lasts, and how often an unacknowledged alarm repeats.
- Warning/Alarm sound volume: independent volume per tone.
Holds your Wi-Fi networks (see Initial setup above to configure them), plus Device name and an Internal Web Server enable/disable toggle. Disabling the web server makes this page unreachable until the next restart or setup mode.
Only relevant if you've wired the corresponding optional hardware - leave the defaults otherwise.
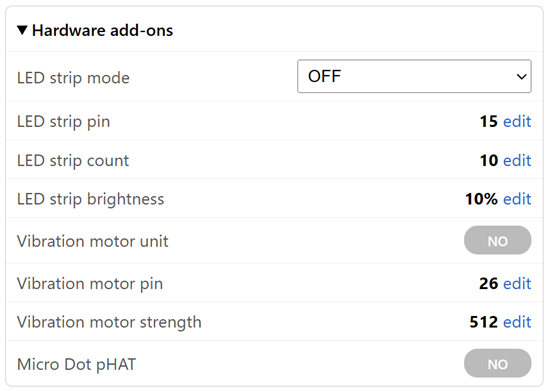
- LED strip: mode, pin, LED count and brightness.
- Vibration motor: enable, pin and strength.
- Micro Dot pHAT: enable/disable.
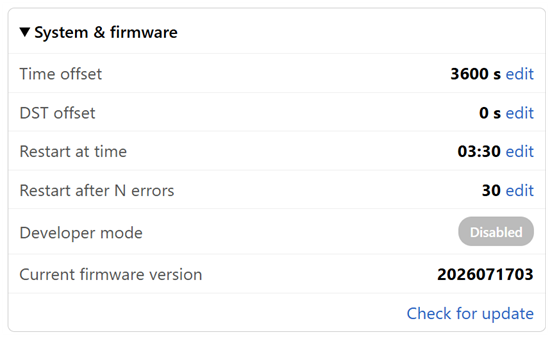
- Time offset / DST offset: your time zone in seconds and daylight-saving offset (restart needed).
-
Restart at time: daily automatic restart time, or
NORESto never restart on a schedule. - Restart after N errors: automatic restart once this many errors have been logged (0 = never).
- Developer mode: enable/disable.
- Current firmware version and Check for update: see Update your firmware below.
Firmware updates are downloaded straight from the M5_NightscoutMon GitHub repository over HTTPS — there is no separate update server, and the device automatically picks the binary matching its own board.
Browse down to Application firmware and select Check for update.
If a new version is available you can select click to update and the device will automatically download and upgrade the firmware.
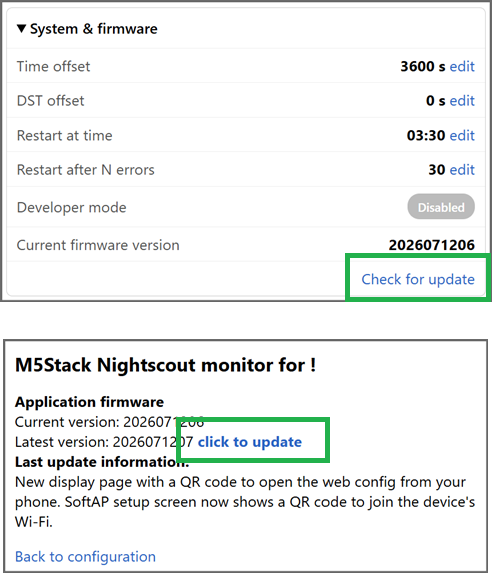
Alternatively you can click the right button of the device until you reach the configuration page.
If an update is available, you will see UPDATE above the middle button. Click the button to update.
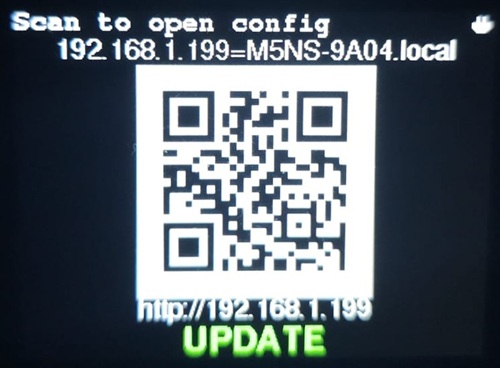
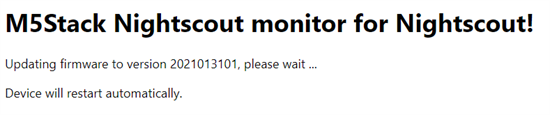
Wait for completion, the device will automatically reboot when updated.
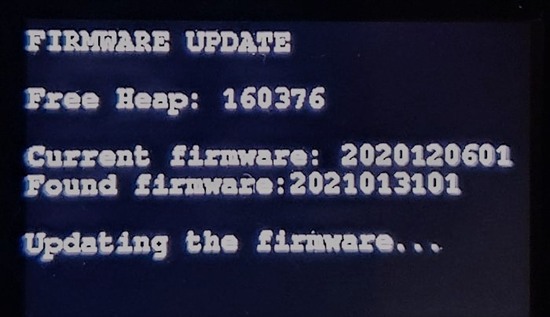
Browse to the following page (replacing xxxx with your device's own unique suffix). Internal memory settings will be cleared.
If you don't have an SD memory, you will need to run SoftAP to recover Wi-Fi connection.
The device can be used with and without micro SD memory. The decision will be taken at reset time by M5NightscoutMon.
- If you reset and insert a micro SD it will use and save the configuration of the SD memory file M5NS.ini.
- If you reset and don't have an SD memory in the device it will use the information saved in its own memory.
This allows you to quickly jump from one configuration to another.
You still can configure manually your SD memory as explained here, but we recommend using the SoftAP feature.