Mapbox studio
Mapbox Studio is a good place to start making beautiful cartographic visualisations!
You can start using Mapbox Studio for free. But Mapbox Studio is not open source. When hosting a lot of your data on their services or using their service for commercial goals Mapbox has a pricing plan.
🔗 A open source alternative to Mapbox Studio is Maputnik.
Let's start with Mapbox Studio. Just for 10 minutes.
Now you have yourself a Mapbox Access Token.
🔗 Need help? https://www.mapbox.com/help/studio-manual/
We will start with re-styling one of Mapbox maps. Mapbox already has the vector tile sources available and some general styles for you to start from.The data behind this is Open Street Map data.
Styles and click on New Style
On the right you see the general settings of your map.
Have a look at the values in the Map position

If you look at Style reference you will find an overview of the tile sources used and the data layers available.
Under font and images you find which fonts and icon images are available from Mapbox.
On the left you see the layers in the map wich are added and styled. The icon shows if you are styling a polygon, line, point or label. Here you can change the style per layer or per layer group.
A Tileset is the same as Vector Tile source. This Vector Tile set can contain multiple layers, like roads, landuse, water. These Data Layers in the Vector Tiles contain geometries and attributes.
A Style Layer is a layer that is visualized on your map. We can style data layers multiple times. So one Data Layer can create multiple Style Layers. Like road_fill, road. Or we can simply not style a layer then it won't be visible.
When you finish your style we can move on to the next step, to actually publish your map!
Styles tab and then click on the Share & use of the style you want to publish.
Share & use .
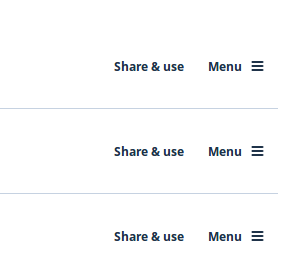
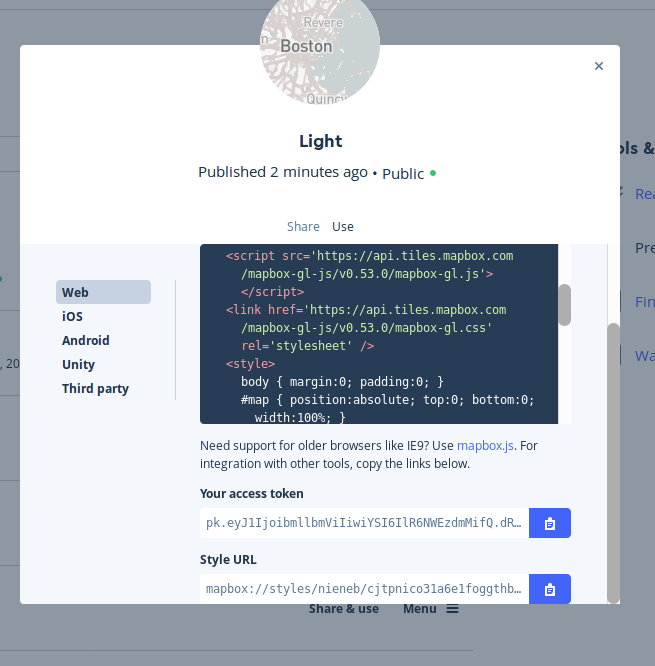
Here we have 2 options to publish and develop your map further.
The section Share gives you a url with a full working map. All hosted by Mapbox.
My map url:
https://api.mapbox.com/styles/v1/nieneb/cjg3h8yp80oi82rldxukpu0oi.html?fresh=true&title=true&access_token=<AccesToken>
At the section Use there are 2 lines of code which we will be using in the next step when we set up our own map with the Mapbox-GL.js library.
- Your Access token
- Style Url
➡️ Let's go to step 1 to set-up our own web map in MapboxGL js part 1!