Grid
Grid is a powerful way to arrange elements on the canvas. Chitra provides an easy way to define and access grids.
//   COLS  ROWS
grid(3,    2);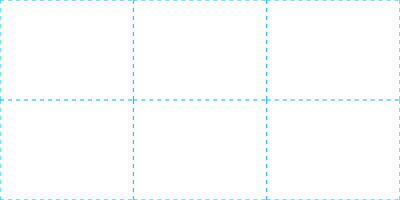
(Source)
Chitra supports creating any number of grids by giving a unique name. Specify the name in all the grid commands.
grid("g2", 3, 2);// COLS ROWS GAP
grid(3, 2, gap: 20);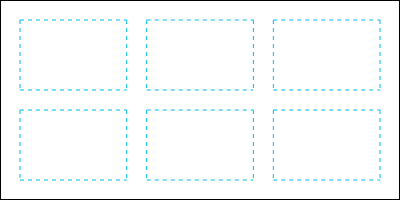
(Source)
//   COLS  ROWS  GAP
grid(3,    2,    gap: 20);
// X Y W H
gridSize(130, 130, 240, 240); // Creates grid within this box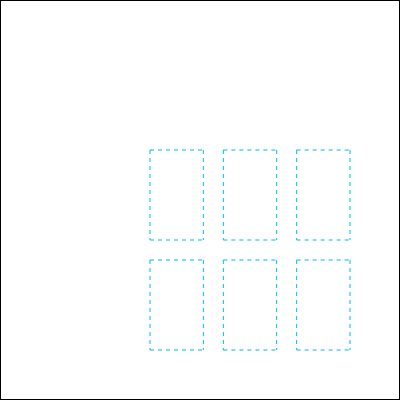
(Source)
Any grid cell can be accessed by its number. Grid cell numbering starts from the top left. Once each row is complete, the next cell is counted from left to right.
Grid cell or area can be accessed using the gridCell or gridArea commands. Both these commands return the Box object with x, y, width and height properties.
//   COLS  ROWS  GAP
grid(3,    2,    gap: 20);
fill("gold");
auto box = gridCell(2);
rect(box); // Same as rect(box.x, box.y, box.width, box.height);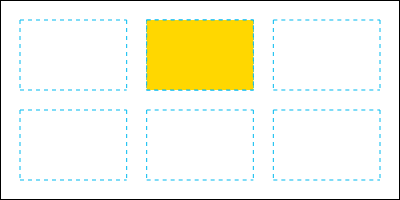
(Source)
//   COLS  ROWS  GAP
grid(4,    4,    gap: 20);
fill("gold");
auto box = gridArea(7, 12);
rect(box); // Same as rect(box.x, box.y, box.width, box.height);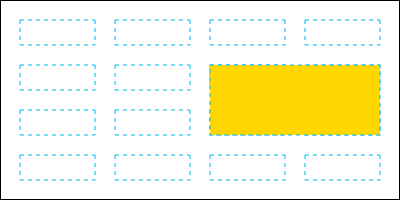
(Source)
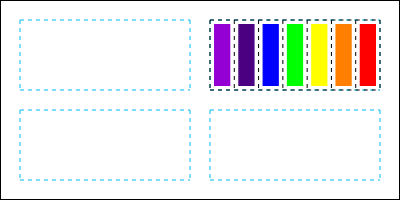
grid(2, 2, gap: 20);
auto box2 = gridCell(2);

grid("sub", 7, 1);
gridSize("sub", box2.x, box2.y, box2.width, box2.height);

auto colors = [
    "#9400D3",   // Violet
    "#4B0082",   // Indigo
    "#0000FF",   // Blue
    "#00FF00",   // Green
    "#FFFF00",   // Yellow
    "#FF7F00",   // Orange
    "#FF0000"    // Red
];

foreach(i; 0 .. 7)
{
    fill(colors[i]);
    rect(gridCell("sub", i + 1));
}
(Source)
For draft work, outlines are often needed. Show the grid outlines using the gridOutlines command.
// First Grid
grid(3, 2, gap: 20);
//       X  Y  W          H
gridSize(0, 0, width / 2, height);

// Second Grid
grid("g2", 3, 2, gap: 20);
//       NAME  X          Y  W          H
gridSize("g2", width / 2, 0, width / 2, height);

// Grid Outline Color
stroke("#00B9F0");

// Solid outline for the first grid
gridOutlines;

// Dashed outline for the second grid
lineDash(4);
gridOutlines("g2");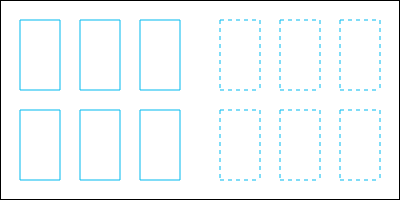
(Source)
