Repository navigation
Upgrading the Software
Keeping the radio current means updating both components when needed:
- the Pi application (rebuilt from the repository), and
- the front‑panel firmware (a new
.uf2), if the new Pi release requires a newer panel version.
Always read the project's release notes (release_notes.md in the repository) for the version you're moving to. Each entry tells you the minimum front‑panel firmware required — that's the single most important thing to check.
At the bottom of most release notes you'll see a line like:
Requires front panel firmware v5.11f or higher
If the release you're installing needs a newer panel firmware than you have, you must flash the Pico too, or you'll see mismatched behavior (missing menu items, blank Setup fields, controls that don't respond).
Check your current versions any time under Menu → SETUP on the front panel.
The install ships with an update helper script that pulls the latest code and rebuilds everything. From a terminal on the Pi:
cd $HOME/sbitx
./update
You can also use the Update Manager app inside the zBitx Toolbox.
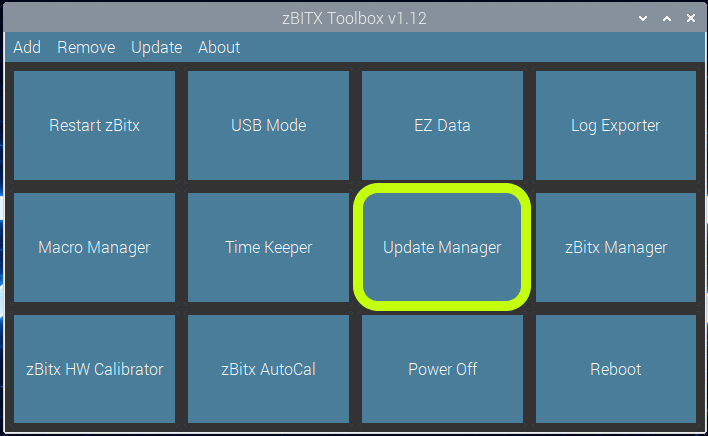
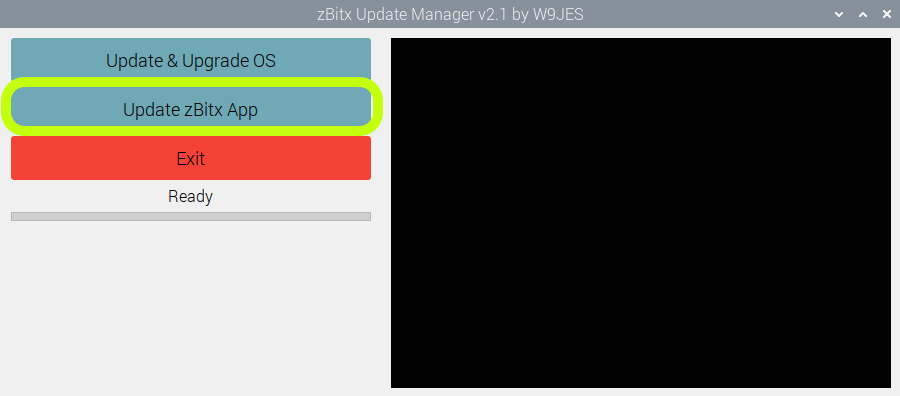
Under the hood this:
- Stashes any local changes so they don't block the update,
- Pulls the latest code from the repository,
- Rebuilds the FT8 library and then the main application,
- Prints a success message when done.
When it finishes, restart the software (or reboot the Pi) so the new build takes effect.
Prefer to do it by hand? The equivalent manual steps are:
cd $HOME/sbitx
git pull
make clean && make
The update script stops at the first error and shows which command failed. The most common causes are:
- No internet — the Pi can't reach the repository. Connect to WiFi first.
- Local edits conflict — if you've modified files yourself, the stash/pull can conflict. Back up your changes and resolve them, or start from a clean clone.
- Out of disk space — a full SD card can fail the build. Free some space and retry.
Only needed when the new Pi release requires a newer panel version (or a release note lists a panel‑side fix you want).
- Download the new
.uf2from the front‑panel repository'sbuildfolder or Releases. - Put the Pico into bootloader mode (hold BOOTSEL while connecting/powering it — it appears as the
RPI-RP2USB drive). - Drag the
.uf2onto that drive. The Pico reboots into the new firmware.
Full details are on the Installation & Flashing page.
- Read the release notes for the target version and note the required panel firmware.
-
Back up your
dataandwebfolders if you're doing anything unusual (a normal./updatepreserves them, but backups are cheap insurance). -
Update the Pi software with
./update. - Flash the panel firmware if the release requires a newer version.
- Reboot and confirm both versions under Menu → SETUP.
- Spot‑check: receive on a band, open the web interface, and verify your callsign/frequency came back.
Your callsign, grid, passkey, last frequency, and band‑stack memories are stored on the Pi and should carry across an upgrade untouched. After rebooting:
- Confirm your callsign and grid are still set (Menu → SETUP).
- Confirm the radio came up on your last frequency and band.
If any of these came up blank or default, see the settings section of Troubleshooting.
Next: Front Panel Operation »