Getting Started
This guide walk you through how to run the 2D6 Dungeon App companion application on your local machine using Docker. By the end of this guide, you will have the app up, a running local database, and your first adventure initialized!
Before starting, ensure you have the following installed on your system:
- Docker Desktop or Docker Engine
- Docker Compose
- Git (to clone the repository)
Clone the repository to your local machine and navigate into the project directory:
git clone https://github.com/fboucher/2d6-dungeon-app.git
cd 2d6-dungeon-appThe application uses an environment file to manage database credentials and port configurations. Copy the provided .env.example file to create a .env file:
cp .env.example .envOpen the .env file in your preferred text editor and customize the values as needed. Here is a standard development setup:
# Docker Hub namespace (username or org)
DOCKERHUB_NAMESPACE=fboucher
# Image tag to pull with compose; usually matches the git tag that published the images
IMAGE_TAG=latest

# Database settings
MYSQL_ROOT_PASSWORD=localdev123
MYSQL_DATABASE=db2d6
MYSQL_PORT=3306

# Data API Builder
DAB_PORT=5000

# Web app
WEBAPP_PORT=8080
ASPNETCORE_ENVIRONMENT=ProductionStart all 3 services (MySQL Database, Data API Builder, and Blazor Web App) in detached background mode:
docker compose up -dYou can verify that all 3 containers are healthy and running by executing:
docker compose psYou should see three running services:
-
2d6-dungeon-database-1(MySQL DB) -
2d6-dungeon-dab-1(Azure Data API Builder backend) -
2d6-dungeon-webapp-1(Blazor Web App front-end)
Open your favorite web browser and navigate to: 👉 http://localhost:8080
Once loaded, you should see the Welcome Home Page!
To start your journey:
- On the home page, click the prominent blue
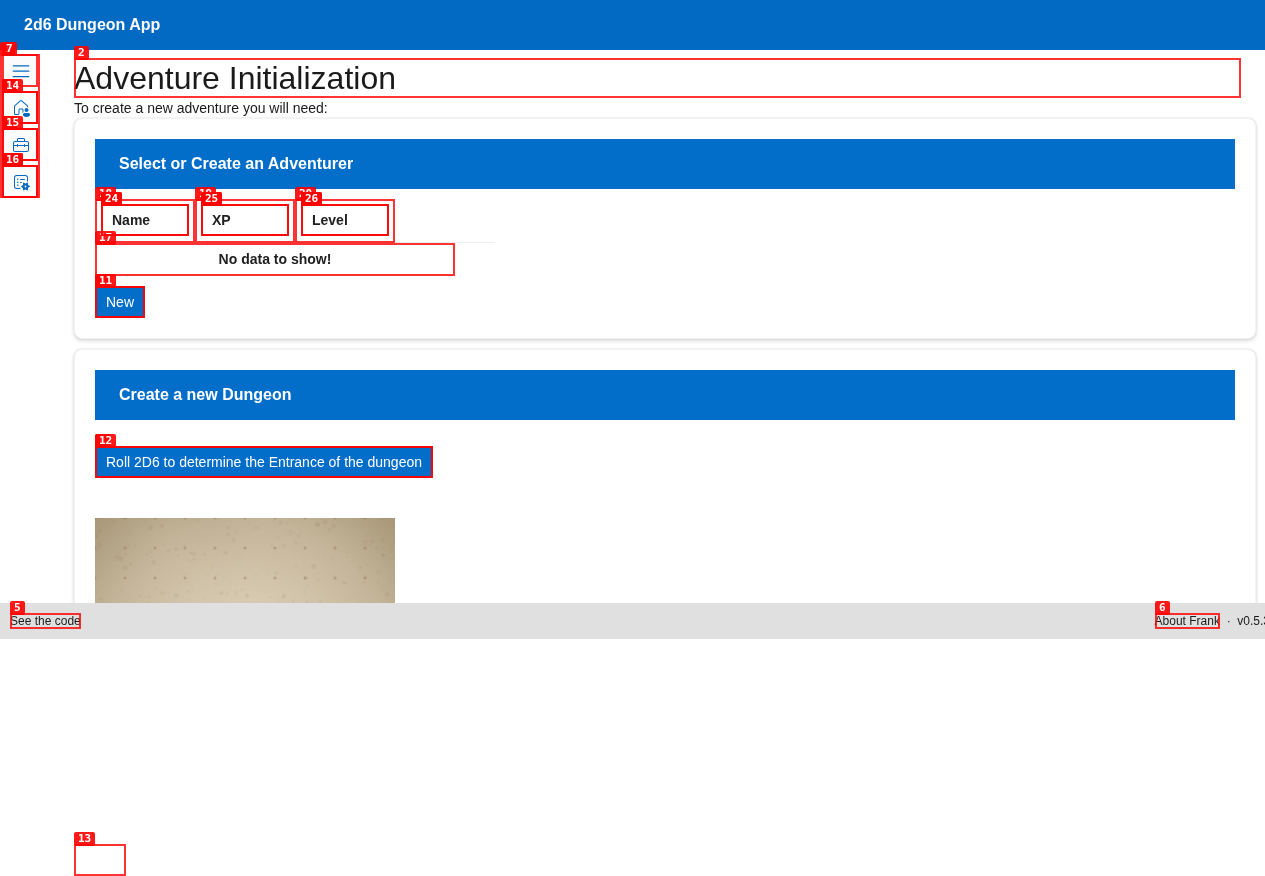
+ Create a new adventurebutton. - You will be redirected to the Adventure Initialization screen:
-
Select or Create an Adventurer:
- In the "Select or Create an Adventurer" card, you'll see a list of your existing characters.
- If you're playing for the first time, click
Newto build your first adventurer. (See Creating Your Adventurer for a detailed walkthrough).
-
Roll for the Dungeon Entrance:
- Once your adventurer is selected, roll 2D6 to determine the size and layout of the dungeon's Entrance.
- Click
Roll 2D6 to determine the Entrance of the dungeon. - The app will automatically roll and render the entrance grid on the screen's canvas!
-
Embark!
- Click the green
Startbutton to finalize creation and enter the dungeon!
- Click the green
When you are done playing, you can safely shut down the containers to free up system resources:
docker compose downYour campaign data is stored in a Docker volume, so your adventurers and map progress will be fully saved for your next session!