Batches and Fermentation
A batch is one brew of mead, tracked from must to bottle.
Start a batch from:
- a built-in recipe (scaled to your volume),
- the Recipe Designer,
- one of your own custom recipes, or
- a planned batch you deploy from the Brew Planner.
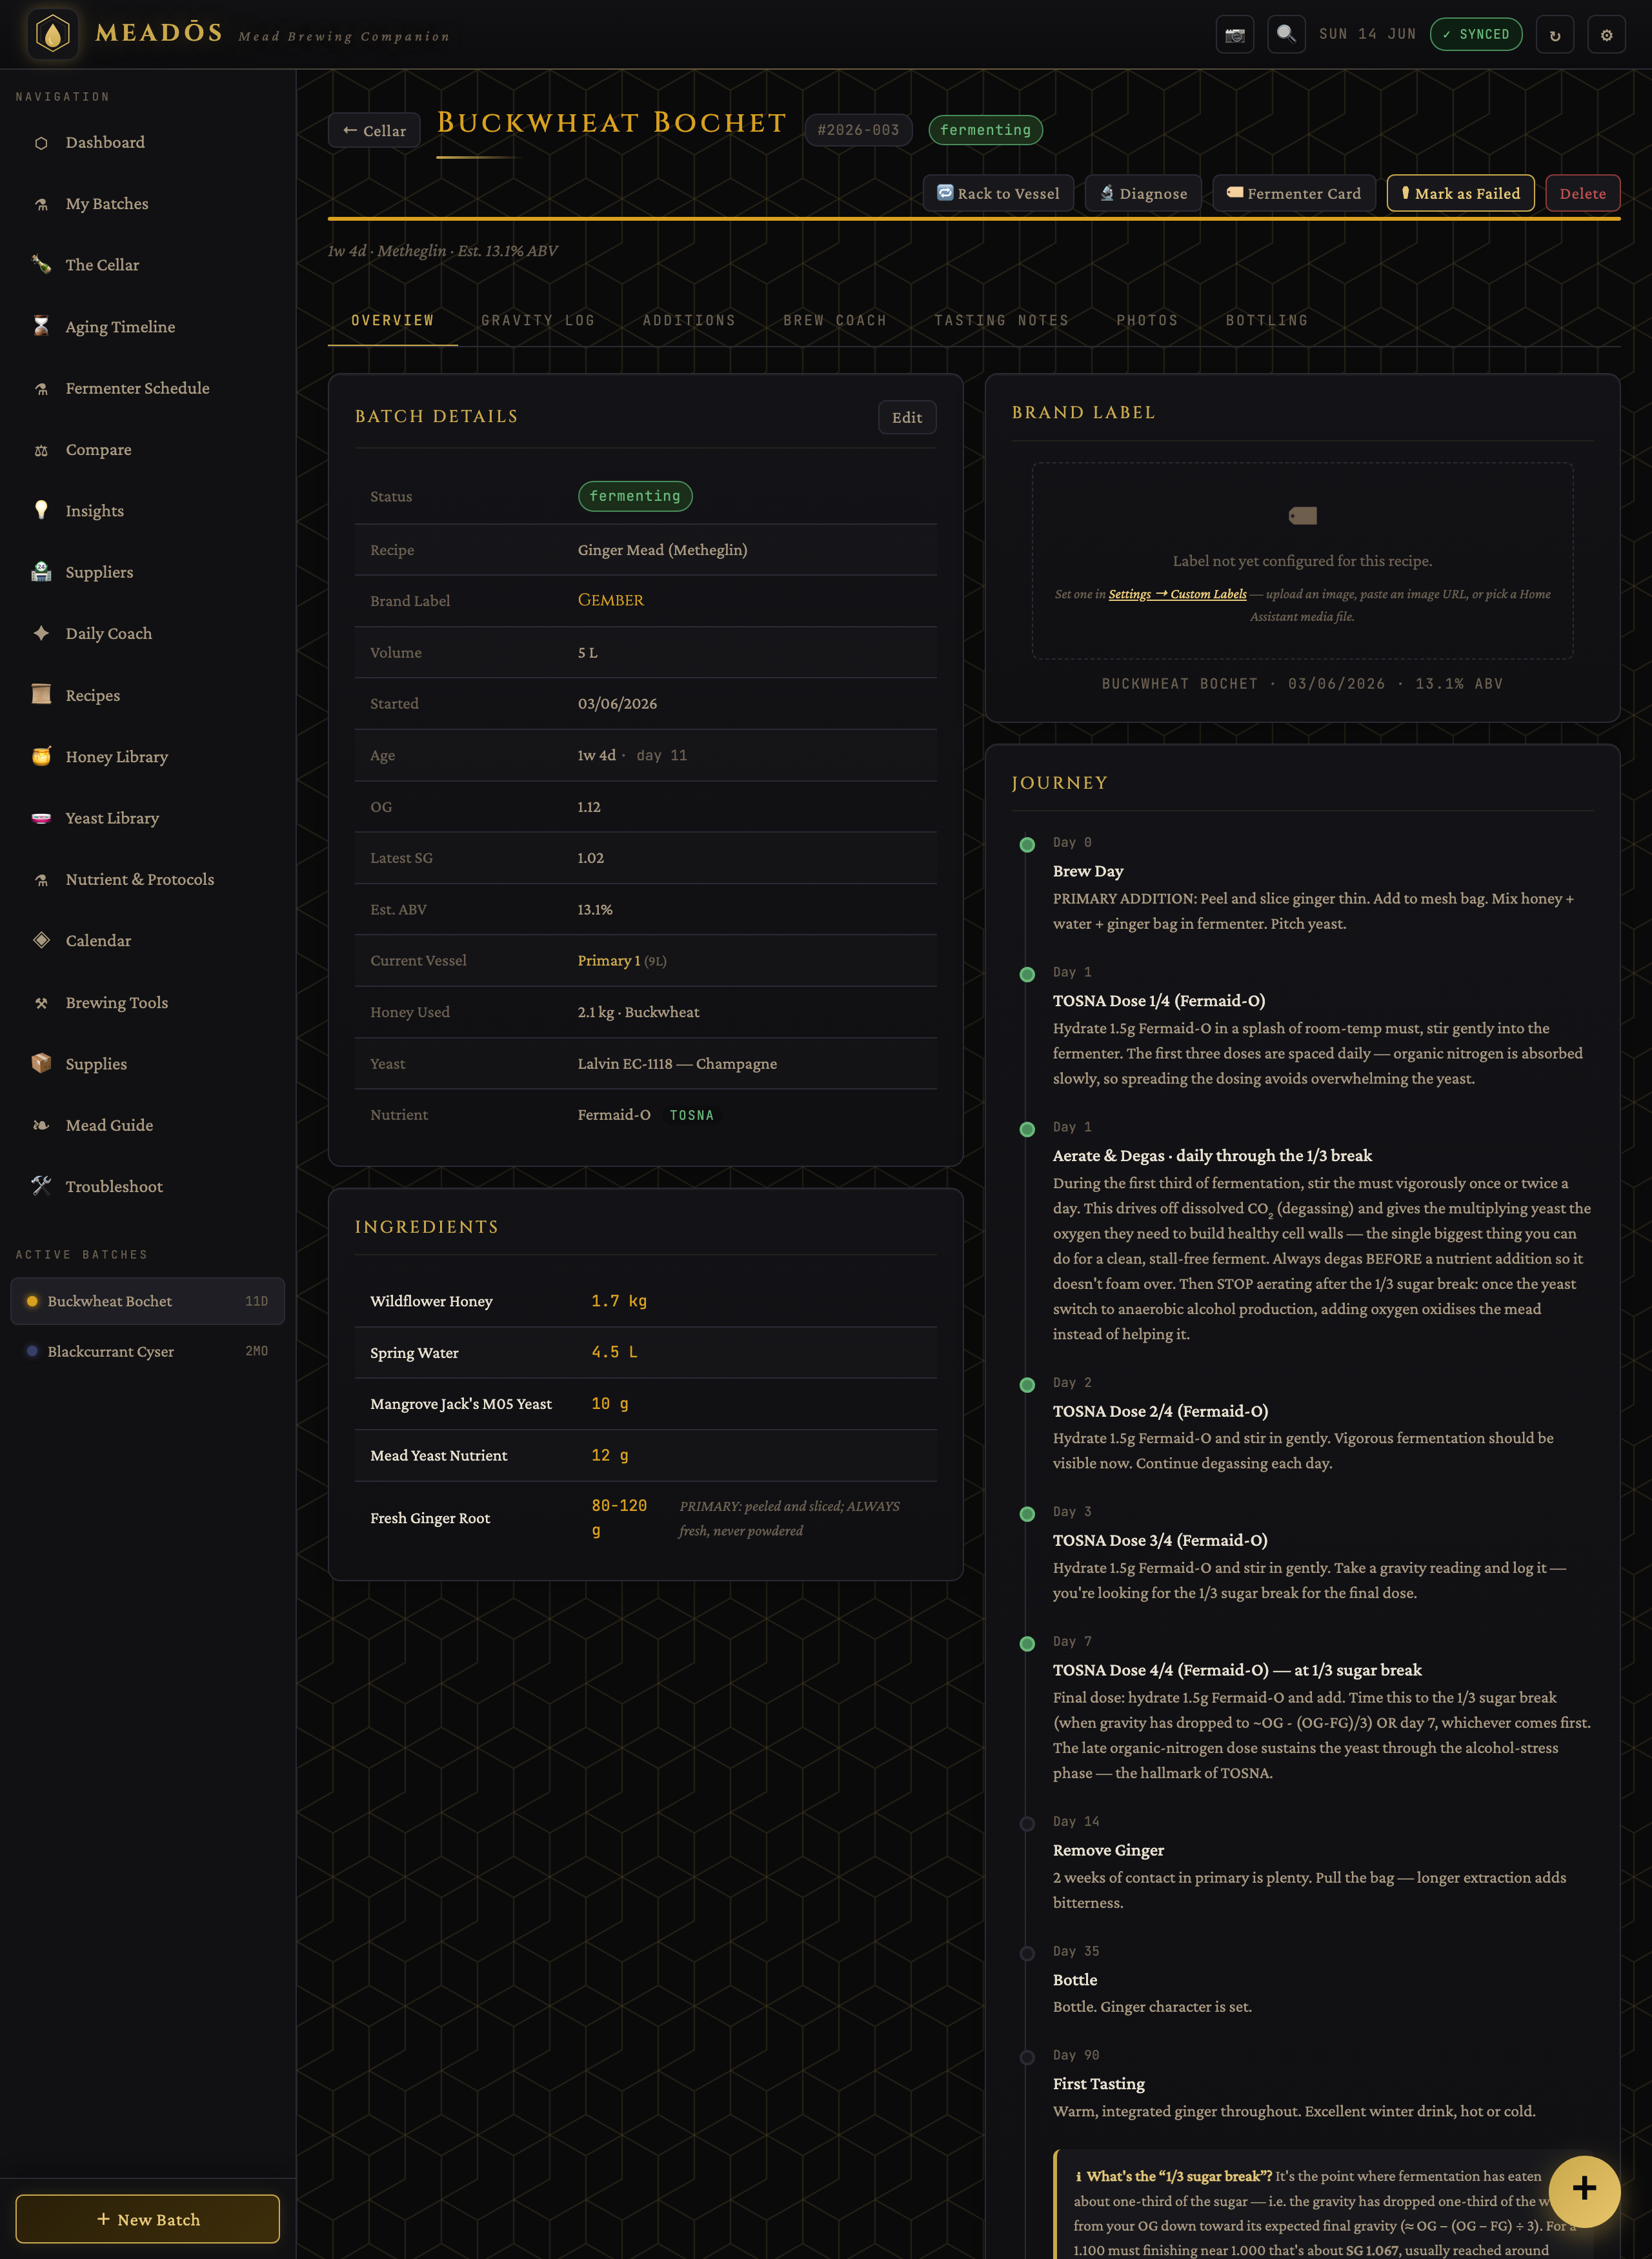
When you create it, MeadOS captures the ingredients, volume, OG/FG targets, yeast and nutrient plan, and assigns a fermenter. The batch then appears in My Batches, on the Dashboard, and on the Fermenter Schedule.
Whenever you take a hydrometer or refractometer reading, log it on the batch. MeadOS records the specific gravity (and optionally temperature) and updates:
- Attenuation — how far the sugar has dropped
- Estimated ABV — calculated from OG and the current gravity
- The chart — see below
Refractometer in hand? Use the SG ↔ Brix and hydrometer temperature correction tools (see Brewing Tools) to get an accurate number before logging.
Each batch has a combined chart showing gravity falling and projected alcohol rising on one view, with a dashed projection toward the expected final gravity. It makes the shape of a healthy ferment obvious — and an unhealthy one too.
A batch moves through fermenting → conditioning → aging → bottled based on the brew-coach steps you actually complete and the real gravity trend — not a fixed calendar. It won't jump to "aging" if you haven't recorded a racking. If the gravity goes flat earlier than expected, MeadOS raises a "fermentation may have stopped" flag.
If a ferment stalls, the diagnosis reads your actual logged data — the gravity history and the nutrient additions you recorded — and suggests likely causes and next steps (under-pitching, nutrient timing, temperature, high gravity, etc.) rather than generic advice.
The timeline injects the aeration/degassing guidance every primary ferment needs — stir to drive off CO₂ and oxygenate during the first third of fermentation, then stop once the yeast switch to anaerobic alcohol production. Recipes that reference the "1/3 sugar break" include an explainer: it's the point where the gravity has dropped about a third of the way from OG toward its expected FG, and it's when all nitrogen should already be in and when you stop aerating.
When fermentation is genuinely done (a stable gravity across two readings), the steps cover racking off the lees, optional stabilising — potassium sorbate and metabisulfite together, because either alone won't reliably stop a restart — and backsweetening to taste. The Brewing Tools include calculators for stabilisation doses and backsweetening.
The guided bottling workflow walks you through:
- pre-flight checks,
- the final gravity reading,
- a sanitiser contact timer,
- per-size bottle counts (how many of each bottle size you'll fill),
- label preview and printing,
- saving the bottling record.
Bottled batches move to The Cellar with a drinking window.
- Photo journal — a per-batch diary (brew day → fermentation → racking → bottling → tasting) with captions, stage tags and a full-screen lightbox. Images are stored as files on the server so they don't bloat the app.
- Tasting & BJCP scoring — free-text notes, a 1–5 tasting wheel, and an optional formal BJCP scoresheet (aroma / appearance / flavour / mouthfeel / overall → weighted total and descriptor band). Tastings chart a batch's evolution over its life.
- Compare — a grouped, side-by-side view of multiple batches with differences highlighted.
- CSV export — batches and their gravity logs, for spreadsheets or analysis.
- The Cellar — where bottles live and age
- Brewing Tools — the calculators behind the readings
- Troubleshooting — stuck ferments and off-flavours