First steps
Manual › Getting started · also on phprs.eu
After your first sign-in, the First steps guide is waiting for you on the Dashboard. It has five items; each one leads straight to the right screen and is ticked off once completed. When you no longer need it, the Hide button makes it disappear.
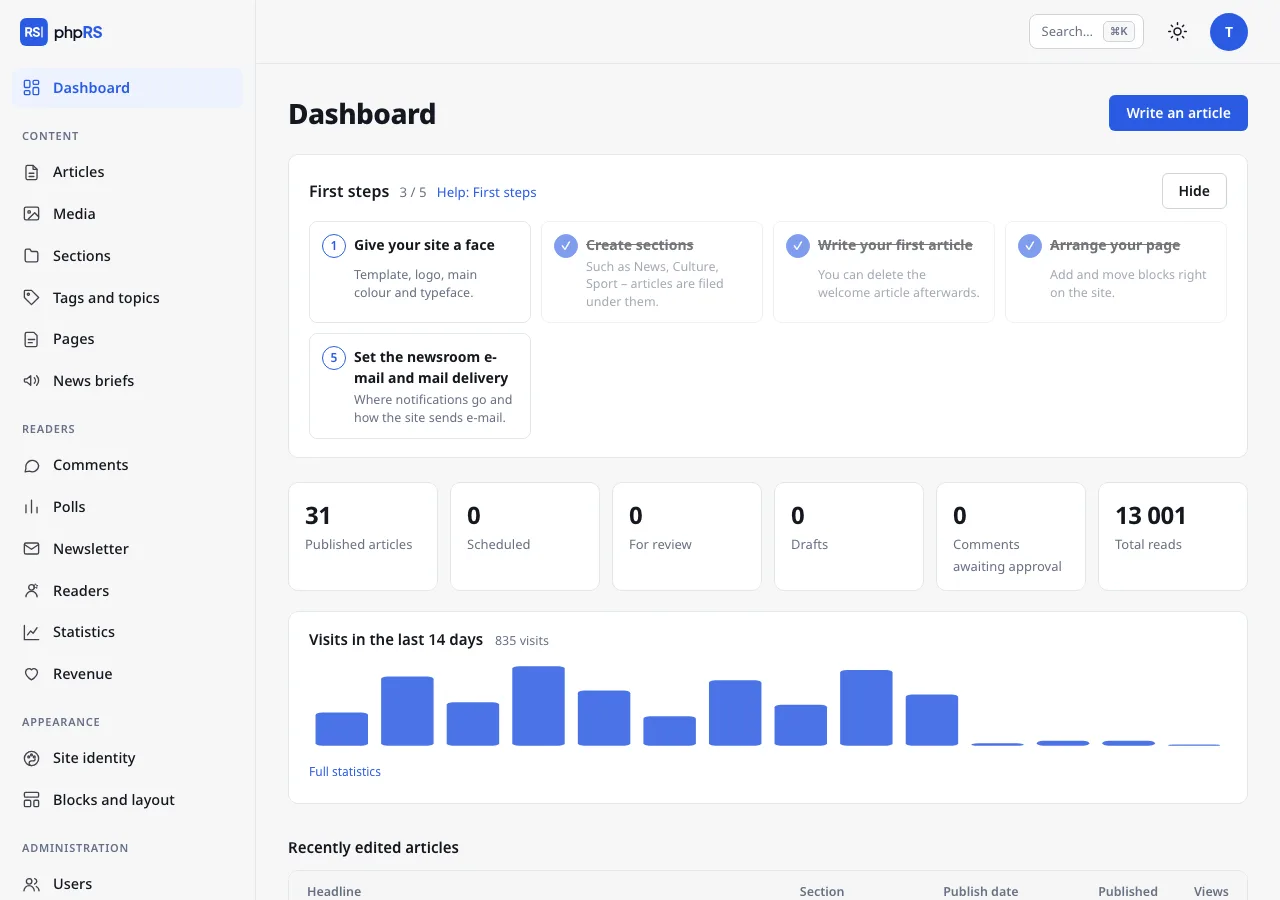
Appearance → Site identity. Choose a template, upload a logo and a site icon, and pick the primary colour and the typefaces for headlines and text. You see the changes immediately in the preview. You turn on dark mode for readers in the same place – the site then follows the setting of their device.
Content → Sections. Every article belongs to exactly one section; an article cannot be saved without one. The installation created the section News (with sample content, the five sections of a fictional daily); rename it and add more. Sections can have subsections. Their order in the navigation is set by the Order field.
Content → Articles → New article. A headline, lead paragraph, text and section are enough. In the right column, in the Publishing section, you choose the Status:
- Draft – an article in progress, visible only to the newsroom,
- For review – done, please check,
- Approved – waiting to be published – checked, waiting for its time,
- Published – the article is on the site; with a date in the future it is published automatically at that time.
An author who may not publish on their own has only the first two options.
You can delete the welcome article created by the installation. If you loaded the sample content during installation, delete all of it at once in Settings → General → Sample content – your own articles and sections stay.
Appearance → Blocks and layout. Your site opens in editing mode. You add blocks – a list of sections, most read articles, search, custom text and others – with the + Add block button right where they should be, and you drag them with the mouse. At the top you choose the layout: three columns, two, one or full width.
Check the newsroom e-mail in Settings → General (the Newsroom e-mail field), the sending method in Settings → Mail. The checklist item is ticked off when the newsroom e-mail is filled in and SMTP or the Sender address is set. The site sends newsletter subscription confirmations, reader registrations, new passwords and notifications to the newsroom. The default sending through the hosting server works, but messages often end up in spam. A custom SMTP server is more reliable – see the chapter Operations → Mail for details.
- Two-factor sign-in for all administrators (My account).
- Settings → System status – go through the items with an exclamation mark. Each one says what is wrong and where to fix it.
- Off-site backups (Settings → Backups and updates) – a backup on the same server as the site will not help if you lose the hosting.
- More people in the newsroom – Administration → Users. An author writes and submits for review, an editor publishes, an administrator manages the whole site.
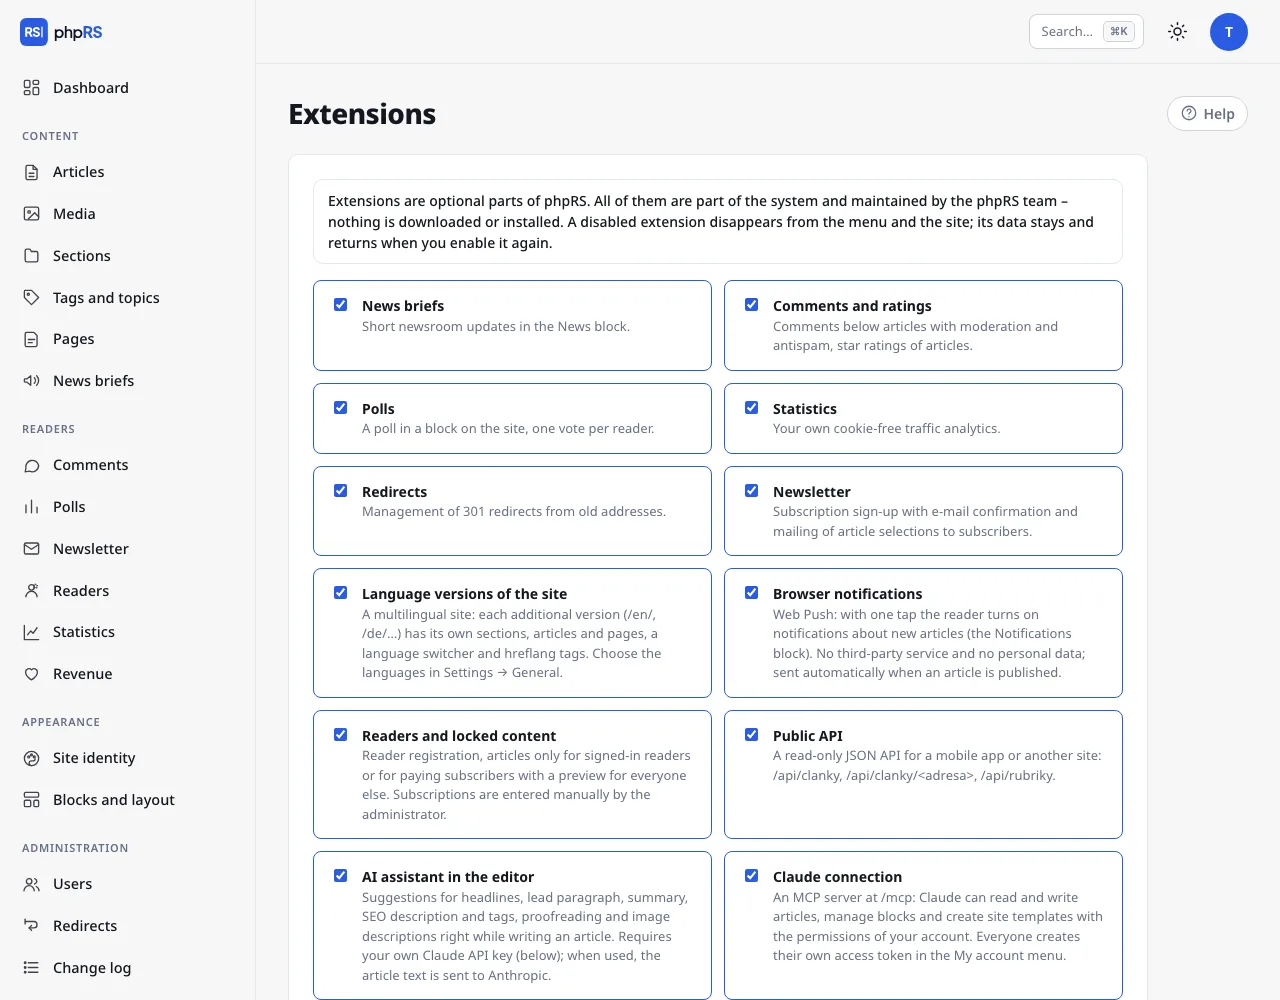
Many features are turned off after installation so that the administration stays uncluttered: news briefs, polls, newsletter, reader accounts and locked content, Web Push, language versions, the advertising system, the public API, the AI assistant and the Claude connection. You turn them on in Administration → Extensions. Turning an extension off does not delete any data – when you turn it on again, everything is where it was.
The keyboard shortcut Ctrl+K (⌘K on a Mac) opens the command palette: type the name of a section, action or article and press Enter. It also works without accents.
← Installation · Manual contents · Updates →
Generated from docs/prirucka/en/zaciname/prvni-kroky.md for phpRS 3.0.0. Edit the source file, not this page.