Mac
This guide explains step by step how to program your M5Stack with the ESPTool utility (Arduino not required).
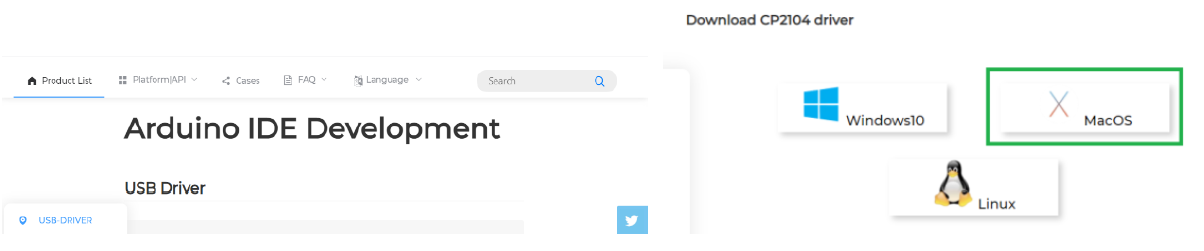
- Go here: https://docs.m5stack.com/#/en/arduino/arduino_development and download the driver.
- Go to of SiLabs https://www.silabs.com/products/development-tools/software/usb-to-uart-bridge-vcp-drivers and choose the version matching your operating system.
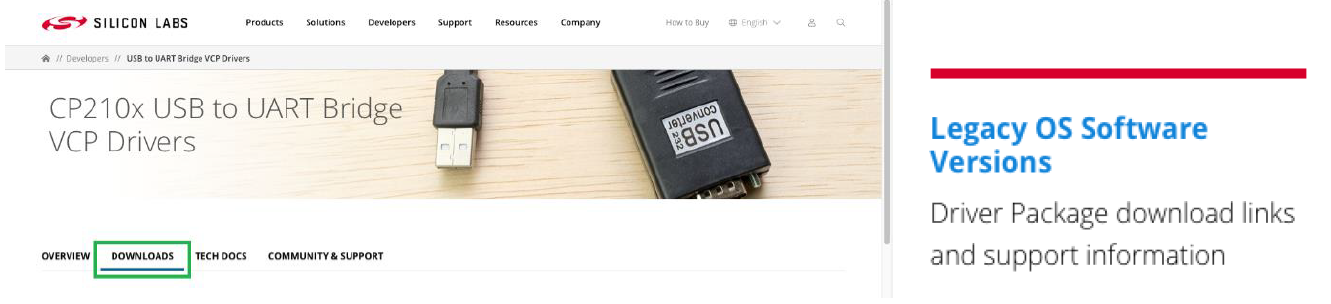
Allow download and open finder to Downloads, folder Mac_OSX_VCP_Driver, double click the SiLabsUSBDriverDisk.dmg. The disk will extract on your desktop. Open it and run the installer.

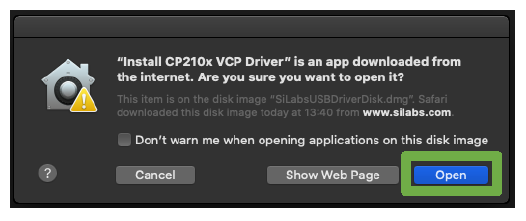
Select Open
Click Continue, Continue, Agree to license…
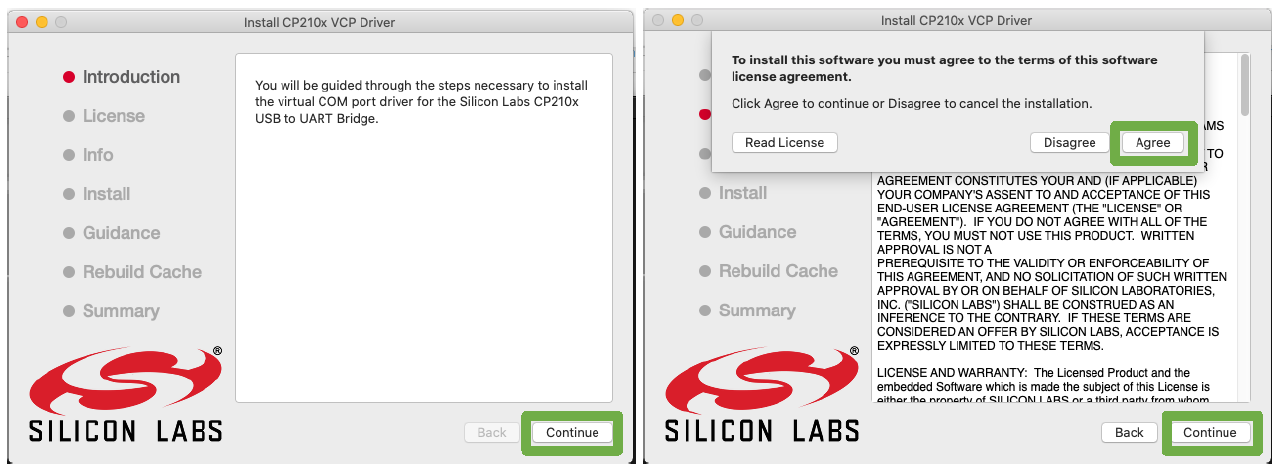
Continue, enter your password, Continue, Open Security Preferences
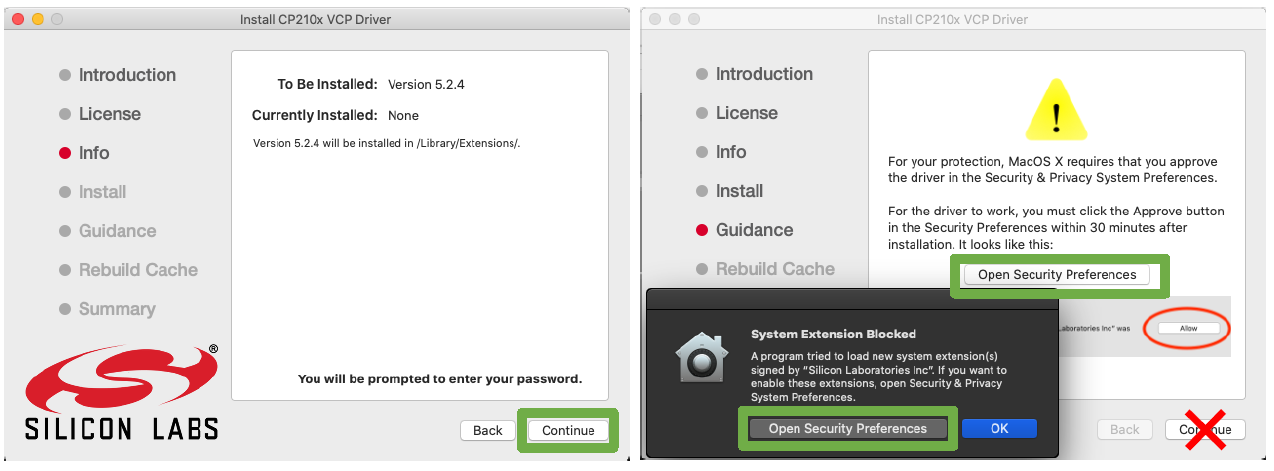
Unlock the panel (enter your password) and allow the driver, close Security & Privacy
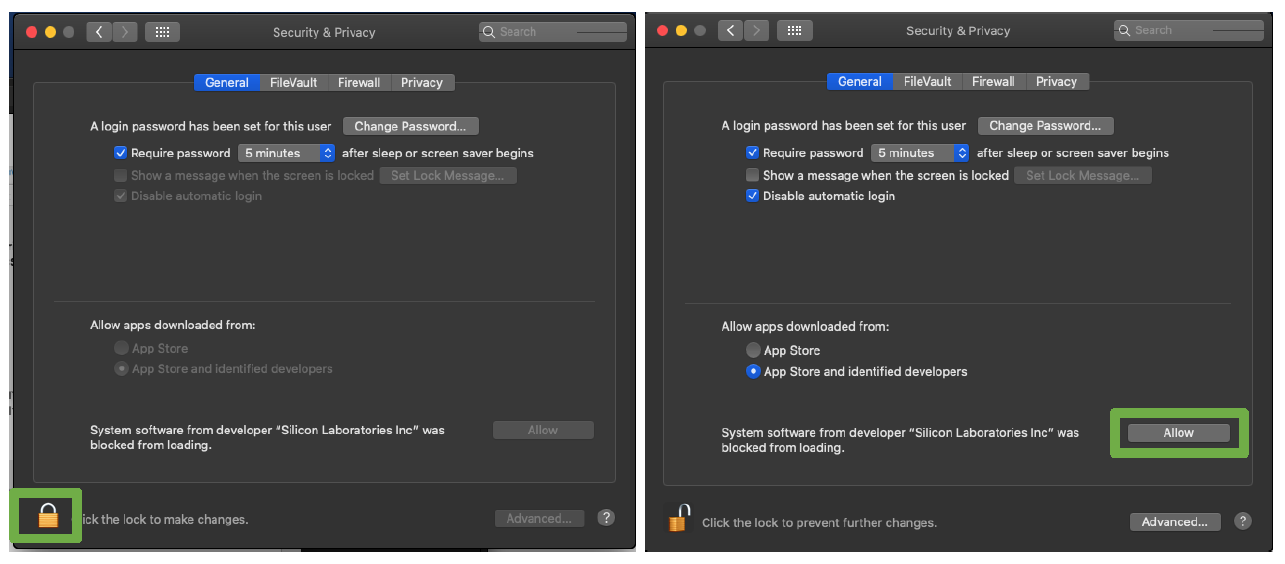
Wait until the install completes and close.
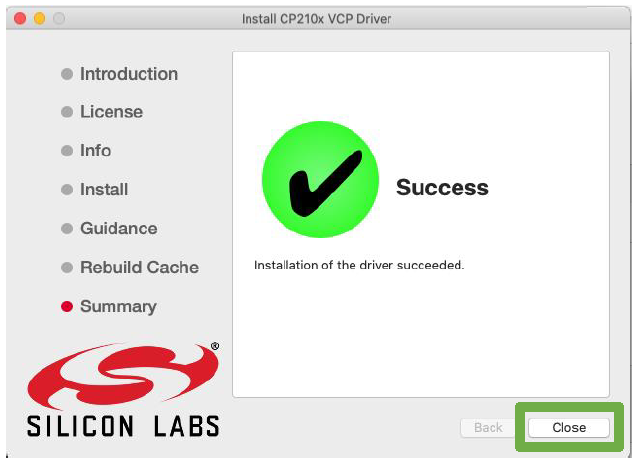
Open a terminal, copy and paste:
/bin/bash -c "$(curl -fsSL https://raw.githubusercontent.com/Homebrew/install/master/install.sh)"
Enter your password when required, press RETURN to continue. It will take some time, be patient.
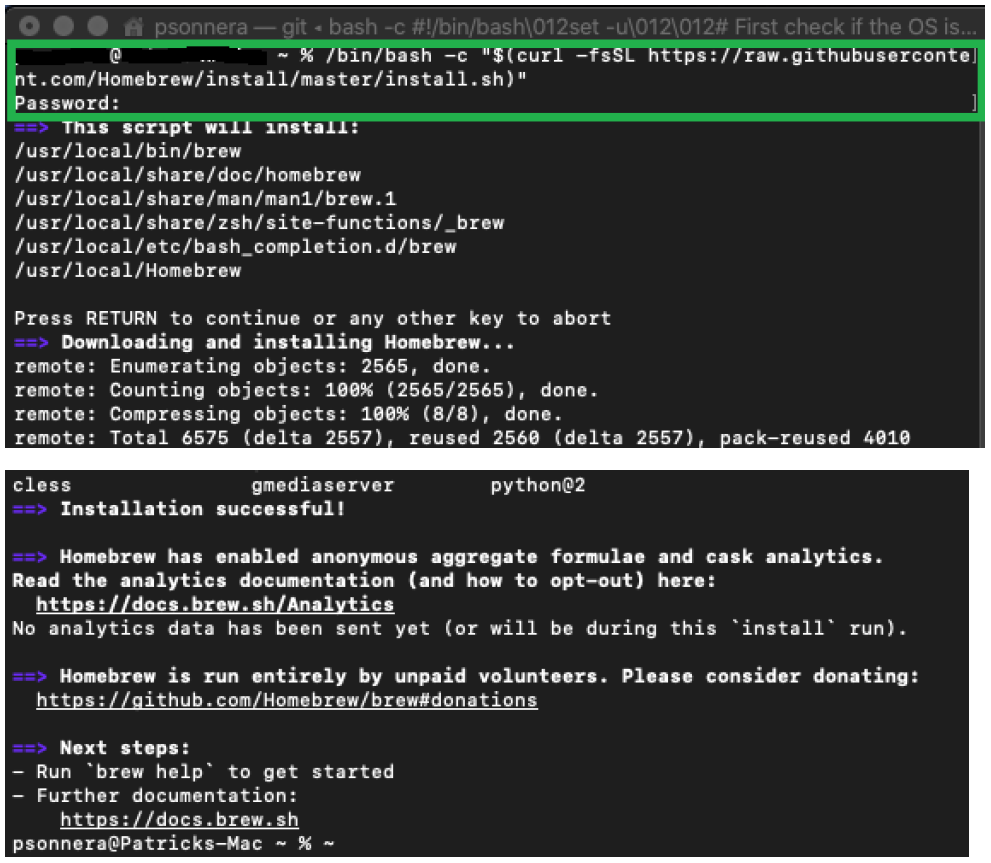
Then enter:
brew install esptool
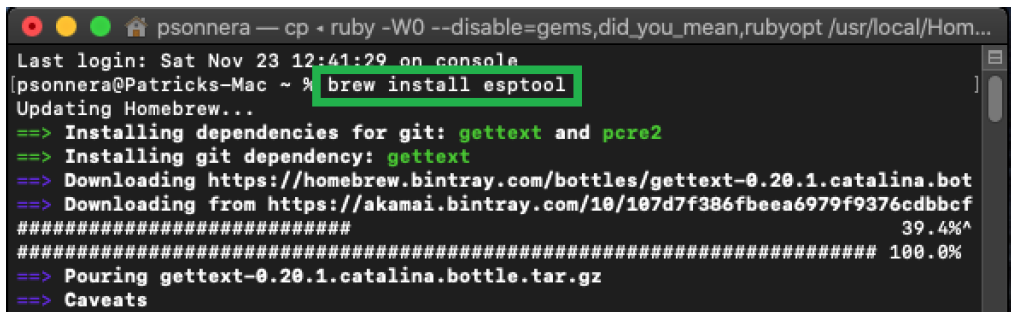
Wait until the command completes.

Connect your M5Stack to an USB plug of your Mac and enter:
esptool.py flash_id
If your device is recognized correctly you will get the path of the serial port:
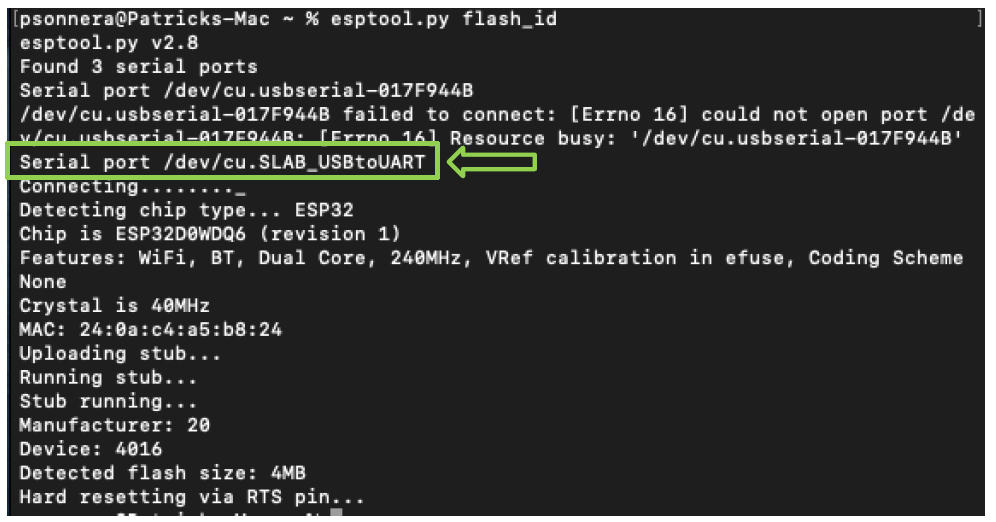
Take note of the port, in this case it is /dev/cu.SLAB_USBtoUART (yours might be different)
Open this link in a new tab https://github.com/mlukasek/M5_NightscoutMon/releases
Select the .zip file matching your device (Core or Core2) and download it: Note: take the latest release and not the one from the example below
Allow downloads on "github.com" if required.
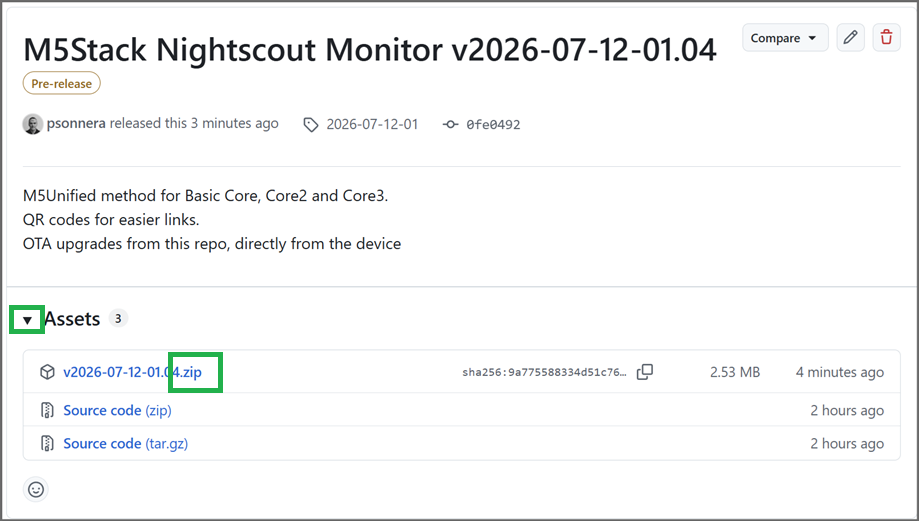
Once completed open your Download folder and navigate to M5_NightscoutMon below firmwares, inside M5Burner_NightscoutMon
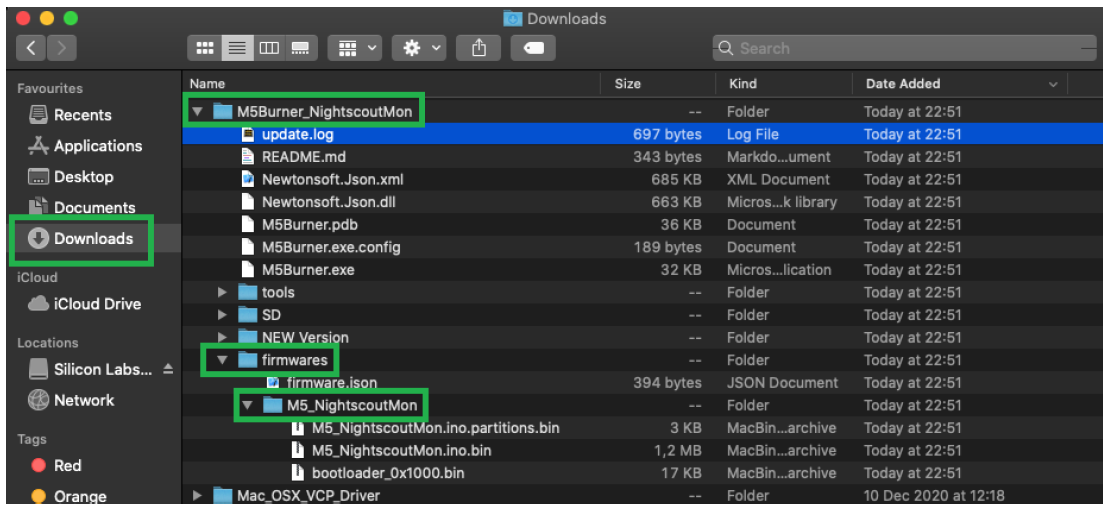
Right click on the folder and select New terminal at folder. A new terminal will open.
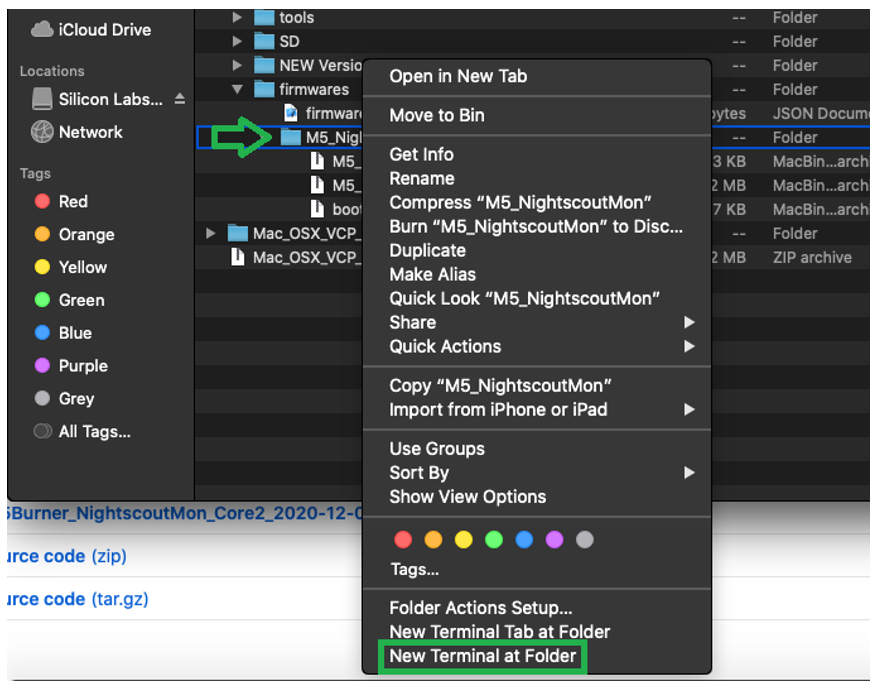
Copy and paste the following command verifying the port is identical to the one you noted before:
esptool.py --chip esp32 --port /dev/cu.SLAB_USBtoUART --baud 921600 --before default_reset --after hard_reset write_flash -z --flash_freq 40m 0x1000 bootloader_0x1000.bin 0x10000 M5_NightscoutMon.ino.bin 0x8000 M5_NightscoutMon.ino.partitions.bin
Wait until the command completes
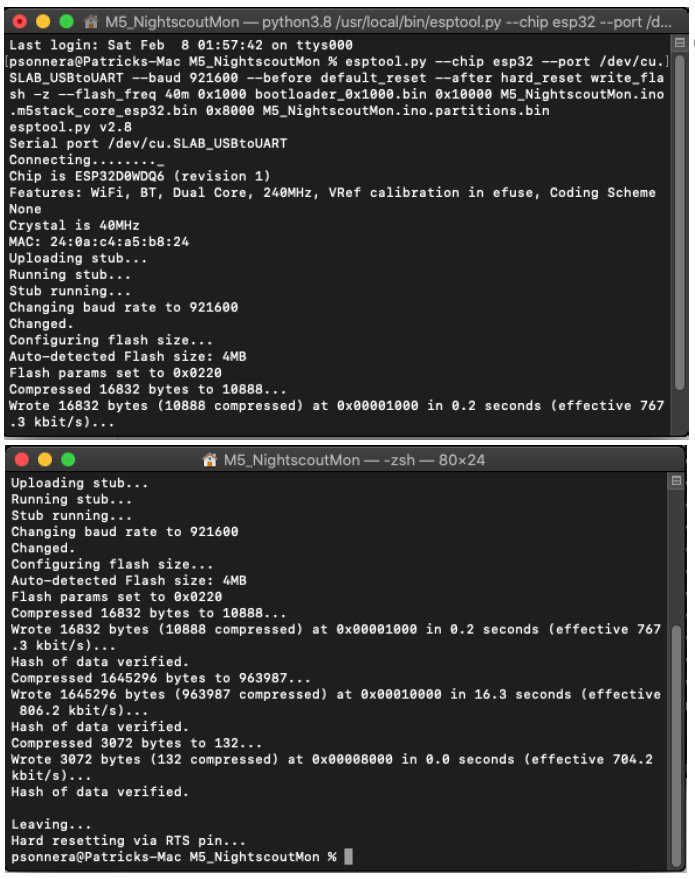
Congratulations, you programmed your M5Stack.
Plug your memory to the Mac either directly or through an adapter and verify it’s formatted FAT32. Copy the two files below to the SD memory.
Note: Don’t copy the folder: just these two files
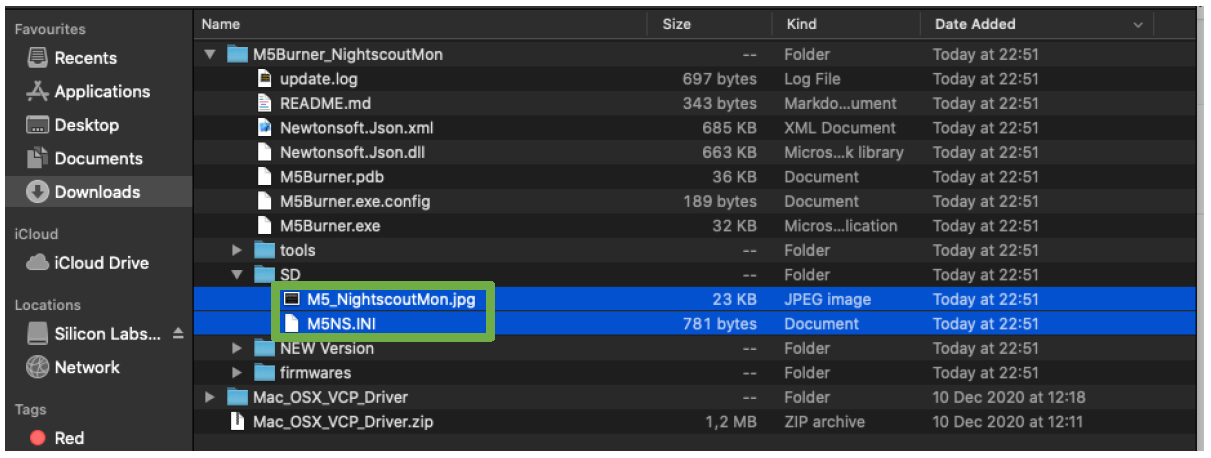
Once you've opened the M5NS.ini with a text editor, add your Nightscout site or Sugarmate json address here.
If your Nightscout site uses https (default) enter the name directly like in the example.
[config]
nightscout = yoursite.herokuapp.com
If your Nightscout site uses http include it:
nightscout = http://yoursite.herokuapp.com
Only if your Nightscout site is secured add the following line:
token = your_security_token
If you're using a Sugarmate json add it like this:
nightscout = sugarmate.io/api/v1/XXXXXX/latest.json
Make sure the local web server is enabled, like this you'll continue the configuration with a browser later.
device_name = M5NS
disable_web_server = 0
Browse down the file to [wlan1]:
[wlan1]
ssid = ssid1
pass = pass1
Replace ssid1 with your Wi-Fi network name.
Replace pass1 with your Wi-Fi network password.
Save the file and exit the text editor.
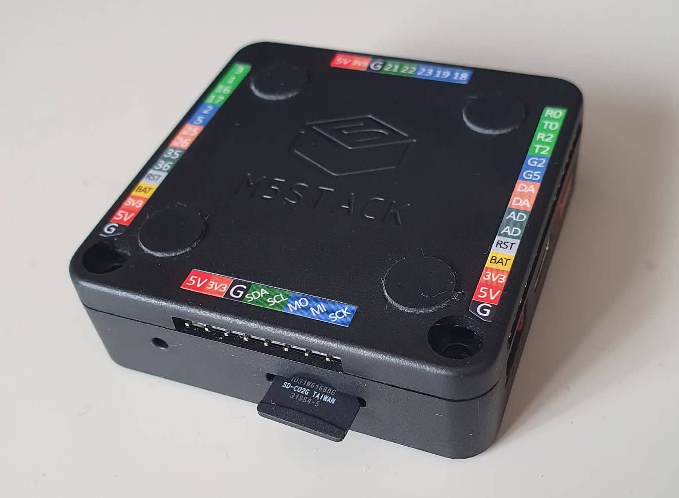
Place the SD card in your M5Stack device. Don't miss the slot else it might fall inside the device and you'll have to open it to recover the memory...
Continue with the setup here.