SimpleHelloWorldTutorial
In this tutorial, we are going to show a very simple usage of mappings and queries. At the beginning, we will create mapping assertions between an ontology and a relational database using -ontopPro- and then do queries using SPARQL and our Quest reasoner. The setting for the data mode is Virtual RDF Graph (previously known as Virtual ABox mode). Quest offers also another data mode: Classic RDF Graph (aka Classic ABox mode) which will be another topic for another tutorial.
This tutorial assumes that you are familiar with Protégé. If not, please check Protégé's website for an introduction. You also need a pre-installed HelloWorld database for the data source. If you have not installed it, see Installing the Tutorial Databases and return here when you've completed the installation.
The HelloWorld database has a very simple structure where it consists of two tables with a small set of data in it.

The dummy data:
Table: person
| pid | full_name |
|---|---|
| ID001 | John Smith |
| ID002 | Mary Smith |
| ID003 | Adam Doe |
Table: says_hello
| pid_1 | pid_2 |
|---|---|
| ID001 | ID002 |
| ID003 | ID002 |
This simple database will be the data source for our ontology-based data access (OBDA) system.
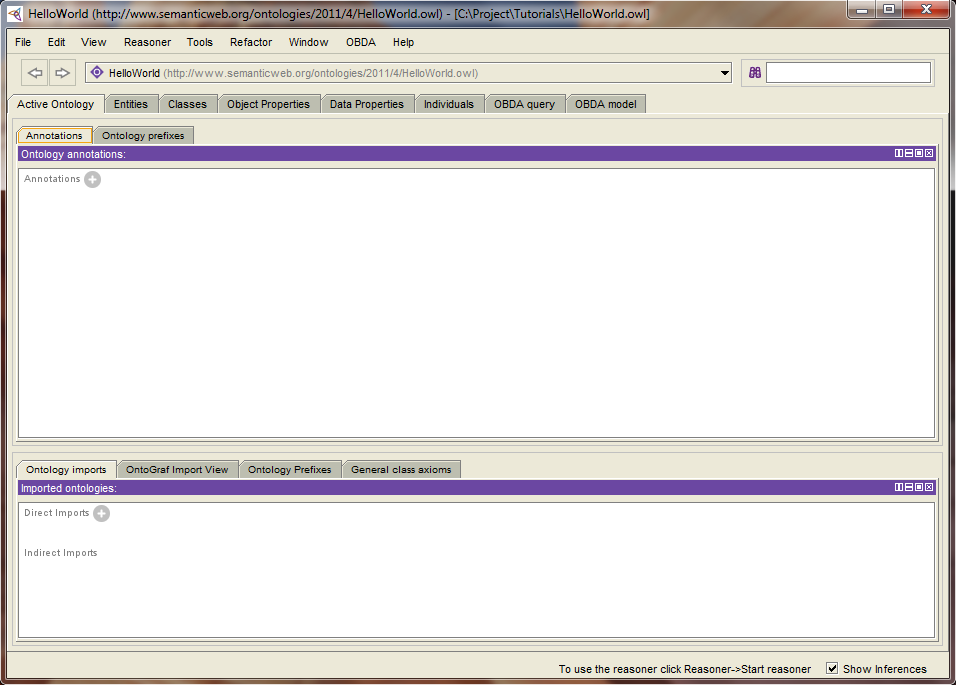
Now we will create a small ontology that will accommodate the database. We are using Protégé 4.1 to construct the ontology. On the splash screen, click "Create new OWL ontology" and leave the default Ontology IRI given by Protégé. Give our ontology a name HelloWorld.owl on the next screen and accept the format as RDF/XML. Click "Finish" and you will get the following open window:
We now start constructing the ontology by defining the Classes , Object properties, and Data properties. First, let's create a Person, class. Go to the "Classes" tab and click on "Add subclass" icon  and type "Person" in the dialog box.

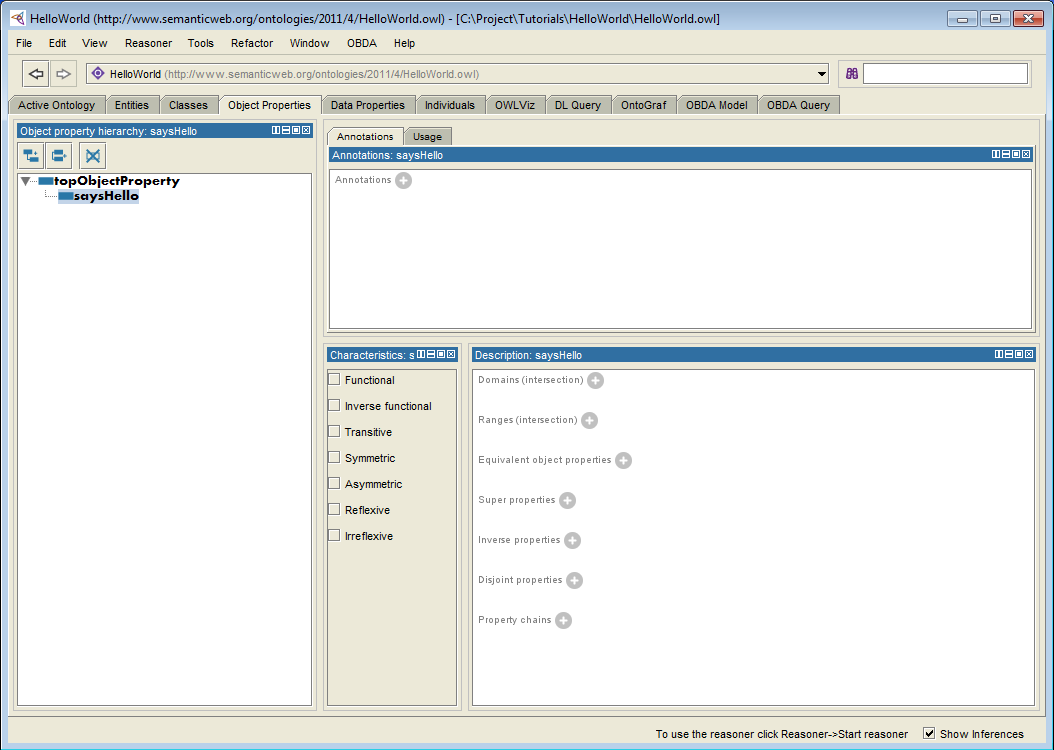
Then create a relation between objects by going to the next tab "Object properties". Click the "Add property" icon  in the dialog box.
Lastly create a class attribute by going again to the next tab "Data properties". Click on "Add property" icon  as our second attribute.

Defining a data source using -ontopPro- works as follows:
- Select the "ontop Mappings" tab.
- Go to "Datasource Manager" sub-tab and click on the "Create New..." button.
- Type "HelloWorld" as the ID for the data source (any name will do).
- Fill in the JDBC connection parameters according to our tutorial database configuration:
- Connection URL: jdbc:h2:tcp://localhost/helloworld;DATABASE_TO_UPPER=FALSE
- Database Username: sa
- Database Password: (blank)
- Driver class: org.h2.Driver

TIP: To become familiar with JDBC Drivers or JDBC connections please read the information we have in the JDBC page.
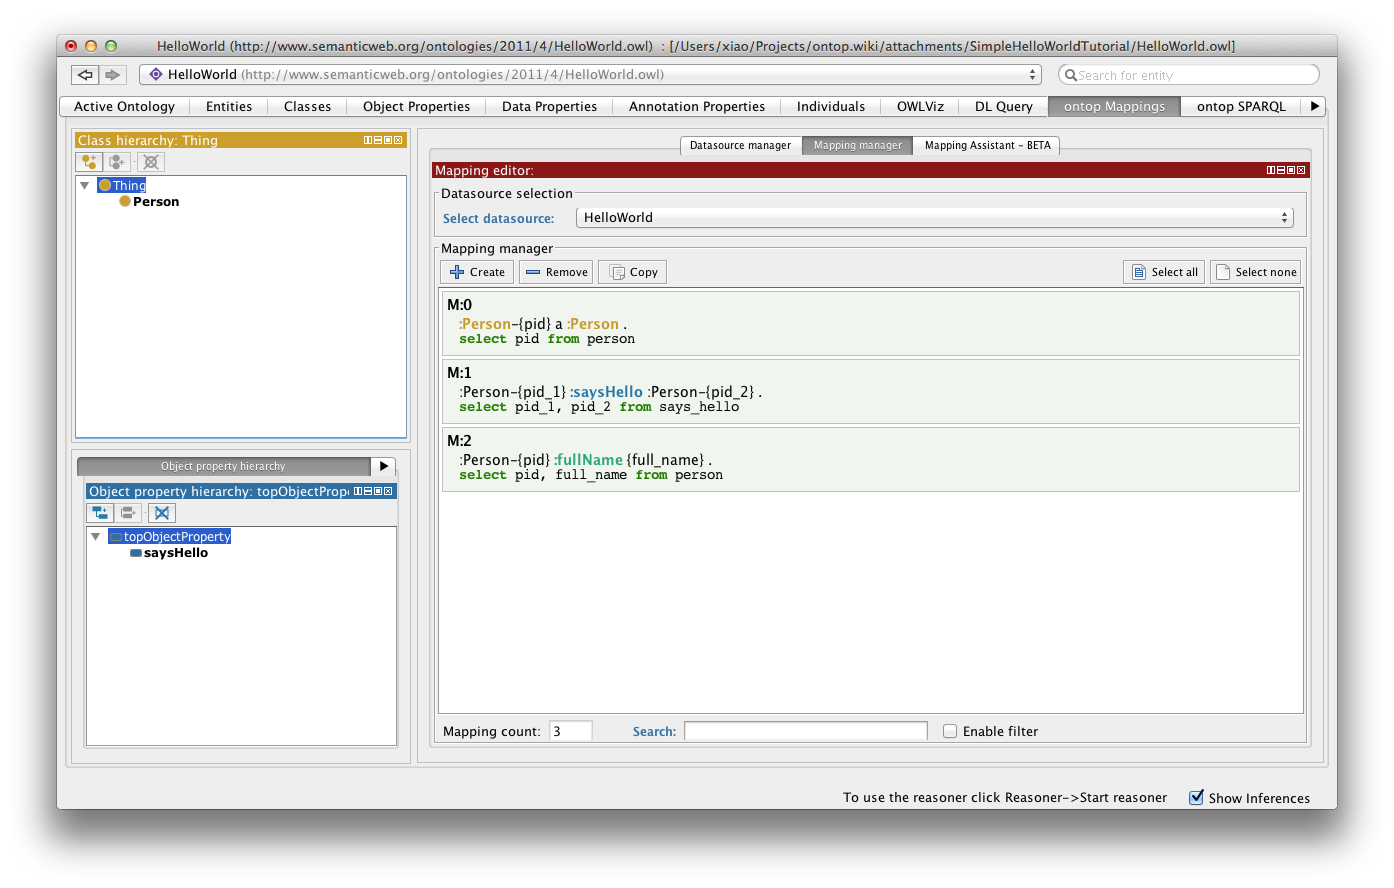
Now we will define the mapping assertions that will tell the reasoner how the data in the data source relates to the classes and properties in the ontology. Creating mappings using -ontopPro- works as follows:
- Still inside the "ontop Mappings" tab, go to the "Mappings Manager" sub-tab and select the data source we just defined.
- Click the "Create" button. This action will launch a new dialog window.
- Type the following triple graph in the Target (Triple Template) field. The string indicates how to construct triples using the data returned by the SQL query. Notice the {pid} variable that refers to the pid column name in the previous SQL query.
:Person-{pid} a :Person .
- Next, type the following SQL query in the Source (SQL Query) field that returns all PID entries from table Person. You can check the returned date by clicking the "Test SQL Query" button (shortcut CTRL+T). Please note that the casing of the query may change from one database engine to another. With H2, the query looks as follows:
SELECT "pid" FROM "person"

Repeat the above steps to create two additional mappings. Note : The table cells below indicate Source (SQL Query) --> Target (Triple Template)
:Person-{pid_1} :saysHello :Person-{pid_2} .
select "pid_1", "pid_2" from "says_hello"
:Person-{pid} :fullName {full_name} .
select "pid", "full_name" from "person"
TIP: You can write any SQL query in the "Source" field including the one that uses WHERE and JOINs clauses. For the "Target" string, the syntax is similar to RDF Turtle. To learn more about -ontop- mappings see our documentation on mappings.
The plugin -ontopPro- uses Quest to answer SPARQL queries over the OBDA model (i.e., all the artifacts: ontology, data source and mapping assertions).
We are going to execute the query using the Virtual RDF Graph mode. Put this setting as follows:
- Open Protégé preferences window: File > Preferences...
- Select "Quest" tab
- On the "Data Configuration" panel, select 'Virtual ABox mode (virtual RDF graph)'
- Select "Reasoner" on the Protégé menu bar and select "Quest 1.7-alpha",
- Select "Start reasoner" immediately.
TIP: Once Quest is started, any changes in the ontology or mappings can only take its effect after you rerun the reasoner. Use "Synchronize reasoner" to do so.
Go to "ontop SPARQL" tab and create a new query as follows:
- In the "ontop query editor" panel, click the "Attach Prefixes" button. This action will bring out a dialog box to add any relevant prefix definitions in the query.
- Select the : and the rdf prefix and click "Accept".
- Type the query string as shown below and put it after the prefix definitions.
select distinct ?x where {?x rdf:type :Person}
- Click "Execute" to retrieve the result.

- Click "Save Changes" to remember the query.
TIP: Quest answers SPARQL queries by translating them into SQL query and then executing it through the DBMS system. If you would like to see the SQL string generated by Quest, do a right click over the query. Select "Get expended/unfolded query for this UCQ" on the pop-up menu.
Some other query suggestions:
- Get all DISTINCT full names.
PREFIX : <http://www.semanticweb.org/ontologies/2011/4/HelloWorld.owl#>
PREFIX rdf: <http://www.w3.org/1999/02/22-rdf-syntax-ns#>
SELECT DISTINCT ?x ?y WHERE {?x rdf:type :Person. ?x :fullName ?y}
- Get the full name of people who greets whom.
PREFIX : <http://www.semanticweb.org/ontologies/2011/4/HelloWorld.owl#>
PREFIX rdf: <http://www.w3.org/1999/02/22-rdf-syntax-ns#>
select ?x ?y where {?a :saysHello ?b. ?a :fullName ?x. ?b :fullName ?y}
-ontopPro- will automatically save your mappings and queries every time you do save file in Protégé. The mappings are stored in *.obda file and the queries are stored in a *.q file. Both are located in the same folder as the ontology with names correspond to the ontology file's name.
When opening an ontology, -ontopPro- will look for the .obda and .q files and loads the saved information regarding the data sources, mappings and queries.
If you would like to learn more about the syntax of .obda and .q files, find the introduction here and here.
TIP: The OBDA and Q files can also be loaded programmatically in Java using a separated API package.
- HelloWorld.owl. The OWL HelloWorld ontology file.
- HelloWorld.obda. The OBDA file.
- HelloWorld.q. The Q file.
- helloworld.sql. The source data.