Repository navigation
Accounts and roles
CBM supports multiple users with three roles. Access is enforced server-side on every mutating action; the UI additionally hides controls (and whole pages) a role can't use, so people only see what they can actually do.
The first person to register becomes the administrator, then public sign-up closes automatically. Everyone else joins through an invitation (below) — there is no open registration and no default password.
Roles are cumulative: admin ⊇ operator ⊇ viewer.
| Capability | viewer | operator | admin |
|---|---|---|---|
| View the monitoring pages (overview, snapshots, resources, instances, destinations, agents) | ✅ | ✅ | ✅ |
| Manage your own account on Profile (name, email, password) | ✅ | ✅ | ✅ |
| Run backups and restores (incl. Back up Coolify, retry / cancel / delete snapshots, re-pin, restore drills) | ❌ | ✅ | ✅ |
| Verify / Check integrity on a destination | ❌ | ✅ | ✅ |
| Toggle a resource's backup options (Include in scheduled backups, live copy) | ❌ | ✅ | ✅ |
| Edit a resource's backup hooks (they run arbitrary commands in its containers) | ❌ | ❌ | ✅ |
| Connect / sync / re-point / delete Coolify instances, reveal install commands, server mapping | ❌ | ❌ | ✅ |
| Create / test / delete destinations, set their mirror and weekly integrity check | ❌ | ❌ | ✅ |
| Edit schedules (instance, server, resource override) | ❌ | ❌ | ✅ |
| Manage agents (server pin, delete) | ❌ | ❌ | ✅ |
| Change Settings (timezone, failure alerts, SMTP, disaster recovery, restore drills, API tokens) | ❌ | ❌ | ✅ |
| Manage users & invitations | ❌ | ❌ | ✅ |
A viewer is read-only — useful for dashboards or stakeholders. An operator runs the day-to-day backups and restores but can't change configuration. An admin configures everything and manages the team.
Enforcement is server-side: even a direct API call from an under-privileged session is rejected. The hidden buttons are a convenience, not the security boundary.
As an admin, open Users (sidebar, Administration) and click Invite. A side panel opens:
- Enter the person's email and pick a role card (viewer is preselected).
- Optionally turn on Email the invite link (disabled until SMTP works — see Email). Click Create invite link: either way, the one-time link is shown once for you to copy.
- The invitee opens the link, sets their name + password, and they're in — with the role you chose.
Invitations are:
- Single-use and expire after 48 hours. Pending invitations are listed under the members on Users; revoke one anytime with its × button.
- Bound to the email you entered, and only the sha256 hash of the token is stored — the plaintext link can never be re-displayed.
- Gated: a signup is only accepted if it matches a claimed, pending, unexpired invite for that email (or it's the very first/admin account). Opening the link keeps that gate open for 10 minutes — if it lapses, the invitee just reopens the link. The gate covers social sign-in too: the invitation page shows a Continue with … button per configured provider (the provider account must use the invited email).
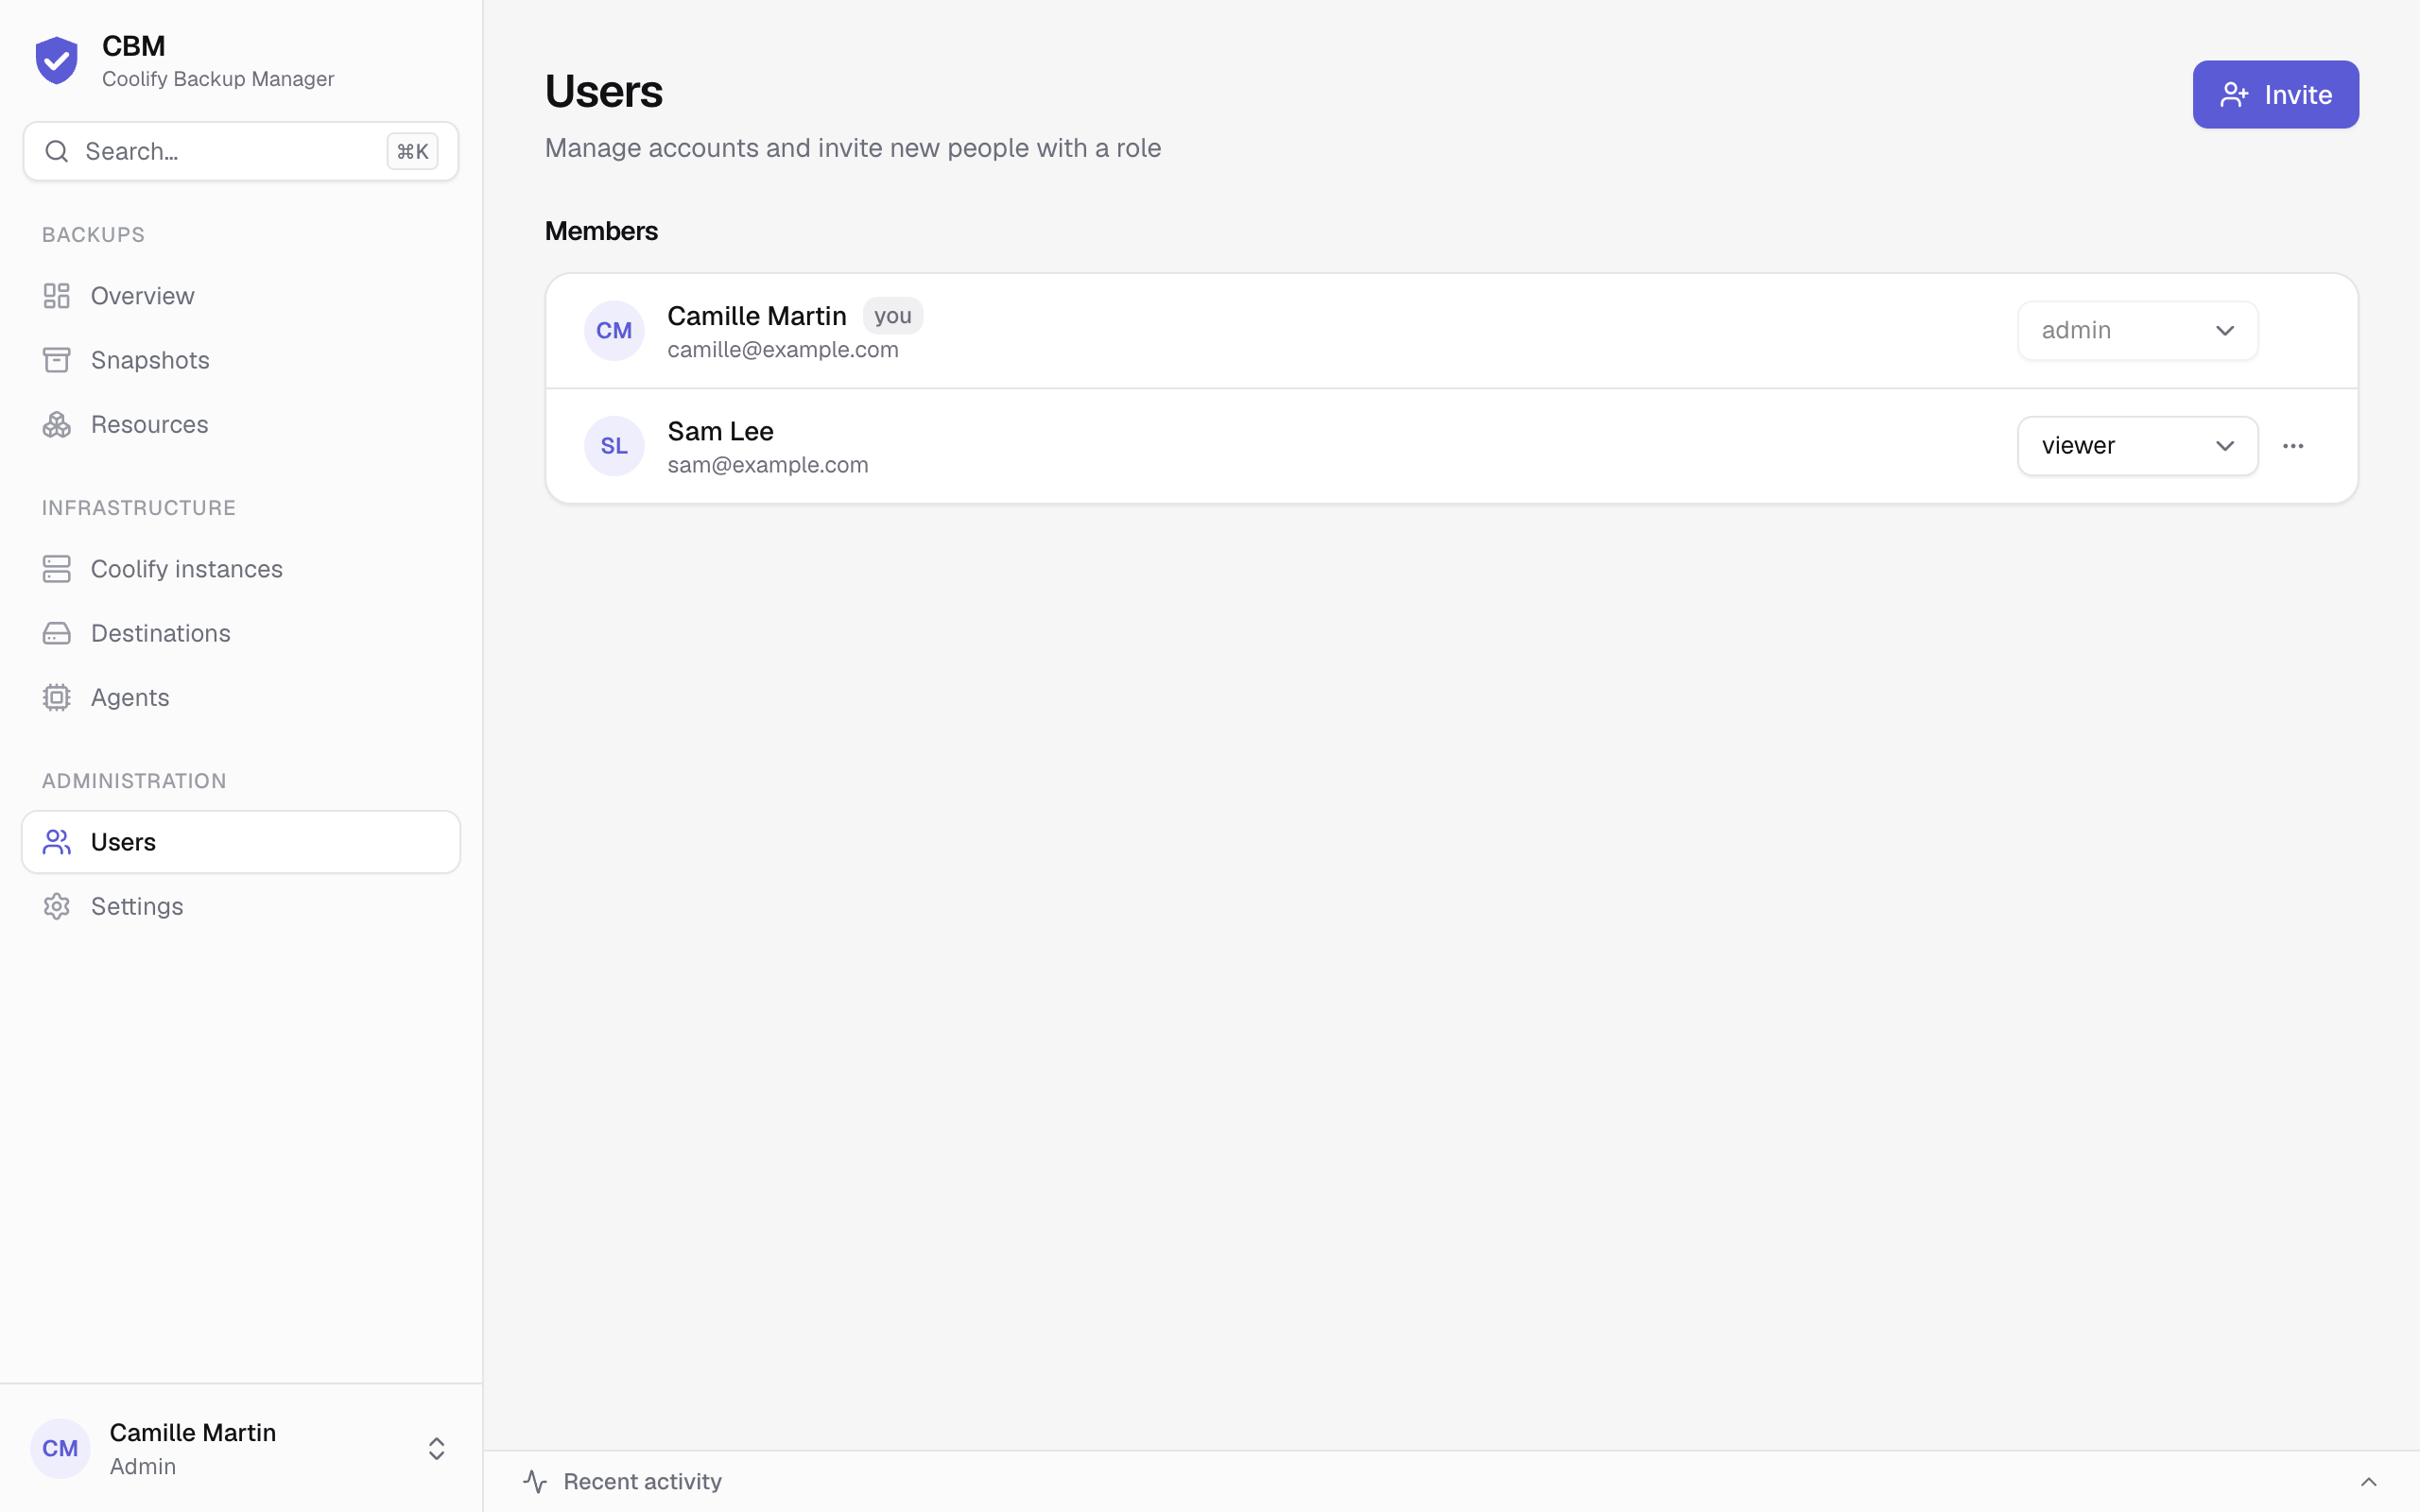
From Users, an admin changes anyone's role with the select on their row, or removes an account from the row's … menu → Delete (type the email to confirm). Two guard rails prevent lock-out:
- You can't demote or delete the last remaining admin.
- You can't delete your own account (another admin has to do it).
Removing a user signs out their sessions immediately; they'd need a fresh invitation to return.
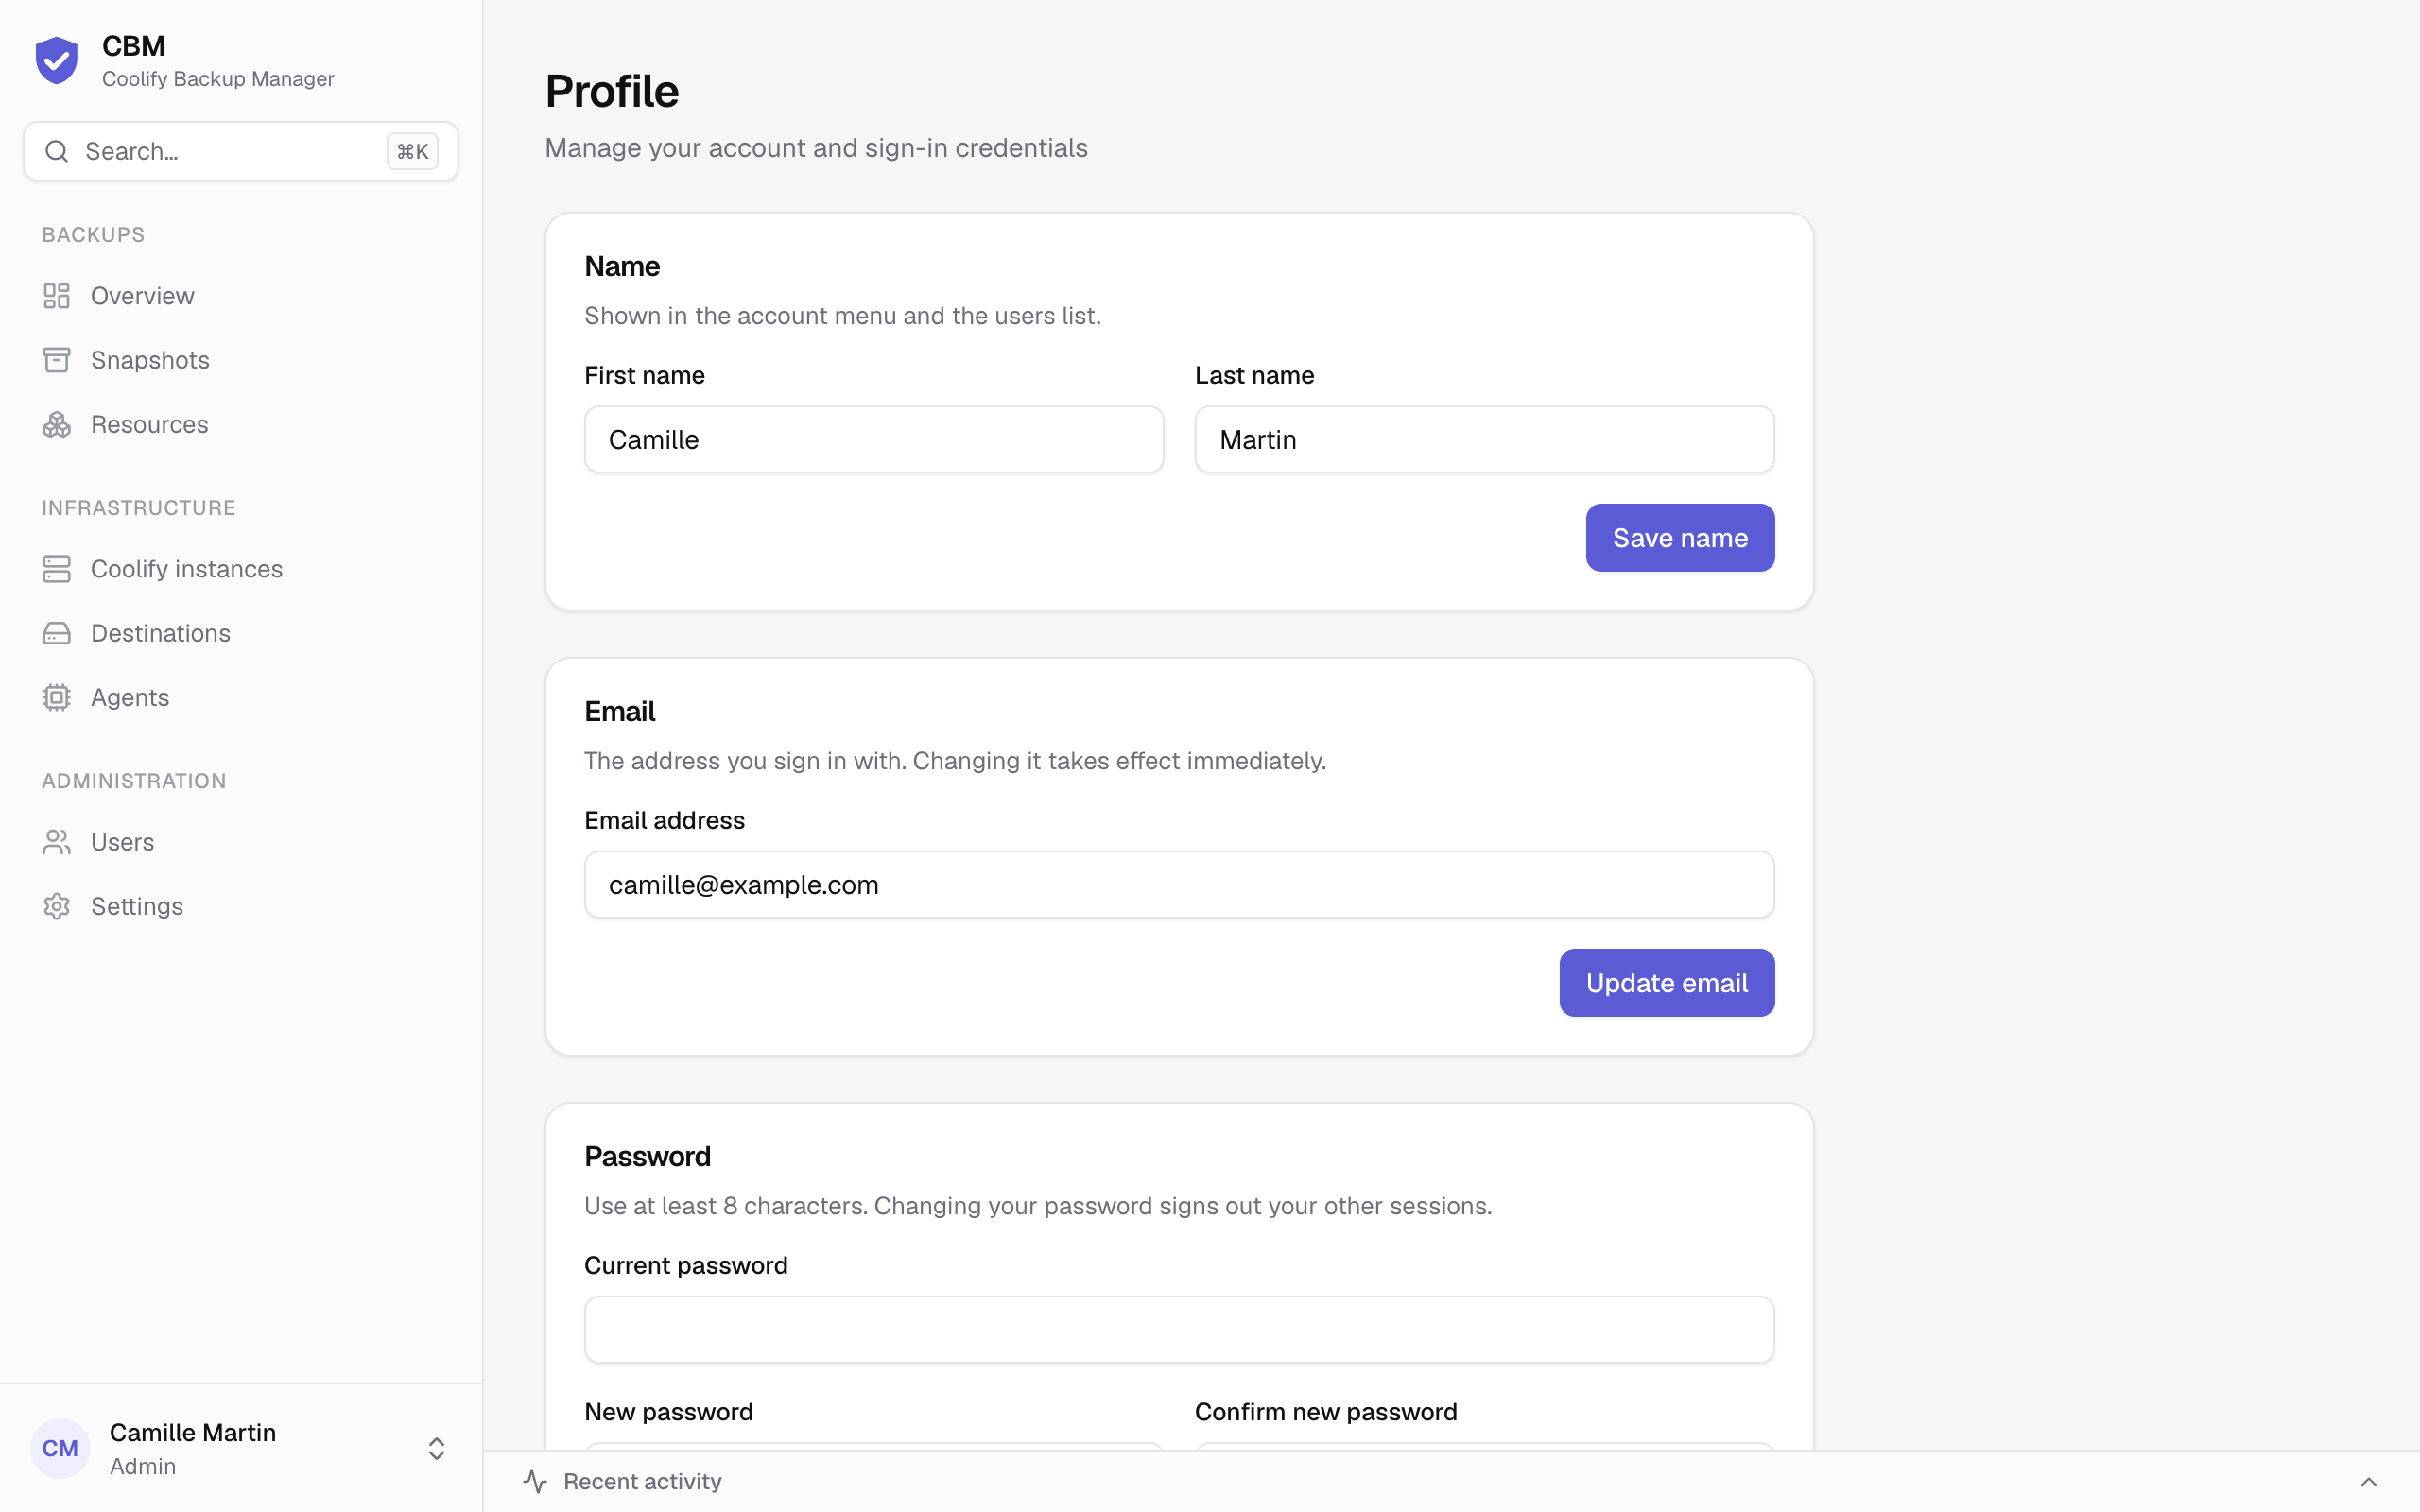
Everyone manages their own account on Profile (account menu at the bottom of the sidebar): Name, Email (the sign-in address) and Password. Changing the password signs out your other sessions.
On Profile → Two-factor authentication → Turn on two-factor, confirm your password (accounts that only use GitHub / Google / GitLab have none to confirm), scan the QR code with an authenticator app (1Password, Bitwarden, Google Authenticator, Aegis…) or type the key shown next to it, and enter the 6-digit code it gives. CBM then shows 10 backup codes — copy or download them: each one signs you in once if you lose your phone, and they are not shown again (New backup codes replaces them).
From then on, every sign-in asks for the code after the password — and after GitHub, Google or GitLab too (CBM doesn't rely on the provider's own second factor). Use a backup code switches to a backup code; Trust this device for 30 days skips the code on that browser. Too many wrong codes lock the account for a few minutes, and a code can't be used twice.
Settings → Two-factor authentication (admin) sets who must use it:
| Policy | Effect |
|---|---|
| Optional (default) | Each user decides from their profile. |
| Required for admins | Admin accounts must use it. |
| Required for everyone | Every account must use it. |
An account the policy covers but that hasn't set it up is held on a setup page (sign-in still works, nothing else does) until it is done — your own account included — and can't turn it off from Profile. The section shows how many accounts don't use it yet.
Lost phone and backup codes? An admin opens the person's … menu on Users → Reset two-factor (type their email to confirm): their authenticator, backup codes and trusted devices stop working and they are signed out; they set it up again at their next sign-in if the policy requires it. Members with two-factor on carry a 2FA badge. Your own two-factor is managed from Profile only.
API tokens (MCP) and agents aren't concerned: they authenticate with their own tokens, not a sign-in.
Admins can let users sign in with Google, GitHub, GitLab (gitlab.com or a self-managed instance) or any OpenID Connect provider such as Authentik or Keycloak, from Settings → Single sign-on (or with environment variables, see Configuration). For each provider:
- Create an OAuth application at the provider. The form shows the exact redirect URL to
register (
<BETTER_AUTH_URL>/api/auth/callback/<provider>, with a copy button) and where to create it:- Google - Google Cloud console → APIs & Services → Credentials → OAuth client ID (Web application); also add your CBM URL as an authorized JavaScript origin.
- GitHub - Settings → Developer settings → OAuth Apps.
-
GitLab - Preferences (or Admin area) → Applications: confidential, scope
read_user. -
Authentik - Applications → Providers → OAuth2/OpenID Provider (confidential client,
scopes
openid email profile), then an Application using it. The issuer URL is the provider's OpenID Configuration Issuer (https://auth.example.com/application/o/<slug>/); any other OpenID Connect provider works the same way.
- Paste the client ID and secret (the secret is stored encrypted with the master key and never shown again; leave the field empty to keep it), and click Check: CBM asks the provider whether it knows this client, without signing anyone in.
- Turn on Offer this provider on the sign-in page and save. A Continue with … button then appears on the sign-in and invitation pages (the OpenID Connect one shows its label).
Accounts still exist by invitation only. A provider signs in the CBM user with the same email: an existing user (who signed up with a password) is linked on first use, and an invited person can accept the invitation with the provider instead of a password. An email with no account and no invitation is refused, and the sign-in page says so. An admin trusts a provider by configuring it: the email it returns is taken as proven, even when the provider doesn't say it was verified (GitLab never does). Two-factor authentication still applies after a provider sign-in.
When a provider sign-in fails, you come back to the sign-in page with the reason (cancelled, provider refused the client, sign-in expired, no account for that email…).
If SMTP is configured, the sign-in page shows Forgot password? — it emails a reset link. Without SMTP, an admin can simply re-invite the person (or set up SMTP first). See Email.