Repository navigation
Workspace
Open a shader from your library. Its live preview becomes the canvas behind the workspace.
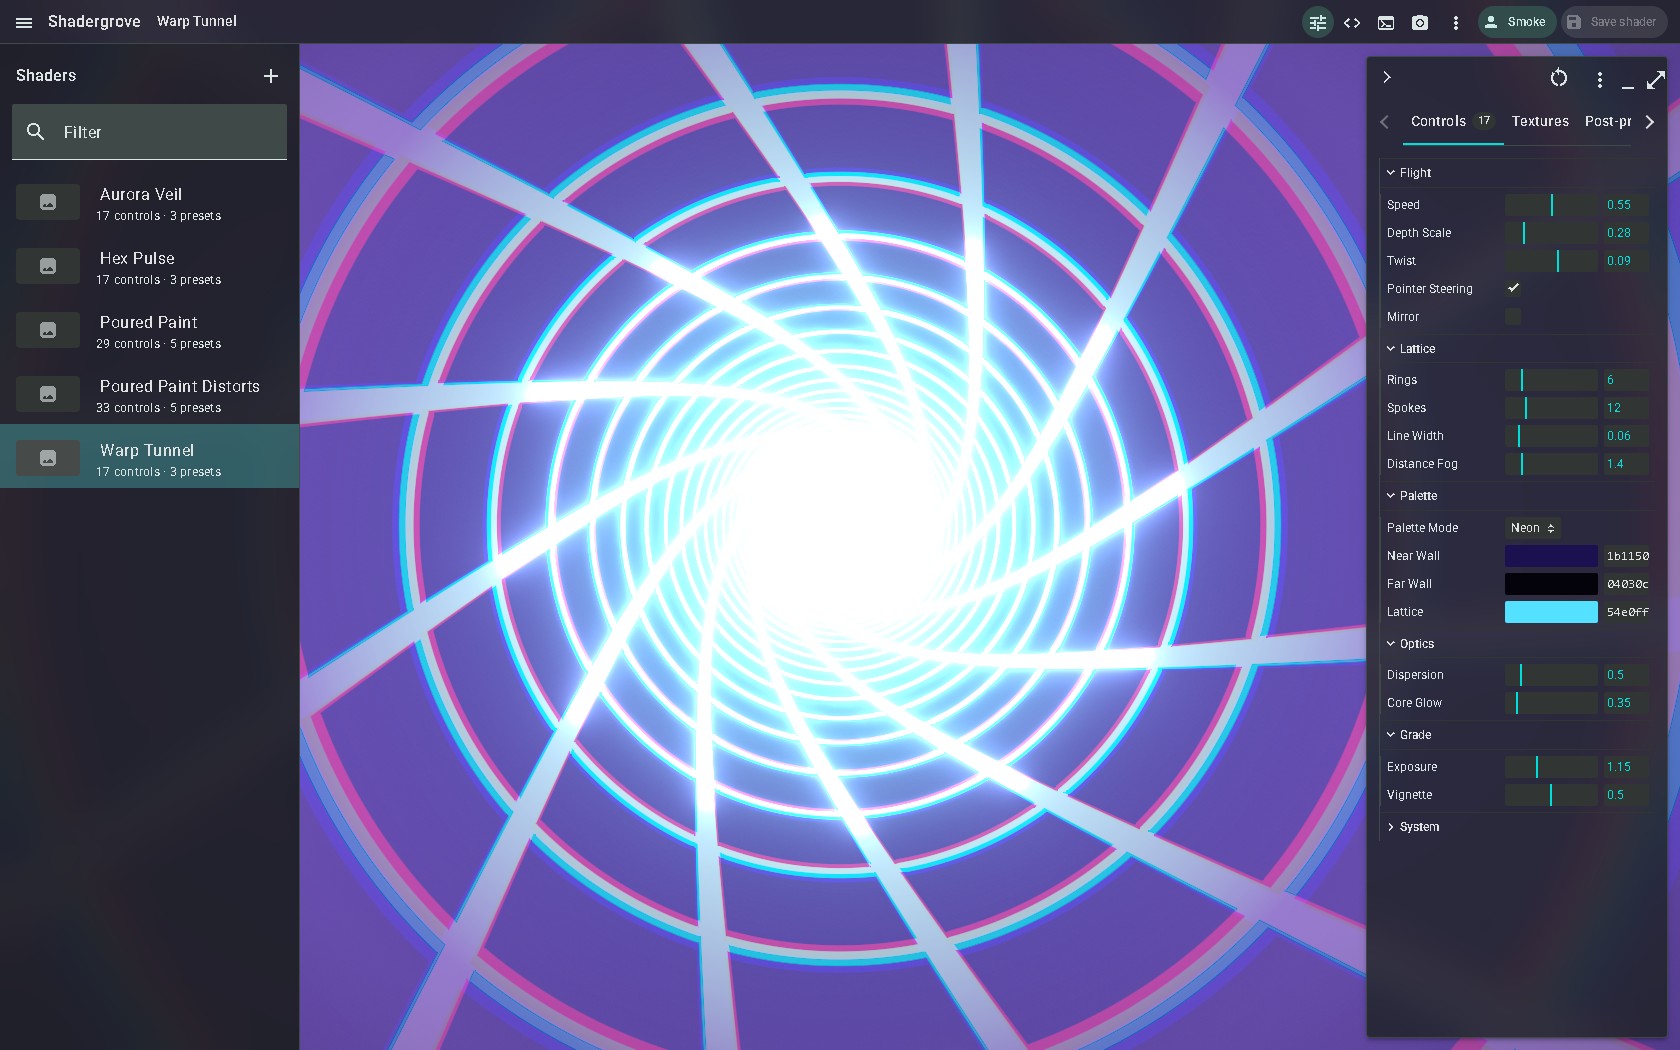
The image shows an existing example and layout. Panel positions and appearance can differ by version and by your saved preferences.
| Area | Use it for |
|---|---|
| Library | Select, create, rename, duplicate, and export a shader. |
| Editor | Edit the Image pass, Vertex shader, Common code, buffers, files, and Config. |
| Preview | Watch the active shader, pause its clock, and capture a frame. |
| Inspector — Controls | Change the values generated by the Config schema. |
| Inspector — Textures | Assign texture assets used by the shader's channels. |
| Inspector — Post-processing | Build and tune the chain of effects applied after Image. |
| Inspector — Presets | Save named values and restore them later. |
| Diagnostics and performance panels | Find compile errors and inspect the cost of rendering. |
Use the app's panel menu to reopen a hidden panel. The command palette (Ctrl+K) is another way to find actions without knowing their menu location.
Source determines what the shader draws. Controls provide live values to that source. Presets remember a named set of those values.
A control with the key speed supplies u_speed:
| Config type | GLSL uniform | Widget |
|---|---|---|
number |
float u_speed |
Slider |
boolean |
bool u_enabled |
Checkbox |
color |
vec3 u_tint |
Color picker |
select |
float u_mode |
Select menu |
The last three rows use the example keys enabled, tint, and mode. The general rule is always u_<key>.
To preserve a look, save a preset. To preserve changes to the shader source, schema, or effects rack, save the shader too. Watch its save status before closing.
Textures are inputs to the shader. Post-processing effects run after its final Image pass.
The rack's master switch bypasses the chain while retaining its settings. Individual effects can also be enabled, disabled, reordered, or removed. Reordering changes the image, so compare before and after.
A preset can also capture render settings. Applying such a preset can leave the shader with unsaved changes; save if you want those settings to become the saved version.
| Shortcut | Action |
|---|---|
Ctrl+K |
Open the command palette. |
Ctrl+S |
Save the shader. |
Space |
Pause or resume shader time. |
H |
Show or hide the inspector controls. |
S |
Capture the current frame as PNG. |
Z |
Enter or leave Zen mode. |
Shift+Alt+F |
Format GLSL in the editor. |
Use preview shortcuts while focus is outside a text input or the code editor. If a shortcut types a letter into your source, use the corresponding menu action instead.
On Windows Desktop, use More actions → Open output window.
Move the output window to your second monitor or projector. It follows the active shader, live controls, pause state, render scale, and texture assignments while you keep editing in the main window.
Return to First shader, explore Features, or troubleshoot in FAQ.