Repository navigation
Modding Tutorials
Welcome to the complete visual tutorial guide for EOD Recomp and the EOD World Editor & Creation Kit (SLUS_209.10).
You can read all seven tutorials continuously on this page, or jump directly to any individual tutorial page from the Wiki sidebar:
- Tutorial 1: Zero-Friction Setup from a Retail PS2 ISO (
SLUS_209.10) - Tutorial 2: Your First Track Mod in the EOD World Editor
- Tutorial 3: Deleting Fences, Removing Invisible Barriers (
SOBL) & Multi-Selection - Tutorial 4: Placing Cars, Wrecked AI Cars & Scattering Props (Lumion/Twinmotion Workflow)
- Tutorial 5: Editing AI Pathfinding (
ILINRoad Tool) & Inventing Custom Game Modes - Tutorial 6: Live 4K Textures (
HOSTTEX), Skybox Swapping & Importing NASCAR: Dirt to Daytona Cars - Tutorial 7: Packaging, Sharing & Installing
.eodmodMods Online
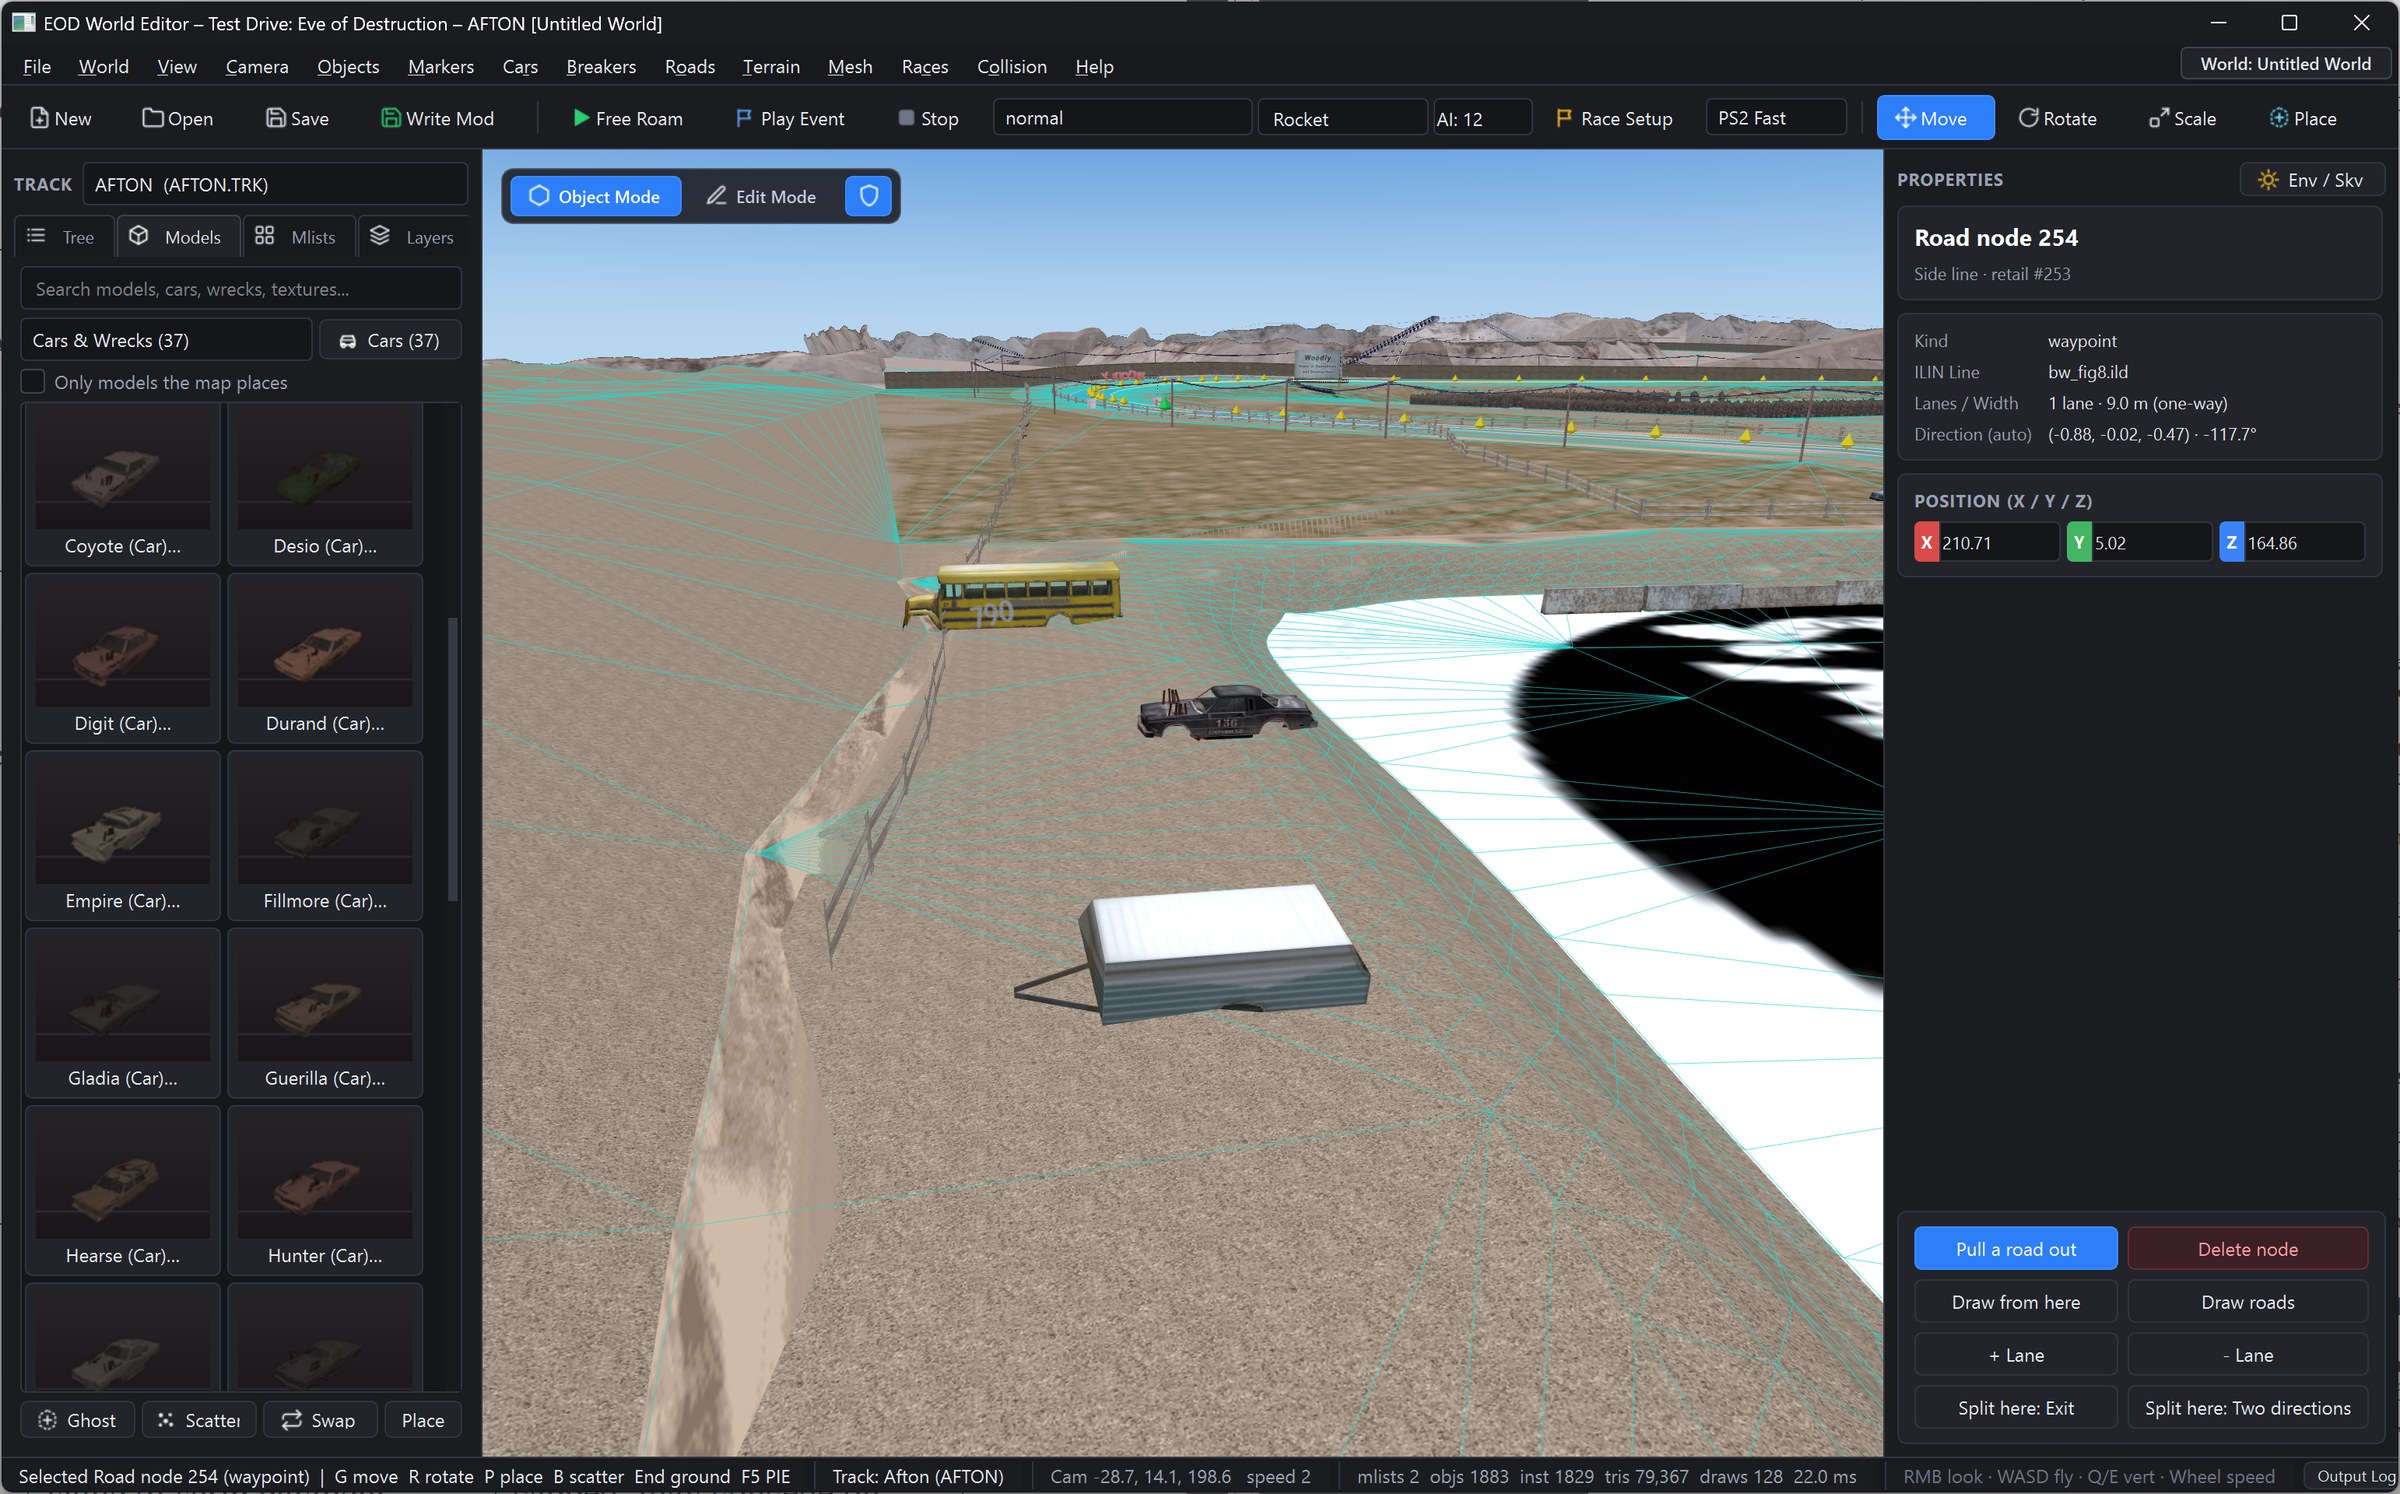
| Shortcut / Pad Chord | Action |
|---|---|
F9 or L1 + R1 + R3
|
Instant Classic / Modern Toggle (switches in 1 frame <= 33 ms between PS2 Classic and Modern Remastered PBR) |
F1 or L3 + R3
|
Open / Close In-Game Menu & Mods Overlay (Display, Audio, Controls, Gameplay/Mods, System) |
F11 or Alt + Enter
|
Toggle Borderless / Exclusive Fullscreen |
Triangle (Pad) |
Cycle Gameplay Camera Views (NearChase, Chase, Chassis, Bumper, Cockpit) |
Select (Pad) |
Manual Vehicle Track Recovery (when ManualRecovery=1 disables the 3-second auto-reset timer) |
L2 (Pad, with mods) |
Fire Explosive Chicken (ChickenFight=true) and/or Activate High-Velocity Turbo Boost (TurboBoost=true) |
L1 + R1 + Up |
Live toggle Straight-Shot Chicken Fight |
L1 + R1 + Right |
Live toggle High-Velocity Turbo Boost |
L1 + R1 + Square |
Live toggle Human Invincibility (GodMode) |
| Shortcut | Action |
|---|---|
RMB (Hold) + W/A/S/D |
Fly Camera Forward / Left / Backward / Right |
RMB (Hold) + Q / E |
Fly Camera Down / Up |
Shift (while flying) |
2.8× Camera Speed Boost (Mouse Wheel adjusts base fly speed) |
F |
Frame Selection (smoothly focuses camera on selected 3D object, road node, or barrier) |
G / R / S
|
Move / Rotate / Scale 3D Gizmo Mode |
P |
Ghost Place Mode (live 3D preview snapped to SCOL terrain height & normal; R / Shift+R rotates ±15°; LMB stamps) |
B |
Scatter / Paint Brush Mode (paint non-overlapping props or wrecked cars inside a 3D terrain circle) |
End or Ctrl + G
|
Drop to Ground (raycasts SCOL terrain under selection and seats its bounding-box base on the surface) |
Shift + LMB |
Multi-Select (add/remove objects from active selection set) |
Ctrl + D |
Duplicate selected object in place |
Del |
Delete selected object(s) (moves retail static/event props to Y = -5000.0 tombstones or removes editor-placed items) |
F2 |
Export selected model to Blender OBJ round-trip |
Ctrl + Z / Ctrl + Y
|
Undo / Redo (full QUndoStack history across transforms, scatter strokes, barriers, textures, and roads) |
Ctrl + S |
Save non-destructive .eodworld.json project overlay |
Ctrl + Shift + S |
Write Mod Layer (compiles patched .TRK, c_*.va0, track.sol, *.ild, and HOSTTEX/.eodhtx to mods/<Project>/) |
Ctrl + Shift + E |
Package Mod as .eodmod… (exports compact delta-only distributable mod archive) |
F5 |
Play Free Roam (PIE) — compiles dirty changes and launches eod.exe directly inside the central viewport |
Shift + F5 |
Play Event / Race (PIE) — launches the configured event/race inside the embedded viewport |
Esc / Shift + Esc
|
Exit active placement/brush tool, or Stop PIE and return to the 3D editor |
(Full standalone page: Tutorials-1-Setup-and-Controls)
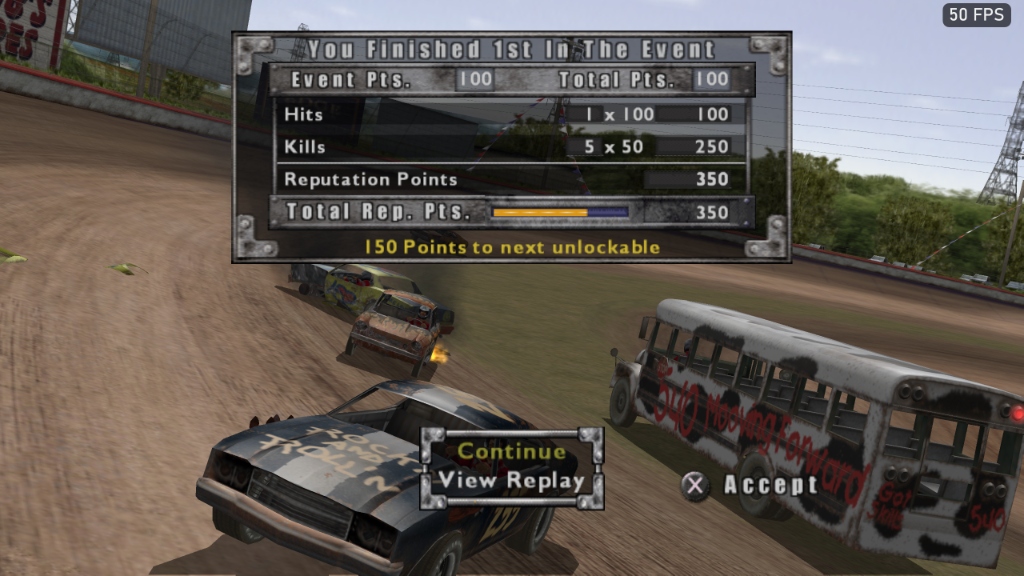
-
Verify & Extract Your Retail PS2
.ISO(SLUS_209.10):- Double-click
tools\world_editor\launch_editor.batand drag-and-drop your North AmericanTest Drive - Eve of Destruction (USA).isodirectly onto the First-Run ISO Setup Wizard (or runpython tools/iso_extractor.py --iso "EOD.iso" --out "D:\Test Drive - Eve of Destruction (USA)"). - The pure-Python ISO-9660/UDF reader verifies
SYSTEM.CNF(SLUS_209.10, SHA-2564f60053dc141365f5ae50737622f8408be30ced513b4c109427c926461f2e2ae), rejects PALSLES_527.67or truncated dumps upfront, strips;1suffixes, and verifies every0TSRv6 archive's internaleod_crcchecksum (0x04C11DB7).
- Double-click
-
Launch
eod.exe(Instant PC Boot):- Run
.\eod.exe --data "D:\Test Drive - Eve of Destruction (USA)". Startup.PSSmovies and PS2 memory-card checks are skipped automatically so you land on the Main Menu in< 2 s.
- Run
-
Press
F9(L1 + R1 + R3) for the 1-Frame Classic vs. Modern Toggle:- Switch instantaneously (
<= 33 ms, 0 MB GPU growth) between pixel-faithful PS2 Classic (Cv * Ct >> 7, exactTEX1mip LOD) and 2026 Modern Remastered PBR (Filament BRDF/IBL, cascaded sun shadows, clear-coat car paint, water refraction, GPU particle VFX).
- Switch instantaneously (
-
Press
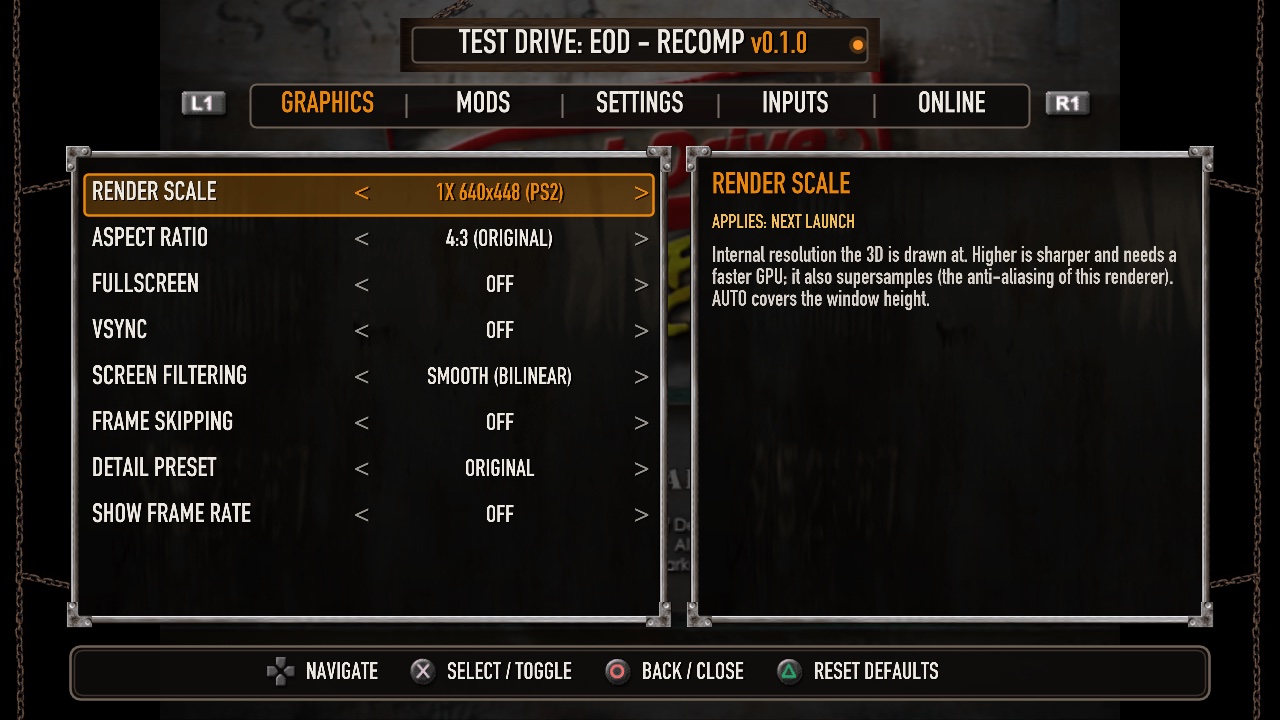
F1(L3 + R3) for the In-Game Menu & Mods Overlay:-
Display Tab: Set
RenderScale(1x–8x+),Aspect = 16:9 Widescreen(Hor+ FOV with edge-anchored HUD), andDetail = Maximum(locks all 20 cars toLow1.modat all distances). -
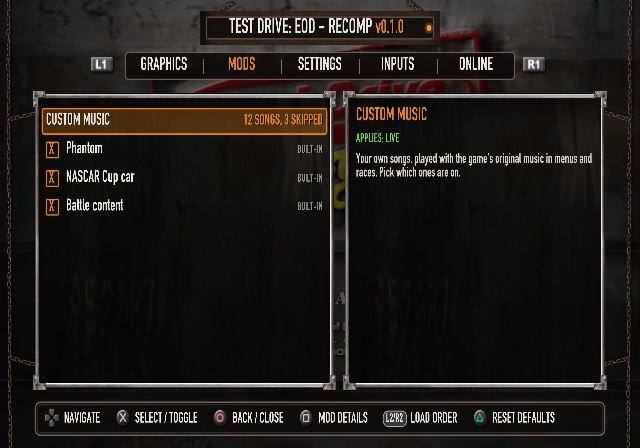
Gameplay / Mods Tab: Enable Unlock All Out of the Box, Straight-Shot Chicken Fight (
L2), Chicken Blast Force/Radius Sliders (1.0x–4.0x), Turbo Boost (L2,174+ mph), Single-Player Battle Mode, Battle Bots, Manual Recovery Only (Select), and Custom Music (mods/music/).
-
Display Tab: Set
(Full standalone page: Tutorials-2-First-Track-Mod-and-PIE)
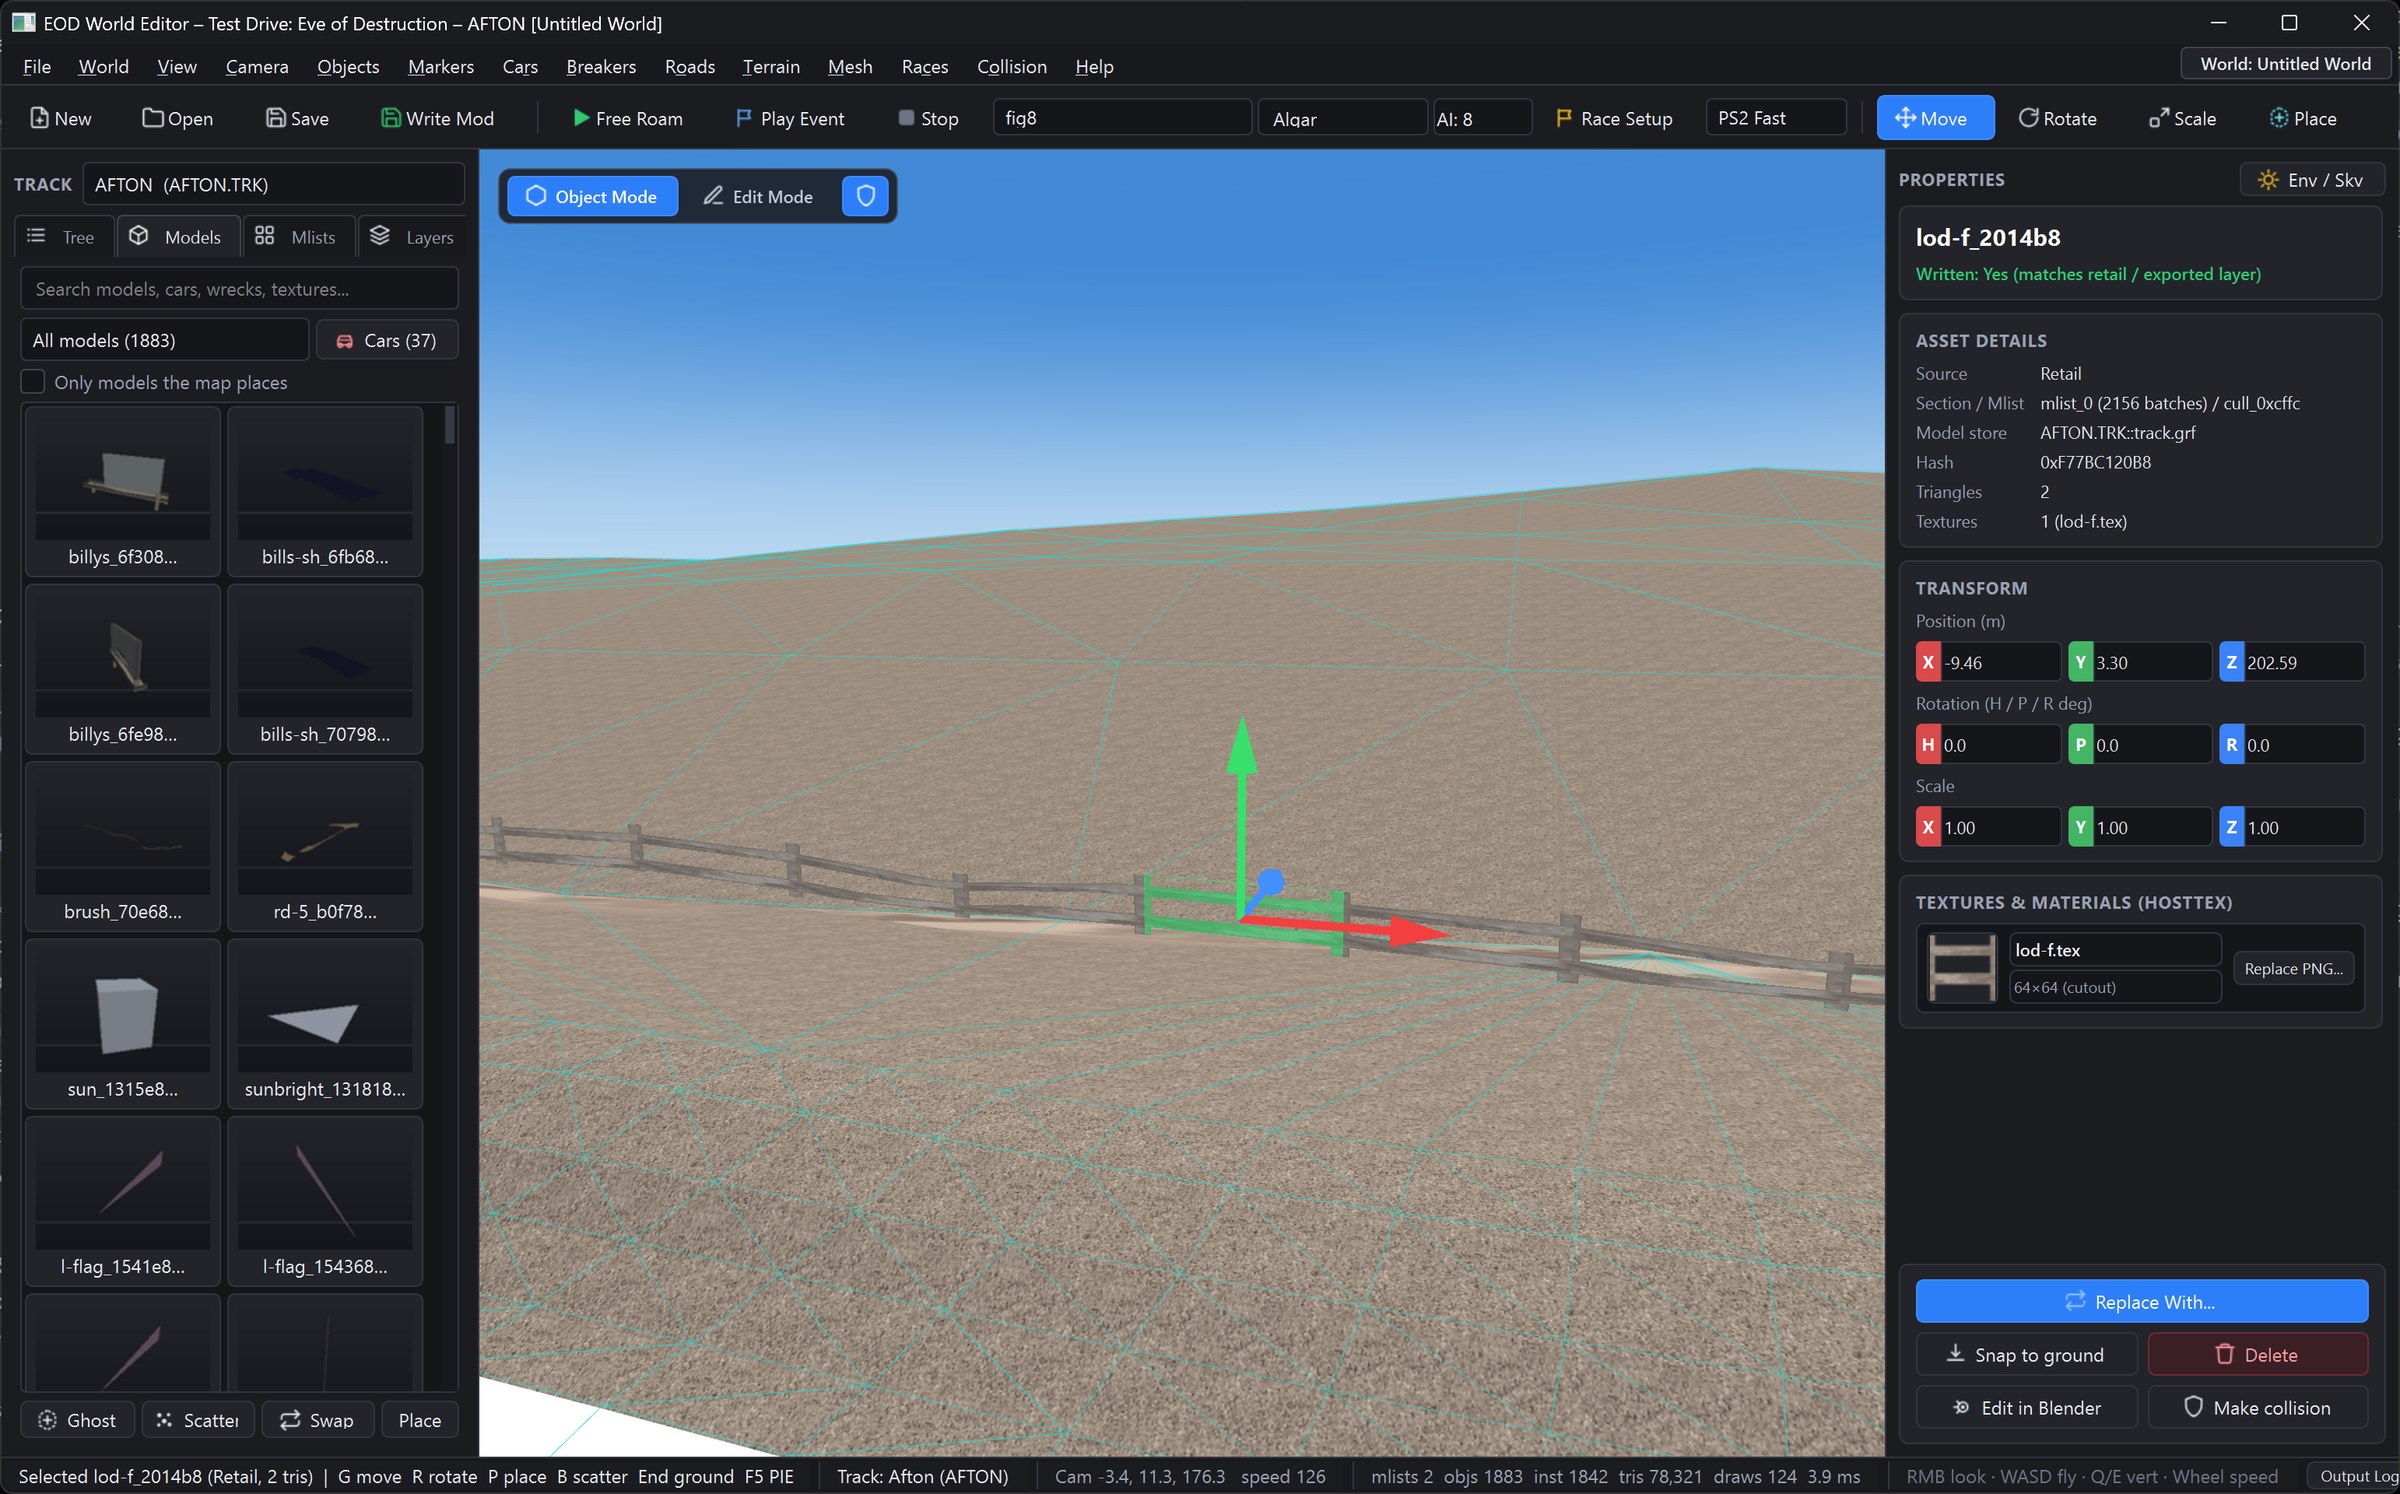
-
Open Woodly (
AFTON.TRK) or Dundas (DUNDAS.TRK):- Launch
tools\world_editor\launch_editor.batand selectAFTON (Woodly)in the Left Explorer dropdown. - Fly around with
RMB + W/A/S/D/Q/E(Shiftfor 2.8× speed boost,Fto frame selection).
- Launch
-
Switch Event Templates:
- Switch between
Jump Race(c_jump_race),Figure 8(c_fig8_race),Battle(c_battle), andGauntletto inspect how event-specificc_<event>.va0props andOptional Terrain(GRAFsubtype 20 +SCOLtriangle bits+0x1E) toggle dynamically.
- Switch between
-
Select, Move & Scale a Dirt Jump Ramp (
G/R/S):- Filter Explorer by
[Ramp]or click a dirt jump ramp in the 3D viewport. - Use
G(Move),R(Rotate), andS(Scale—e.g.Scale Y = 1.85for an 85% taller launch peak), then pressEnd(Drop to Ground) to seat the ramp flush on theSCOLterrain.
- Filter Explorer by
-
Bake Both Visual VIF Vertices AND Driving Collision (
SCOL/SOBL):- In the Object Inspector, check
☑ Bake Scaled/Moved Vertices into VIF Stream(updates4SPSq199/V3-16vertices viavif_patch.pyplusmrModel,mlist, and0x102spheres) and click🔨 Bake / Sync Driving Collision (SCOL+SOBL)so your tires physically climb the new scaled ramp slope!
- In the Object Inspector, check
-
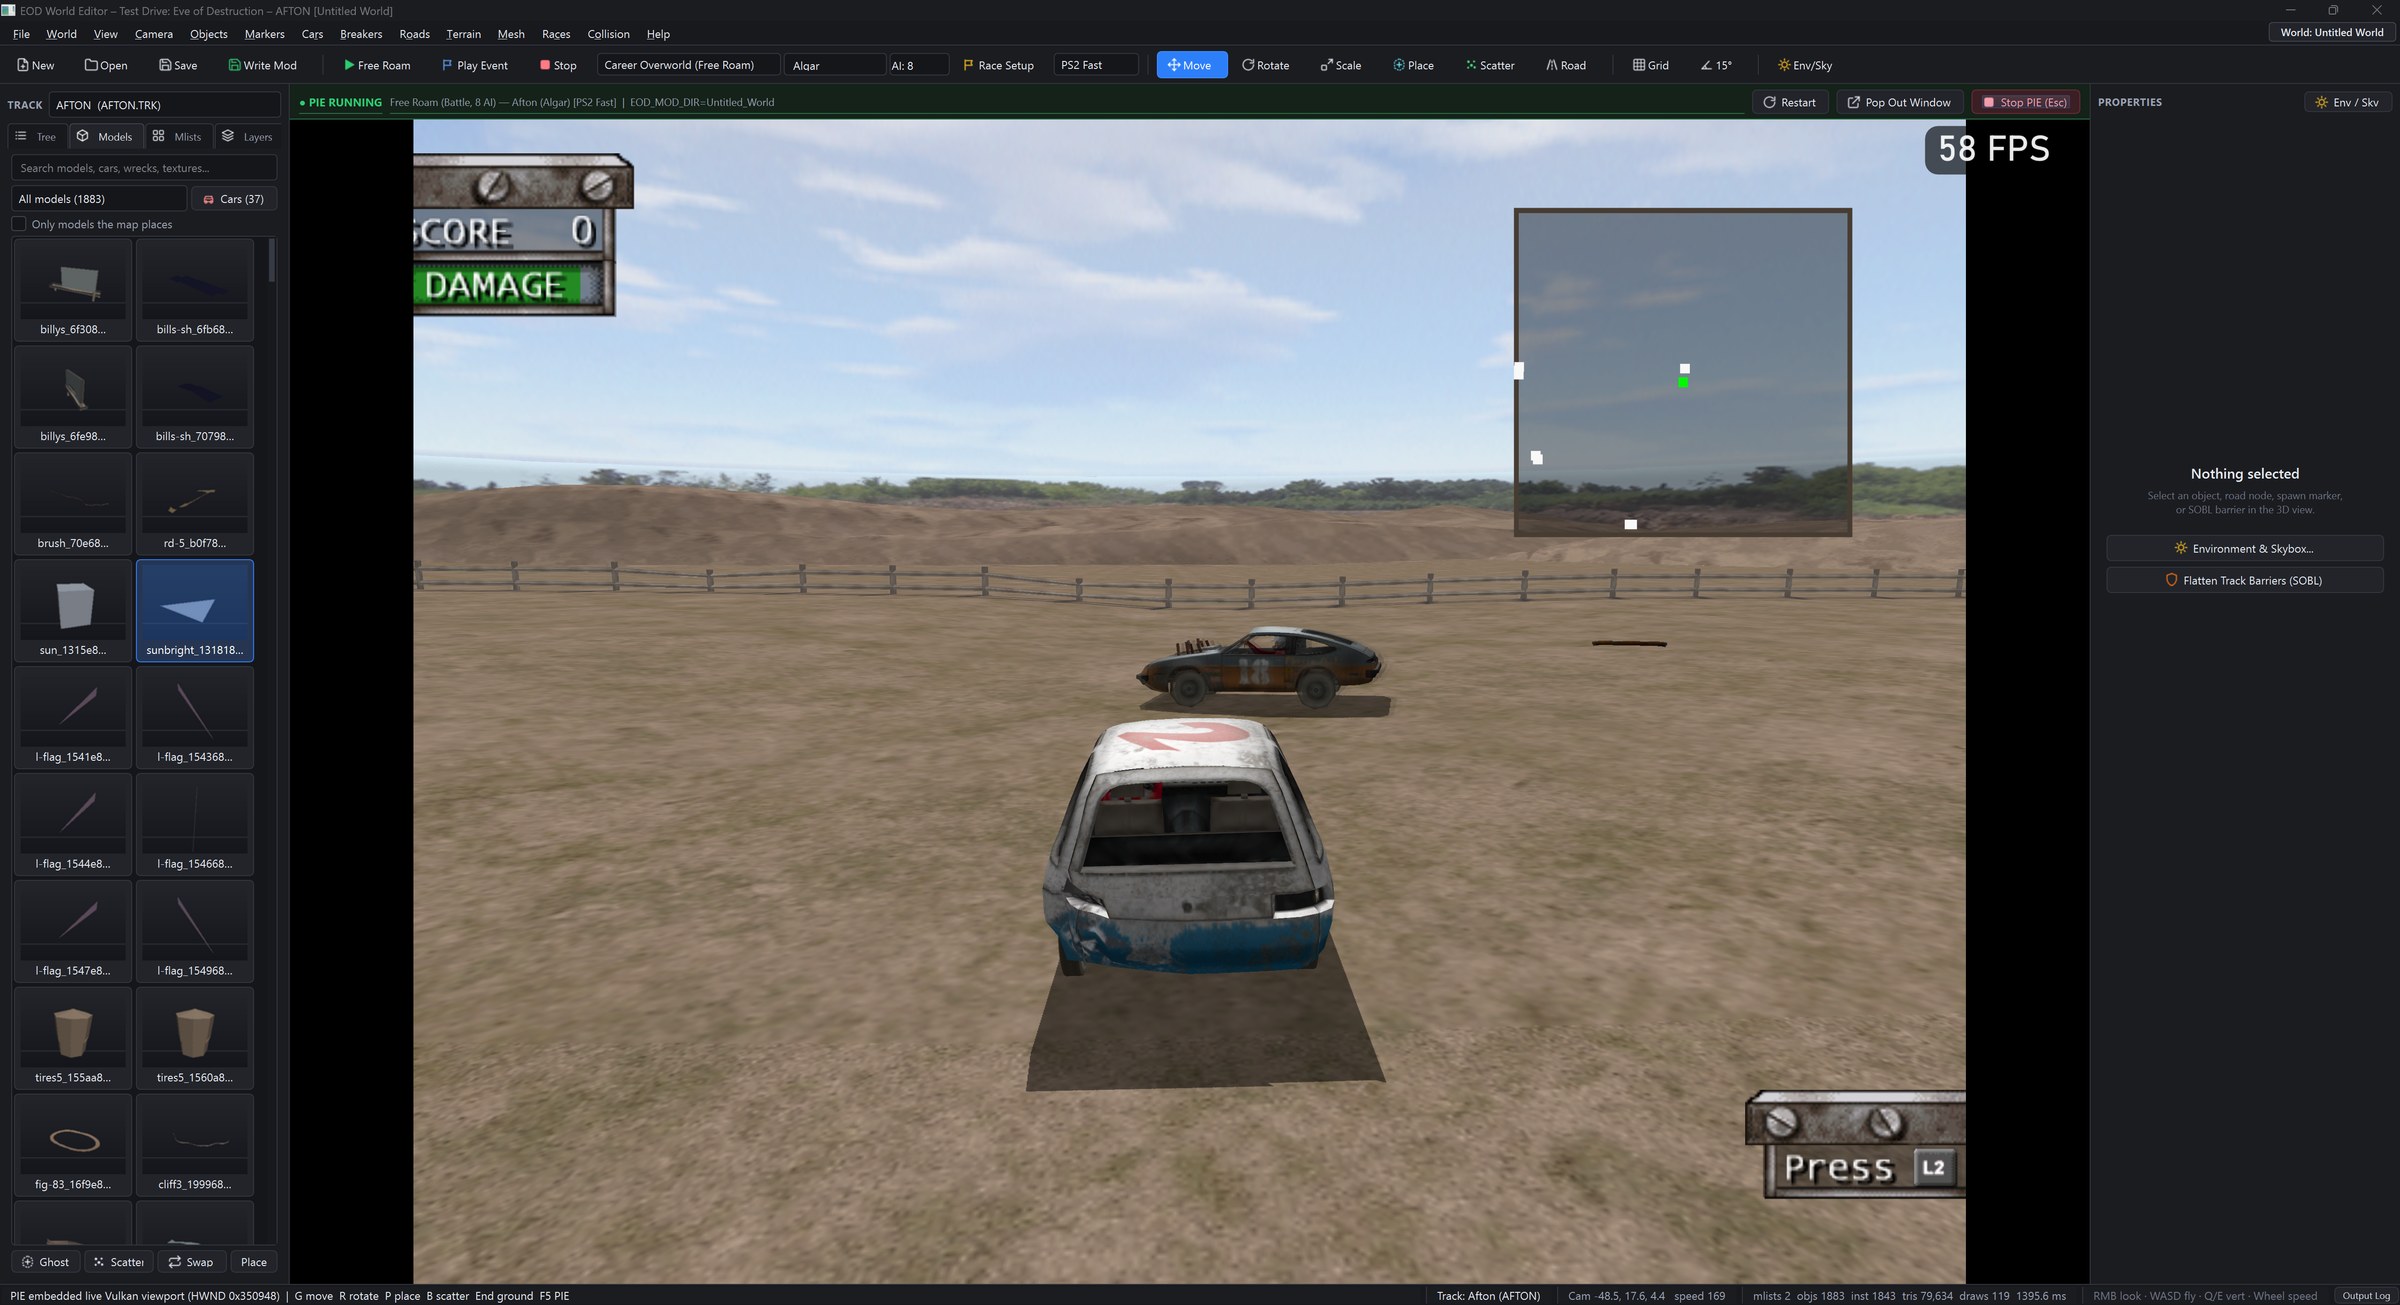
Test Immediately in Play-In-Editor (PIE) (
F5):- Press
F5(Play Free Roam) orShift + F5(Play Event / Race) to compile dirty changes in< 200 msand drive your giant ramp right inside the central viewport! PressShift + Escto return to editing.
- Press
(Full standalone page: Tutorials-3-Fences-Barriers-and-MultiSelect)
-
Multi-Select with
Shift + Click:- Hold
ShiftandLMBClick multiple fence panels to select and move or delete (Del) them as a single undoable group.
- Hold
-
Wipe Out Entire Fence Lines + Hidden
lod-*Twins (Select / Delete All Similar):- Click one fence segment, right-click (
RMB), and chooseSelect All SimilarorDelete All Similar (Fences + LOD Twins)(orDelete Selected + Overlapping LOD Twins in Radius). - This automatically removes both the high-detail
child 0fence meshes and their low-detailGRAFgroup (0x0) /MSCAL 0x6Alod-*billboard twins (patching theirq199.yoffset toY = -5000.0 m) so distant fence sprites never pop back in!
- Click one fence segment, right-click (
-
Flatten 16-Metre Invisible Walls (
SOBLtrack.sol):- Click
🛡 Collision Shieldin the top-left viewport pill bar to revealtrack.solSOBLv3 boxes color-coded by height (Red>= 10 m16-metre invisible ceilings, Orange3–10 m, Yellow< 3 m). - Click any red barrier to click
Flatten Barrier (-0.5 m), or chooseCollision → Flatten Interior Barriers (Keep Outer Perimeter)/Collision → Remove / Flatten All Track Barriersfor true open-world driving!
- Click
(Full standalone page: Tutorials-4-Cars-Wrecks-and-Scatter-Brush)
-
Browse
🚗 Cars & Wrecks (37):- Open
Explorer → Modelsand click🚗 Cars & Wrecks (37)to browse shaded 3D studio thumbnails for all 31 playable cars, 5 trailers, andBUS (School Bus).
- Open
-
Ghost Place (
P) Snapped to Terrain Normals:- Select any vehicle or prop and press
P. The translucent cyan ghost glides acrossSCOLterrain, auto-tilting pitch and roll to match hill slopes (normal_to_pitch_roll). PressR/Shift+Rto rotate ±15° andLMBto stamp.
- Select any vehicle or prop and press
-
Scatter / Paint Brush (
B):- Press
Bto project the glowing green 3D terrain brush ring (Radius 3m–120m,Density 1–40,Random Yaw,Scale Jitter,Align to Normal, automatic AABB overlap rejection) and drag across the infield to paint junkyard car piles or forests in one undoable stroke.
- Press
-
Replace Selection With…(Trees → Wrecked Buses with Collision):- Select any existing trees, hay bales, or barriers, right-click →
Replace Selection With…, and pickBUS,HEARSE, orAMBULA_1. On compile (Ctrl+Shift+S/F5), your swapped and scattered vehicles are compiled directly intotrack.grf/c_<event>.va0with physical collision so you can smash into them in-game!
- Select any existing trees, hay bales, or barriers, right-click →
(Full standalone page: Tutorials-5-AI-Pathfinding-and-Custom-Modes)
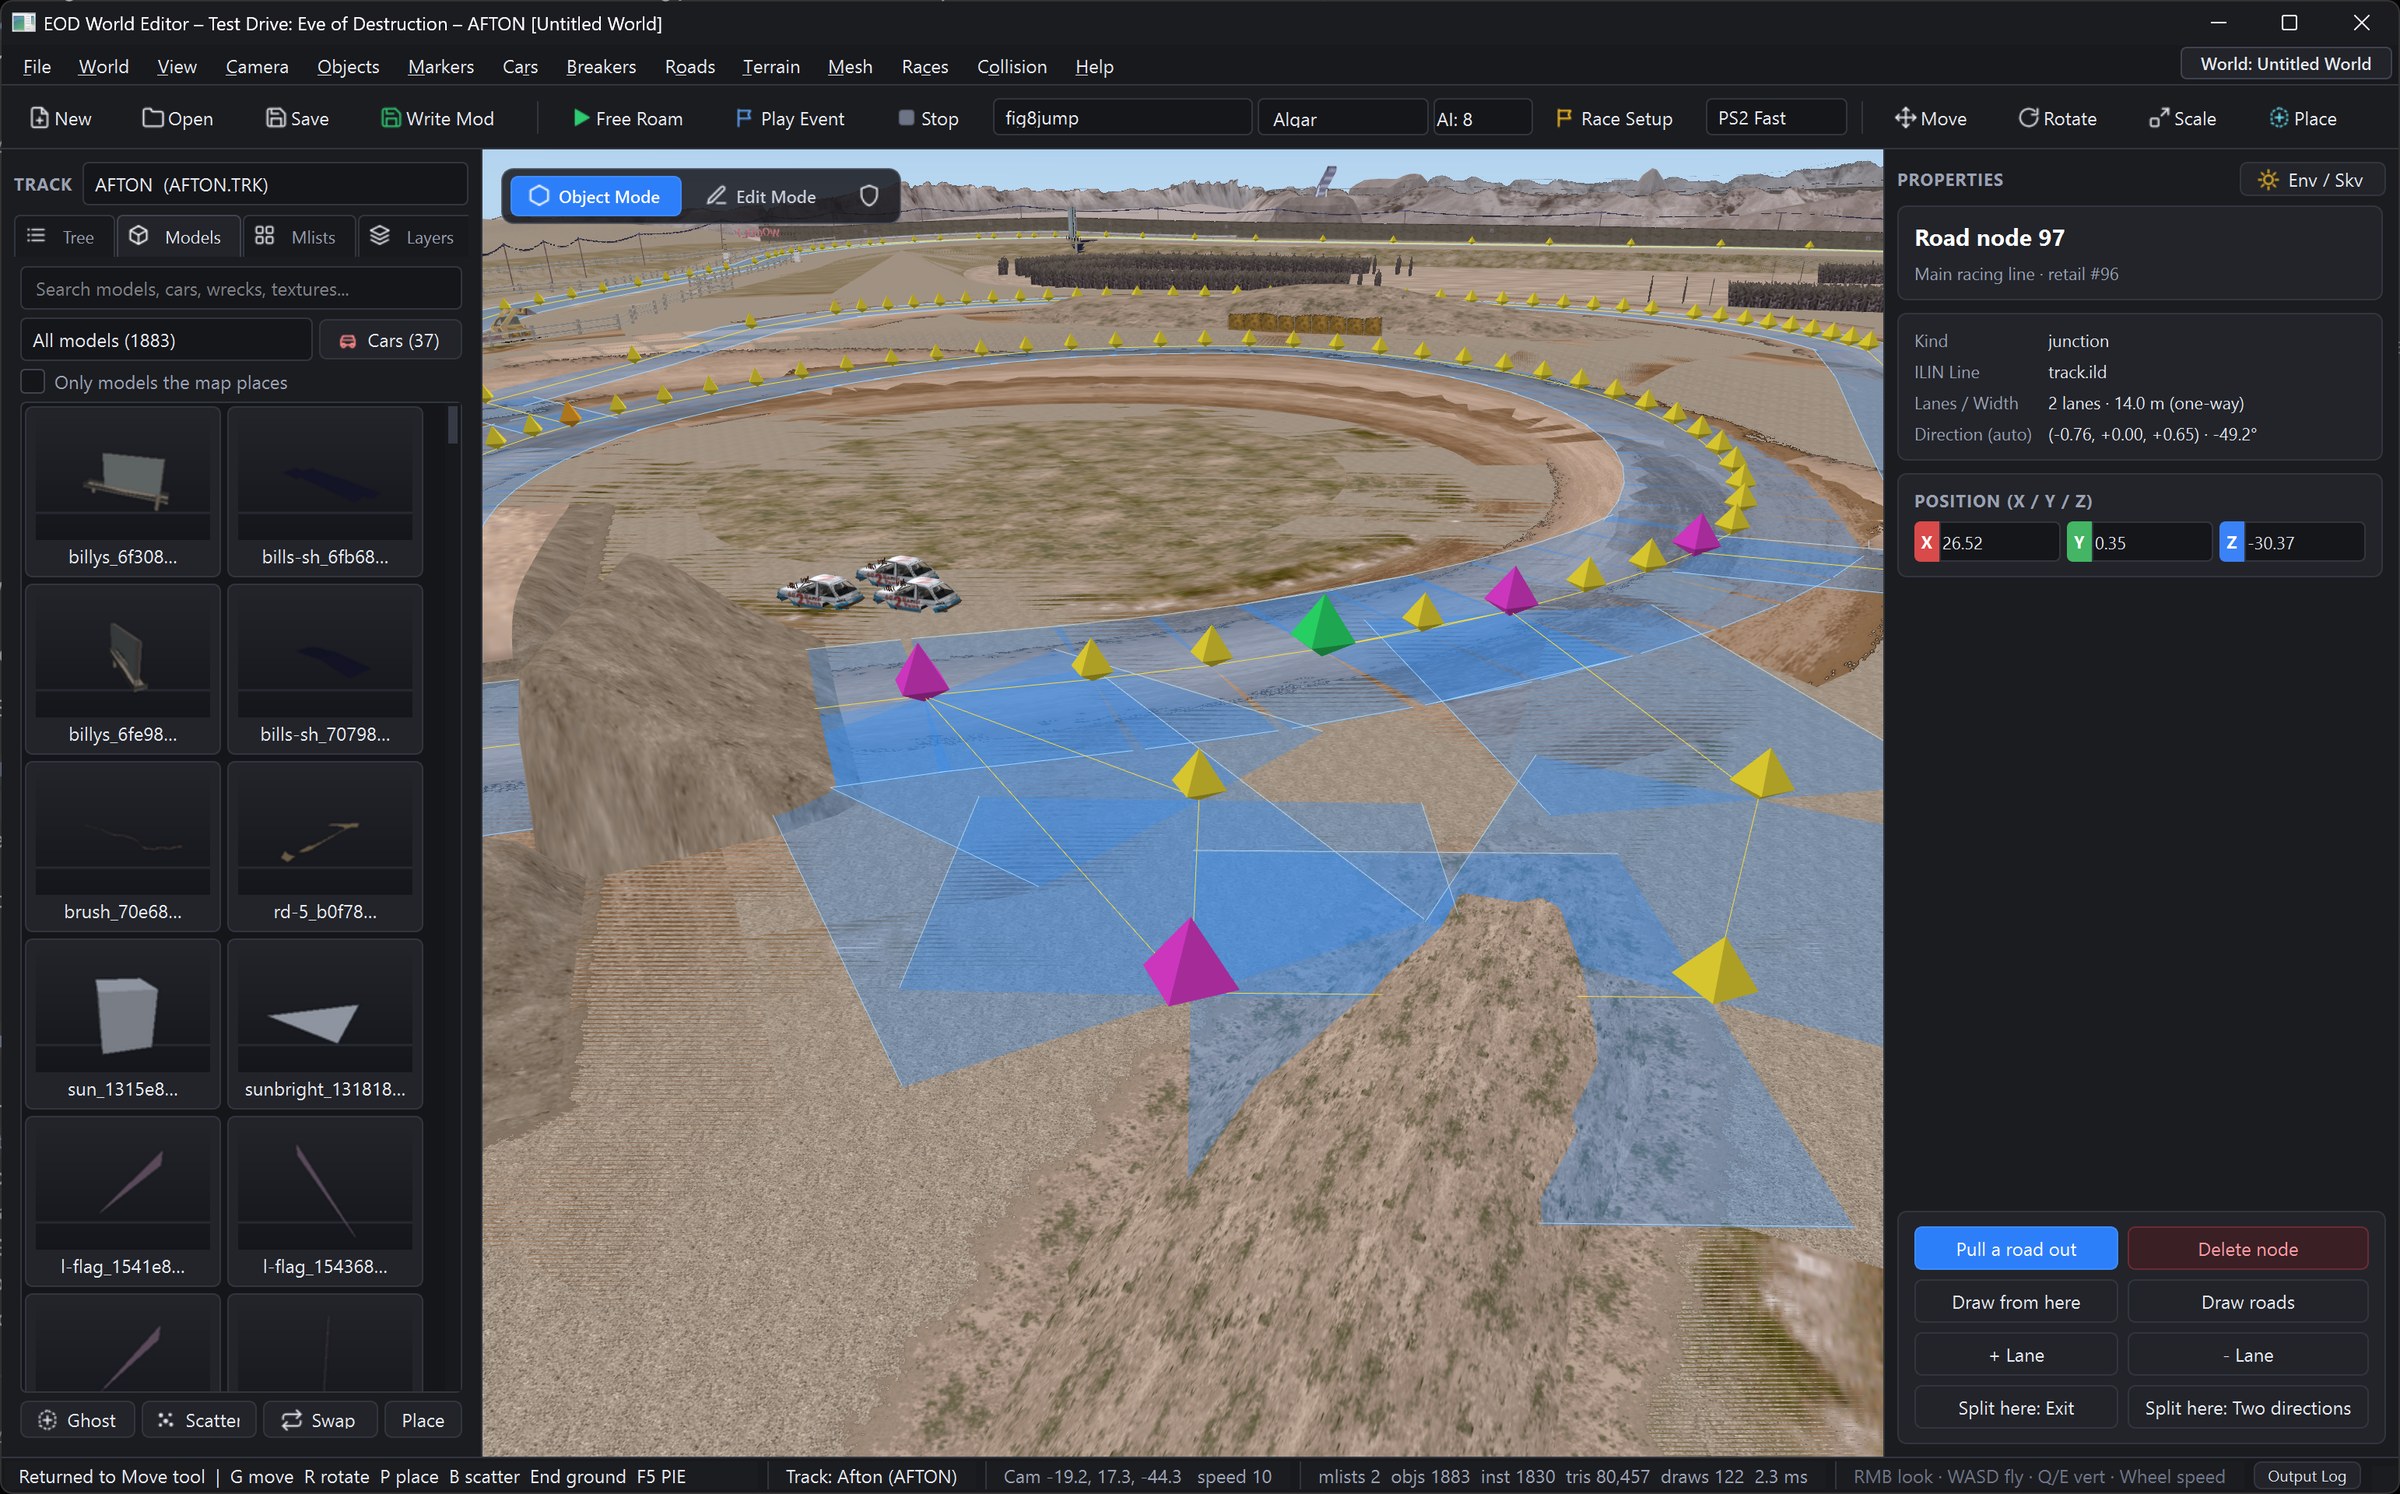
-
Edit 60-Byte
ILIN(.ild) AI Splines with theRoadTool:- Click
Roadin the toolbar to reveal the 3D directional racing-line ribbon and yellow/magenta diamond waypoint handles (oval.ild,fig8.ild,track.ild). - Drag nodes (
Whitehover) onto your new jump ramps or shortcuts, click segments (Cyanhover) to Split and insert waypoints, or link side branches (Greenhover). -
Auto-Recomputed Tangents & Lap Lengths: On save/compile,
tools/formats/ilin.pyautomatically recalculates every node's unit tangent (dirX, dirZat+8, +12),segLen(+24), cumulativedist(+28), the 3 header lap-length floats (+12/+16/+20), and the pointer fix-up table (+44) so AI drivers accelerate smoothly through your custom line!
- Click
-
Force Free Roam, AI Auto-Drive & Free Cam:
- In
⚙ Custom Race(Races → Custom Race & AI Editor…), force Free Roam on any race layout, check☑ AI Auto-Drive Player Carto watch AI test your newILINspline hands-free, and use Photo Mode (P11) for free-camera 8K captures.
- In
-
Set Up Custom Game Modes:
-
Tag / Keep-Away: Flatten interior
SOBLwalls on Dundas, scatter jump ramps in the infield, enableAI Vengeance(0x003C4190bit0x20—all AI hunt the player!) withAI Speed Scale = 1.15x, and try to survive in a nimbleMOTH. -
Cat & Mouse: Narrow the
ILINspline through a bus-lined gauntlet on Woodly or Gilroy and pit fast Compacts (MOTH,BLITZ) against heavyBUS/HEARSEblockers. -
Fat Kid / Juggernaut: Drive an invincible
BUS (School Bus)withChicken Blast Force = 3.0x(75,000 N) andTurbo Scale = 1.5xagainst 8 fast runners—or flip the roles and survive in aMOTHagainst 3 explosive-chicken-firing AI School Buses!
-
Tag / Keep-Away: Flatten interior
(Full standalone page: Tutorials-6-4K-Textures-Skyboxes-and-NASCAR)
-
Click-Surface 4K Texture Swap (
HOSTTEX/.eodhtx):- Click any 3D object → Texture / Material Inspector → click
🖼 Replace PNG…and choose any power-of-two upscaled PNG ($1\times..32\times$ , up to4096×4096). - The viewport updates on the next frame, and compiling (
Ctrl+Shift+S/F5) automatically emits a mipmapped.eodhtxfile +HOSTTEX/replacements.tsvkeyed by FNV-1a 64indexKey/paletteKey.
- Click any 3D object → Texture / Material Inspector → click
-
Skybox Swapping & Atmosphere (
☀ Env / Sky):- Pick 1-click mood presets (Golden Sunset, Anoka Night, Overcast Storm), adjust Sun/Fog sliders at 60 FPS, or use
Borrow Sky From Track…to transplant all 32sky01A..16B.texdome tiles from another track viaHOSTTEX.
- Pick 1-click mood presets (Golden Sunset, Anoka Night, Overcast Storm), adjust Sun/Fog sliders at 60 FPS, or use
-
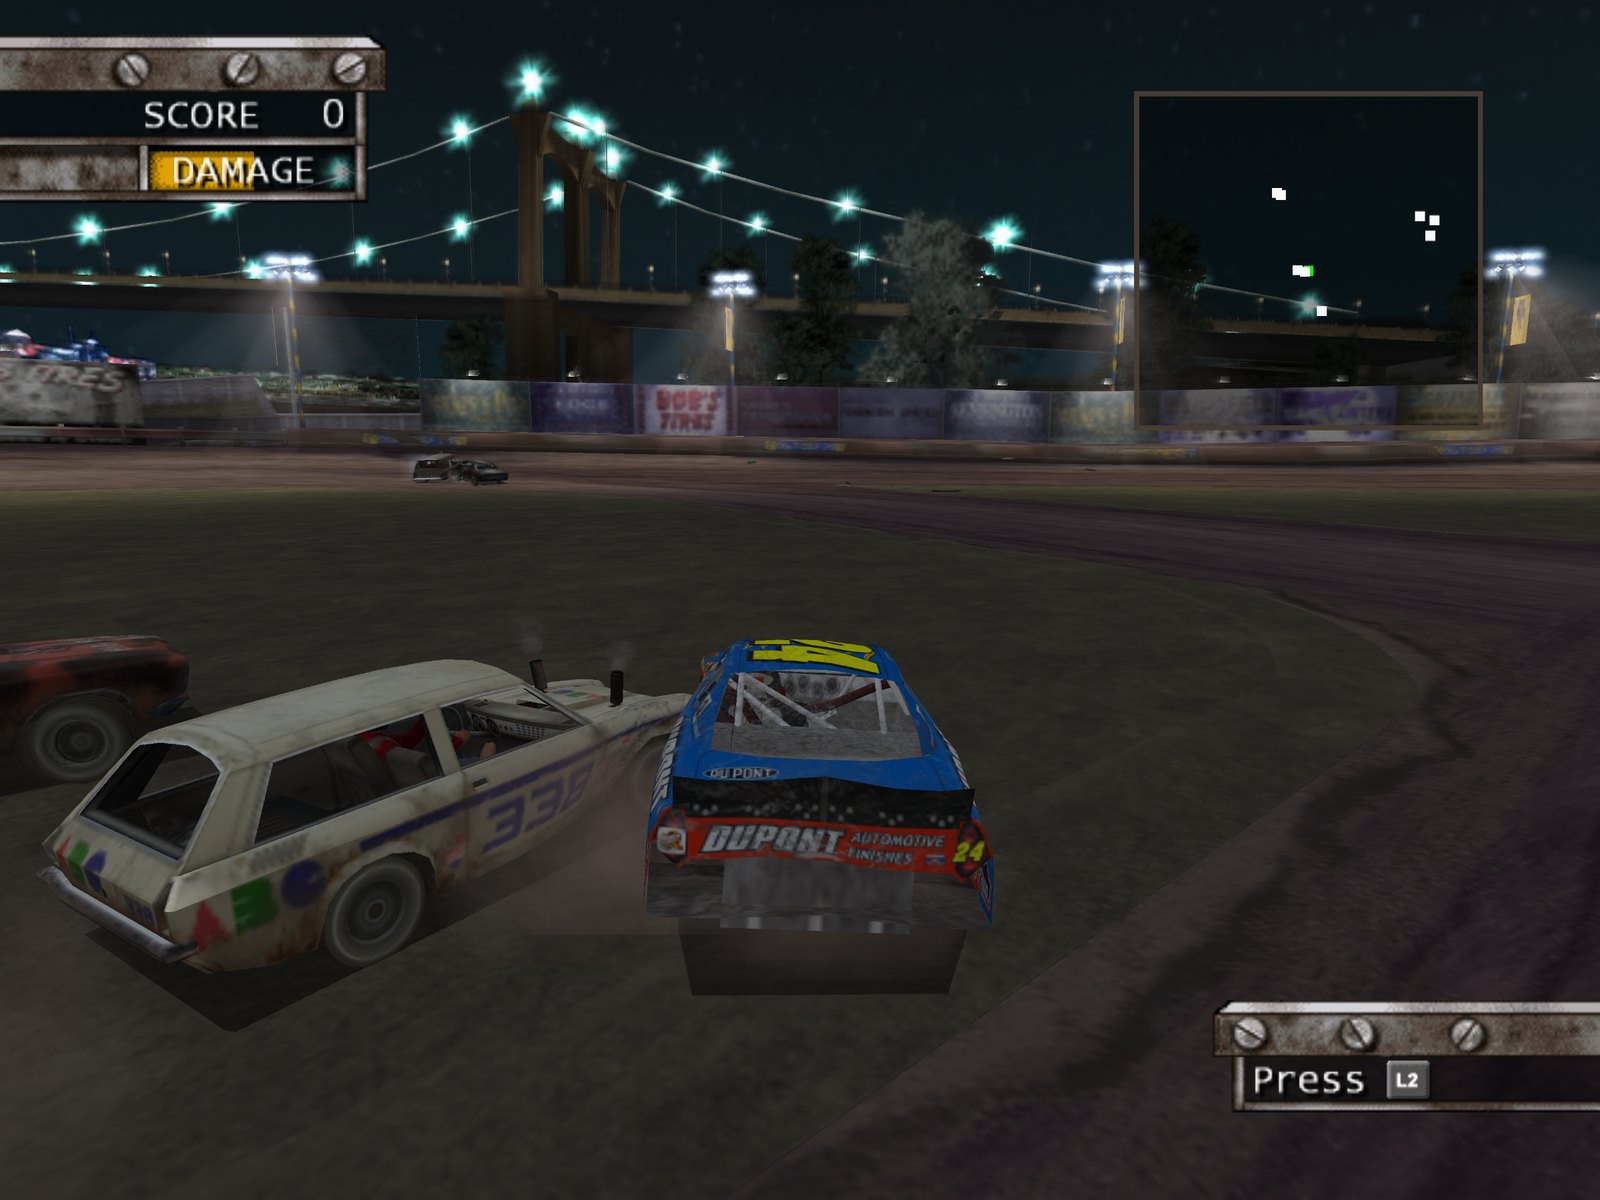
Import NASCAR: Dirt to Daytona (
SLUS_204.41) Stock Cars (tools/import_nascar_cars.py):Automatically transcodes VIFpython tools/import_nascar_cars.py --nascar-data "D:\NASCAR\DATA" --eod-data "D:\EOD\DATA" --output "mods\nascar_cupcar" --kind stock --name Cupcar --number 777 --class midsize --paint Car24.tex
MSCAL 0x2D → 0x5CandV4-5 → V4-8normals, generates a 157-boneBone.mvldamage skeleton, upgradesTEXv9 → v10 liveries inCT.RES, and imports independent slow/fastncu0..4f.modCup wheels intoRACE.RES. -
Live Suspension & Gearing Tuning (
physics.valvs.SETU):- Ignore legacy
.gar(SETU) files (verified unused bySLUS_209.10!). EditDATA/CAR/<CAR>.CAR#physics.val(mass,spring_factor,grip,slip,brake_factor,damage_scale,g1..g4,rear_end_ratio,redline,wheel_class) in the VALT Schema Inspector for immediate in-game handling changes.
- Ignore legacy
(Full standalone page: Tutorials-7-Packaging-and-Sharing-Mods)
-
Export Legal Delta-Only
.eodmodPackages (Ctrl + Shift + E):- Use
File → Package Mod as .eodmod…(orpython tools/mod_package.py from-project ...) to bundle only modified archive members (native/), 4KHOSTTEXreplacements (host/),.eodworld.jsonsub-record deltas (deltas/), and apreview.pngthumbnail into a compact50 KB – 8 MB.eodmodfile with cryptographic SHA-256 verification.
- Use
-
1-Click Install & 3-Tier Conflict Merging (
tools/mod_install.py):- Drag-and-drop
.eodmodfiles onto the World Editor (or runpython tools/mod_install.py install <pkg> --disc <disc>). -
3-Tier Hierarchical Composition: Automatically merges mods editing disjoint members in the same
.TRK(Tier 1), merges non-overlapping object/barrier/ILIN/VALT sub-records viadeltas/*.eodworld.json(Tier 2), and prompts for an explicit winner (accept-conflict) only on true same-record collisions (Tier 3).
- Drag-and-drop
-
Multiplayer Netplay Parity (
0Desyncs):- Verify all peers share matching
active/PROFILE.TXTnative member hashes for physics-affecting archives (.TRK,.CAR,COMMON.RES). Visual-only settings (HOSTTEX4K textures,RenderScale1x–8x, andF9Classic vs. Modern) are 100% client-independent and never cause netplay desyncs!
- Verify all peers share matching