Repository navigation
06. Imaging
Overview. Every control on this screen has detailed built-in help: hover it, press F1, or click the ? beside the title. See Built-in Help.
The Imaging screen is the live capture and preview screen. Use it for manual exposures, exploring exposure settings, and monitoring a target in real time.
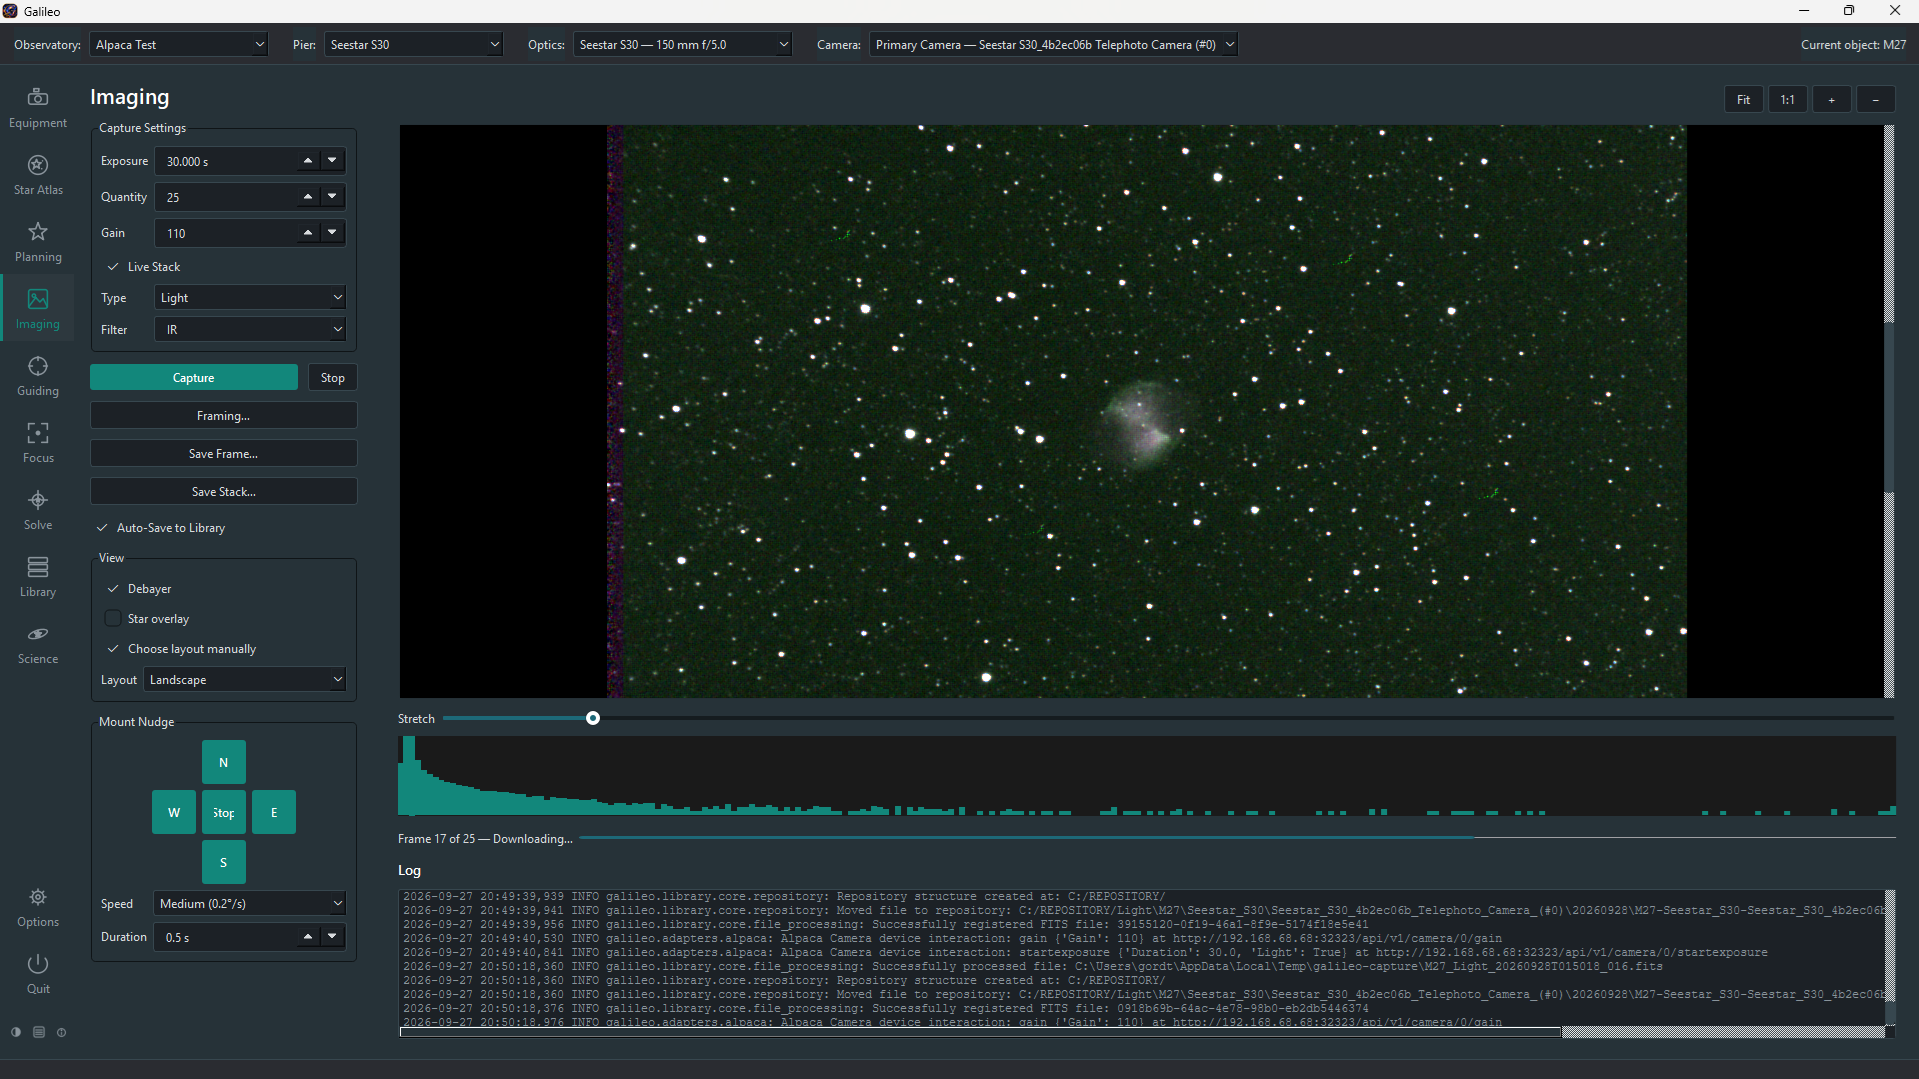
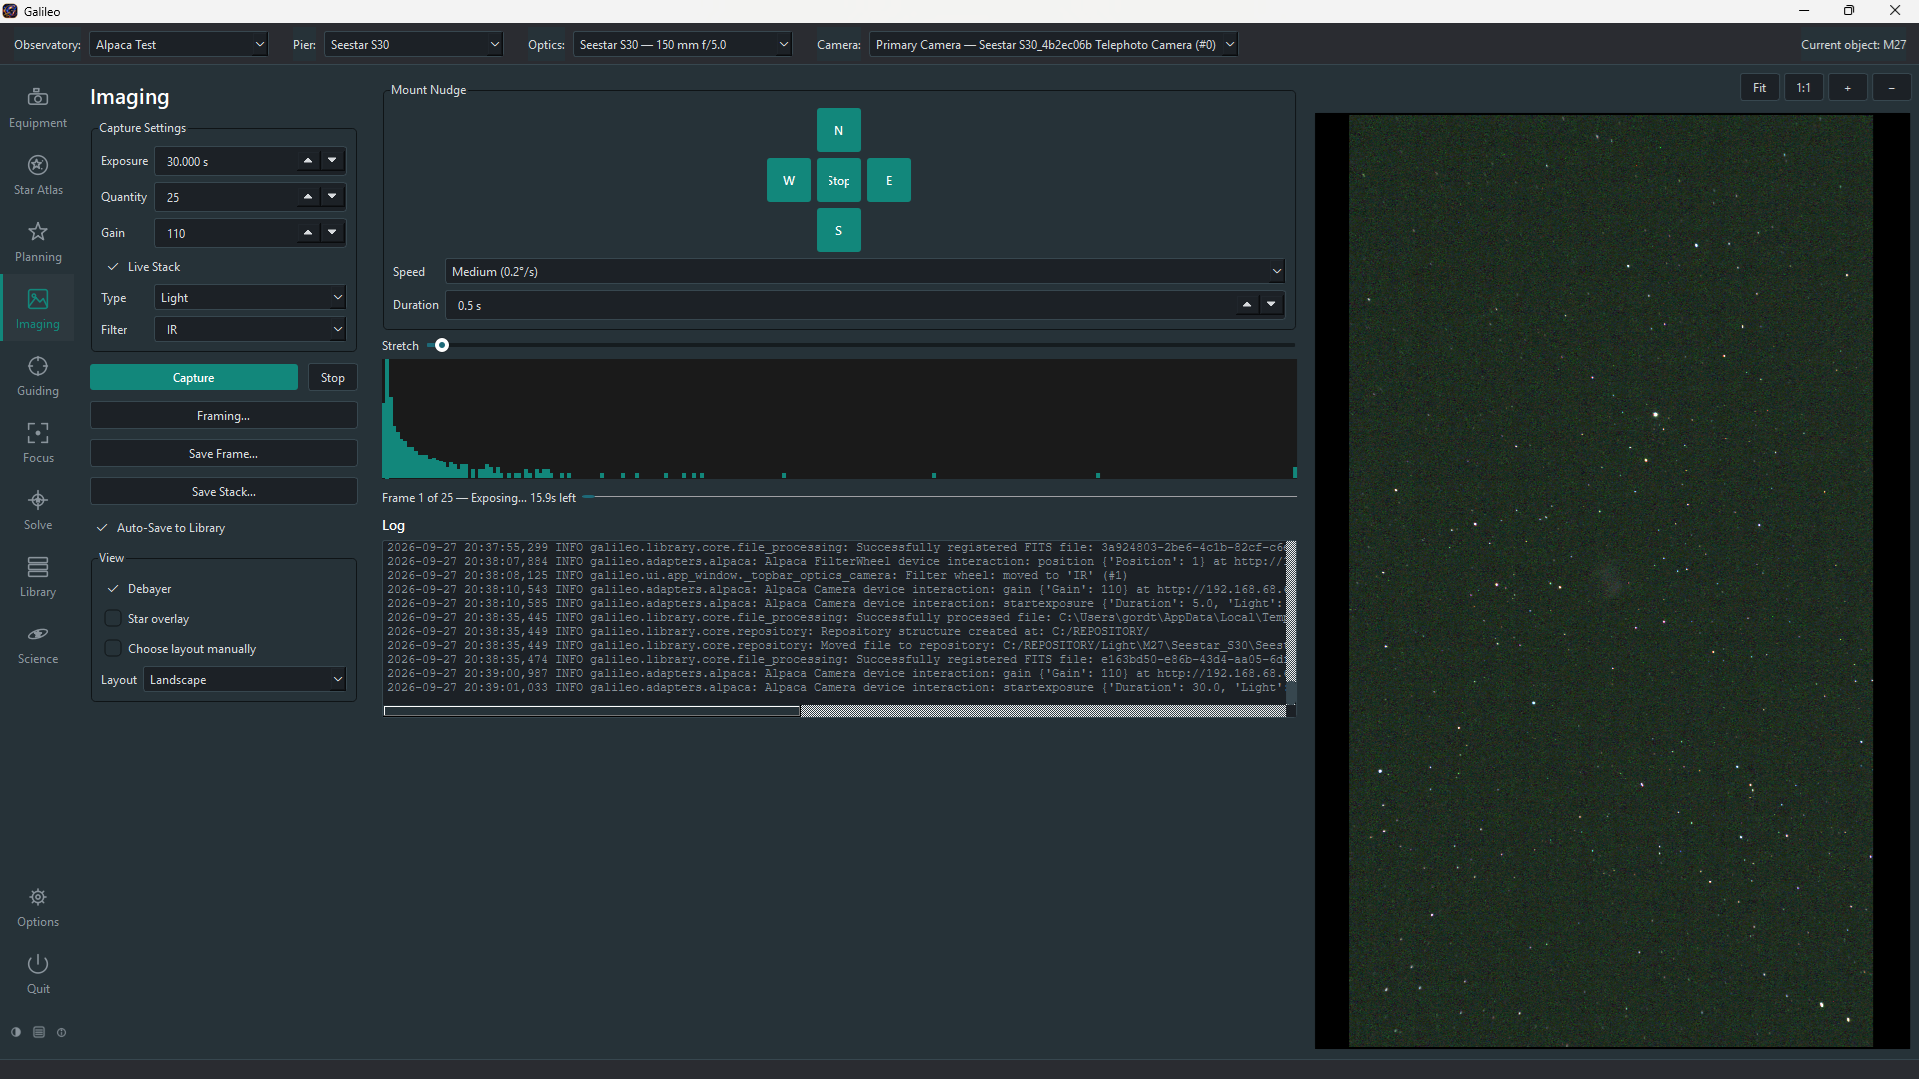
For portrait-oriented sensors the layout rearranges automatically:
- Prerequisites
- Capture settings
- Taking an exposure
- Preview and histogram
- Mount Nudge
- Live Stack
- Flat frames
- Dark frames
- Framing and mosaics
- Saving frames
- Layout modes
- A camera must be saved and connected under Equipment > Camera. The status bar shows "Connected to primary camera '…'" when it is ready. If it shows "No camera connected", go to Equipment > Camera, pick the device, click Save, and then re-select the Pier to trigger auto-connect.
- Optional: a filter wheel for multi-filter work, a mount for nudging, and optics configured under Equipment > Optics.
The settings panel on the left contains:
| Setting | Notes |
|---|---|
| Type | Light, Dark, Flat or Bias. Dark, Flat and Bias are used to build calibration frames for the Library. |
| Exposure | Exposure time in seconds (0.001 s – 3600 s). |
| Quantity | How many frames to take in succession. Default 1. |
| Gain | Sensor gain in the camera's native units. |
| Offset | Sensor offset (bias pedestal). |
| Filter | Appears when a filter wheel is associated with the selected optics. Choosing a filter moves the wheel before the capture starts; the status bar confirms the move. |
| Bin | Pixel binning (1×1, 2×2, etc.) if the camera supports it. |
- Set Type, Exposure, Quantity and Filter as needed.
- Click Capture. A progress bar and countdown show while the camera exposes and downloads; the window stays responsive throughout.
- The frame appears in the preview area as soon as it downloads. With Quantity > 1, frames appear one after another; click Stop to end the run after the current exposure finishes (the exposure already in progress is never aborted mid-frame).
The preview panel on the right shows the most recent frame with an auto-stretch applied. Controls along the top of the preview:
| Control | Effect |
|---|---|
| Pan / zoom | Drag to pan; scroll wheel or toolbar buttons to zoom |
| Stretch level | Slider to adjust the auto-stretch strength |
| Debayer | Show one-shot-colour (OSC) frames in colour. Only affects the preview — saved files keep the camera's raw Bayer data. If colours look wrong, check the Bayer pattern on Equipment > Camera. |
| Annotate | Overlay plate-solve annotation (object names, star IDs) on the preview (requires a solve first) |
The histogram below the settings panel shows the pixel-value distribution of the last frame. A summary line above it gives: mean, median, min, max, star count and HFR (half-flux radius — lower is sharper).
The Mount Nudge panel lets you jog the connected mount without leaving the Imaging screen — useful for centring a target between exposures.
| Control | Effect |
|---|---|
| N / S / E / W buttons | Nudge the mount in that direction |
| Rate | Slew rate (guide, centre, find, slew) |
| Duration | How long each button press moves the mount (seconds) |
Live Stack registers and co-adds incoming frames in real time into one improving composite image. Toggle it with the Live Stack checkbox.
- Requires at least 3 frames before a stack is shown (fewer frames cannot be usefully registered).
- Uses astroalign for star-pattern registration where installed.
- The stack image is not saved automatically. Use Save Stack… to save it:
- Save to Library: registers it in the catalog like a normal frame.
- Save to File…: writes it to a path you choose.
- The stack resets when a new run starts or when Galileo exits. Save it before starting a new run if you want to keep it.
Click Flats… on the preview toolbar to open the Flats Assistant, which takes a set of flat frames for you:
| Method | How it works |
|---|---|
| Sky Flats | Waits for twilight, points the mount at a star-poor patch of sky and adjusts each exposure to the right brightness. Needs a mount and the Observatory's latitude/longitude. |
| Flat Panel | Drives a connected flat panel (Equipment > Flat Panel) — cover closed, light on. |
| Observatory Panel | A fixed, light-only panel in the observatory. |
Leave the exposure on Calculate to have Galileo work it out from the camera's Max well depth (Equipment > Camera), or set it yourself. Filter: All repeats the run for every filter in the wheel. Each frame is saved to the Library.
Click Darks… to open the Darks Assistant: list the exposure lengths (for example 10,20,30,60), cover the telescope, and press Start — one dark is captured at each length and saved to the Library.
Click Framing… to open the Framing Assistant: your camera and telescope's field of view drawn on a real sky survey picture, so you can compose before you shoot. Set the target and rotation, and optionally a mosaic grid (columns, rows and overlap); rotation turns the whole mosaic grid about its centre, and with a rotator connected OK also turns the rotator to that angle. A mosaic can be captured directly from the Imaging screen or from a session's Image block. Annotate labels the stars and deep-sky objects in the current frame.
Galileo has two independent save mechanisms — use either, both, or neither for any given run:
| Save Frame… | Auto-Save to Library | |
|---|---|---|
| Trigger | Manual button click after capture | Automatic — every frame in the run |
| What it writes | One FITS file to a path you choose | Writes to a scratch folder, then the Library indexes and moves it |
| Tracking | None — Galileo forgets the file | Appears on Library > Images, filed by object and session |
| Requires | Nothing extra | A repository folder set under Options > Library |
Leave Auto-Save to Library ticked (the default) for a normal session so every frame lands in the catalog without extra clicks.
The layout adjusts automatically to the shape of the captured frame:
- Landscape / square frame (the default): preview on the right, settings and histogram on the left.
- Portrait frame (taller than wide): preview becomes a full-height left column; histogram, progress bar and log move into a centre column.
To keep the layout fixed regardless of frame shape, use View > Choose layout manually, which reveals a Portrait / Landscape toggle. Unticking it restores automatic switching.
View > Panels… lets you hide the View, Mount Nudge, Stretch, Histogram, Progress and Log panels and change their order within a column. The arrangement is saved for your user account and restored at start-up; Reset Layout puts everything back. Every control has built-in help.