Manual Install Azure Resources
Manual installation - stage 1 of 3. Overview | Next: 2. Deploy the binaries
A key pillar of Microsoft 365 Advanced Analytics Engine is Azure Application Insights and the data raised by that platform. In addition to storing the data in Application Insights, we need to export it outside of Application Insights before the 3-month retention limit, so more services in Azure are required.
Create storage account to use for web-jobs storage.
Locally Redundant Storage (LRS) is fine for this scenario, and the most economical.
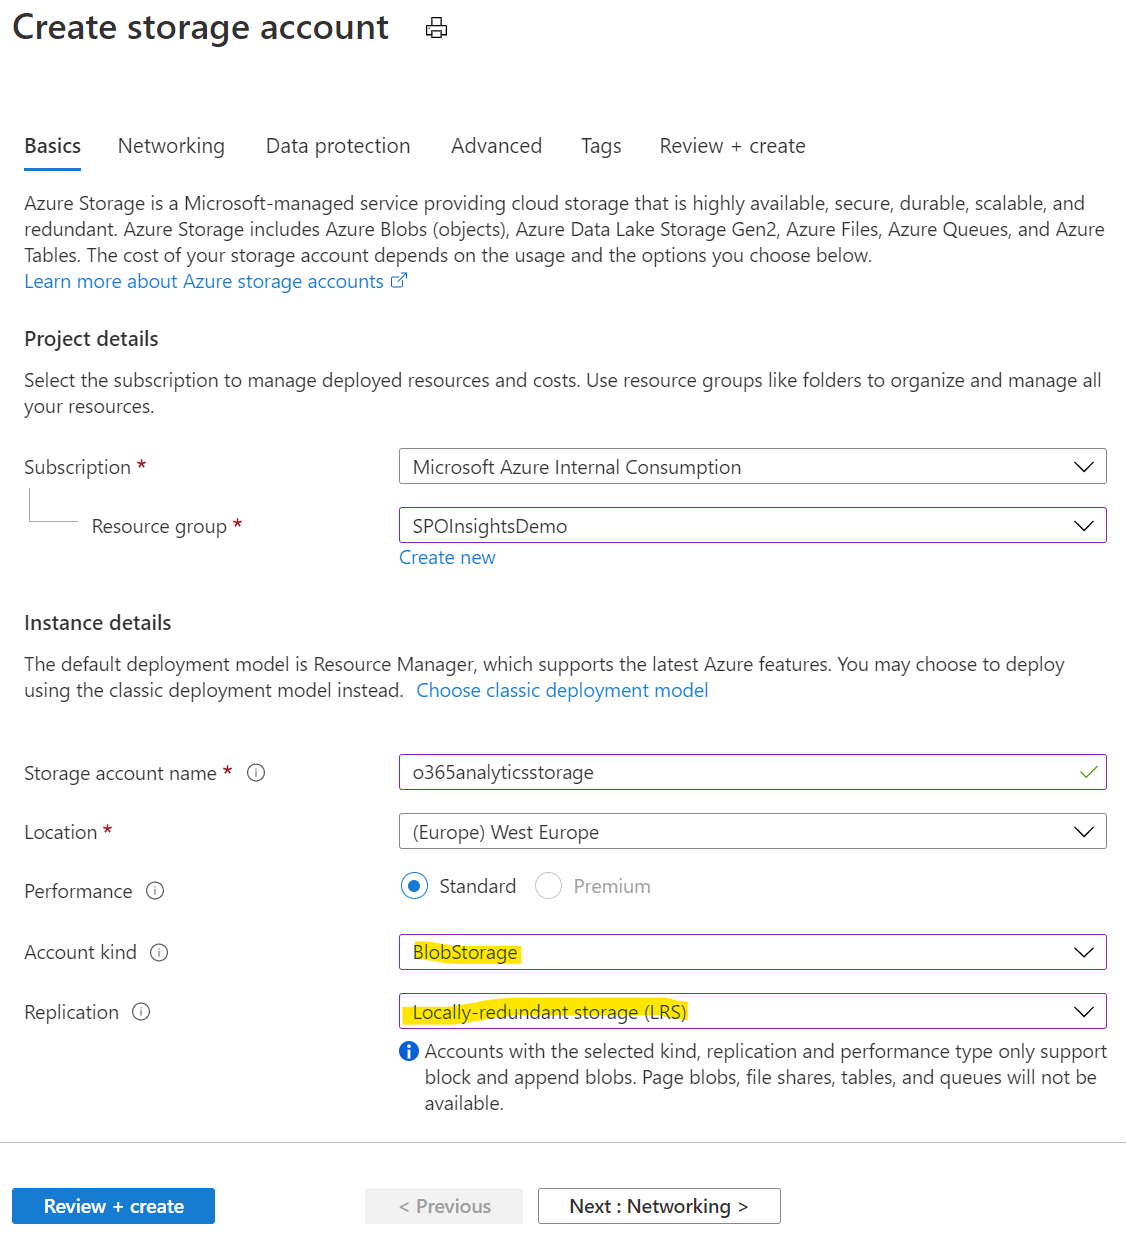
Copy the connection string for this storage account; they will be needed to configure the web-jobs later.

Keep a copy of this key. We’ll need it for later.
Application Insights is what Microsoft 365 Advanced Analytics Engine uses to build user session data.
Create Application Insights app to receive telemetry data from SharePoint. Use the same region as your storage account to avoid unnecessary data transfer fees.

Recommended: create a workspace-based instance, which will also create a log analytics instance too. Classic-based Application Insights will be deprecated in the coming years.
-
Take note of the Application Insights instrumentation key, from properties blade.

You also will need this instrumentation key later to configure the client-side code (AITracker.js) for Microsoft 365 Advanced Analytics Engine.
The instrumentation key is also the "AppInsightsInstrumentationKey" value used for web-job trace logging, and optionally "APPINSIGHTS_INSTRUMENTATIONKEY" configuration value used for Azure app-service general runtime logging.
-
Configure API access to Application Insights. Create a new API called "O365 Adv Analytics" and add permissions "Read telemetry" only. Click "generate key"
-
Copy the key value of the new permission:

The key value is the "AppInsightsApiKey" configuration value for the app-service.
-
Back in the previous screen, copy the "Application ID" value. This is the "AppInsightsAppId" configuration value.
Application Insights is now fully configured.
An Azure App Service is needed to host the web-jobs that perform the data processing in Microsoft 365 Advanced Analytics Engine: both to import the data from Application Insights, and to import activity data from Microsoft 365.
No website content is needed; it’s purely for the continuously running web-job functionality we need an App Service.
Note: It is also possible to just run these web-jobs as normal console applications on any Windows PC if App Services is not viable.
- Create web-app (app service) to host the import web-jobs.
- Create service-plan if needed. Requirements.
- App-plan scale: Basic (B1) – important: remember to scale-up later if this is for production!
- Location: same location as storage account.
- Operating system: Windows.
- Create service-plan if needed. Requirements.
- New App Service details:
- Operating system: Windows
- Runtime stack: ASP.NET 4.8
- Location: same location as storage account.
- Enabled Application Insights (monitoring tab): no – we don’t a separate instance from what we’ve already created.
- Operating system: Windows

- Confirm the App Service SCM endpoint is reachable over HTTPS:
- The endpoint is
https://<app-name>.scm.azurewebsites.net. - If outbound traffic is restricted, allow TCP 443 to this hostname.
- If the App Service is private-only, run the deployment from a machine connected to the configured VNet with working private DNS.
- The endpoint is
Later, the website and WebJobs will be sent to this endpoint as one ZIP package – see Deploy the binaries.
More information: https://learn.microsoft.com/en-us/azure/app-service/deploy-zip
Microsoft 365 Advanced Analytics Engine data is held within a SQL Server database, either on-premises or preferably in Azure SQL Database. We recommend creating a database in Azure DB:
-
Create new SQL Database Server..
-
Search at the top of Azure portal "SQL" and select "SQL servers".
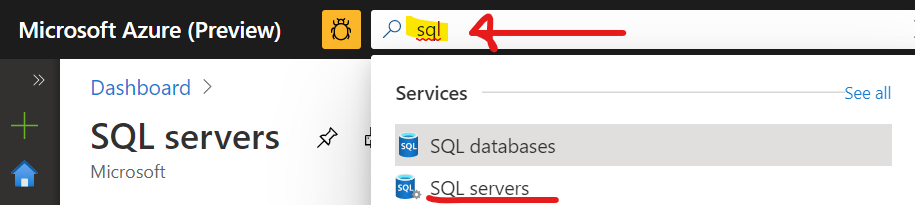
Note: a "SQL server" is not actually a server, just a virtual endpoint which will host databases later.
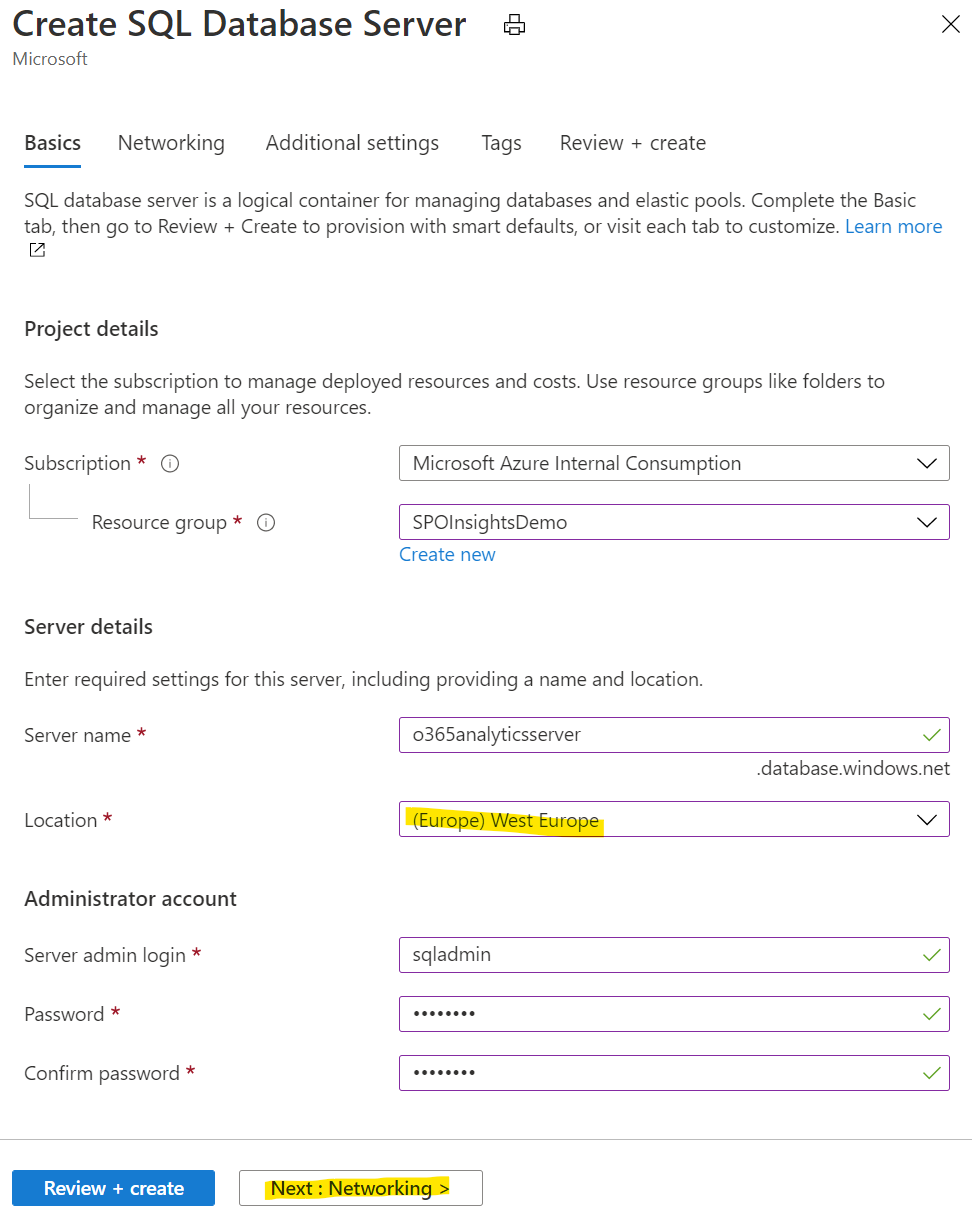
New server details:
-
Same location as app-service.
-
Server name as you wish.
-
Create admin logon + password. Save these details for later. We need them to build a database connection-string.
-
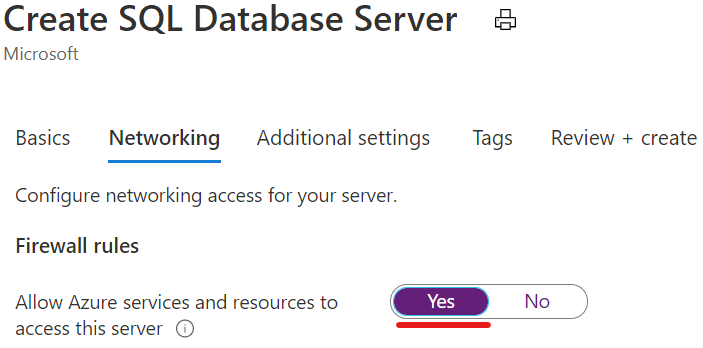
In networking, make sure you enable
-
-
..or select existing server in same region as App Service + storage account.
-
Create new database on the SQL server you created/selected:
- Basic tier should be fine initially for testing, but production databases should be on a minimum of S0.
- No elastic pool.
- Default collation for the database (SQL_Latin1_General_CP1_CI_AS).
Your database should now be ready!
The full connection-string we’ll formulate & configure later, when you deploy the binaries.
The solution depends on a Redis instance for various caching layers, so we need to create one.
- Search for "Azure Cache for Redis" and create an instance.
- Cache type: can be basic C0, as we do not make heavy use of Redis.
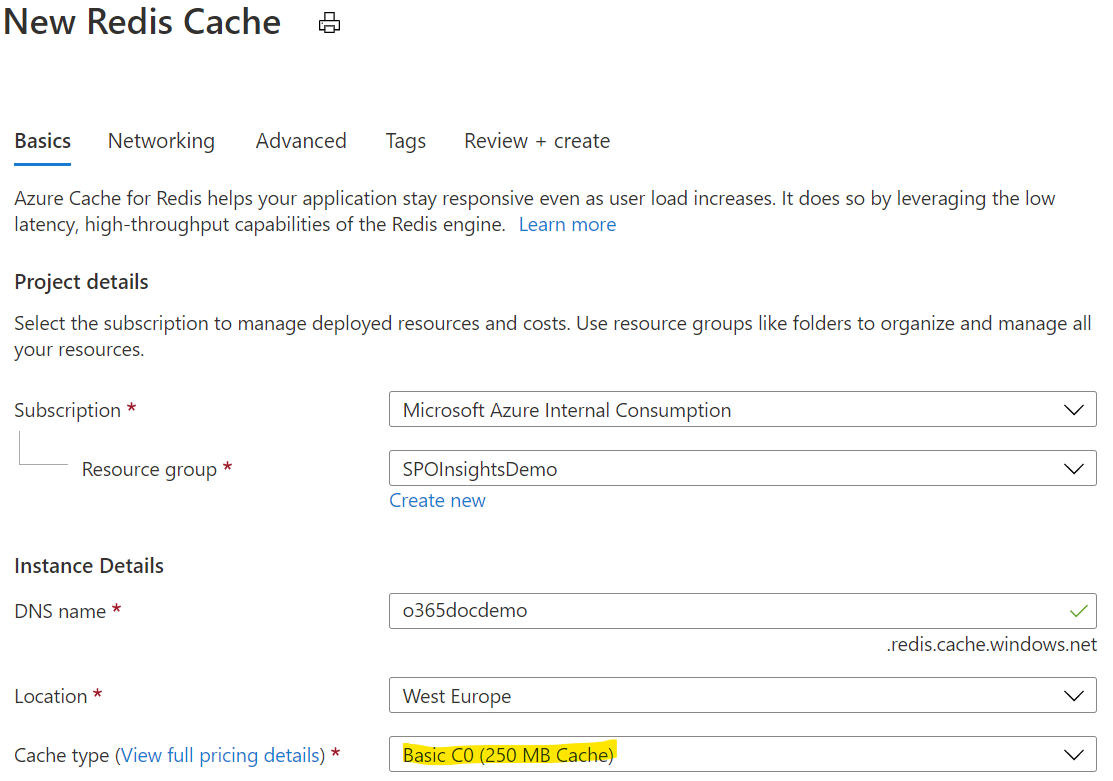
- Leave the defaults and let it create.
- Once created, copy the primary connection string, and save the value for later:
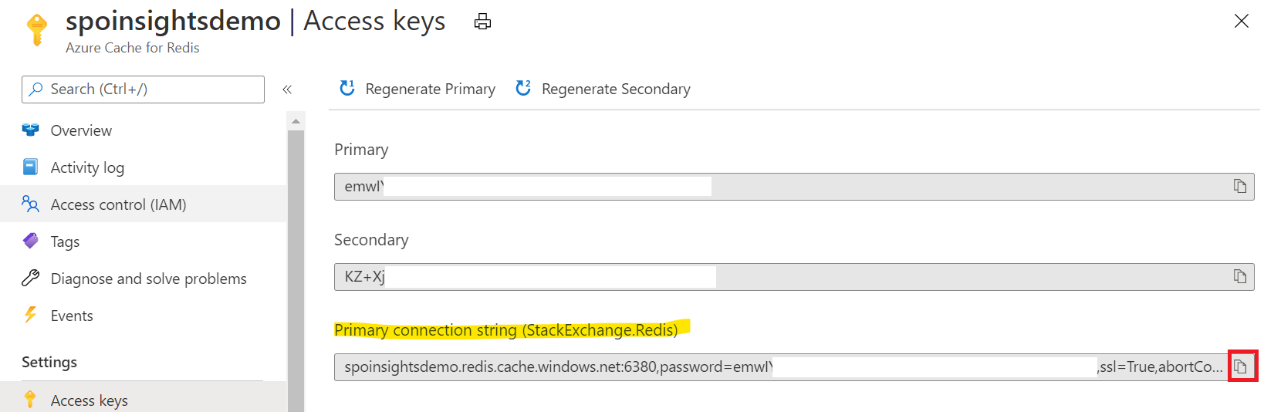
The solution uses service-bus to queue asynchronous events for background processing, for example incoming call notifications.
- Search for "Service Bus" and create a new namespace.

Basic tier is enough for our needs for this solution, for now.
-
Once the namespace is created, we need to add a queue with name "graphcalls".

The default values are fine.
-
Add access policy to the namespace root.

- Name "ListenAndSendPolicy", permissions "listen" and "send".
-
Once created, click on the policy to copy the connection string:

-
At the end of this copied value, add to the end ";EntityPath=graphcalls" (no quotes).
-
Your connection-string should look like something this:
Endpoint=sb://contosoanalytics.servicebus.windows.net/;SharedAccessKeyName=ListenAndSendPolicy;SharedAccessKey=XYZ=;EntityPath=graphcalls
-
Save Service-Bus connection-string value & store for later:
-
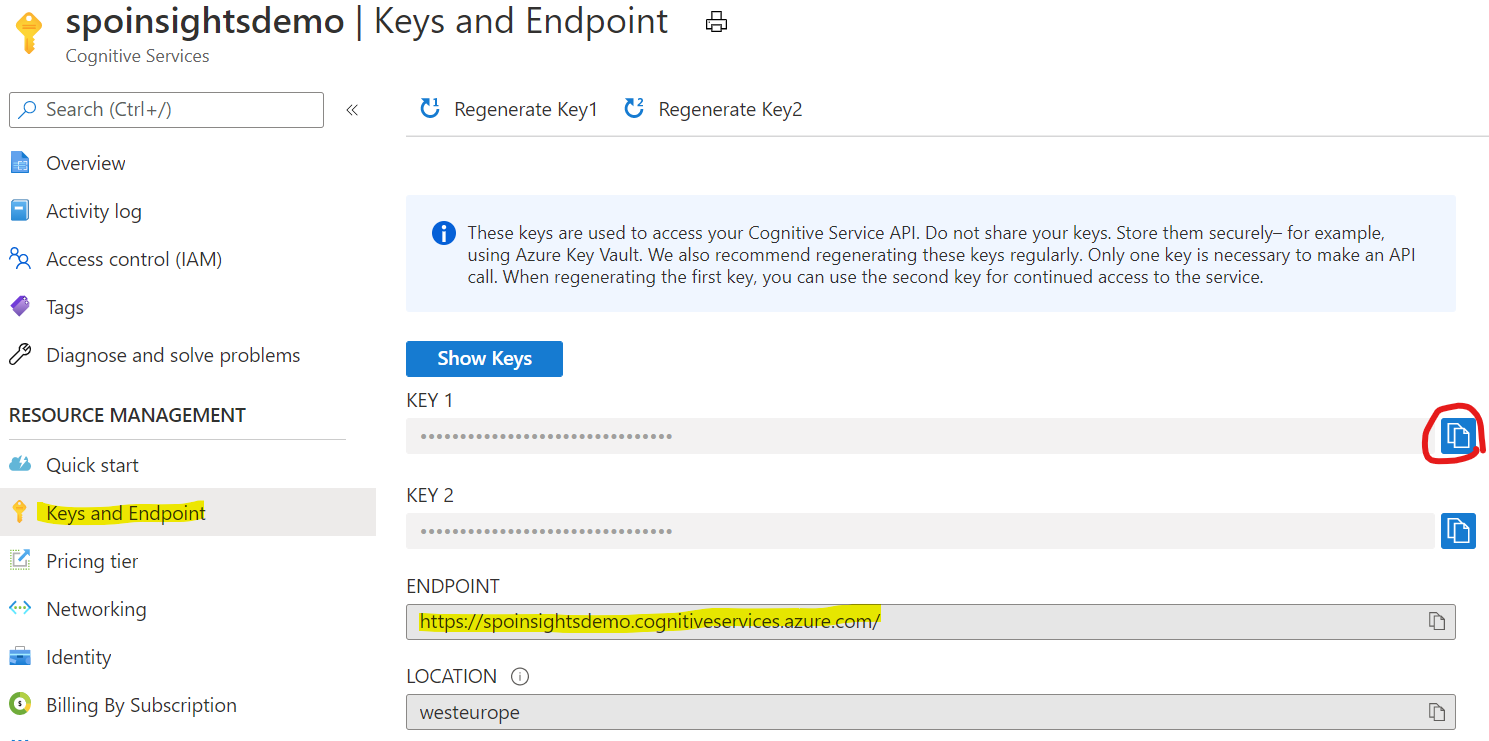
The solution can use cognitive services to extract sentiment analysis from Teams channel chat and other areas of Microsoft 365, if enabled. If this is wanted, we need to create a service for it.
Search for "cognitive services" in the marketplace.
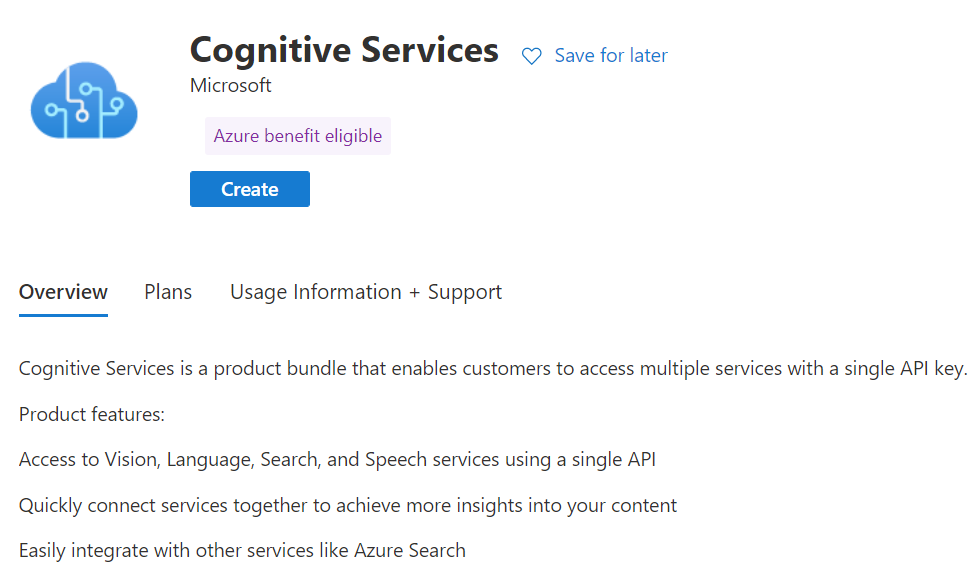
Create a new resource.
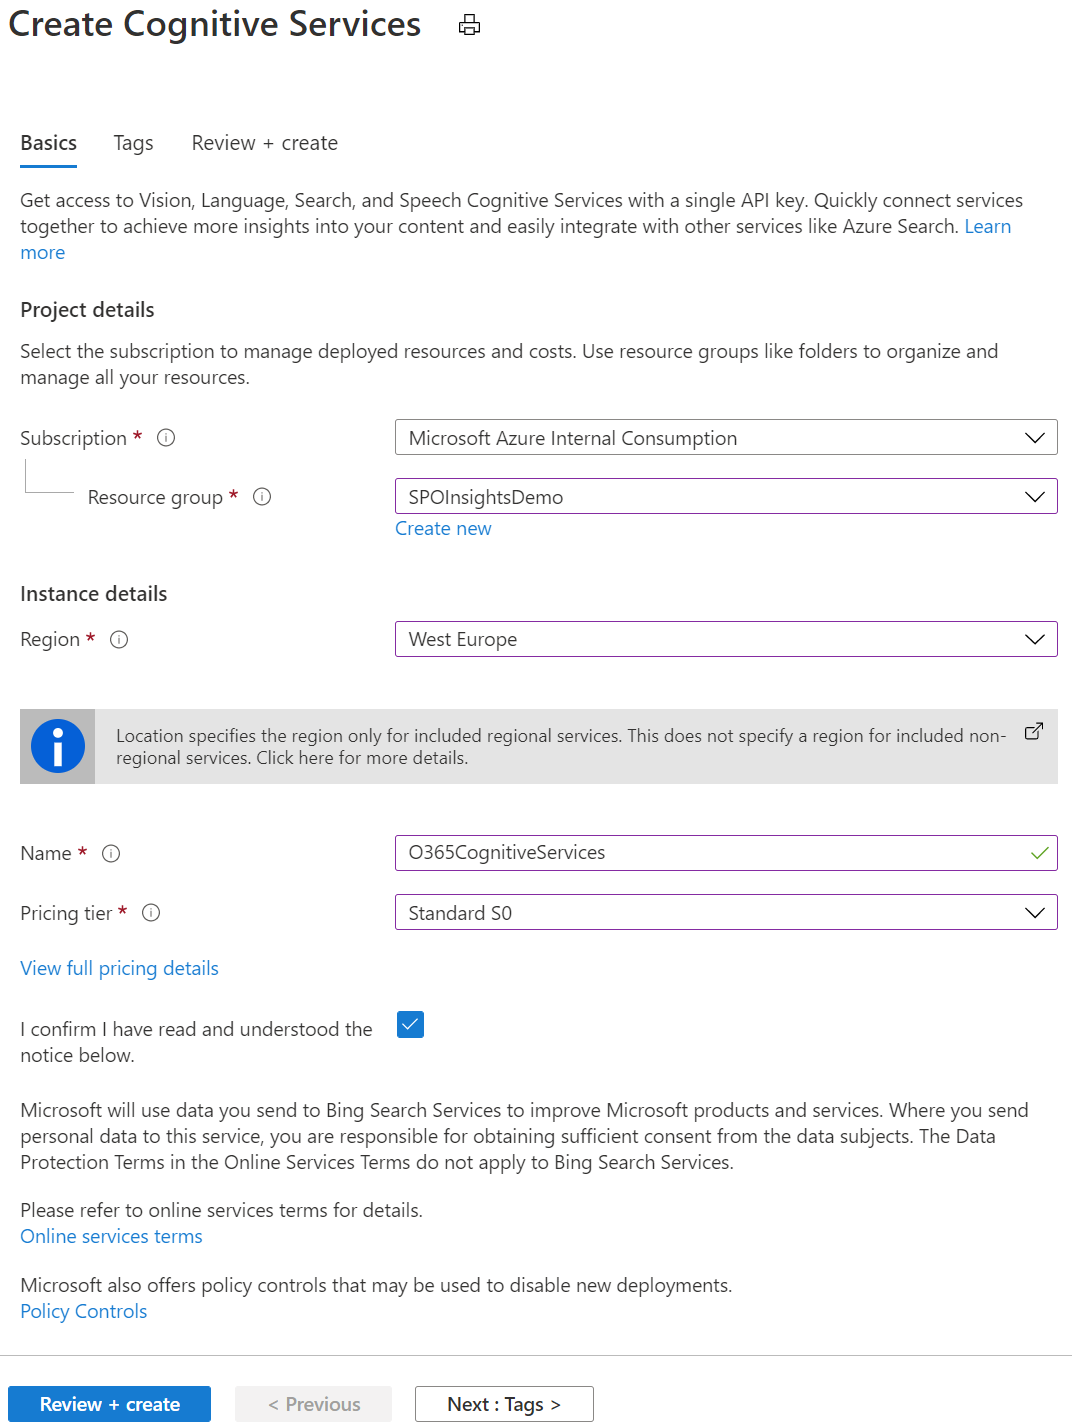
Ensure the same location is used as the rest of the solution.
Once created, copy the endpoint & 1st key values & store for later.
All Azure PaaS resources have now been created!
Next: Stage 2 - Deploy the binaries - publish the web-jobs and website, then set the connection strings and app settings.