Home
Stream your Nintendo 3DS to your PC — Windows, macOS and Linux, one app.
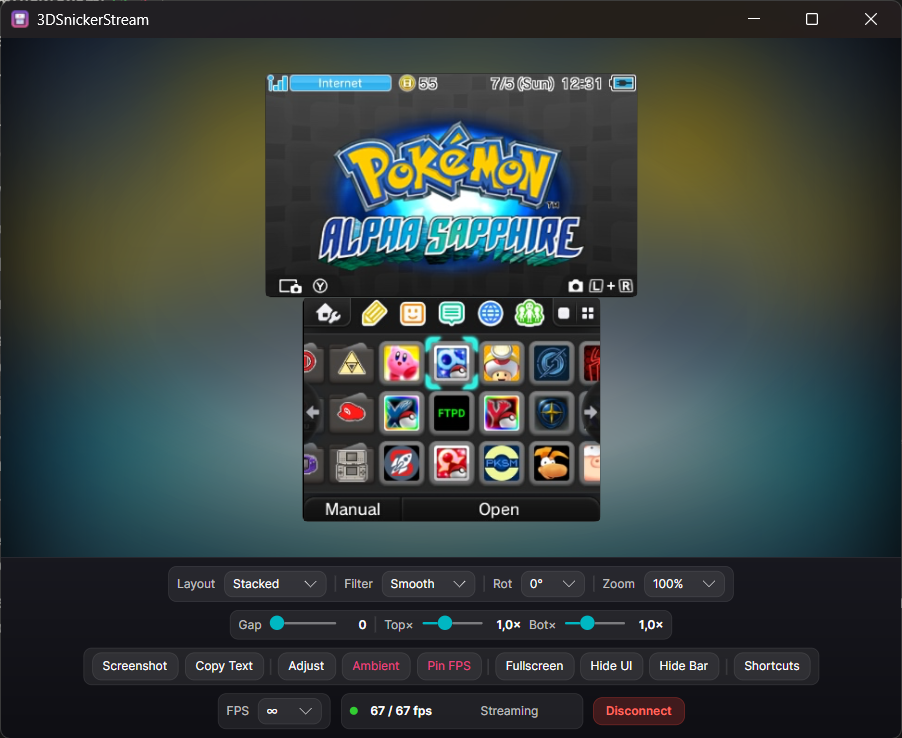
3DSnickerStream is a modern, cross-platform remoteplay client for the 3DS (NTR CFW and HzMod), rebuilt from the ground up on Avalonia UI. It's the successor to RattletraPM's original Snickerstream, now running natively on all three desktop platforms from a single codebase.
- Installation — set up the 3DS (NTR-HR / HzMod) and download the app.
- Getting Started — your first connection, step by step.
- Compression Formats — pick the right streaming mode (this is the big one).
- Troubleshooting — 3DS not found? Black screen? Start here.
| Page | What's in it |
|---|---|
| Stream View | Layouts, rotation, zoom, per-screen colour, ambient glow, clean mode, screenshots |
| Copy Text (OCR) | Read text off the stream, including a hex mode for RNG/HUD readouts |
| Keyboard Shortcuts | Full default list and how to remap |
| Quality and Settings | Presets, priority, factor / quality / QoS, network options |
| Building from Source | Dev build, CI, and the macOS local-build guide |
| Credits and License | Who made what, and the licence |
- NTR & HzMod remoteplay — dual-screen NTR, or top-screen HzMod (beta).
- Four NTR-HR compression formats — JPEG Compat, Uncompressed, and the smooth Reliable Stream / Reliable Stream Delta modes. See Compression Formats.
- Live stream view — Stacked / Side-by-side / Top-only / Bottom-only, free rotation, per-screen zoom / gap / scale, per-screen colour adjustment, ambient glow, and a borderless clean mode.
- Copy text from the stream (OCR) with a dedicated hex mode.
- Find on network — scan the LAN for a 3DS, with scan-on-startup, auto-connect and auto-reconnect.
- Quality presets, saved-IP bookmarks, remappable shortcuts and an in-app update check.
⚠️ 3DSnickerStream only displays the stream. Your 3DS needs NTR-HR or HzMod installed and running first — see Installation.