#79_Docker_dot_NET_Core_Development
Shane Vincent - 22/04/2019
Find a method of making a .NET project run as a container in Docker.
- Docker Hub
- Docker in 12 minutes
- Docker Compose in 12 minutes
- Dockerize a .NET Core Application
- Containerize a .NET Core App
- Docker Man page references
Docker is a tool that allows us to run our programs in an isolated environment, similarly to running them inside a Virtual Machine. The benefits of Docker include:
- The app will always run in exactly the same environment every time. It will always act the same on every device.
- We can run multiple apps on the same device and they will all be entirely independant of one another.
- Each container builds with all of its required dependencies, so nothing has to be included in or added to the host machine.
It is recommended if running multiple services on the same device that each one run in its own Docker container.
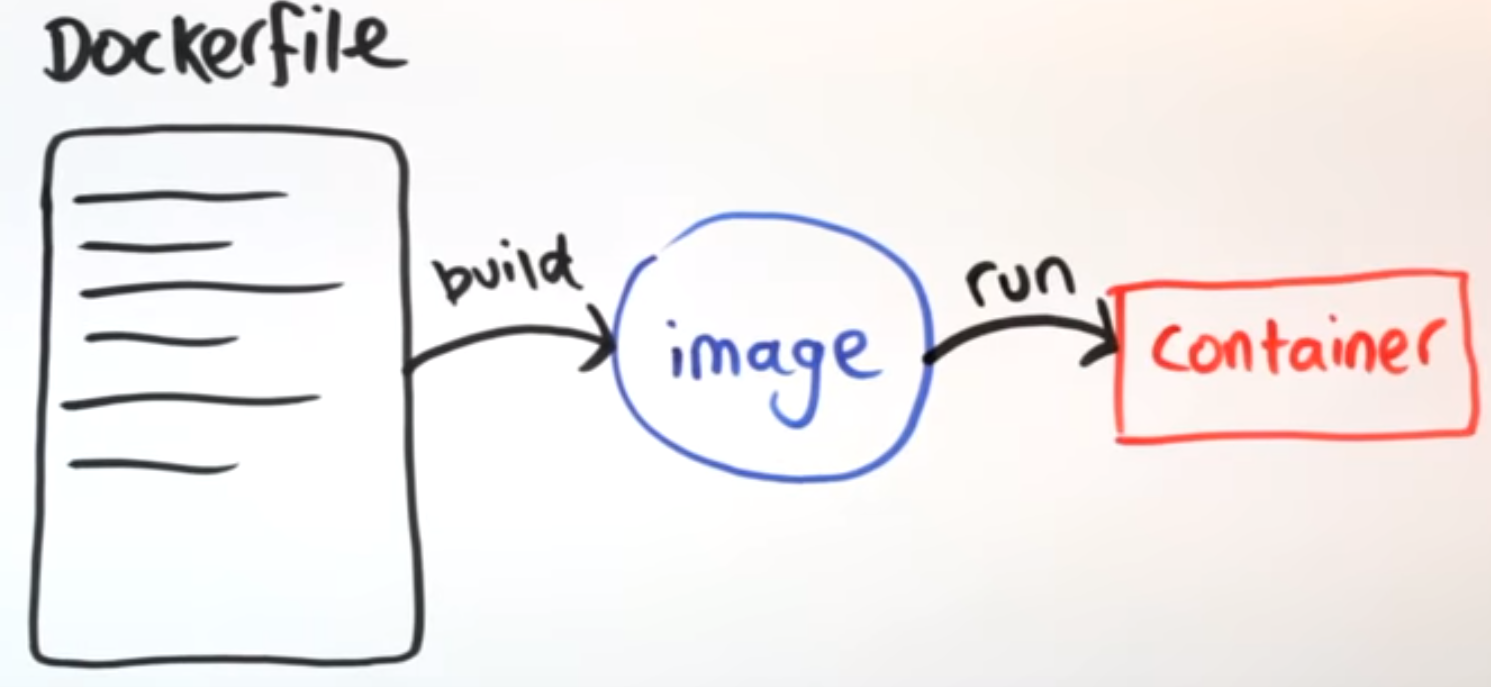
DockerFile A DockerFile is a set of instructions that Docker uses to help create the environment. You build a DockerFile to create an Image.
Image An image is a template of a snapshot of an environment. It contains an OS, any required software and your app code. You run an image to create a Container.
Container A Container is a running instance of an Image.
This spike report covers how to convert an existing .NET project into a Docker container. In order to take advantage of the following instructions, you must have already created a .NET project.
Go to this website to install Docker for Windows (I will only talk about using this for Windows as this report is only for members of the team who are Windows users). You must have an account with DockerHub in order to download these files.
Install Docker on your device and sign in to your account through Docker.
Important notes Do not check the checkbox that uses Windows containers instead of Linux containers.
-
In the base folder of your project, create a plaintext file with no extension named "DockerFile".
-
What goes in that file depends on what type of application you have created. The most important thing to consider is what Image you are building your environment from. This is determined by what comes after the FROM tag in the DockerFile. See below for some example DockerFiles for various project types.
-
For a Console project, place in the following code:
 		COPY <app name here>/bin/Release/netcoreapp2.2/publish app/

 		ENTRYPOINT ["dotnet", "app/myapp.dll"]```
Bear in mind that the above app must have been published before this would function. The Image being built from here is dotnet SDK 2.2
The COPY command is copying the contents of the 'publish' folder on the host into a folder in the Container called app
The ENTRYPOINT command is telling Docker to configure the container to run as an executable, and where to begin execution of your app. When this command ends, the container will stop. Additional arguments will be passed as command line arguments to the executed application eg ENTRYPOINT ["dotnet", "app/myapp.dll" "arg1" "arg2"]
-
For an ASP.NET project, place the following code:
 		FROM microsoft/dotnet:sdk AS build-env
 		WORKDIR /app

 		# Copy csproj and restore as distinct layers
 		COPY *.csproj ./
 		RUN dotnet restore

 		# Copy everything else and build
 		COPY . ./
 		RUN dotnet publish -c Release -o out

 		# Build runtime image
 		FROM microsoft/dotnet:aspnetcore-runtime
 		WORKDIR /app
 		COPY --from=build-env /app/out .
 		ENTRYPOINT ["dotnet", "<app name here>.dll"]```
The above DockerFile must be placed inside the project folder to function correctly. This DockerFile performs the publish so this project doesn't have to be published beforehand. In the above text, replace with the name of your app.
- If you wish to build for a different application type, go here and find an appropriate image to build from.
-
Make sure that Docker is running on your device.
-
In a console, navigate to the folder where the DockerFile is located.
-
Use the following command:
docker build -t <name of image> .
The . in the above command indicates the location of the DockerFile.
Use the command docker images to test and see if your image is running. You may see multiple images running (The image that you built from and the new image that you created), but if they have the same Image ID then they are both identical. If you modify from the base image, then the new image will have a new Image ID.

Below is the command for creating the Container as well as additional parameters that can be added in order to enhance/allow functionality:
`docker run <parameters> <image name>`
-p 8080:80
This parameter will direct traffic from port 8080 on the host device to port 80 on the Container. Containers should have incoming ports in an EXPOSE tag in the DockerFile.
This container could now be accessed on localhost:8080
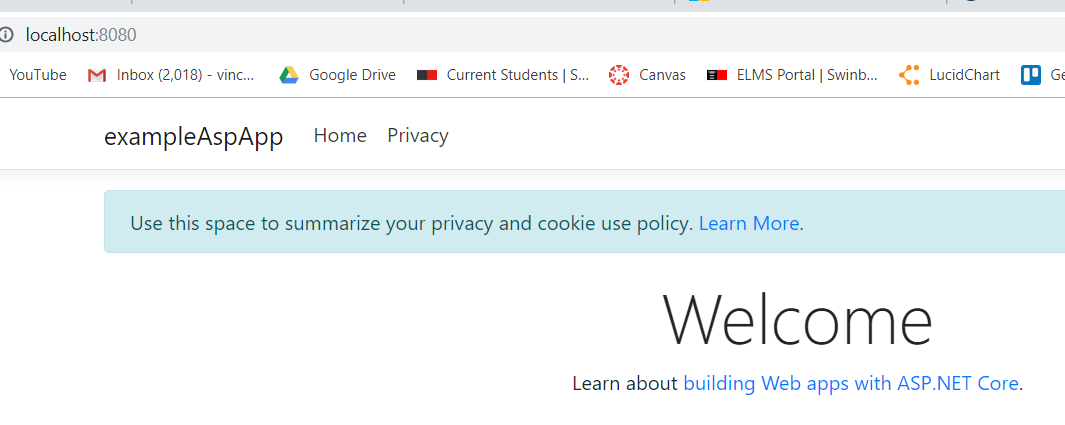
One issue with running ASP.NET on Docker is that the image needs to be rebuilt for every change to the code in order for the Container to update. This can be worked-around by allowing the container to access the file straight from your volume.
-v C:\Users\Vincent\DockerApp\exampleAspApp:/var/exampleAspApp
This parameter will allow you to share your local volume (C:\Users\Vincent\DockerApp\exampleAspApp) at the target location within the Container (/var/exampleAspApp)
If you container is running a Console application and you wish to check the output stream, you can do so with the following command:
docker attach --sig-proxy=false <container name
sig-proxy=false allows you to use CTRL + C to exit the attachment and not halt execution of the container.

- List all running containers:
docker ps - Remove a container:
docker rm -containeregdocker rm foo - Many more commands available (copy files, diff containers, exec a command inside a container etc). See man page reference