Repository navigation
Authentication

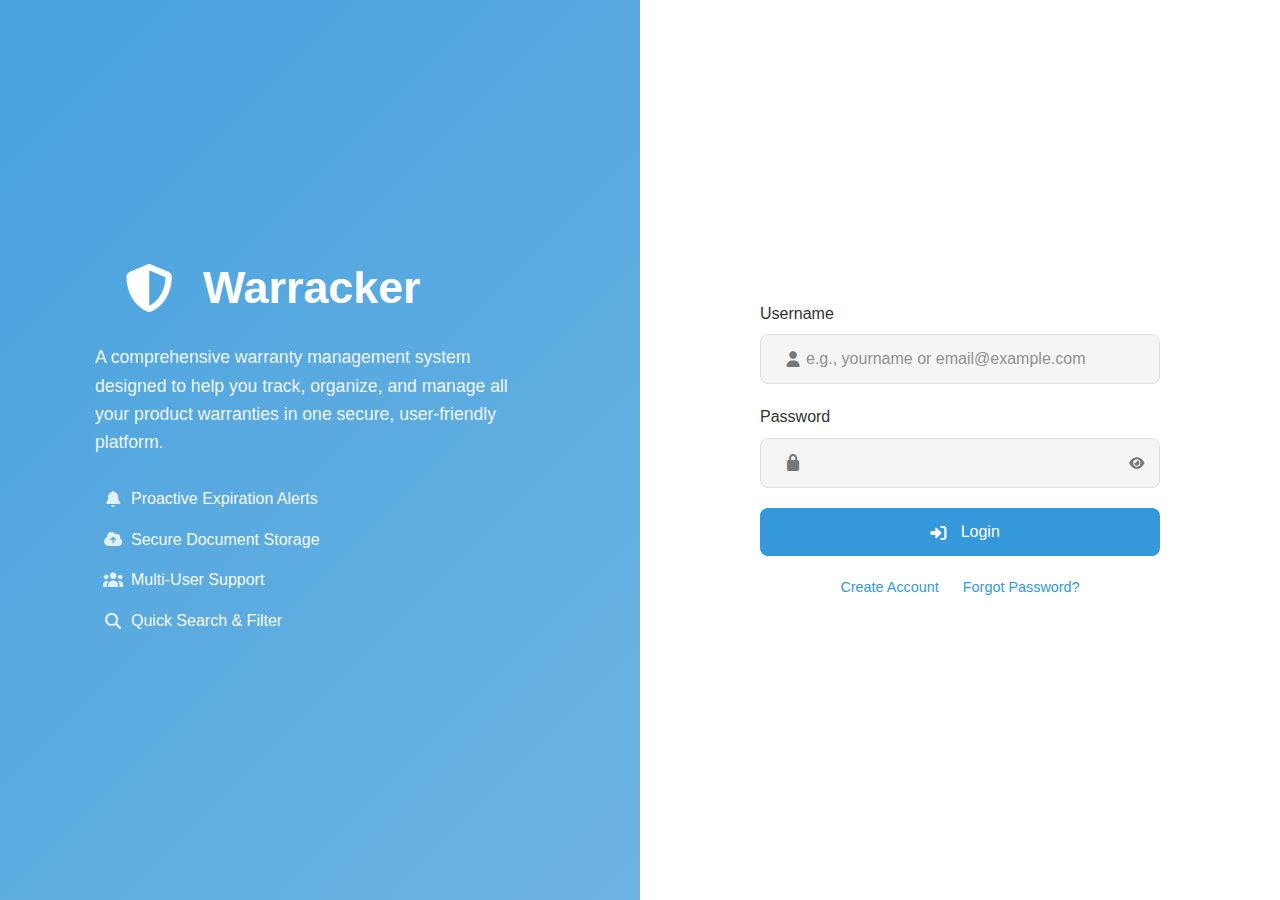
- Username or Email — either works for local accounts.
- Password — with a show/hide (eye) toggle on the right.
- Login — signs you in and takes you to your warranty list.
- Continue with <provider> — appears only when the admin has enabled OIDC, labeled with the provider name from Settings. In OIDC-only mode this is the only sign-in option; with Skip Login Screen on, you never even see this page — Warracker redirects straight to the provider.
- Register and Forgot password links — below the form. Registration can be disabled by the admin (Site Settings), and password reset uses a token emailed to you: request it, follow the link, set a new password.

Warracker supports traditional username/password accounts. Passwords are stored hashed (bcrypt), and the login form accepts either your username or your email address.
- The first account created in the system automatically becomes the owner and an admin — there is no separate setup account to remember.
- Change your password anytime from Settings → Security → Change Password.
- Admins can deactivate accounts (Edit User → Active Status off); deactivated users cannot sign in.

Warracker supports OIDC/SSO with providers such as Google, GitHub, and Keycloak. Configuration lives in Settings → Admin Settings → OIDC SSO Configuration (admins only).
How it behaves:
- First OIDC user becomes owner + admin, matching local registration: the first person to sign in through the provider owns the instance.
- Admin group — if the admin configured an OIDC Admin Group, provider members of that group get admin privileges automatically on login. Leave it blank to disable group-based admin grants.
- Owner protection — the current owner keeps admin access regardless of admin-group membership. After ownership transfers, the former owner follows normal admin-group synchronization on their next login.
- OIDC-only mode — hides the username/password form entirely; only the provider button remains.
- Skip login screen — in OIDC-only mode, Warracker redirects straight to the identity provider instead of showing the login page. Loop guards prevent redirect loops (e.g. after a failed login, you still see the page with the error).
One thing to note: OIDC matching is on the provider's subject + issuer, never on email alone — two accounts can't collide by sharing an email address, and a provider account is never auto-linked to an existing local account.

| Role | Can do |
|---|---|
| Owner | Everything an admin can, plus transfer ownership. Always keeps admin access. |
| Admin | Manage users and roles, change site settings (global view, OIDC, Paperless-ngx, site Apprise), view the audit trail. |
| User | Manage their own warranties, claims, tags, and personal settings. With global view enabled, also view other users' warranties (read-only). |

When the admin enables Global View (Settings → Site Settings), authenticated users see every user's warranties — the intentional design for a shared family or team instance. The boundaries:
- Other users' warranties are read-only for you; only the owner can edit or delete them.
- Claim documents and "other" documents are never shared — they are visible only to the warranty's owner and admins, even with global view on.
- Paperless-ngx documents are separately ownership-gated (see Paperless-ngx): search results are scoped to documents you own or already reference.
- Global View Admin Only restricts the whole global view to administrators.