Repository navigation
Getting Started
- Prerequisites
- Install with Docker Compose
- Install on Unraid
- Install on Proxmox or TrueNAS
- After installing
- Docker and Docker Compose installed on your system (not needed for the Unraid, Proxmox, or TrueNAS routes below).
- A PostgreSQL database. The compose file below includes one; if you
run Warracker standalone, install a PostgreSQL container first,
create a database and user, then point
DB_HOST,DB_NAME,DB_USER, andDB_PASSWORDat it.
- Copy the compose file and
.envexample from theDocker/folder of the repository. - Fill in the required values in your
.envfile (database credentials,SECRET_KEY, and so on). - Start the stack:
docker compose up -d
- Open
http://localhost:8005in your browser. The first account you create automatically becomes the admin.
Reference compose file (see the repository for the current version):
services:
  warracker:
    image: ghcr.io/sassanix/warracker/main:latest
    ports:
      - "8005:80"
    volumes:
      - warracker_uploads:/data/uploads
    env_file:
      - .env
    depends_on:
      warrackerdb:
        condition: service_healthy
    restart: unless-stopped

  warrackerdb:
    image: postgres:15-alpine
    volumes:
      - postgres_data:/var/lib/postgresql/data
    env_file:
      - .env
    restart: unless-stopped
    healthcheck:
      test: ["CMD-SHELL", "pg_isready -U $$POSTGRES_USER -d $$POSTGRES_DB"]
      interval: 5s
      timeout: 5s
      retries: 5

volumes:
  postgres_data:
  warracker_uploads:
Install Warracker from the
Community Apps listing
(Tools > System). The listing
points at ghcr.io/sassanix/warracker/main:latest. As with any
install, Warracker requires a PostgreSQL database: install a
PostgreSQL container first, create a database and user, then point the
DB_HOST, DB_NAME, DB_USER, and DB_PASSWORD variables at it.
- Proxmox VE — use the community helper script, which creates an LXC container and installs Warracker without Docker. Full steps: Proxmox.
- TrueNAS SCALE — install from the official TrueNAS Apps catalog (Apps → Discover Apps), or as a Custom App with the compose file. Full steps: TrueNAS.
First-run checklist:
-
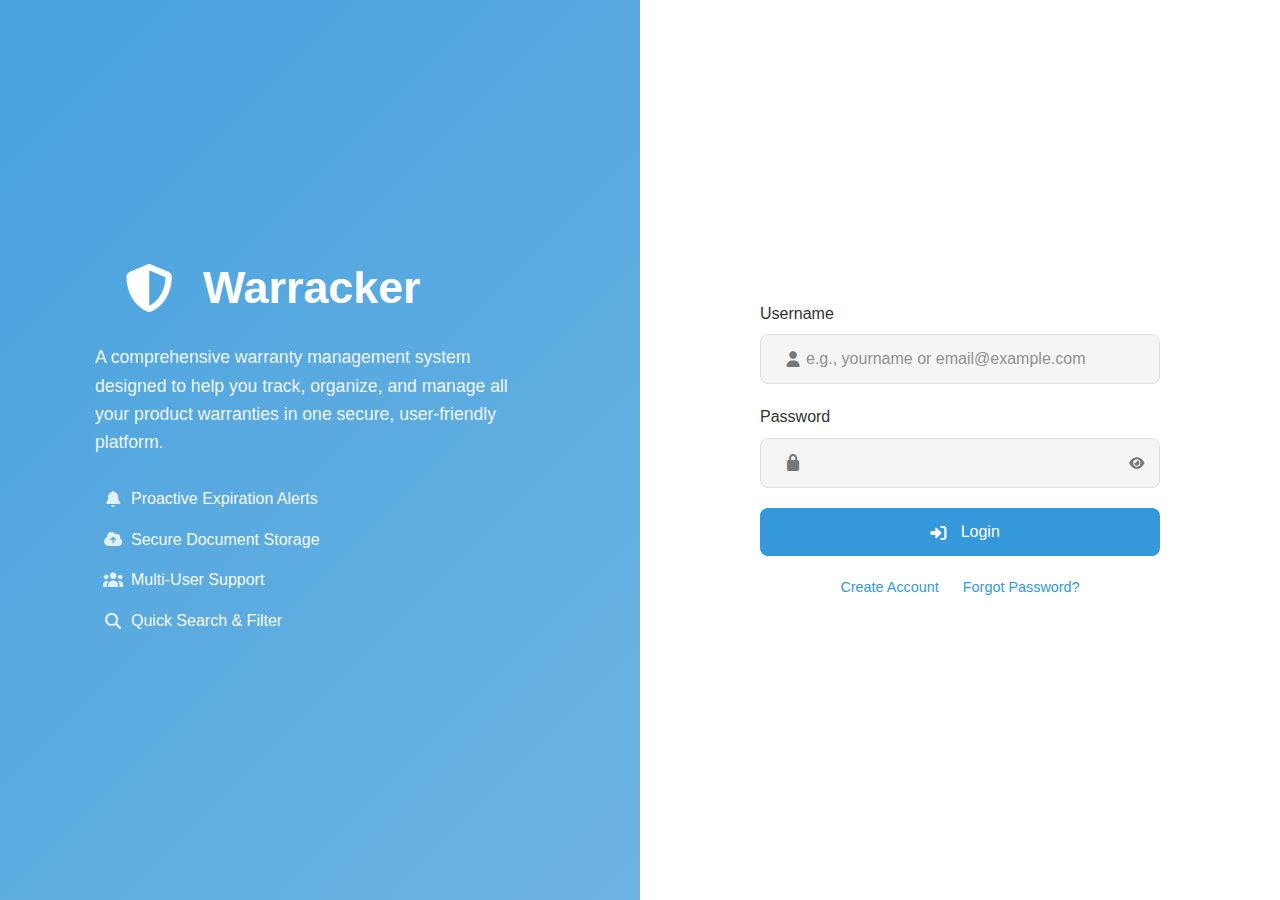
Create the first account — it automatically becomes the owner and admin, who manages other users and roles. See Authentication.
-
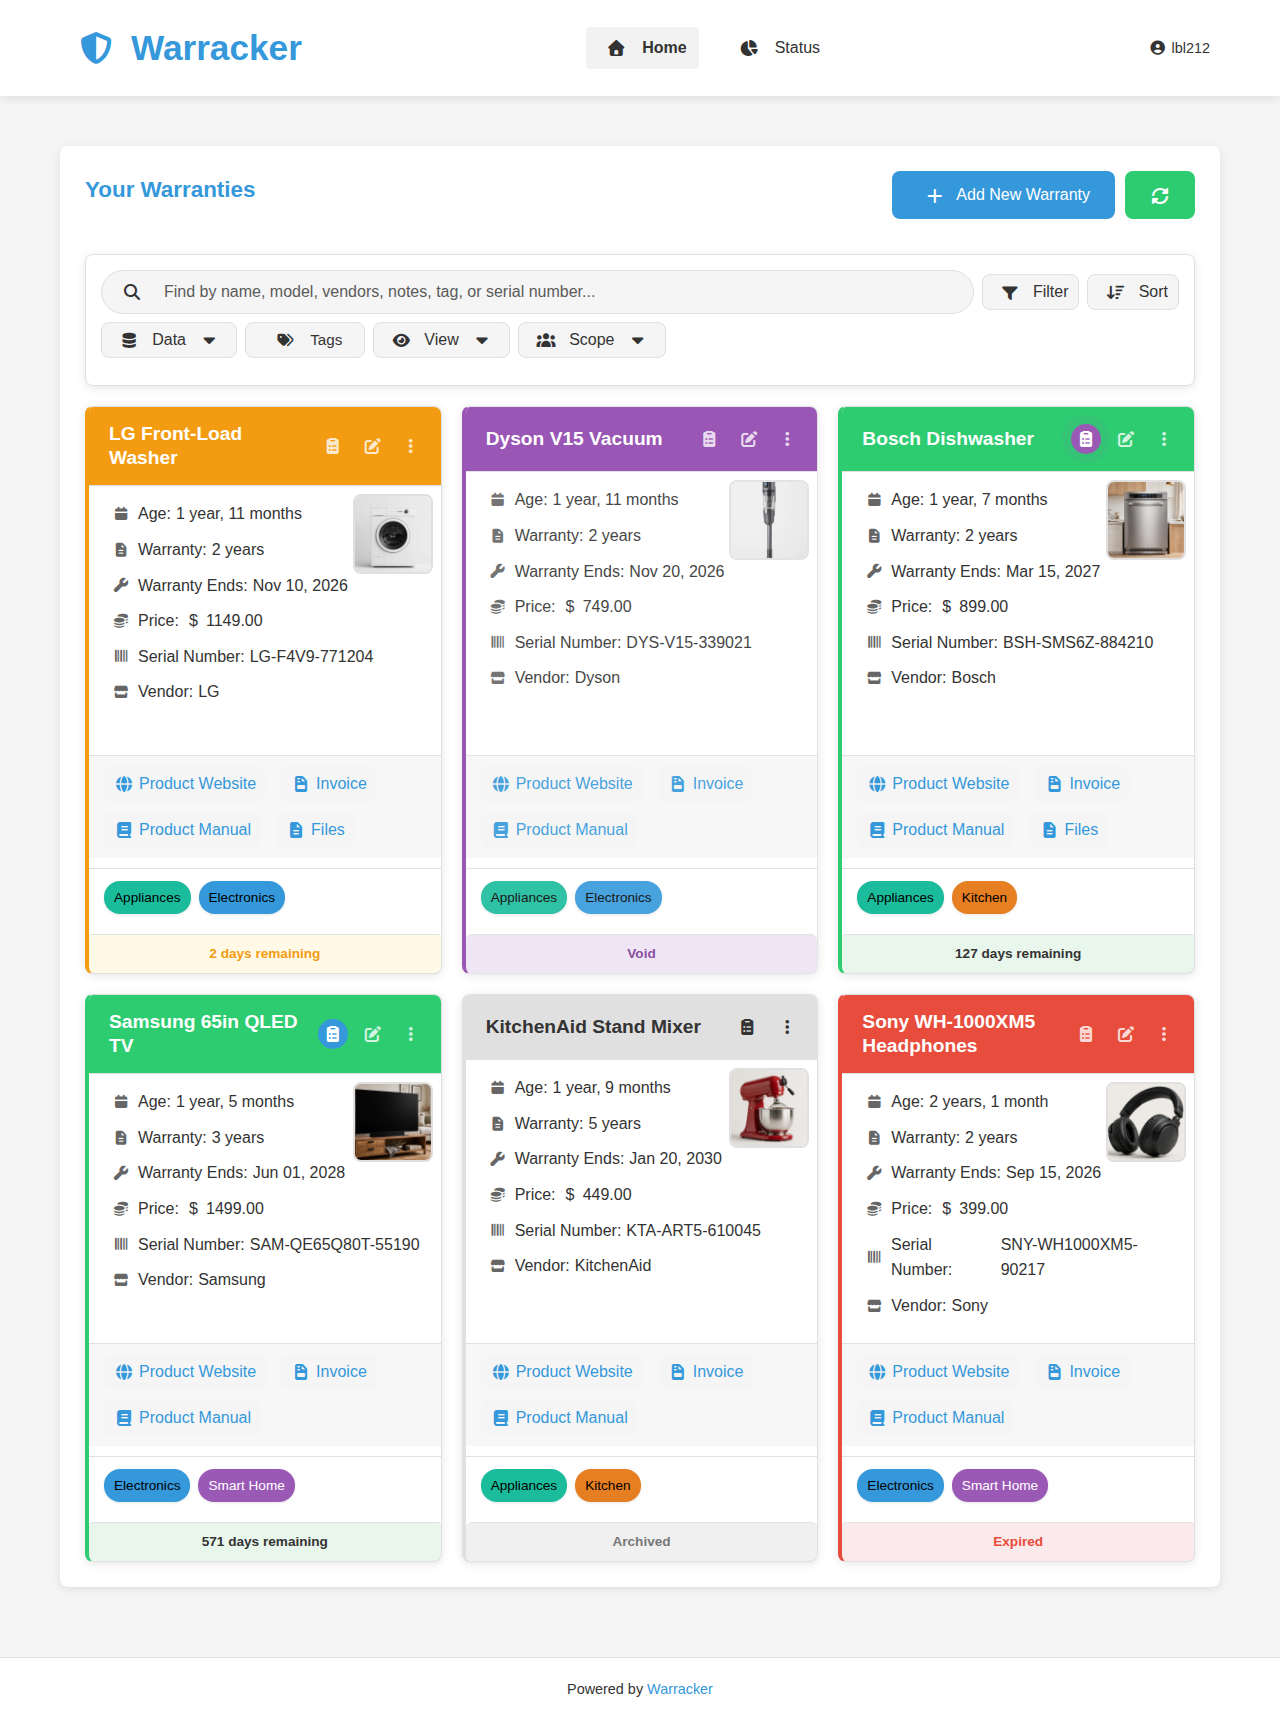
Add your first warranty — click Add New Warranty and walk through the Product, Warranty, Documents, Tags, and Summary tabs. See User Guide (it includes a GIF of the whole flow).
-
Set your notification preferences — in Settings → Notification Settings, pick Email, Apprise, or Both, plus when digests go out. See Notifications.
-
Optional, for admins — connect Paperless-ngx (Paperless-ngx) or an OIDC provider (Authentication), and decide whether the global view fits your household or team (Settings → Site Settings).
-
Invite others — with Registration Enabled (Site Settings), anyone can register; the owner and admins manage roles from the users list.
For the full feature list and screenshots, see the README.