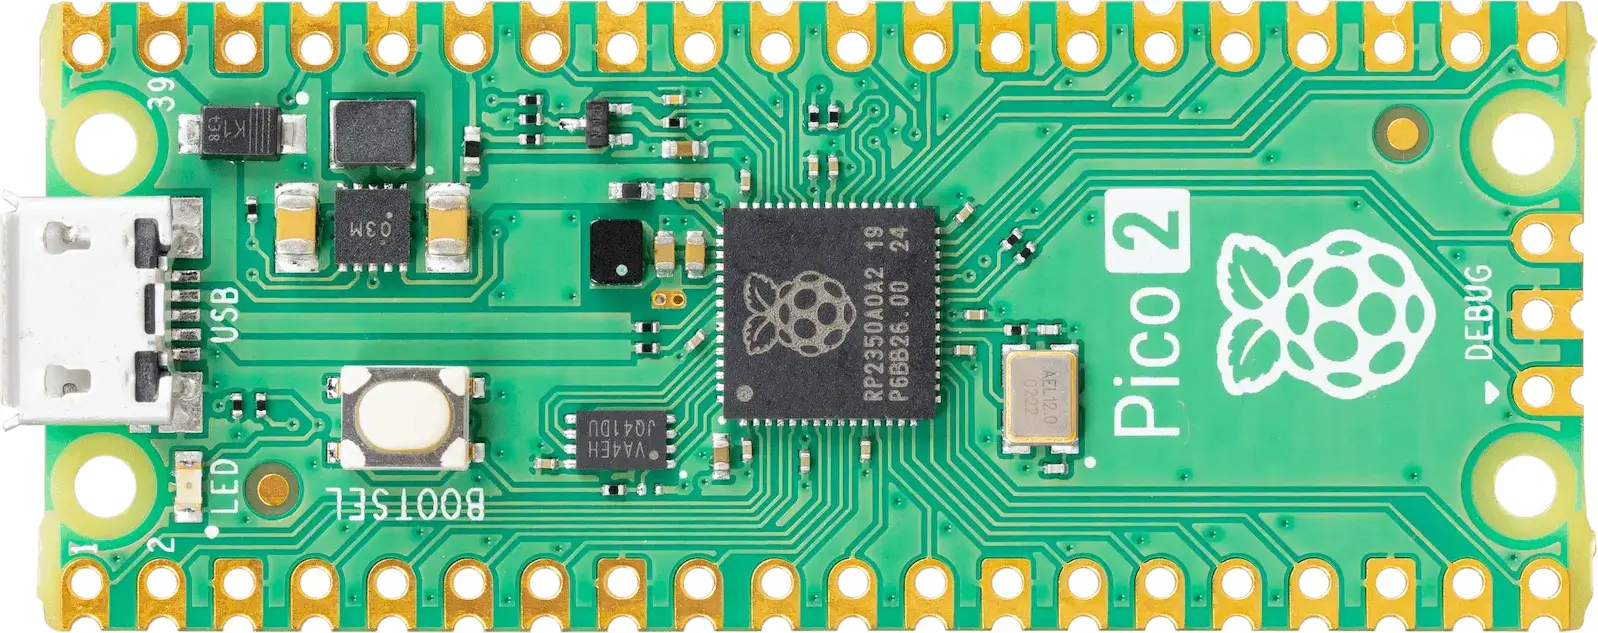
Raspberry Pi Pico 2
- OpenDeck target name:
pico2 - Power: Micro USB
- MCU: RP2350A
- MIDI: USB, DIN
- OSC: No
- Traffic indicators: 1
- Digital inputs: 10
- Outputs: 7 (PWM / level control)
- Analog inputs: 3
- Board docs: Raspberry Pi Pico 2
- Buy links:
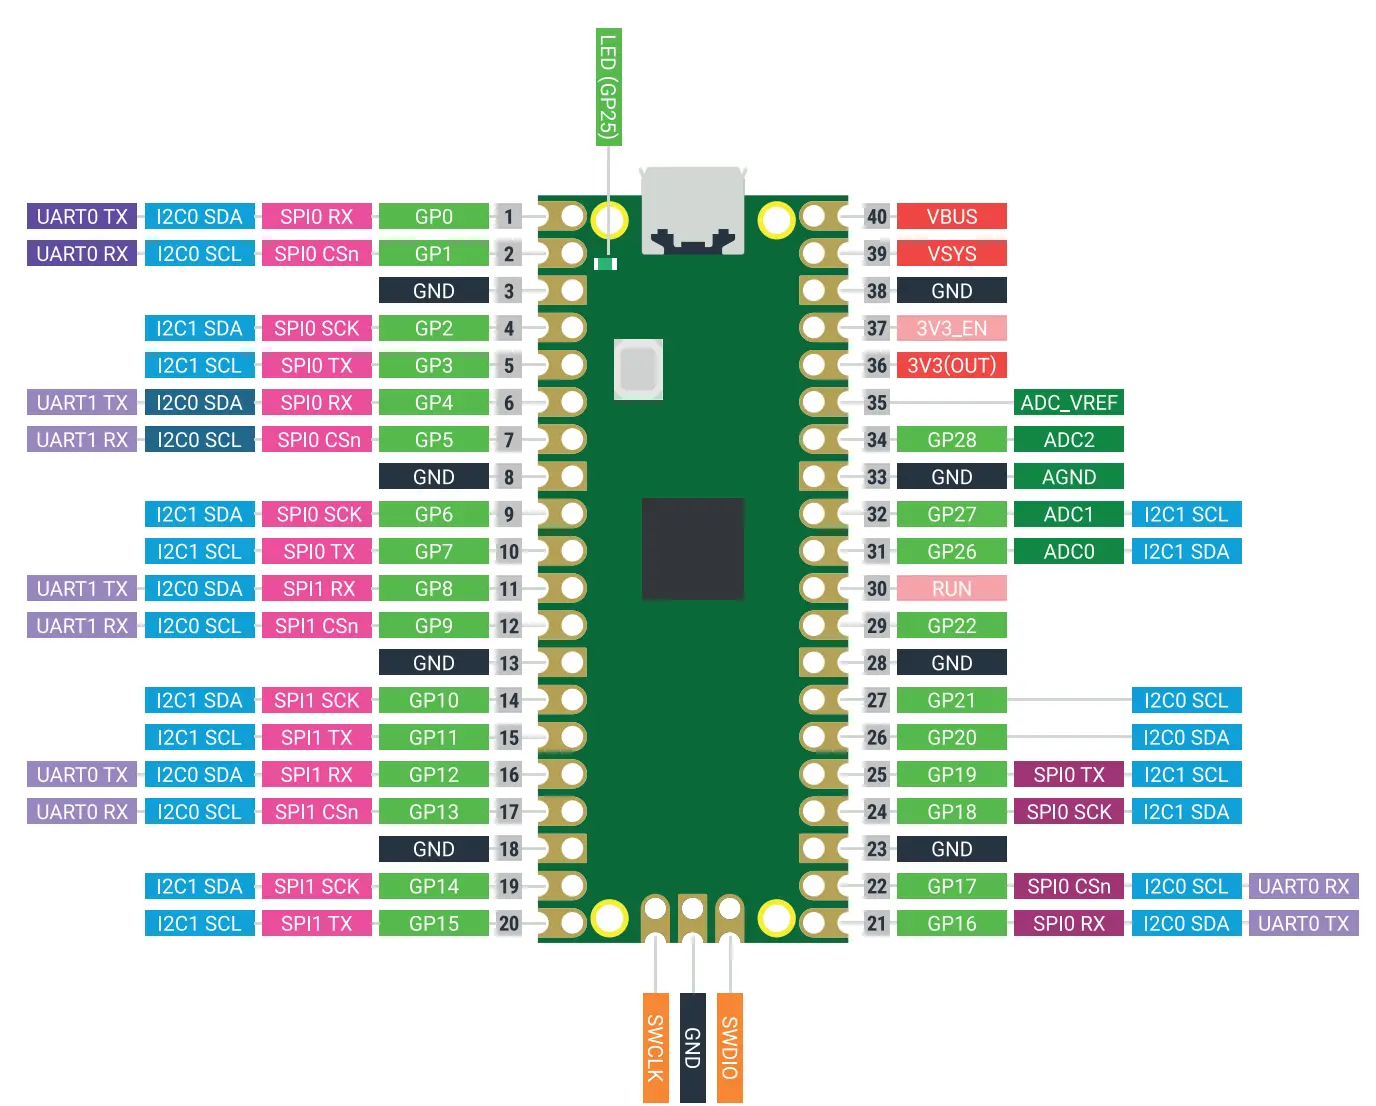
Pinout to use as an reference to pins in later sections:
| Switch # | Pin 1 | Pin 2 |
|---|---|---|
| 0 | GP2 | GND |
| 1 | GP3 | GND |
| 2 | GP6 | GND |
| 3 | GP7 | GND |
| 4 | GP8 | GND |
| 5 | GP9 | GND |
| 6 | GP10 | GND |
| 7 | GP11 | GND |
| 8 | GP12 | GND |
| 9 | GP13 | GND |
| Switch # | Pin 1 | Pin 1 | Pin 2 |
|---|---|---|---|
| 10 | GP26 | GND with 10k resistor | 3V |
| 11 | GP27 | GND with 10k resistor | 3V |
| 12 | GP28 | GND with 10k resistor | 3V |
| Encoder # | Pin 1 | Pin 2 | Pin 3 |
|---|---|---|---|
| 0 | GP2 | GND | GP3 |
| 1 | GP6 | GND | GP7 |
| 2 | GP8 | GND | GP9 |
| 3 | GP10 | GND | GP11 |
| 4 | GP12 | GND | GP13 |
| Potentiometer # | Pin 1 | Pin 2 | Pin 3 |
|---|---|---|---|
| 0 | 3V | GP26 | GND |
| 1 | 3V | GP27 | GND |
| 2 | 3V | GP28 | GND |
| FSR # | Pin 1 | Pin 2 | Pin 2 |
|---|---|---|---|
| 0 | 3V | GP26 | GND with 1k resistor |
| 1 | 3V | GP27 | GND with 1k resistor |
| 2 | 3V | GP28 | GND with 1k resistor |
Note: current-limiting resistors for LEDs are required in order to avoid damage to the board.
| Output # | Anode | Cathode |
|---|---|---|
| 0 | GP14 | GND |
| 1 | GP15 | GND |
| 2 | GP22 | GND |
| 3 | GP21 | GND |
| 4 | GP20 | GND |
| 5 | GP19 | GND |
| 6 | GP18 | GND |
| Indicator | LED |
|---|---|
| USB input | GP25 |
| USB output | GP25 |
| DIN input | GP25 |
| DIN output | GP25 |
| Signal | Pin |
|---|---|
| Vcc | 3V |
| GND | GND |
| SDA | GP16 |
| SCL | GP17 |
This board doesn't have DIN MIDI connectors, so they have to be added to the board with the corresponding circuitry. Use this schematic:

| MIDI In | MIDI out |
|---|---|
| GP1 | GP0 |
| Screen | Pin |
|---|---|
| Vcc | 5V |
| GND | GND |
| Rx | GP5 |
| Tx | GP4 |
Hold OpenDeck switch 0 / GP2 low while resetting or powering the board to
enter the OpenDeck bootloader.
To flash this board with the OpenDeck firmware, go to the OpenDeck configurator and follow the instructions.