Repository navigation
Tutorial Accounts and Dashboard
GUI Tutorial · Chapter 1 of 4 — getting into golgi and finding your way around the home dashboard.
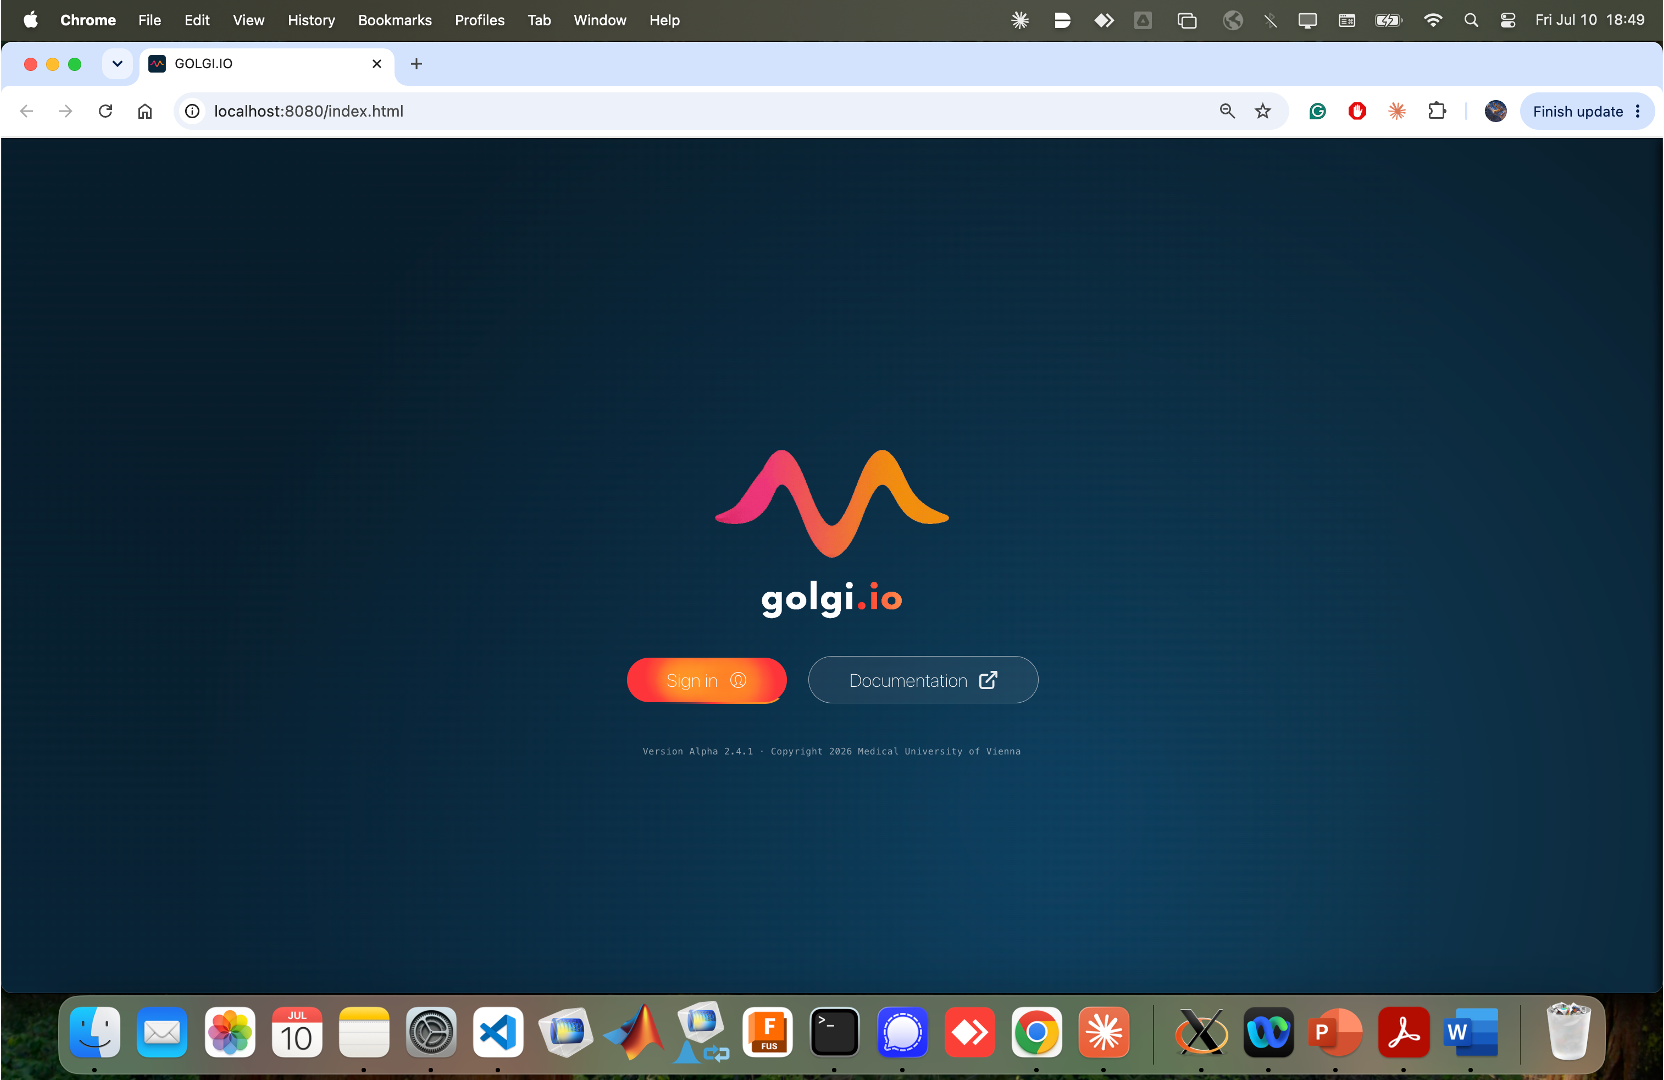
Opening golgi shows the landing page with two actions: Sign in and Documentation. The footer shows the running version and copyright.
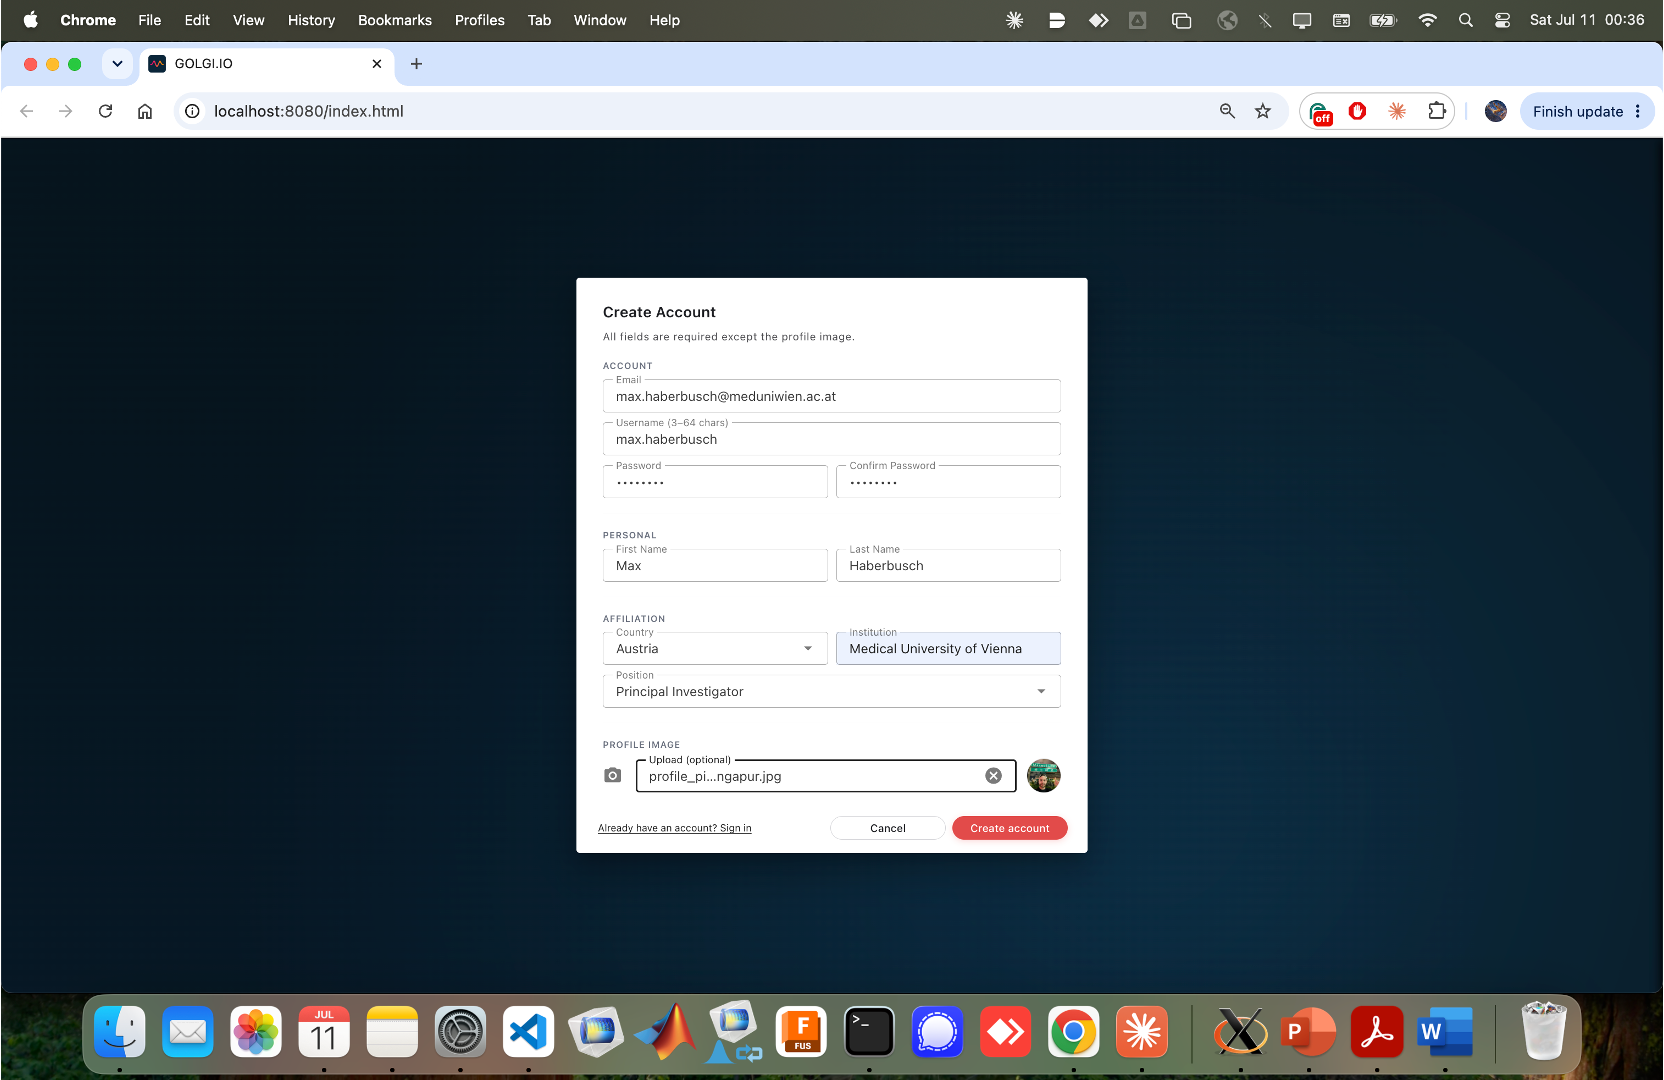
If you do not have an account yet, choose Register (from the sign-in dialog) to open the Create Account form. All fields are required except the profile image. The form is grouped into:
- Account — Email, Username (3–64 characters), Password and Confirm Password.
- Personal — First Name and Last Name.
- Affiliation — Country, Institution and Position (e.g. Principal Investigator, Postdoctoral Researcher).
- Profile image — an optional avatar upload.
Fill in the fields and click Create account.
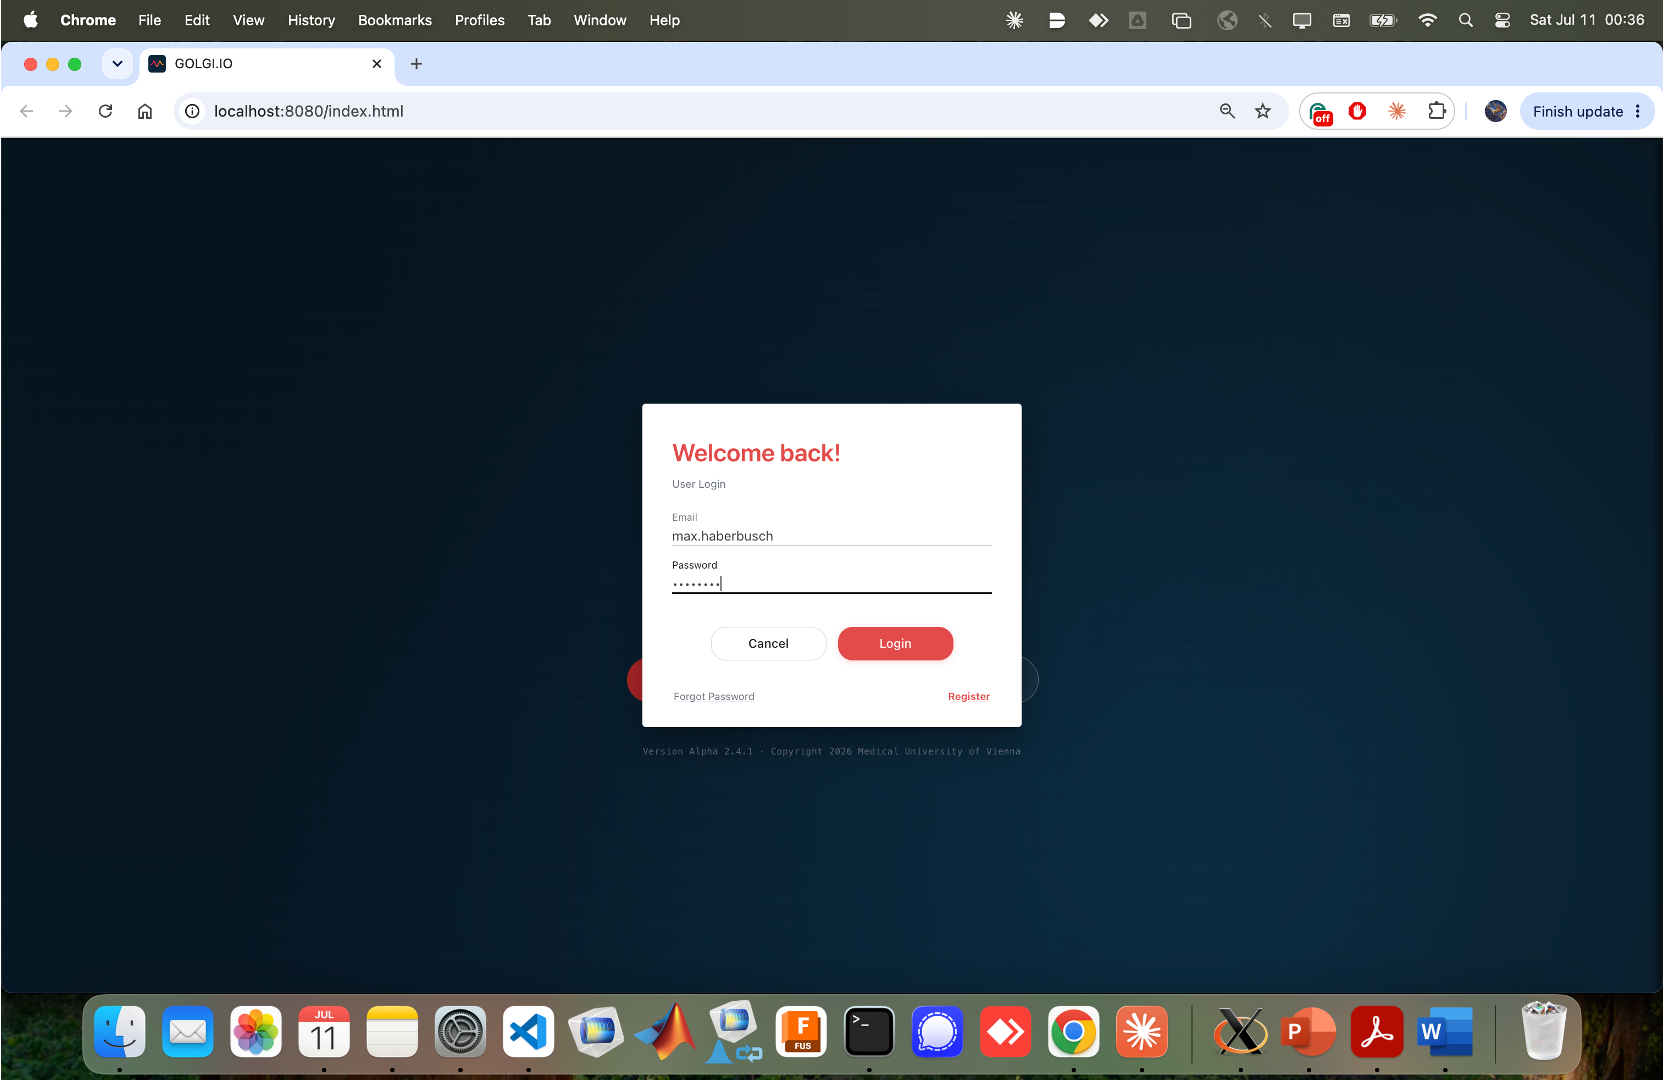
Existing users click Sign in on the landing page to open the Welcome back! dialog. Enter your Email and Password and click Login. The dialog also offers Forgot Password and a link to Register.
Accounts, project ownership, and the per-project audit trail are covered in depth on Authentication & Audit.
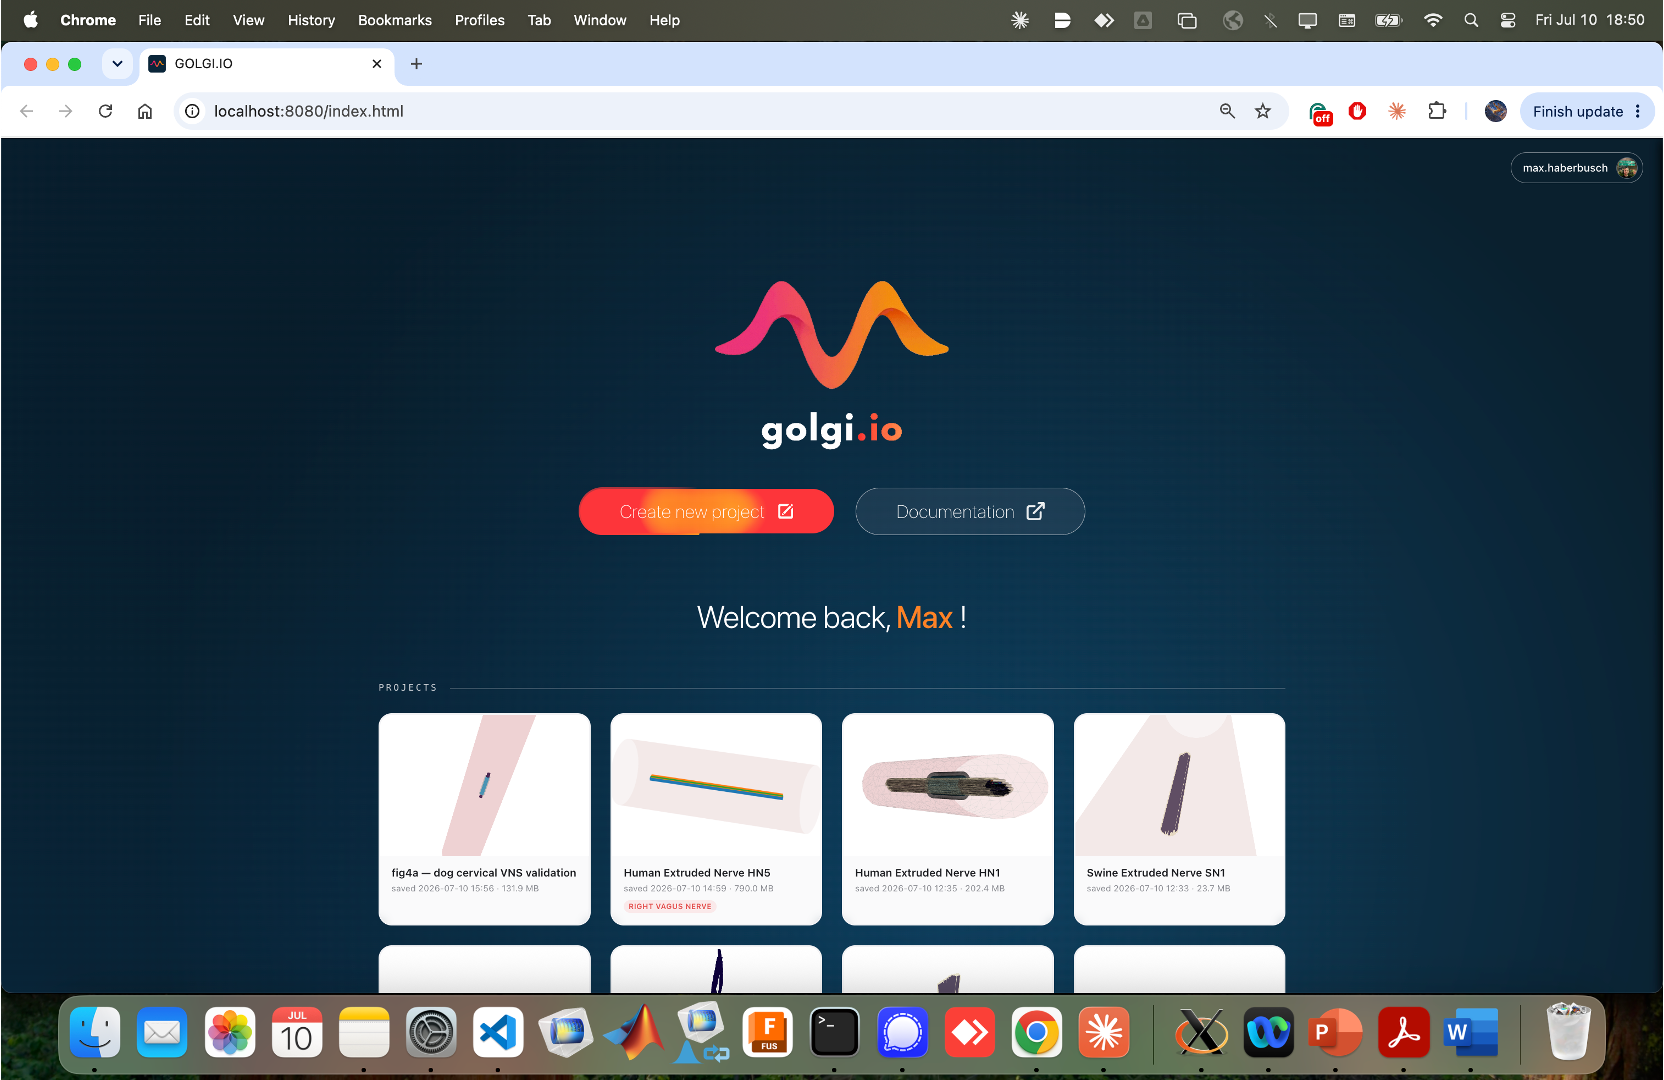
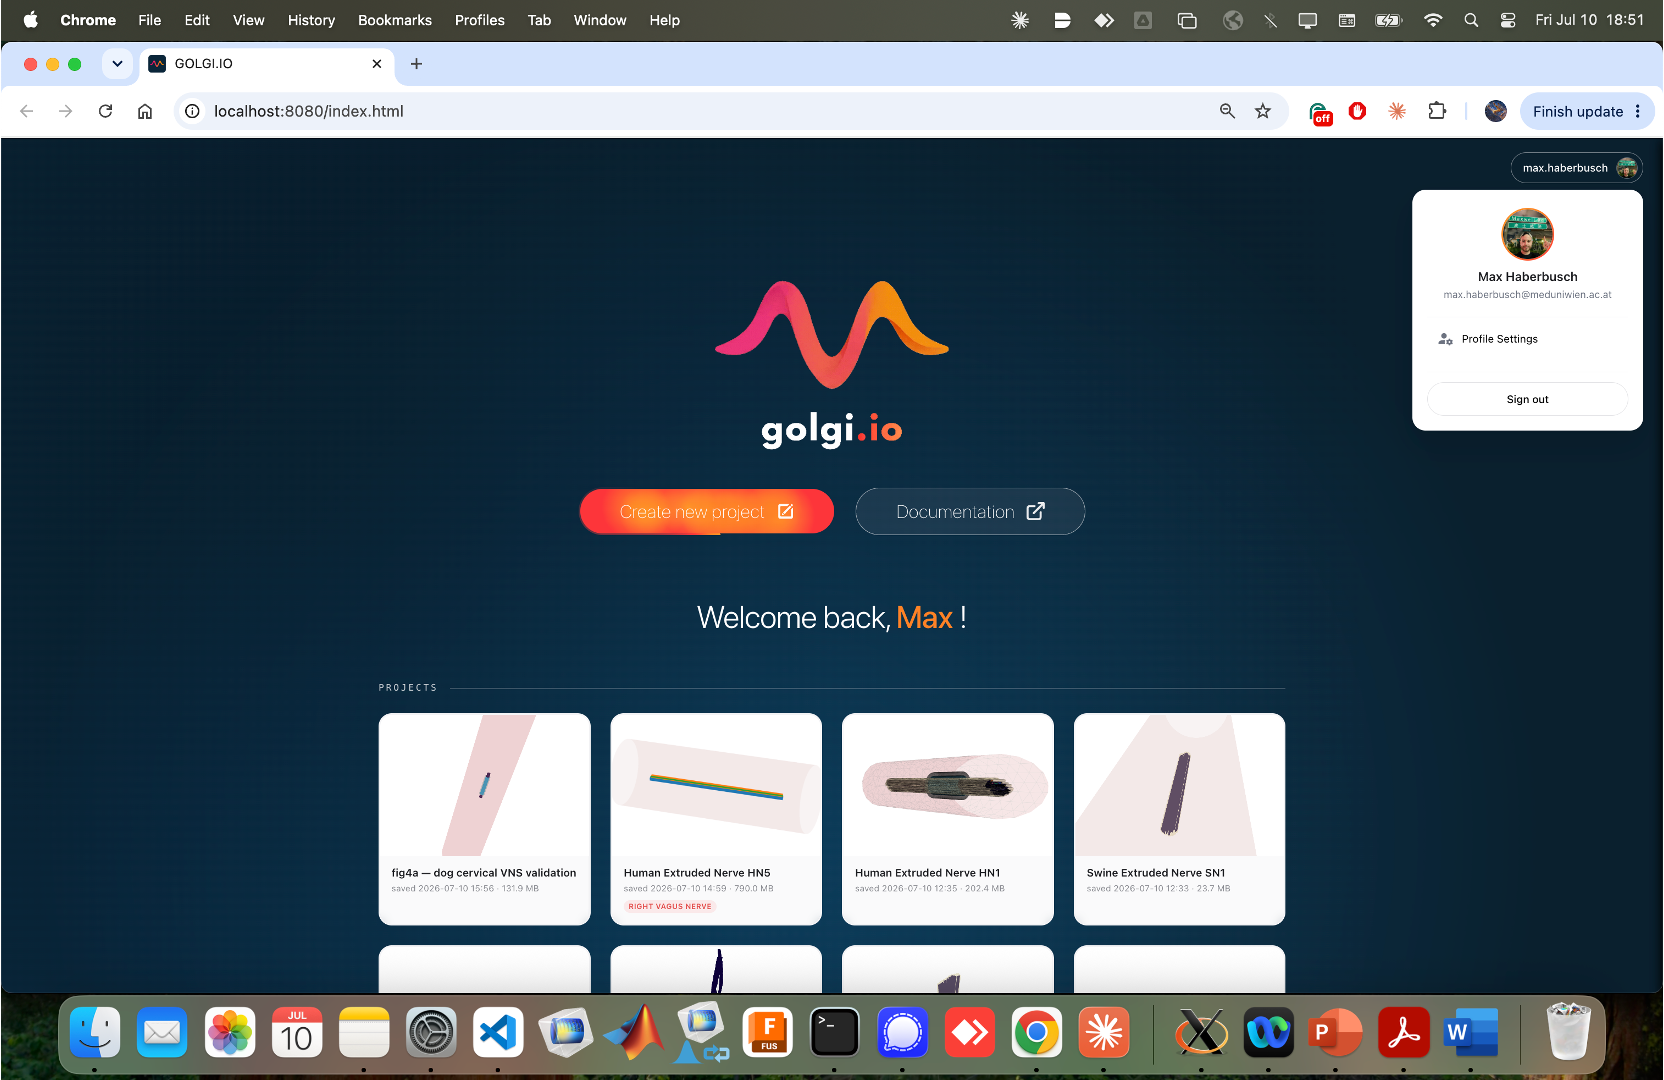
After signing in you land on your personal dashboard. It greets you by name ("Welcome back, …!"), offers Create new project and Documentation buttons, and shows a Projects gallery of thumbnail cards. Each card carries the project name, a 3-D preview, and the last-saved timestamp and size.
Clicking your name/avatar in the top-right opens the user menu. It shows your display name and email, a link to Profile Settings, and a Sign out button.
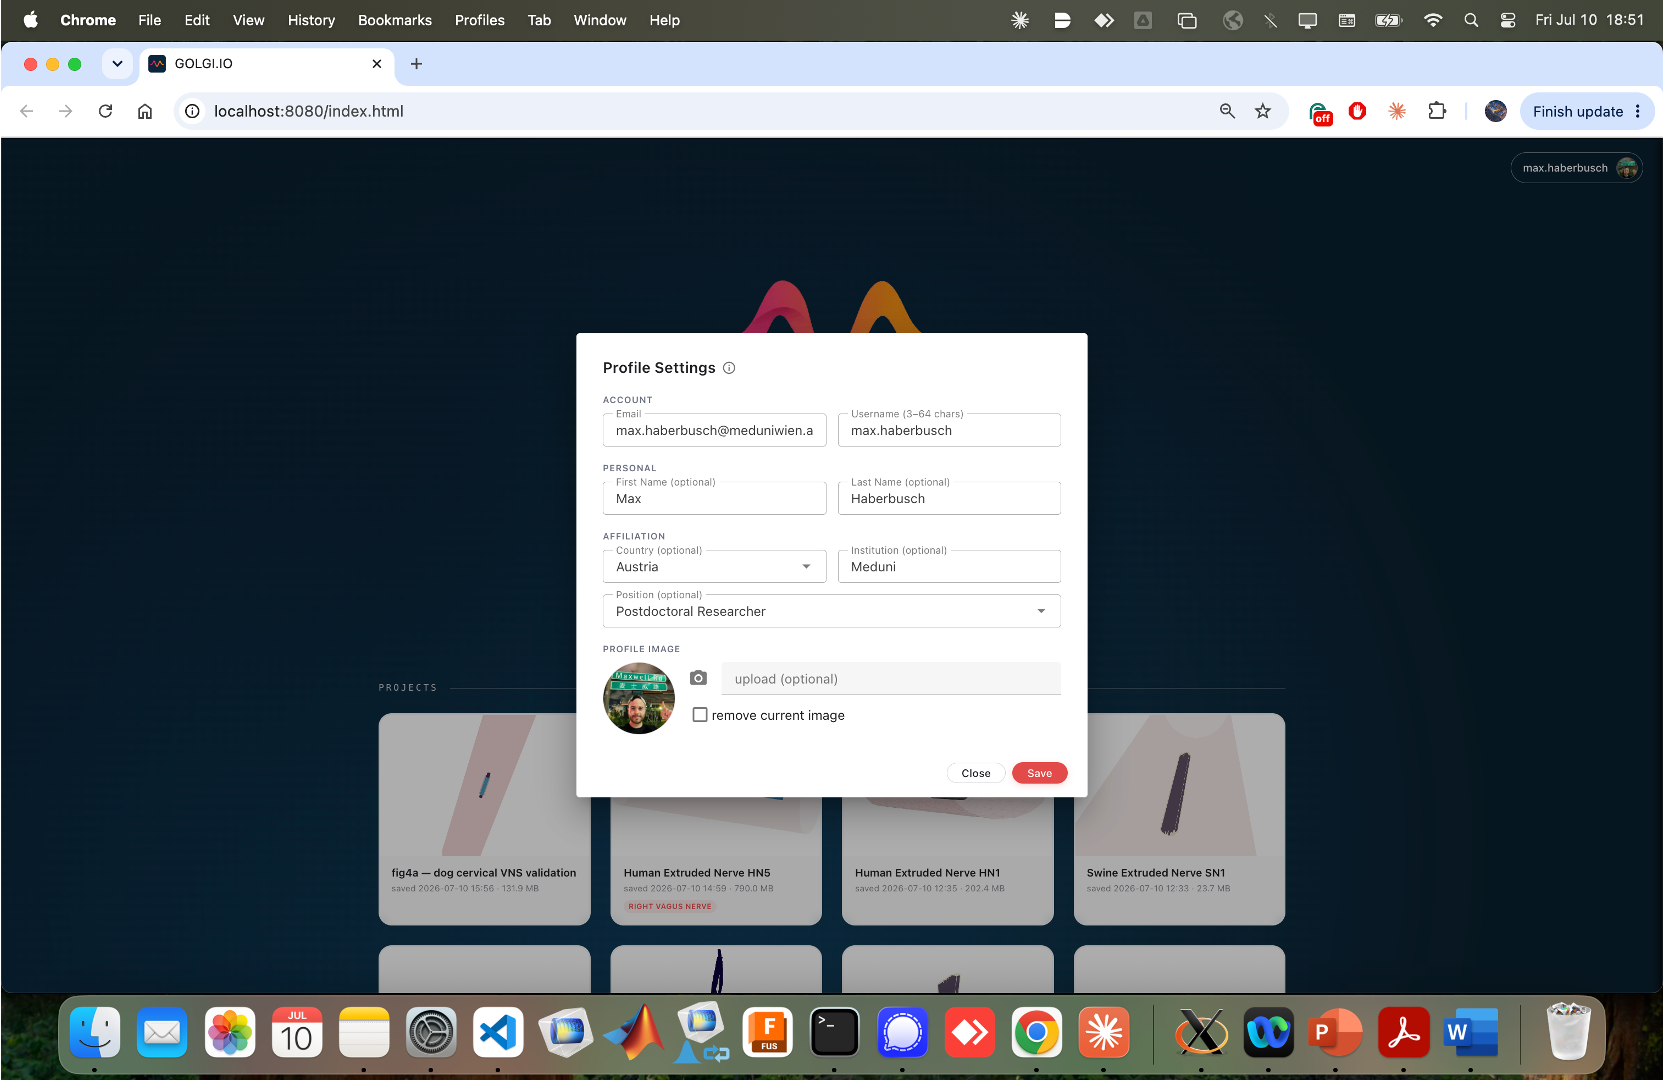
Profile Settings lets you edit the same information collected at registration — Email, Username, First/Last Name, Country, Institution and Position — and manage your Profile Image (upload a new one or tick remove current image). Click Save to apply, or Close to discard.

Get started
Tutorial
Build a model
Simulate & analyze
- Finite-Element Solver
- Fiber Populations & Trajectories
- Fiber Models & Activation
- Recruitment Sweeps & Selectivity
- Recording & CNAP
Share & reproduce
Scripting & scale
Reference
Research & project