Repository navigation
Getting Started
From nothing to a match in about five minutes. The launcher does the setup: it finds the game, installs the 5th Echelon client, makes your account and your save, and tells you if anything is wrong.
- Splinter Cell: Blacklist on PC, from Steam or Ubisoft Connect. Any language: Steam and Ubisoft Connect copies play together.
- Windows 10 or 11. On Linux or a Steam Deck, follow Linux and Steam Deck instead.
- No VPN and no port forwarding. If you have Radmin VPN, Hamachi or similar installed, you can leave it installed.
Used the original 5th Echelon launcher before? Read Coming from 5th Echelon first; it's quick.
Download launcher.exe from the latest release. It's a single file with nothing to install: put it anywhere you like, e.g. a folder on your desktop or C:\Games\5th-Echelon.
Tip: Windows or your antivirus may warn about it, because it's new and not code-signed yet, and because it installs a DLL into the game. That's a false positive. Antivirus Warnings shows how to check your download is genuine and how to restore it.
The launcher looks in your Steam libraries, Ubisoft Connect, and the usual folders on every drive. Usually you go straight to step 2 with Splinter Cell: Blacklist found.
If it can't find the game, it says "It wasn't in Steam, Ubisoft Connect or the usual folders. Choose the folder you installed it to." Press Choose folder… and pick the folder that contains Blacklist_game.exe or Blacklist_DX11_game.exe (usually …\Splinter Cell Blacklist\src\SYSTEM). It remembers it.
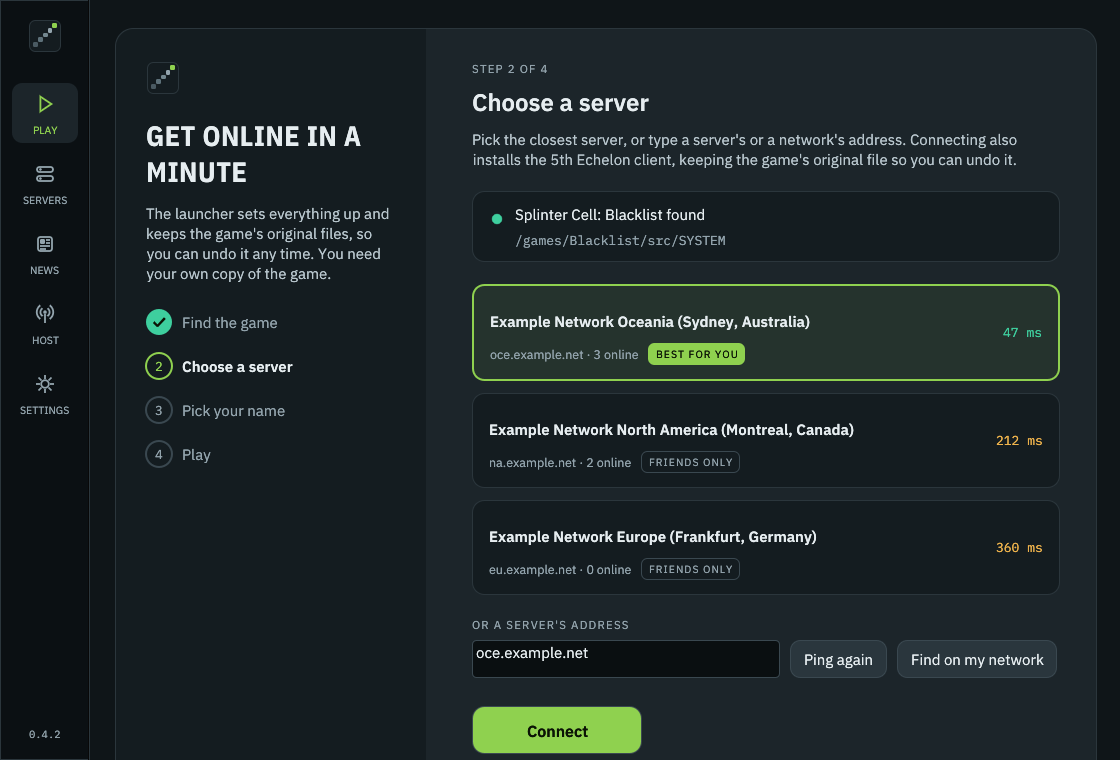
The launcher pings every server in the community network and picks the closest for you, marked Best for you. Ping is how long a message takes to reach the server and back: lower is better.
- Usually: leave the pick as it is.
- Your group has its own server or network? Type its address in Or a server's address instead.
- At a LAN party? Press Find on my network.
Then press Connect. Connecting:
- installs the 5th Echelon client into the game, keeping the game's own file so you can undo it any time;
- checks the server answers;
- makes your identity, the key that signs you in from now on;
- finds your account, or asks for a name (next step);
- brings over your Ubisoft Connect save, or makes a rank 5 one, so co-op and Spies vs Mercs are unlocked.
The bar along the bottom of the window shows each step as it happens. If something fails, it stays there with Try again and Copy details.
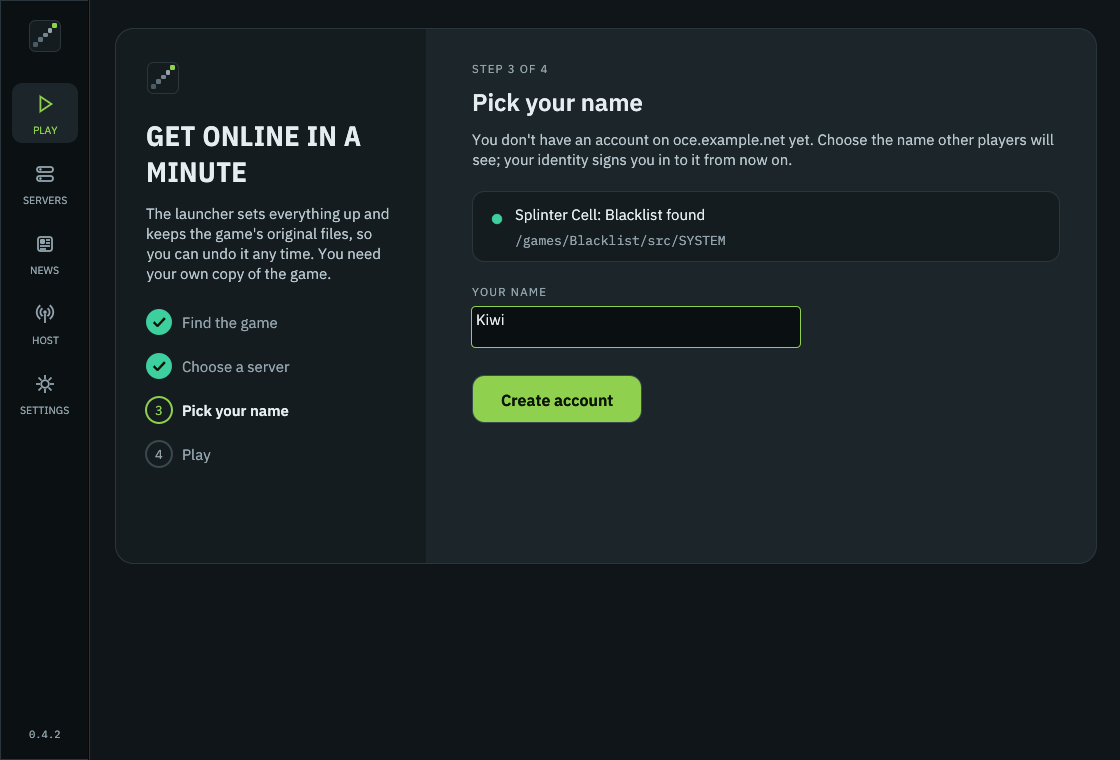
Choose the name other players will see and press Create account. You never need a password: your identity signs you in, on this server and on every other server of the network, with the same name.
- Names can use the letters A–Z, digits,
_,-and.(spaces become_), up to 32 characters. - Names are unique whatever their case: "Kiwi" and "kiwi" are the same name.
- Some names are reserved (admin, moderator, server, ubisoft and the like).
Once your account is made, the setup lists the options that change how the game plays, with what we recommend already chosen:
- Mouse moves 1:1 (recommended): no negative mouse acceleration, so fast flicks turn as far as slow ones.
- Brighten the picture (off): a brighter picture, for a game that looks too dark.
- No automatic climbing (off): Sam climbs and vaults only when you tell him to.
Tick or untick any, then Continue. Change them any time in Settings › Game.
The first time, the launcher asks whether the game may send the server a short diagnostic log while you play. It helps the server's admins see why a join failed on your side.

- Show me an example shows the lines your last game would have sent.
- Keep sending or Turn it off: either is fine, and Play waits until you've chosen. Nothing is sent before you answer.
- Your PC's name, your Windows account name, your user folder and your internet address are removed before anything leaves your PC. Change it any time in Settings › Feedback.

When the line next to Play says Ready to play, press Play. A note (amber) never stops you; a problem (red) is explained in the Status card with a button that fixes it. See Status Checks.
- Go online from the game's menus as usual: Find Teammate and Quick Match for matchmaking, or a lobby for friends.
- Press F5 (Fn+F5 on most laptops) for the overlay: add friends, see who's online, answer invites, and set the lobby's player limits.
- To play with a friend, add each other as friends in the overlay (Find players, then Add friend), then invite them from the overlay or the game's friend list. See Friends and Invites.
- Something red on the Play screen? → Status Checks
- A join that doesn't work? → Troubleshooting
- New PC later? Copy your identity first → Moving to another PC