workflow setup_conditional_access

Overview Two-part flow: first CREATE a conditional access integration (choose the integration type and enter its credentials), then LINK that integration to a policy from the policy's menu. Once linked, non-compliant devices are blocked from that integration (GitHub, GitLab, Azure, Google, Fortigate, NetBird, Tailscale, or Custom). This walkthrough stops before saving in both modals, so it is safe to run against the live demo workspace. Credentials for each integration are documented in the Access control wiki: https://github.com/edamametechnologies/integrations/wiki/Access-control-Documentation
On the Policies page, switch to the 'Conditional access' tab. It lists your existing integration triggers. To add one, click 'Link conditional access' (highlighted) - despite the name, this button opens a modal that CREATES a new integration.
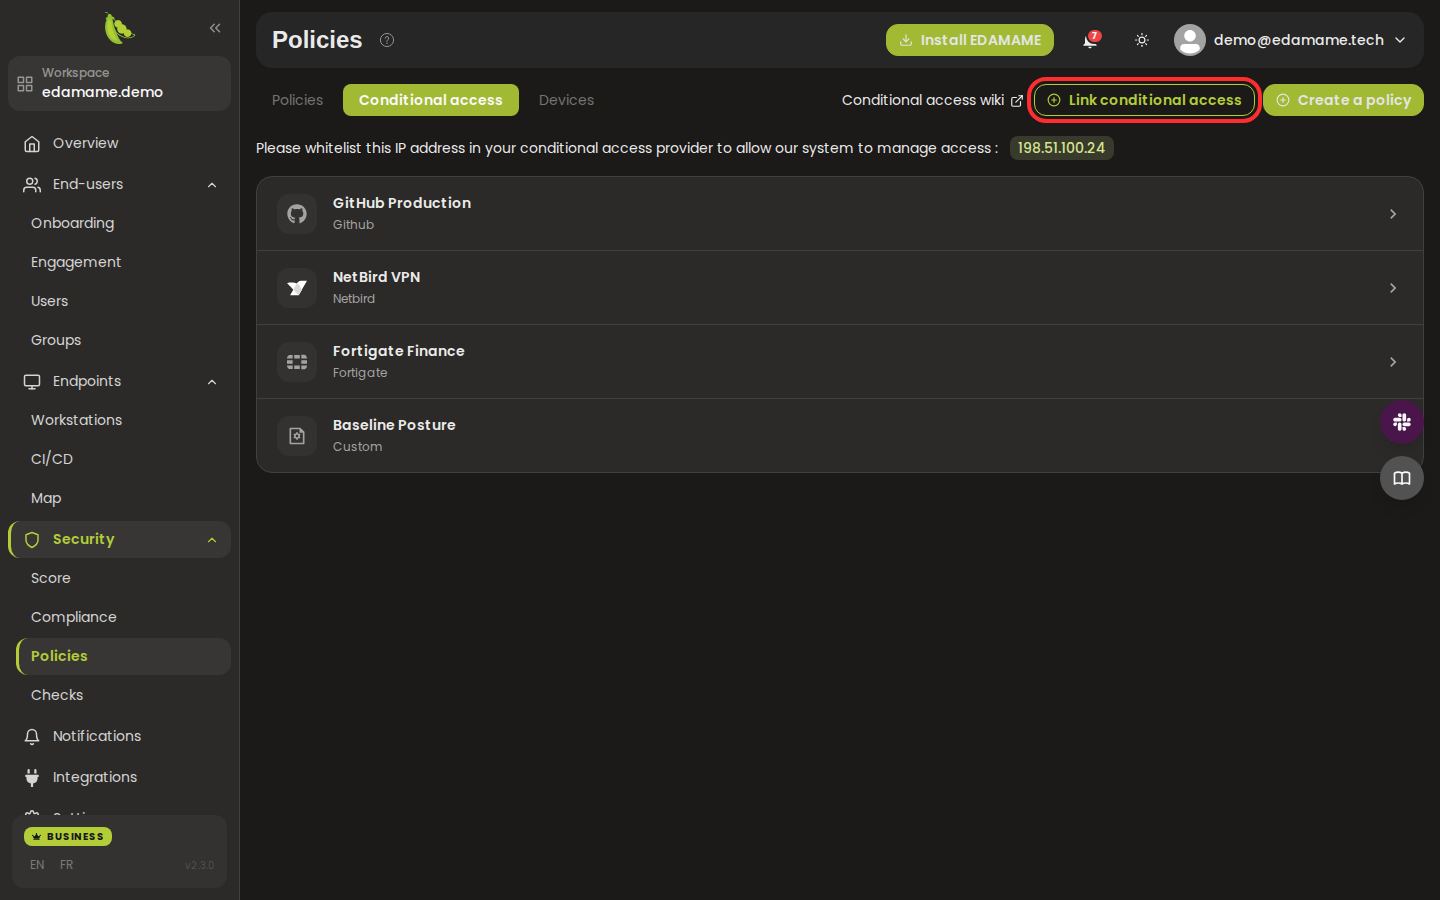
Step 1: Open the Conditional access tab
The 'Create conditional access' modal opens. First pick a 'Conditional access type' - available types are Github, Gitlab, Azure, Google, Fortigate, Netbird, Tailscale, and Custom (shown here with Github selected). Each type then reveals the credential fields it needs (for Github: an access token and organization name). Give it a name, fill the required secrets/variables, then submit ('Test and create conditional access', or 'Create conditional access' for Fortigate/Custom). The exact credentials for every integration are documented in the Access control wiki.
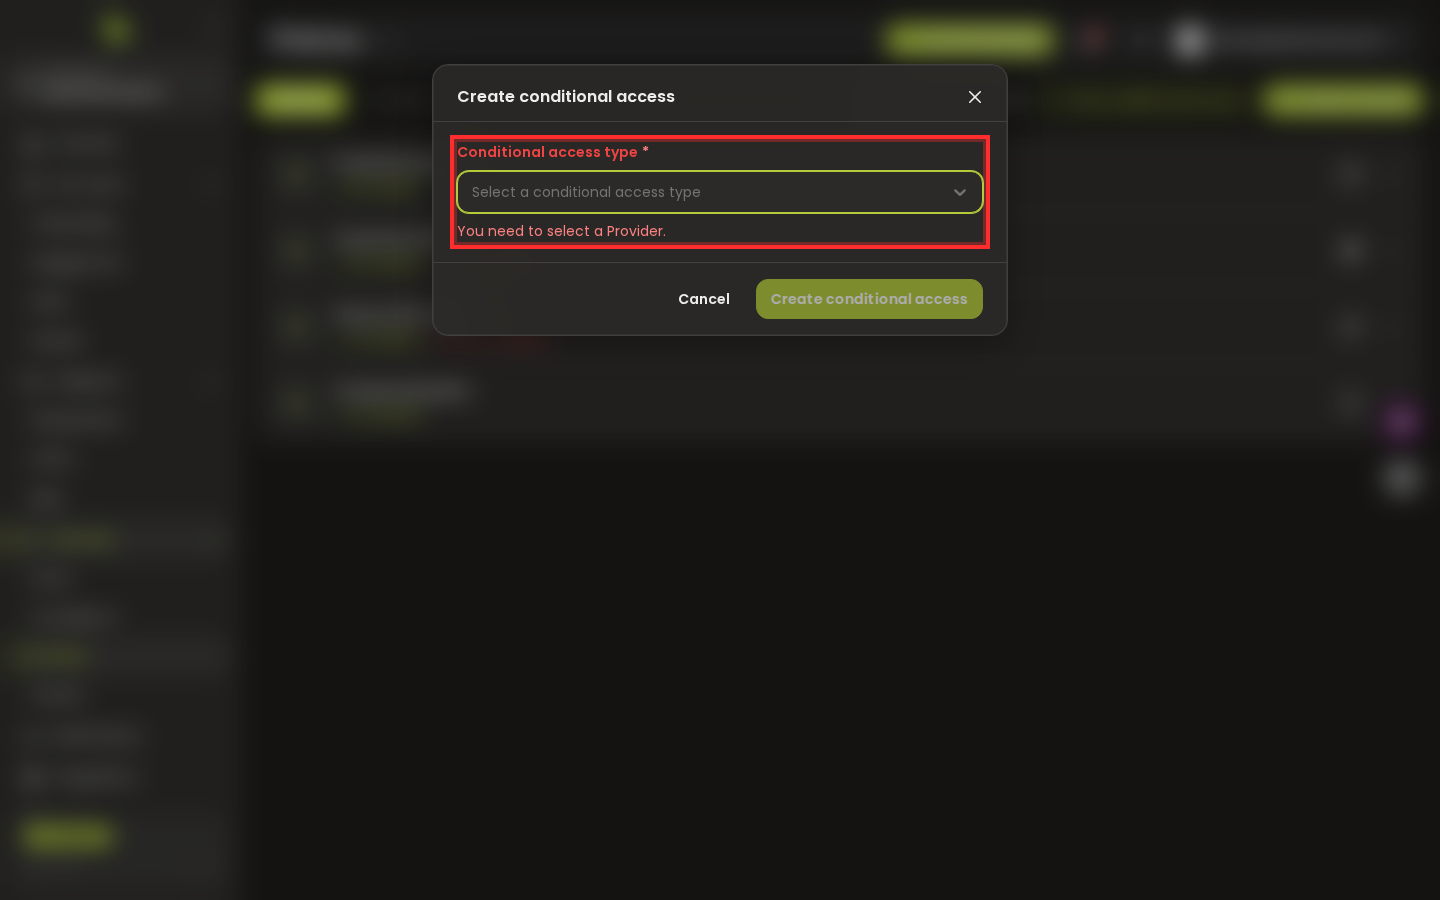
Step 2: Create the integration: pick a type and enter credentials
Creating the integration does not attach it to anything yet - you link it from a policy. Go back to the 'Policies' tab and click a policy to open its detail page. On the top-right of the policy card, open the menu (the vertical three-dot / burger button, highlighted).
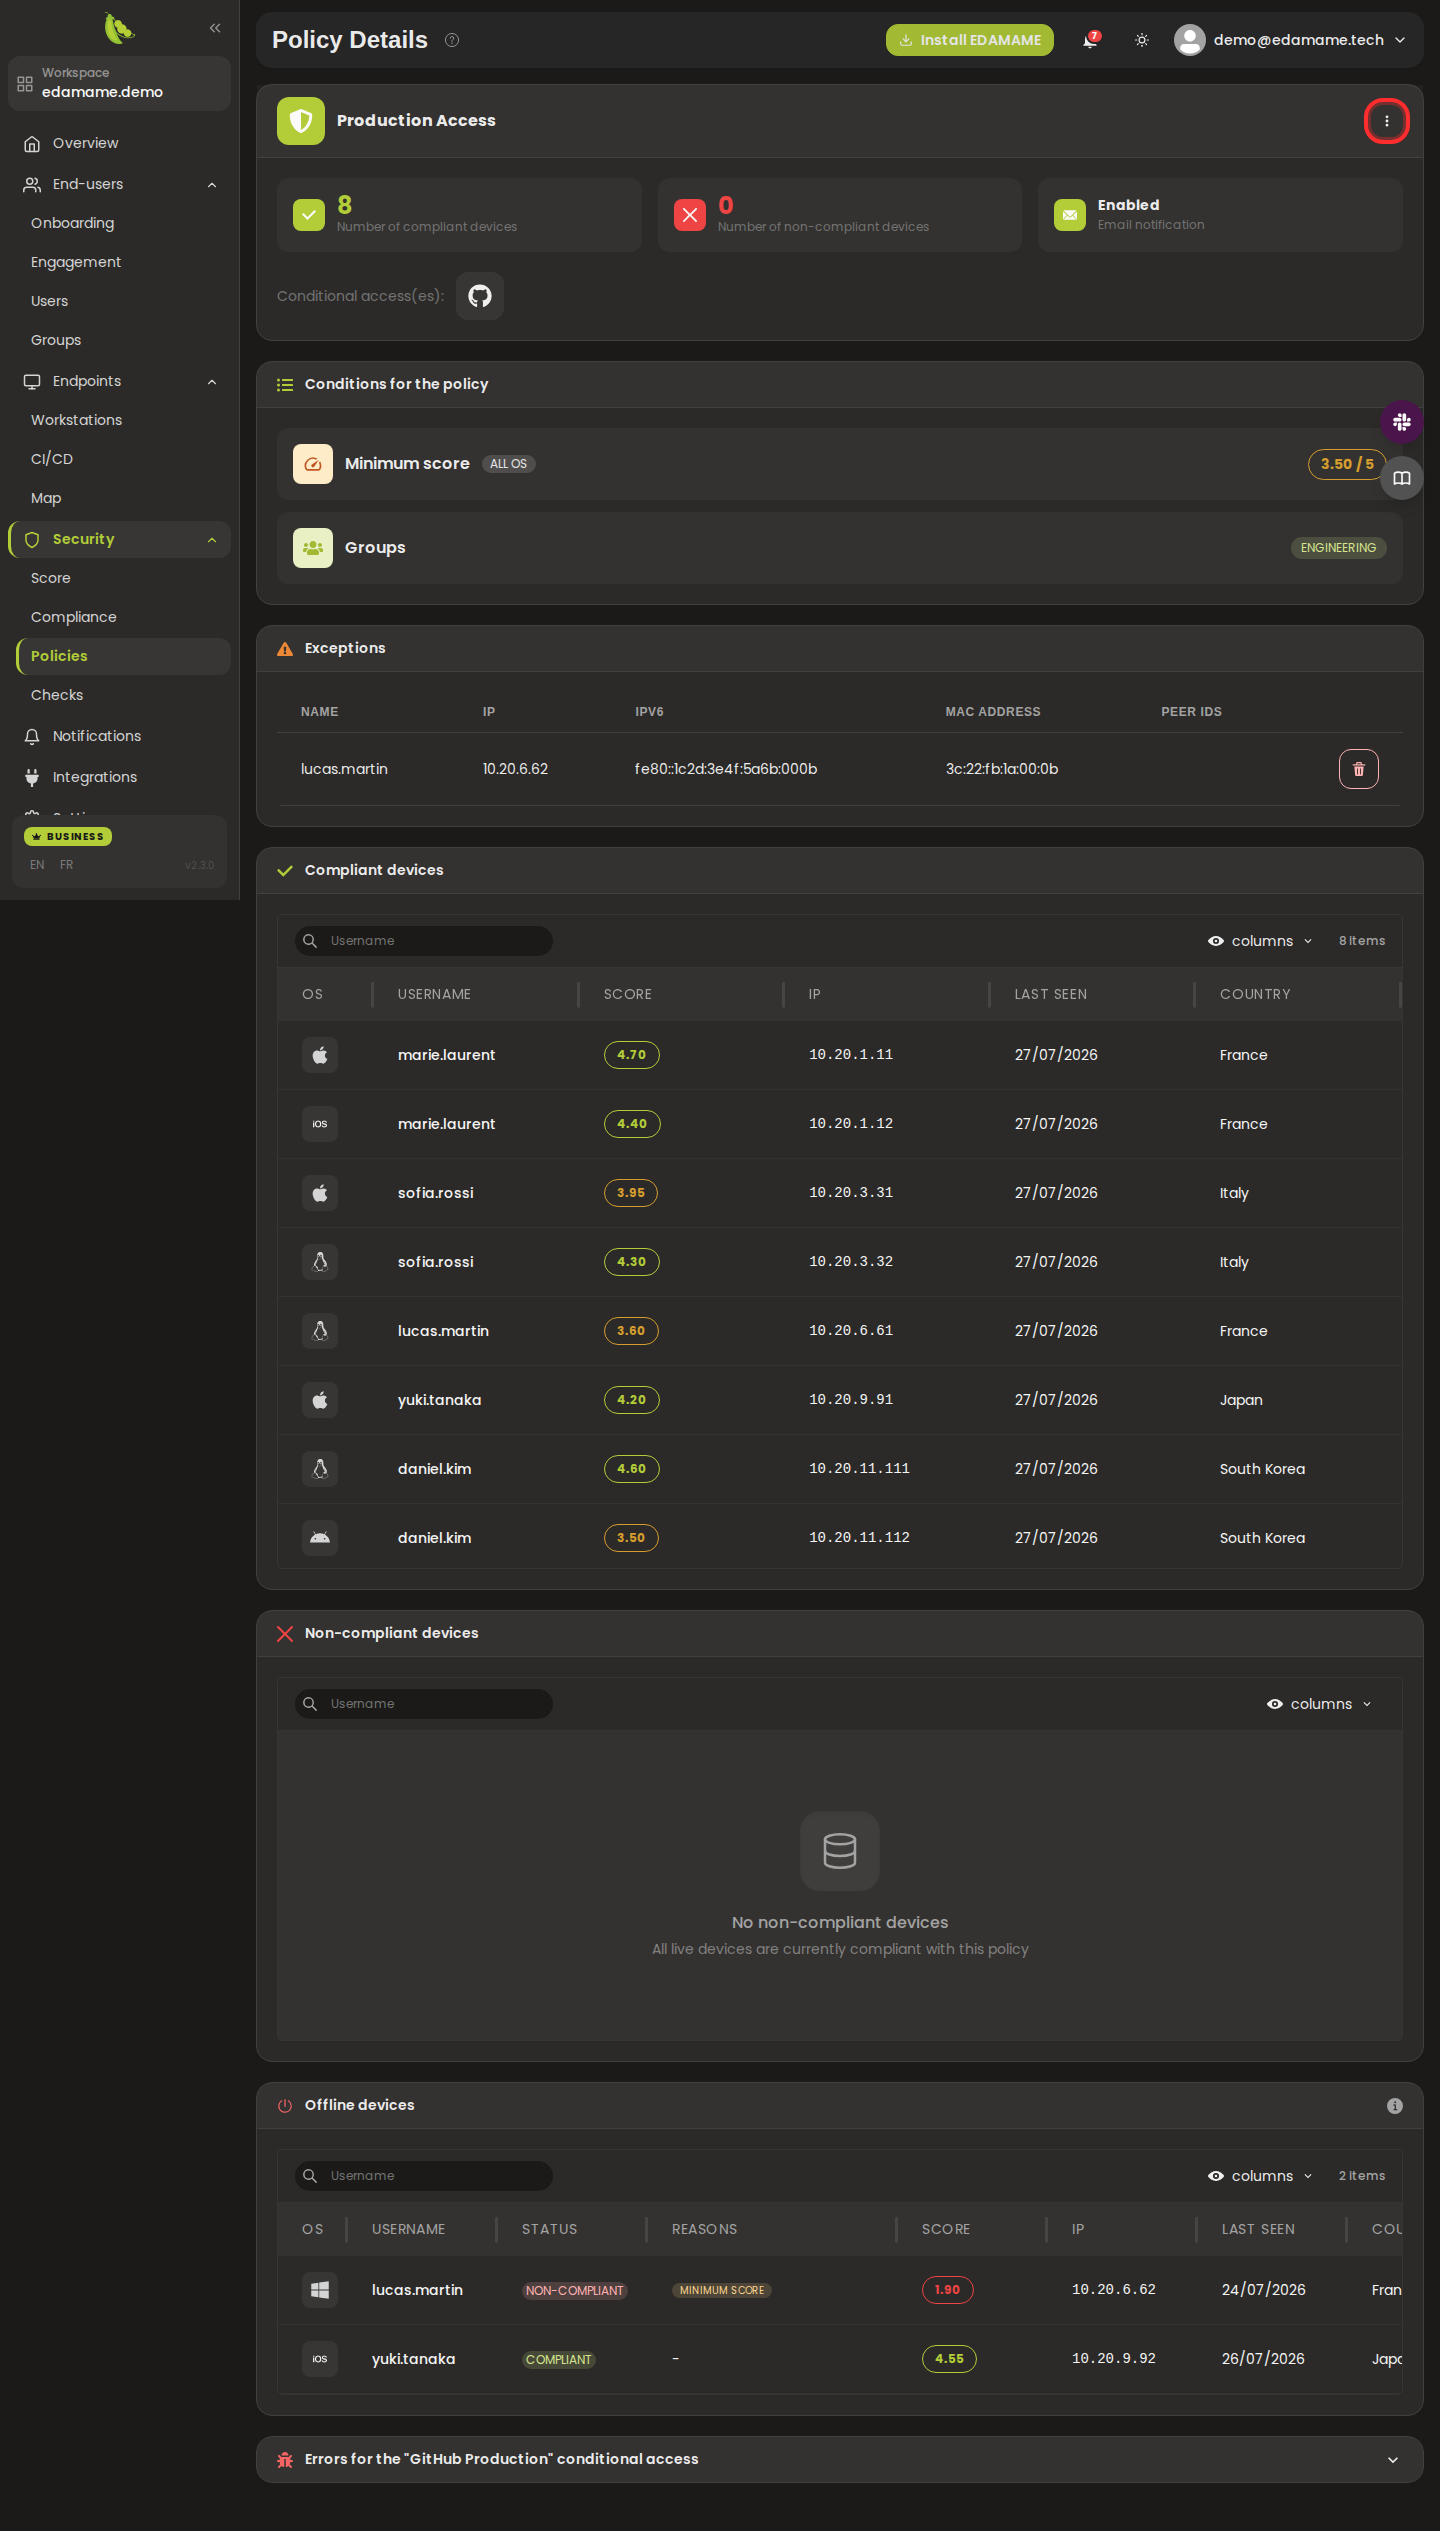
Step 3: Open a policy to link the integration to
Click the top-right burger menu to open it. It offers 'Add exception', 'Edit', notification toggles, and 'Delete policy'. Choose 'Edit' (highlighted) to open the policy's update form.
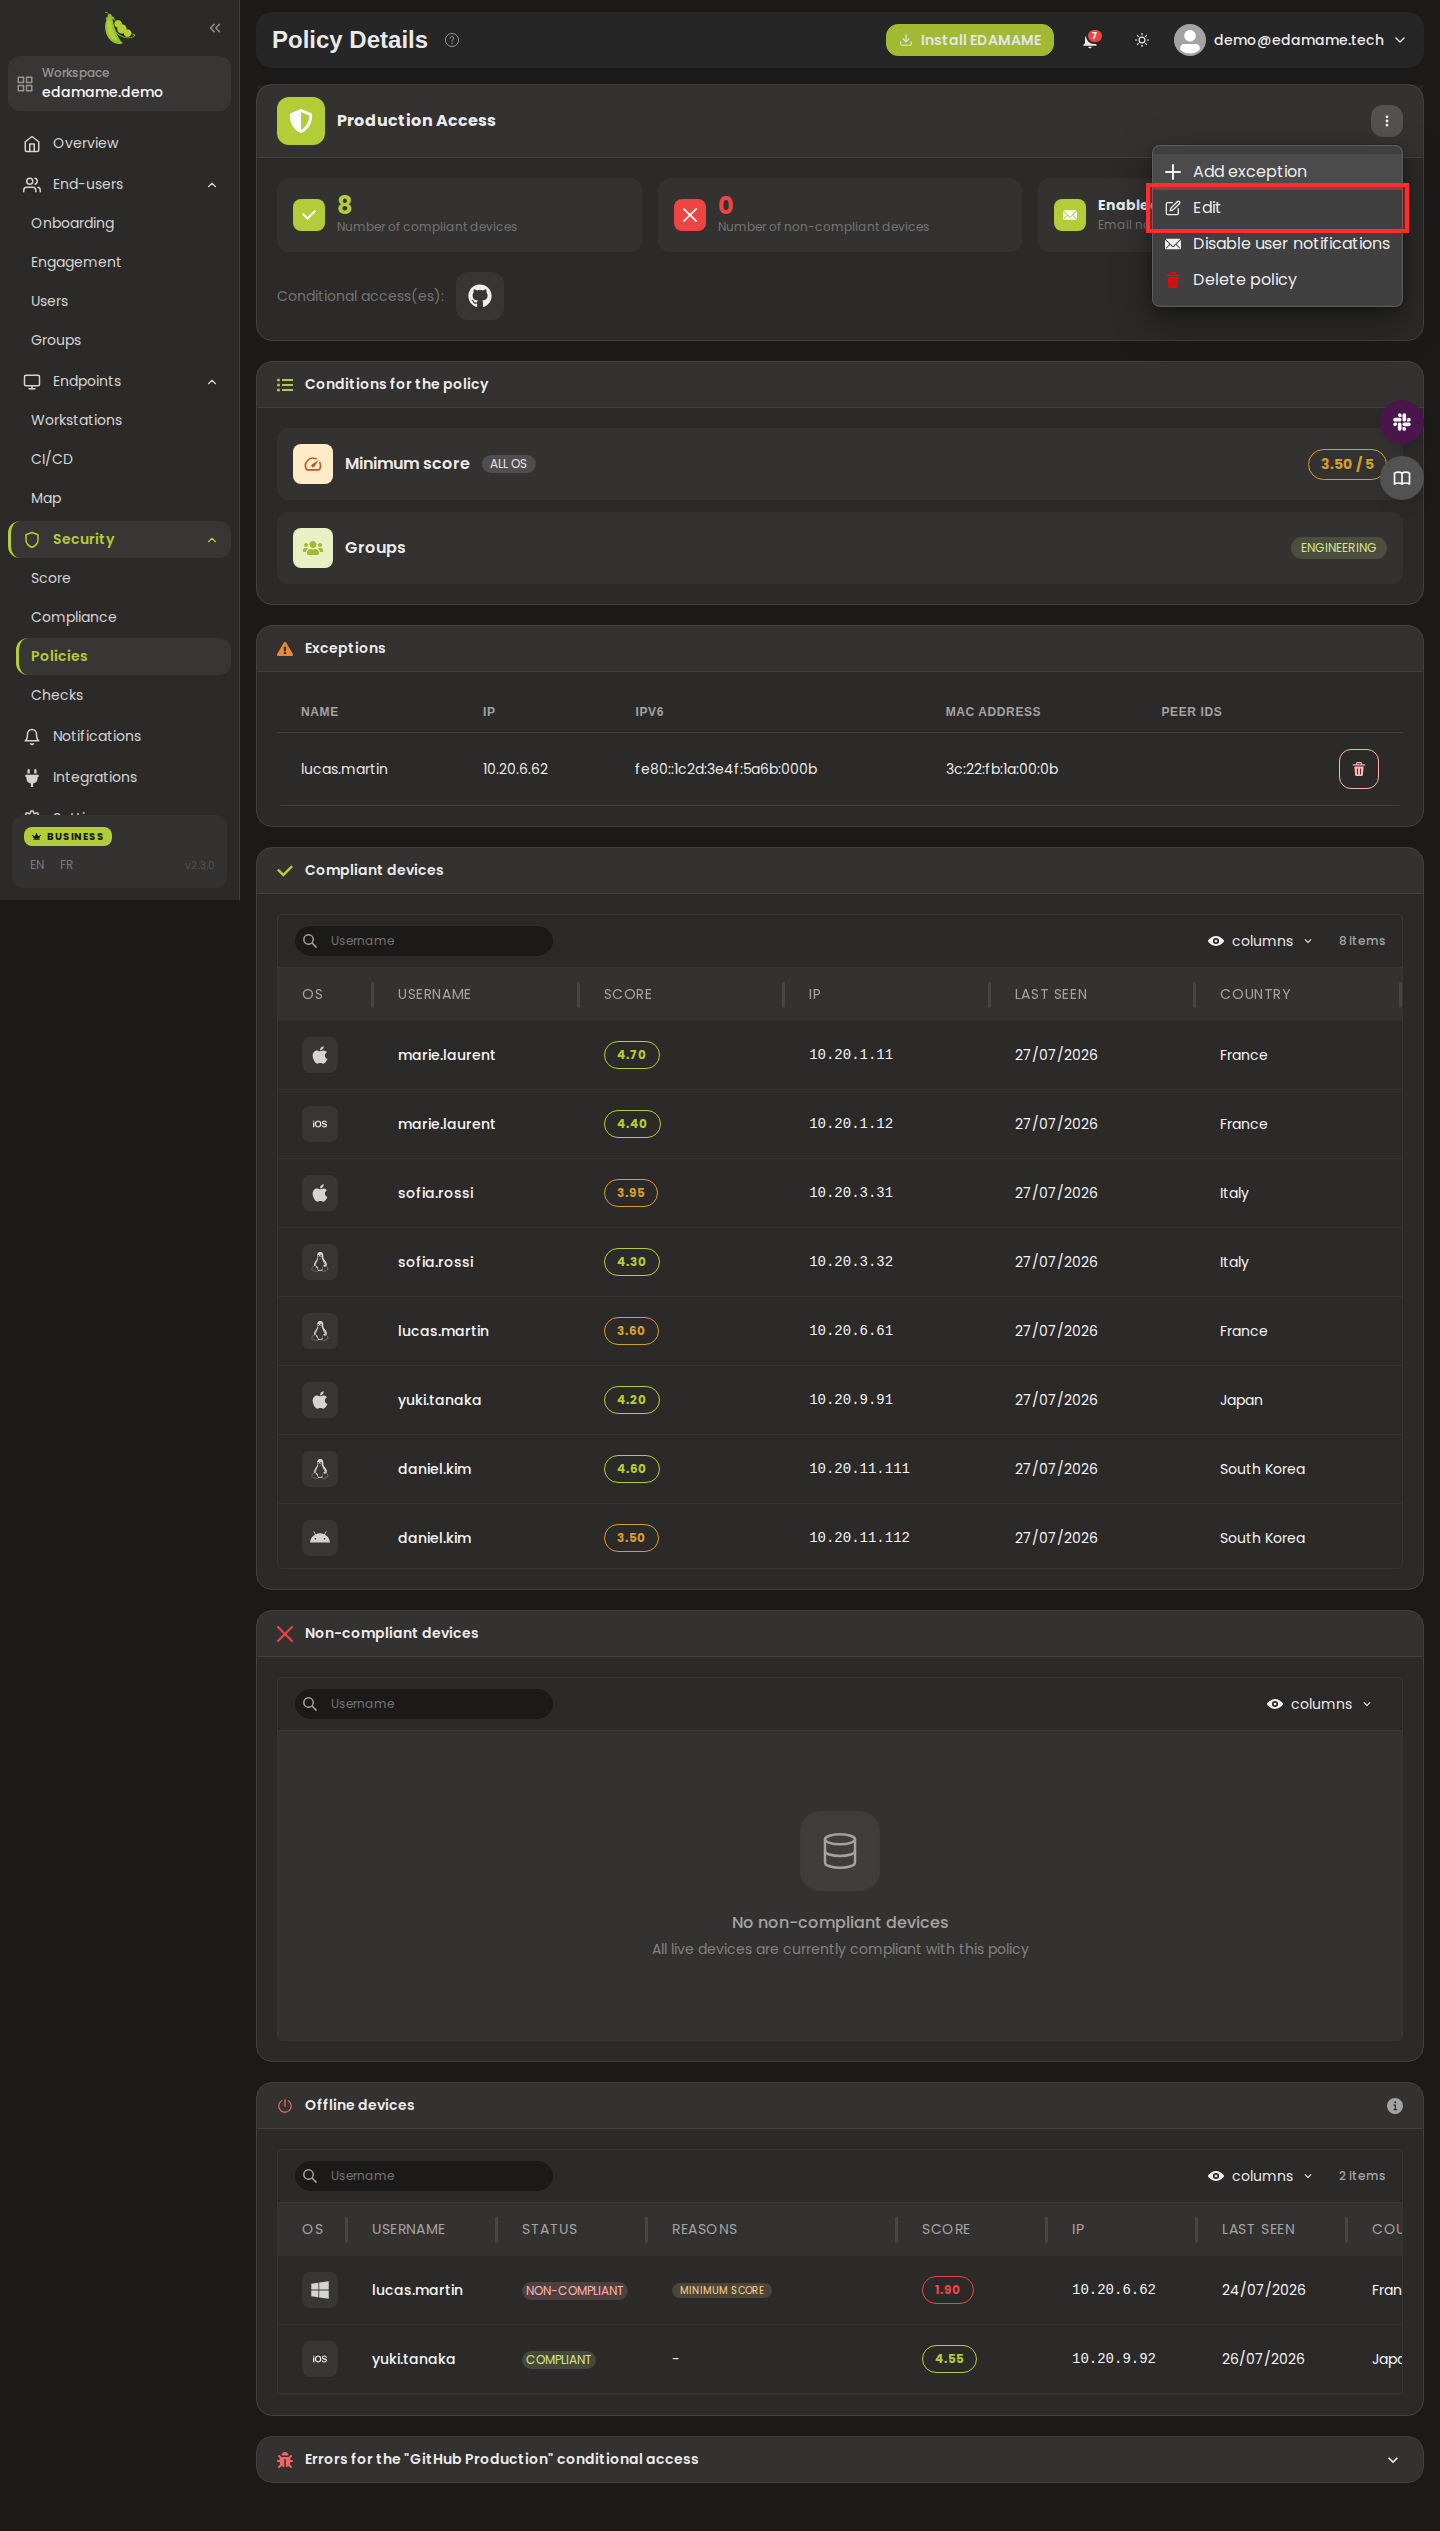
Step 4: Open the policy menu and choose Edit
The 'Update policy' modal opens. In the 'Selection conditional access(es)' field (highlighted), search for and select the integration you created, then click 'Update policy' to confirm. Non-compliant devices will then be denied access through that integration. Note: a conditional access can currently be linked to a single policy only.
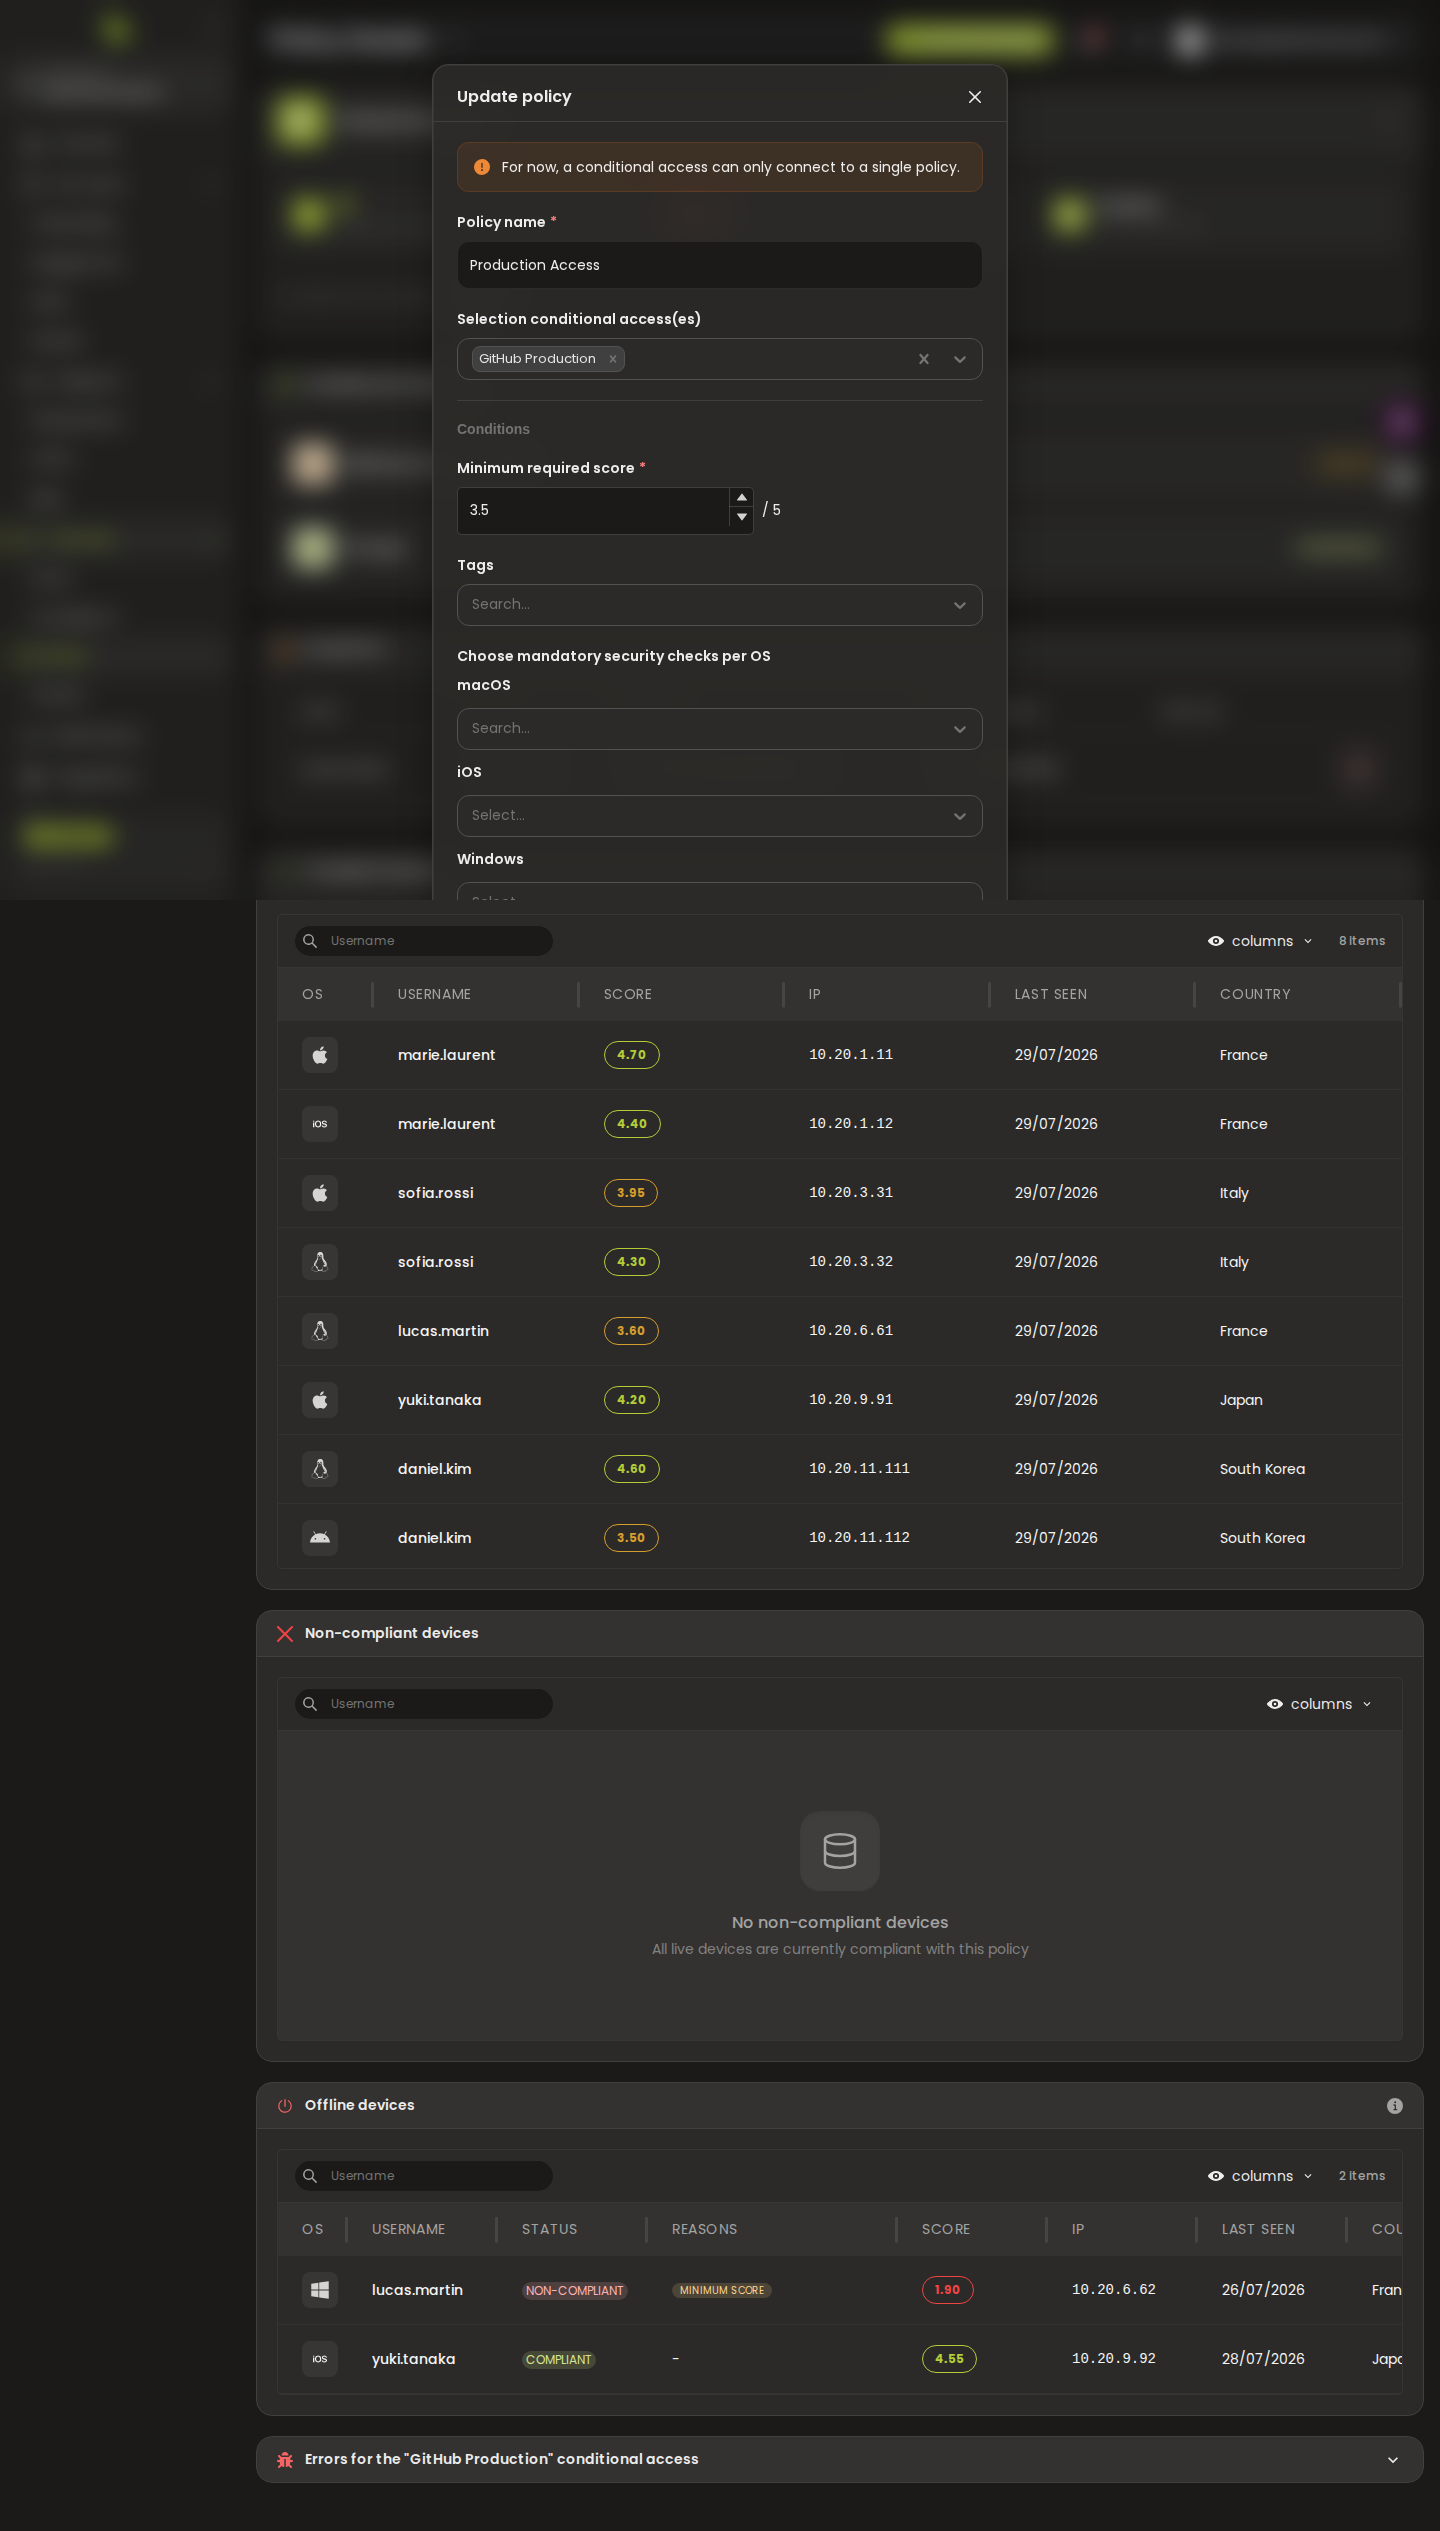
Step 5: Link the conditional access to the policy
This page was automatically generated from workflow definitions.