Building the Atomic Editor using XCode
The Atomic Editor is very easy to build and requires minimal setup. You'll need XCode from the App Store and CMake: http://www.cmake.org/download
Open a terminal and clone the Atomic Game Engine source and examples repositories.
git clone https://github.com/AtomicGameEngine/AtomicGameEngine
git clone https://github.com/AtomicGameEngine/AtomicExamples
Make a build directory, change directory to it, and run cmake.
mkdir AtomicGameEngine-build
cd AtomicGameEngine-build
cmake ../AtomicGameEngine -G "Xcode"
This will generate an XCode project which you can now open.

In Finder, navigate to your build folder and open Atomic.xcodeproj

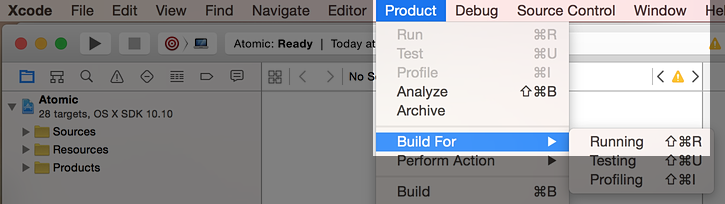
Once opened, select Build for Running from the Product menu
Once built, select the Atomic Editor as the current project
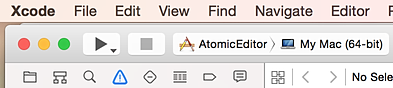
Run the editor using cmd-R or selecting Run from the Product menu

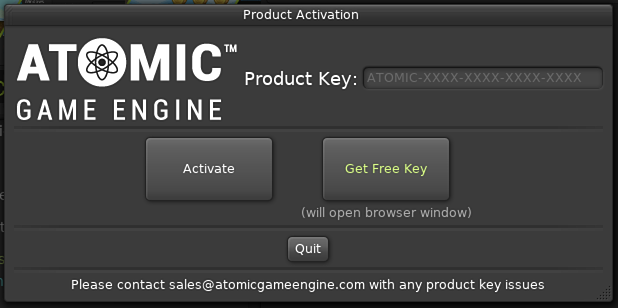
If you have not activated, you will need to activate using your product key. You can get a free product key from the Atomic Game Engine Store
From the Welcome Screen, select Open Project and navigate to your clone of the Atomic Examples, choose the Physics Platformer example
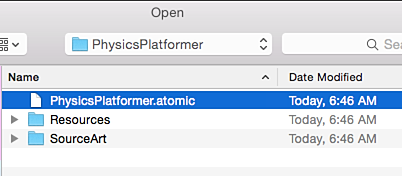
The Platformer will open in the editor

You are now ready to start developing using your custom build of the Atomic Editor, press play!
