MMI Framework Setup Guide
To setup the MMI framework, first download the zip archive comprising the full environment (usually realized after the end of each sprint). The file is commonly named environment(sprint_version).zip.
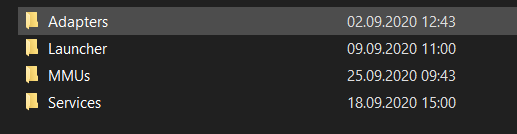
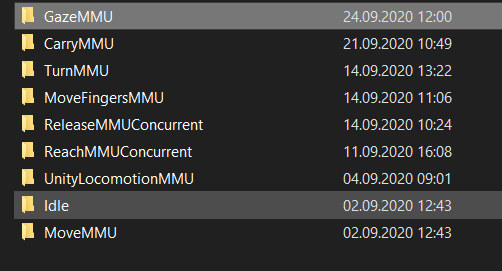
The MMI Environment contains the Launcher, MMUs, Adapters and Services folder. Within the MMUs folder by default the basic MMUs are provided. Each MMU is again located in a separate folder. Same applies for the adapters. By default, the CSharp and Unity Adapter are provided. Furthermore, the MMI framework is shipped along with multiple services. Each service is located in a dedicated folder inside the Service folder.
To run the framework, the Launcher must be started first. In case of the first startup, the path of the environment must be manually specified. The requested path is the path of the directory in which the Launcher, Adapters, Services and MMUs folders are located.
Consecutively the available components are automatically started. At first start, firewall permissions must be granted.
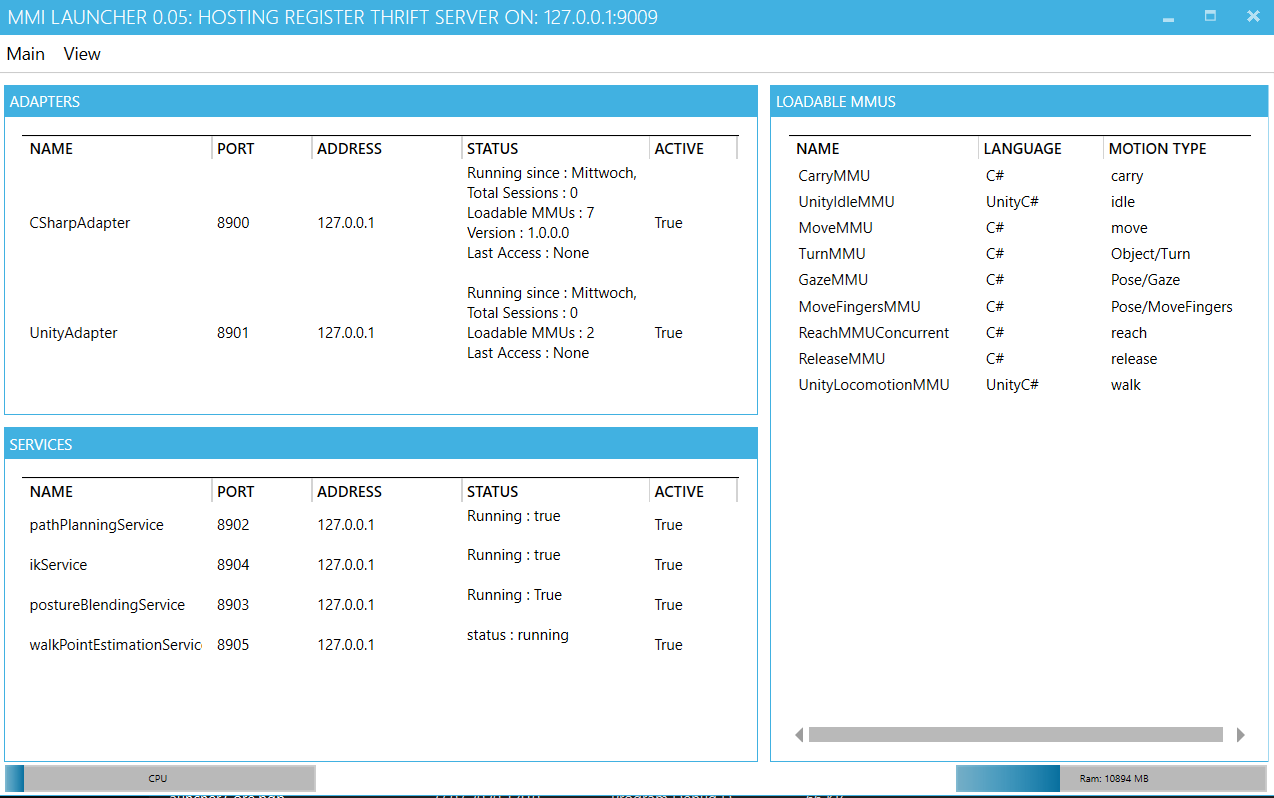
After starting the launcher it should look like illustrated in the following:
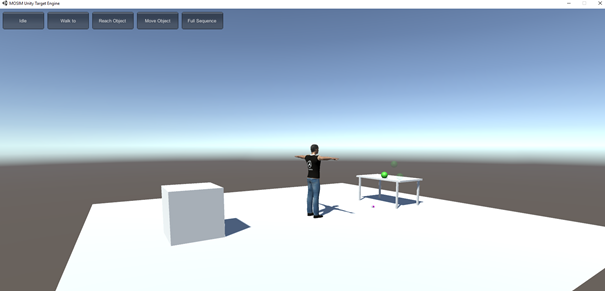
The MMI framework allows by default to use the framework with Unity as target engine. For this purpose the so-called MMIUnityIntegration package is provided. The package contains an example scene (see image below) as well as all required scripts to access the MMI framework.
This manual focuses on the description and a simple overview of the so-called Unity Target Engine in the MMI framework. The target engine is basically the client consuming the respective MMUs in the framework. The target engine contains the ground-truth scene and is the place in which the actual use-cases are realized. Before starting the target engine, please ensure that the MMI Launcher and environment is running properly (see dedicated manual MMI Launcher).
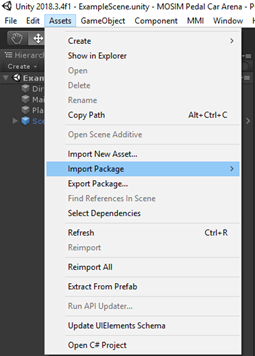
For n-depth investigations and utilization it is recommended to utilize the provided Unity Package (MMIUnityIntegration.unitypackage). The package has been build with Unity Version 2018.3.4f1. It is therefore recommended to use the respective Unity version or a newer one. However, for the target engine also newer versions (e.g. Unity 2019) should be compatible. The workflow for integrating the UnityPackage is as follows: First, please create a new/empty Unity project. Next import the unity package using the Assets/Import Package tab (see image). In particular after importing, the required scripts are within the Assets/MMI folder.
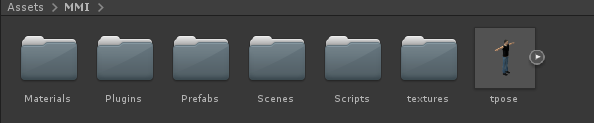
After importing, you should see the following files in the Assets/MMI folder.
Now you can use the prepared scene provides in the Scenes folder.

Now you can use the prepared scene provided in the Scenes folder.
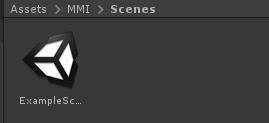
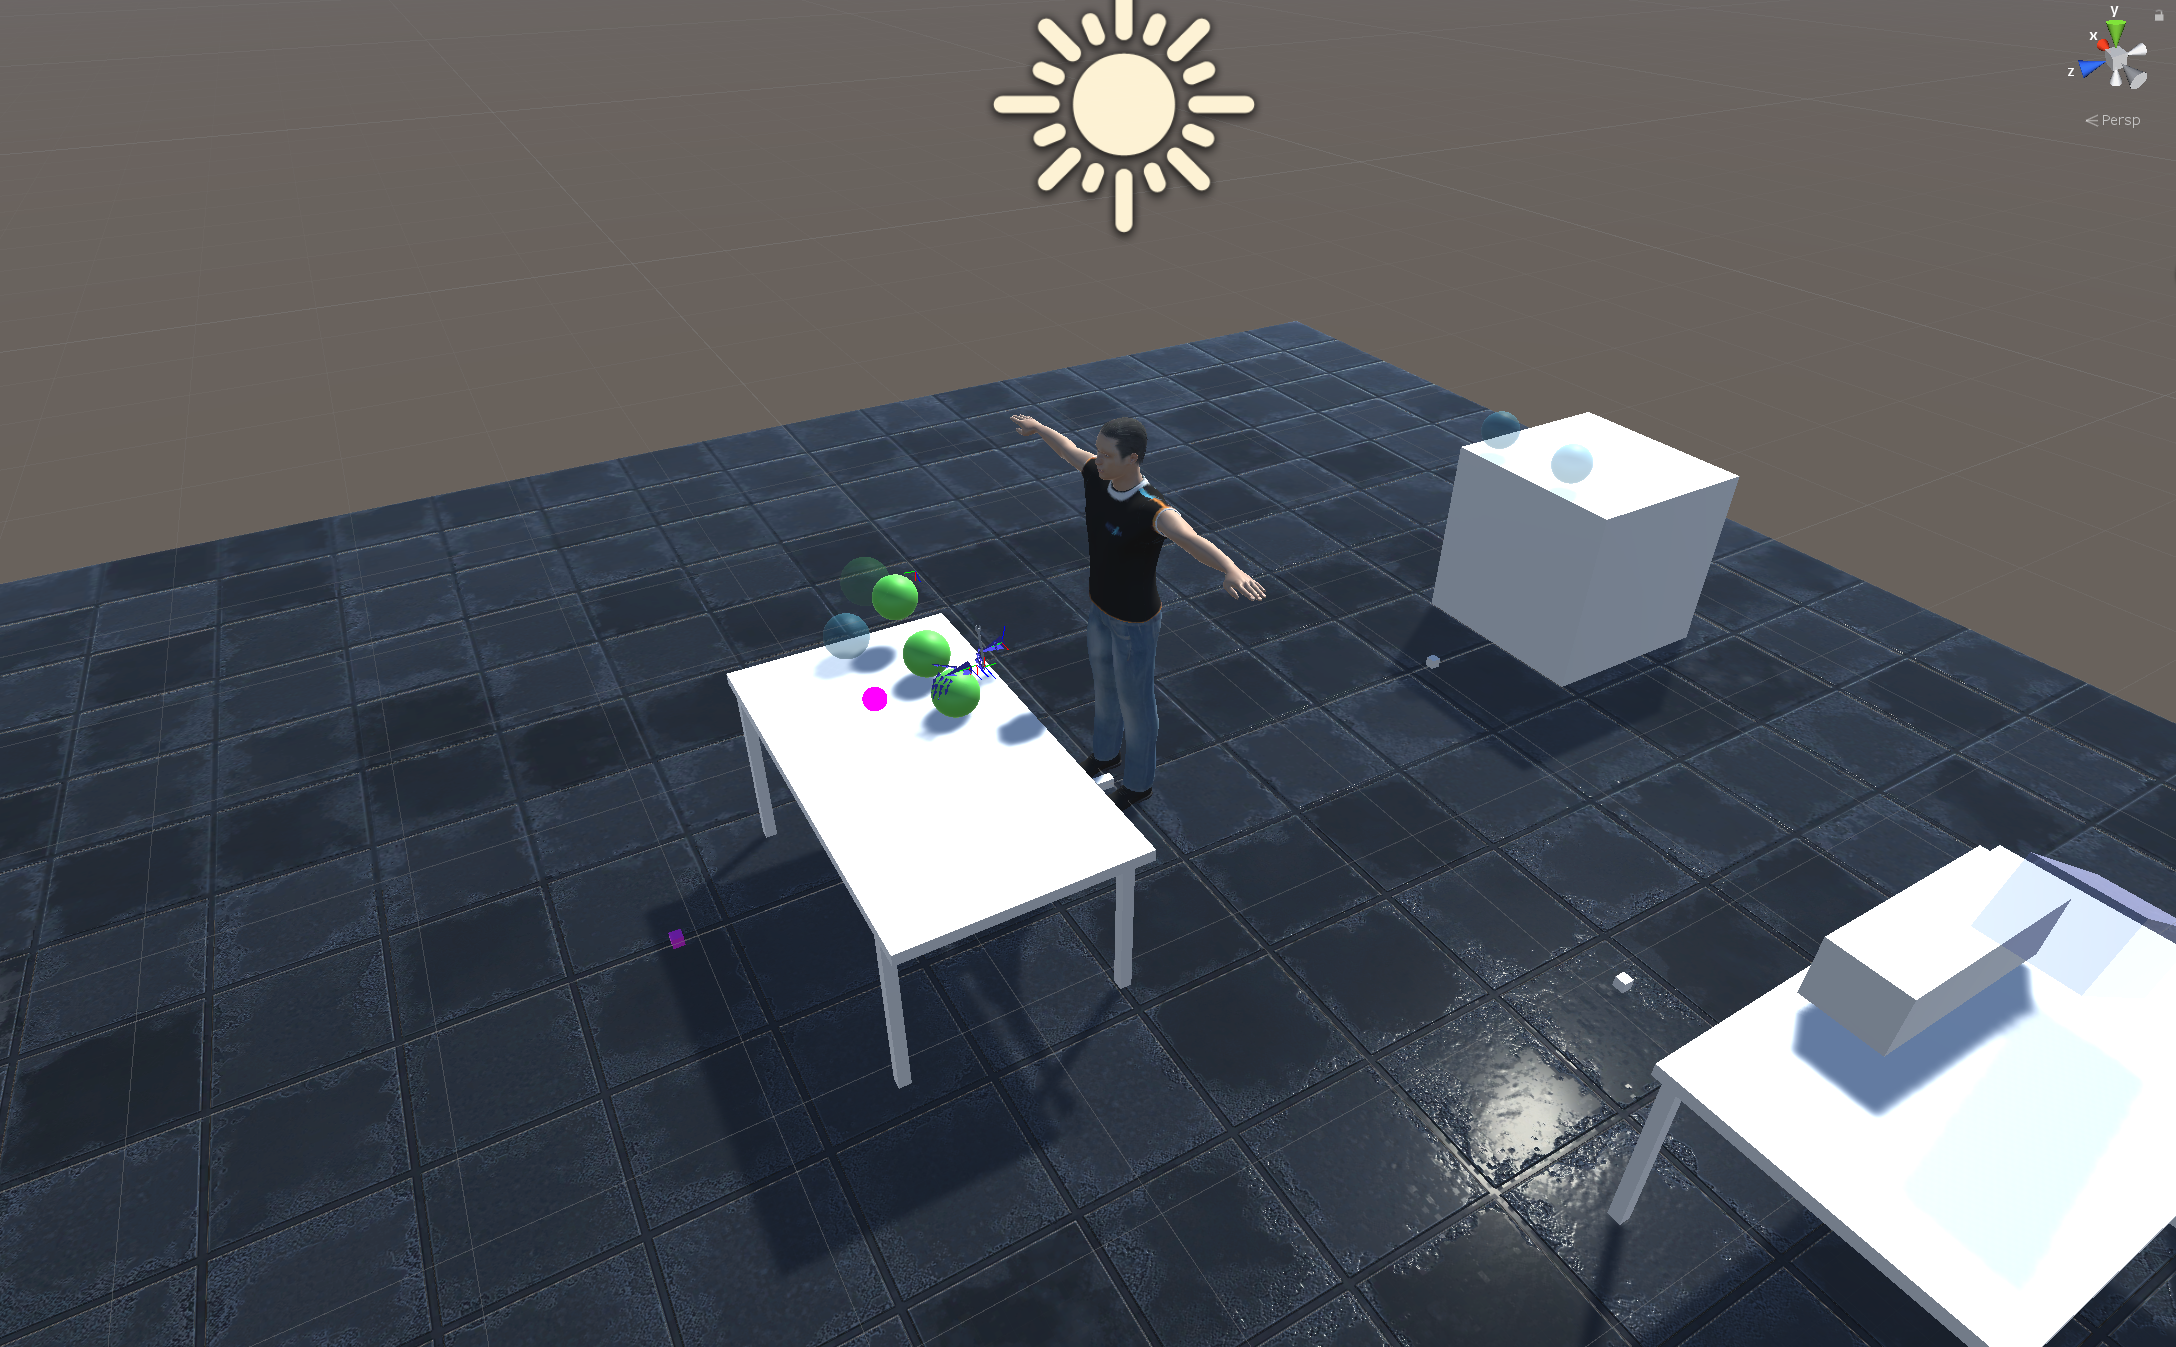
After opening the respective file, you should see the example scene.
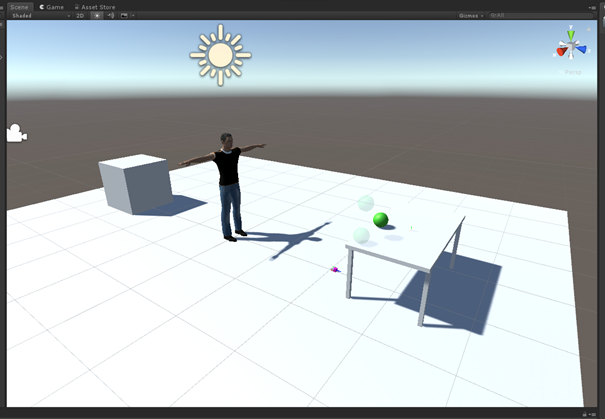
Now the simulation can be started. If the MMI launcher is running properly, you should see the following:
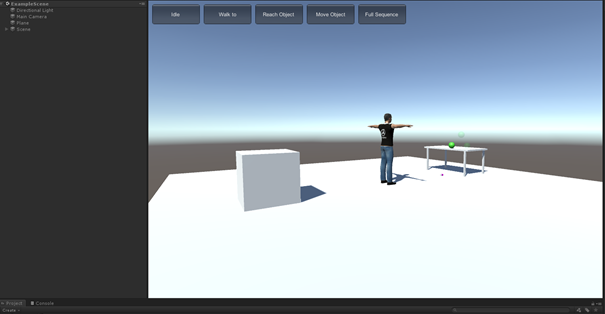
Congratulations! The MMI framework is now also running within your custom Unity application. Now you can modify the tasks and environment. A detailed overview of the utilized Scripts and workflows for the scene is given below.
Generally, the example scene already has certain object in the scene hierarchy (see image below).
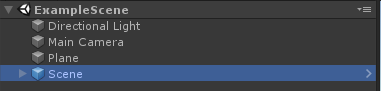
In particular, a Main camera, floor plane, directional light and a scene GameObject are prepared. The scene GameObject hereby is an important aspect of the Target Engine. Having a closer look at this object, it can be uncovered that the object contains several child objects.
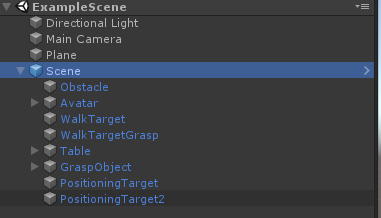
These objects are basically the objects visible within the MMI framework and thus also visible for the MMUs.
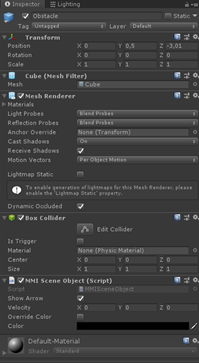
Each of those objects must contain the MMISceneObject script to be synchronized with the MMI framework (see image below). The script automatically synchronizes the SceneObject with changes made in the MMI framework and vice versa. Therefore, scene objects can be dynamically moved and created during the runtime.
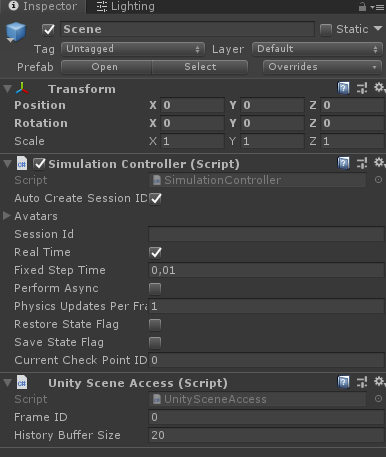
Going back to the root object, the Scene. Investigating the attached scripts it can be encountered, that two scripts are attached, the Simulation Controller and the Unity Scene Access. The Simulation Controller is the central instance coordinates the overall simulation and triggering the simulation ticks. It needs to be attached to the root element containing all MMISceneObjects and MMIAvatars. It automatically detects the available avatars and controls them. In here, the step time can be also adjusted (either real-time or a specific time delta for each frame). Next, the UnitySceneAccess is also a mandatory component, which must be added to the root object. This script is responsible for gathering and managing all the changes made within the scene and is an important component in order to synchronize the scene objects with the MMI framework.
After having described the two main script Simulation Controller and UnitySceneAccess, next the components and concepts related to the digital human are investigated. In the example scene, additionally a GameObject named Avatar is contained. The Gameobject has two different Scripts attached. First, and the most important, the MMIAvatar. Analogously to the MMISceneObject, this script is responsible for synchronizing the avatar with the MMI Framework. Moreover, within the MMIAvatar a connection to the MMUs is established and the co-simulation instance is created. Optionally also a remote co-simulation can be used (which is not embedded within the Unity engine). However, this option is only recommended to expert users.
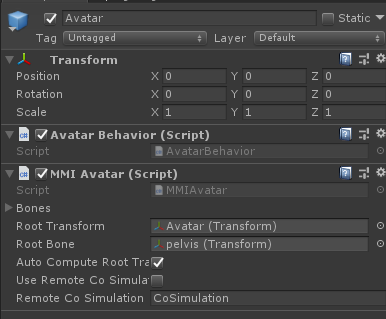
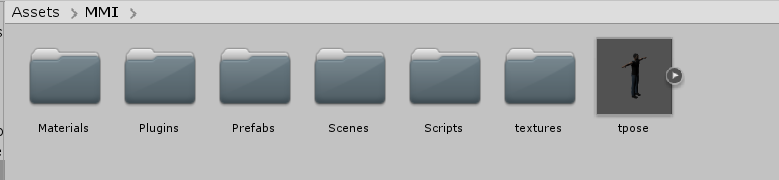
The utilized avatar is based on the tpose prefab contained in the MMI folder. This is a simple fbx model of a digital human. Using the Unity rigging capabilities, the fbx is set up as humanoid Mecanim rig. For setting up the MMIAvatar the root transform and the root bone need to be set up (already provided and done in the example project). It is noteworthy, that inside the MMIAvatar script a bone/joint mapping is manually specified. In case of changing the utilized avatar, this must be adjusted. The Avatar GameObject also contains a further script, the so-called Avatar Behavior. This script is responsible for specifying the instruction sent to the co-simulation. This script is also responsible for visualizing the buttons on the GUI.
For properly setting up the retargeting of an avatar, by default the avatar.mos file is provided in the Assets/Configurations folder. This file describes the avatar in t-possture and is required for proper retargeting. The file is tailored to the default avatar that is shipped along with the framework. If you plan to use a custom avatar, it is required to adapt the configuration file to the new one.