Repository navigation
Getting Started
Get from an empty Raspberry Pi or Linux server to your first useful GODSEYE view. Allow time for discovery to collect real data; a fresh installation starts with no customers or devices.
Use a supported Raspberry Pi OS, Debian, or Ubuntu-style Linux system with systemd. An SSD or NVMe drive is recommended for continuous monitoring. Put the appliance on a trusted LAN or VPN; do not expose it directly to the public Internet. Choose the current server release ZIP or clone the repository with Git.
Choose one of these two options and run the installer from the directory containing install.sh.
Download the current server release, then extract the ZIP and run its installer:
mkdir -p ~/godseye
unzip GODSEYE-server*.zip -d ~/godseye
cd ~/godseye
chmod +x install.sh
sudo ./install.sh --fresh
If the release ZIP has a different name or extracts into a subfolder, adjust the path and change into the directory containing install.sh.
With Git installed, clone the current main branch into a new directory and run the same installer:
git clone --depth 1 --branch main https://github.com/msapgroup/Godseye.git ~/godseye
cd ~/godseye
chmod +x install.sh
sudo ./install.sh --fresh
The clone follows the latest main branch; use the release ZIP when you want a specific packaged release. The clone target directory must not already exist.
Open http://YOUR-GODSEYE-IP:8080 from a trusted device. The initial username is admin. There is no default admin password; create it on the first-run setup page. Configure HTTPS through the included reverse-proxy helper when appropriate.
- Sign in and check System Health for service and scanner status.
- Open Devices and let discovery populate the inventory. Give known devices friendly names and classifications.
- Open Dashboard and Network Map to compare device totals, status, and relationships.
- Set up monitoring and investigate a finding before turning it into a ticket.
- Add a customer in CRM and, if useful, link it to a GODSEYE site.
- Open the Knowledge Base to see the included Outlook setup article, then add a repeatable fix of your own.
- In System Health → Full Backup & Server Restore, export a full backup ZIP and store it securely.
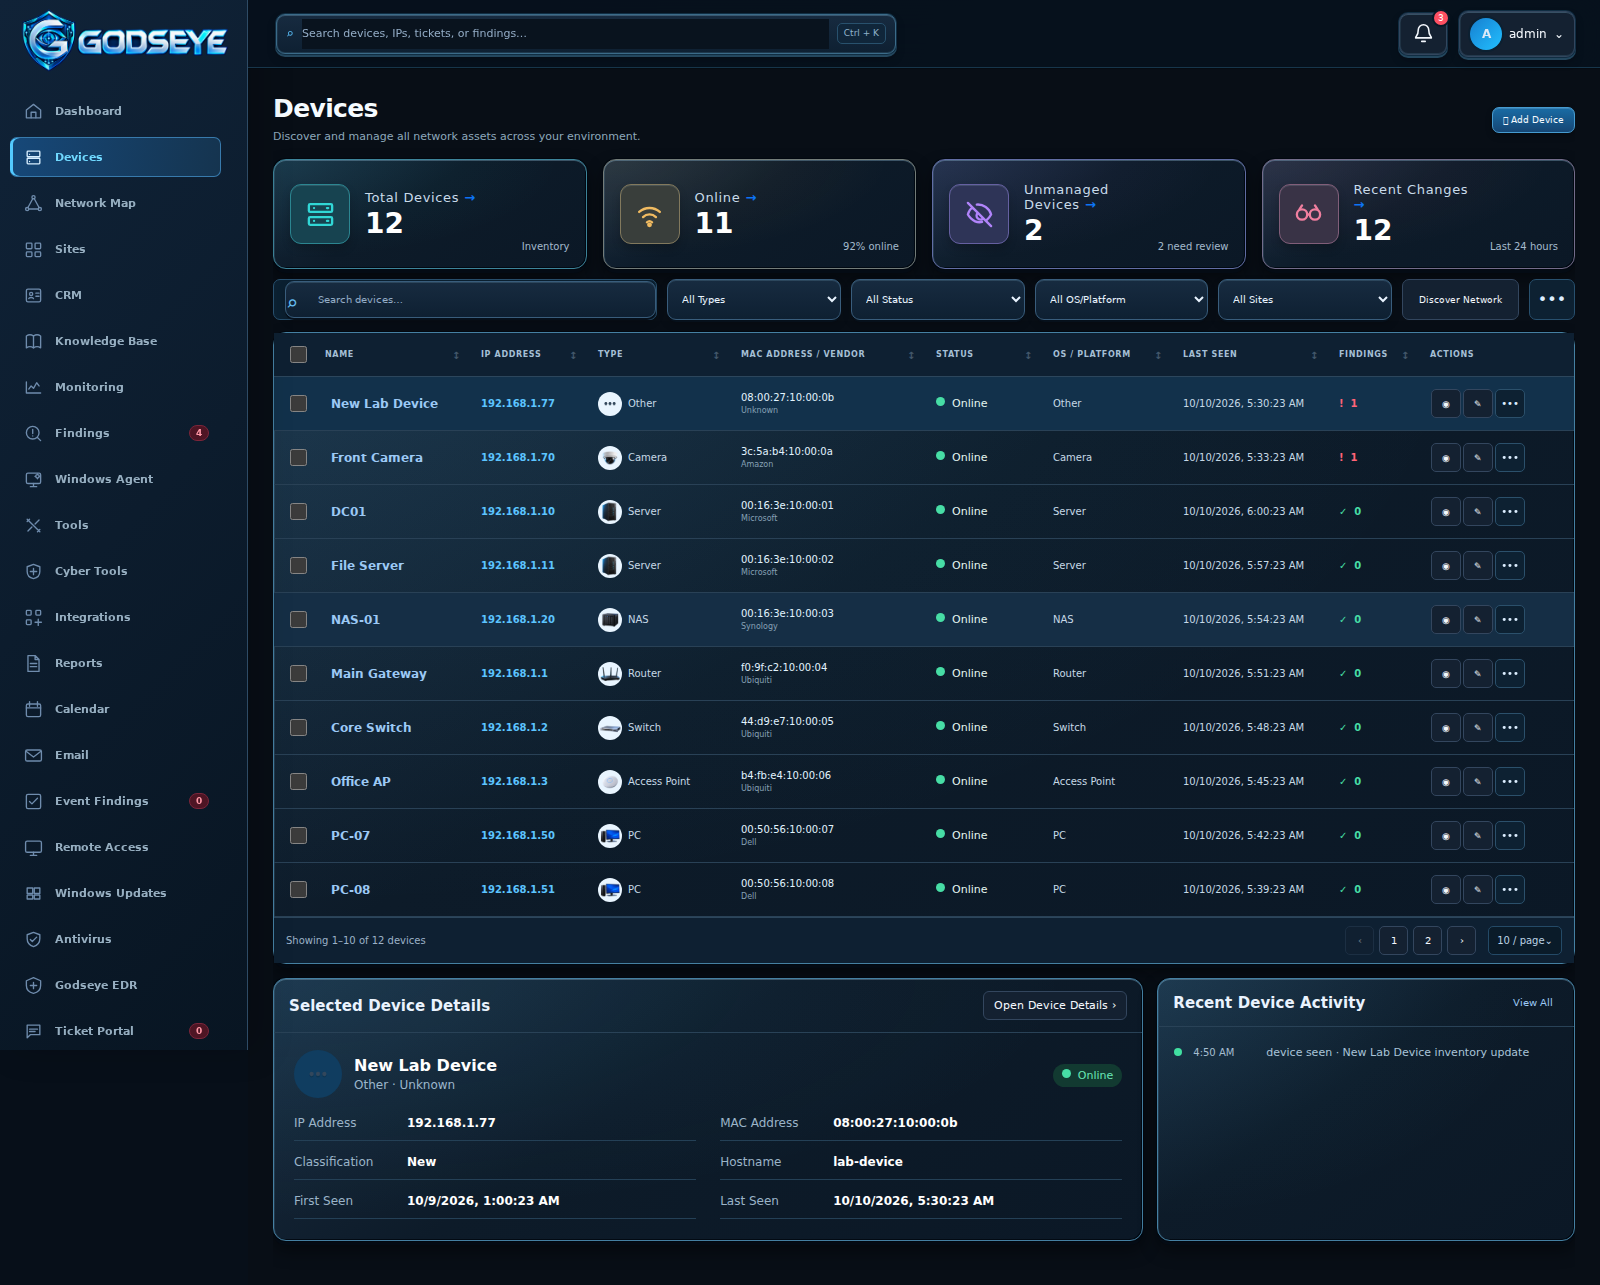
This image uses representative sample data; your inventory will reflect your own environment.
For Windows event findings and consent-based remote support, install the Windows Agent and enroll the computer. To connect another GODSEYE appliance, use Manage Your Workspace; your VPN connectivity is set up outside GODSEYE.
Extract the current server package into a temporary directory, then run chmod +x install.sh and sudo ./install.sh --upgrade. The installer preserves data and configuration and performs migration and backup checks. Keep a verified full backup before a major change.
Next: Explore GODSEYE · Help and Troubleshooting · Home