Repository navigation
Quick Start
This guide gets you from installation to a proven restore point. For a tour of every page, see Guided tour.
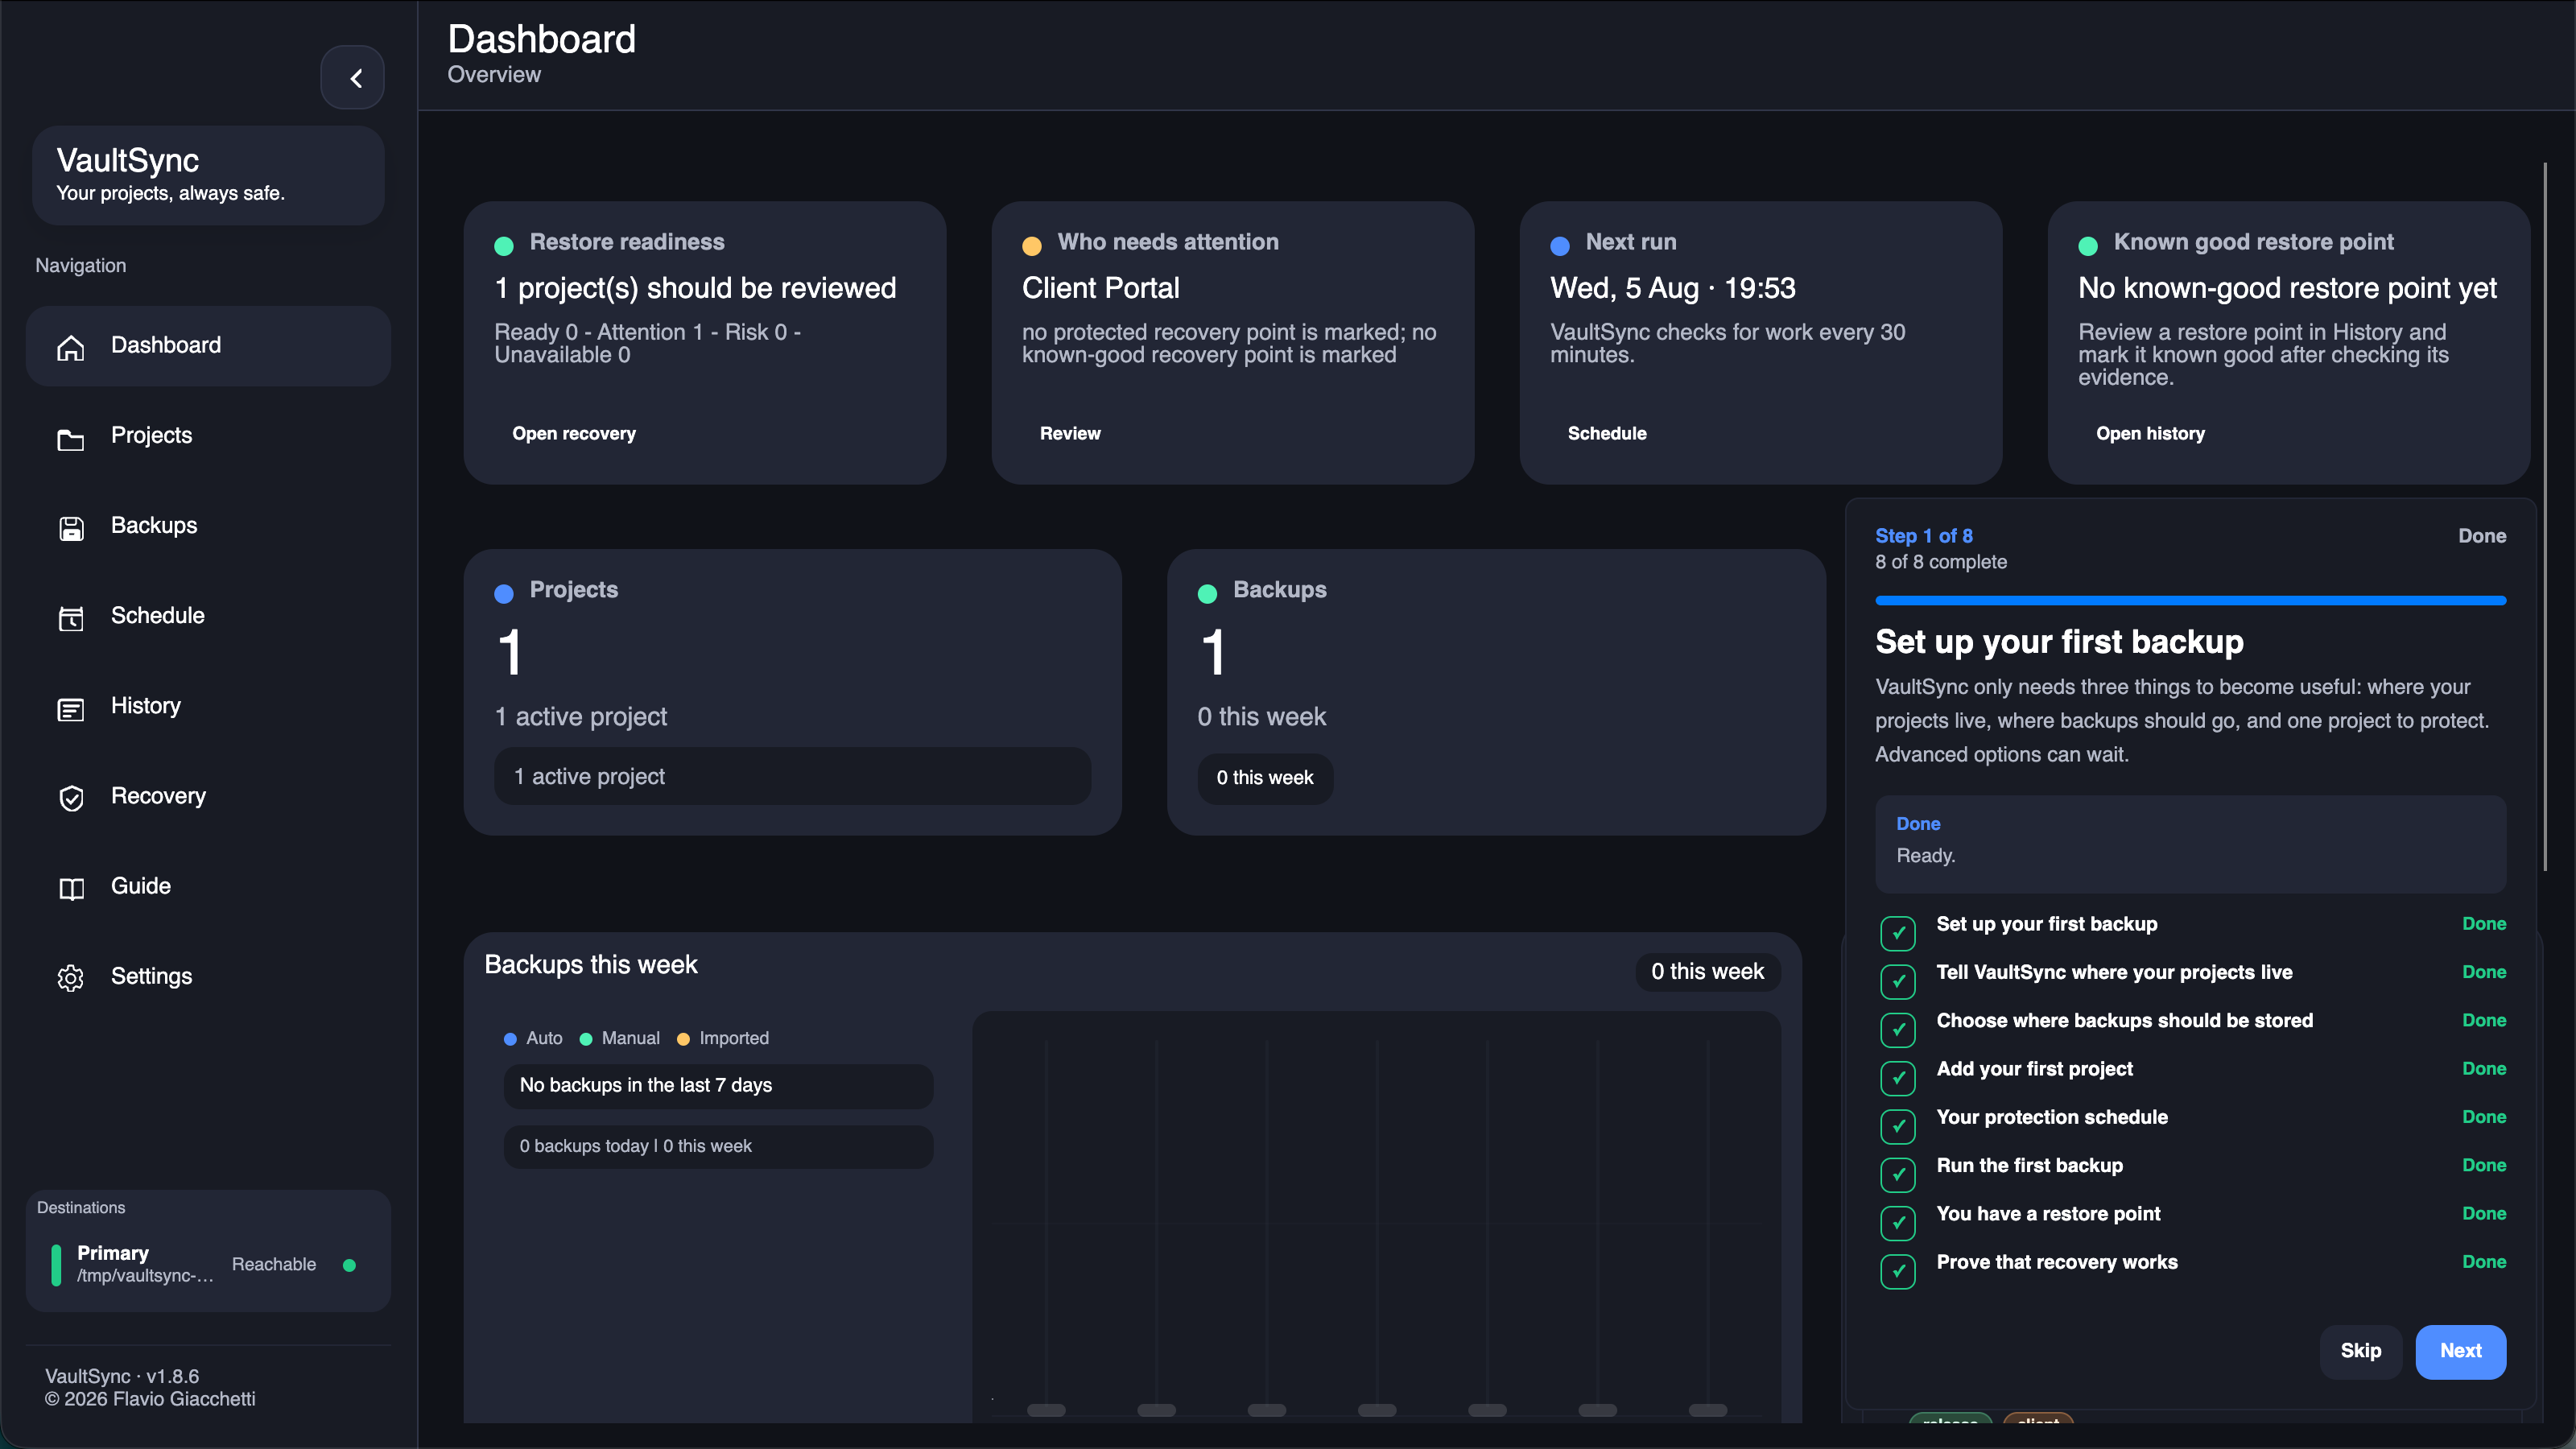
- Open Settings.
- Set Projects root to the folder that contains your project folders.
- This enables discovery; it does not automatically protect every child.
- Simple mode: set Fallback backup location.
- Advanced mode: enable Advanced destinations, add one or more targets, and use Test for each one.
- Never put a destination inside the project being protected.
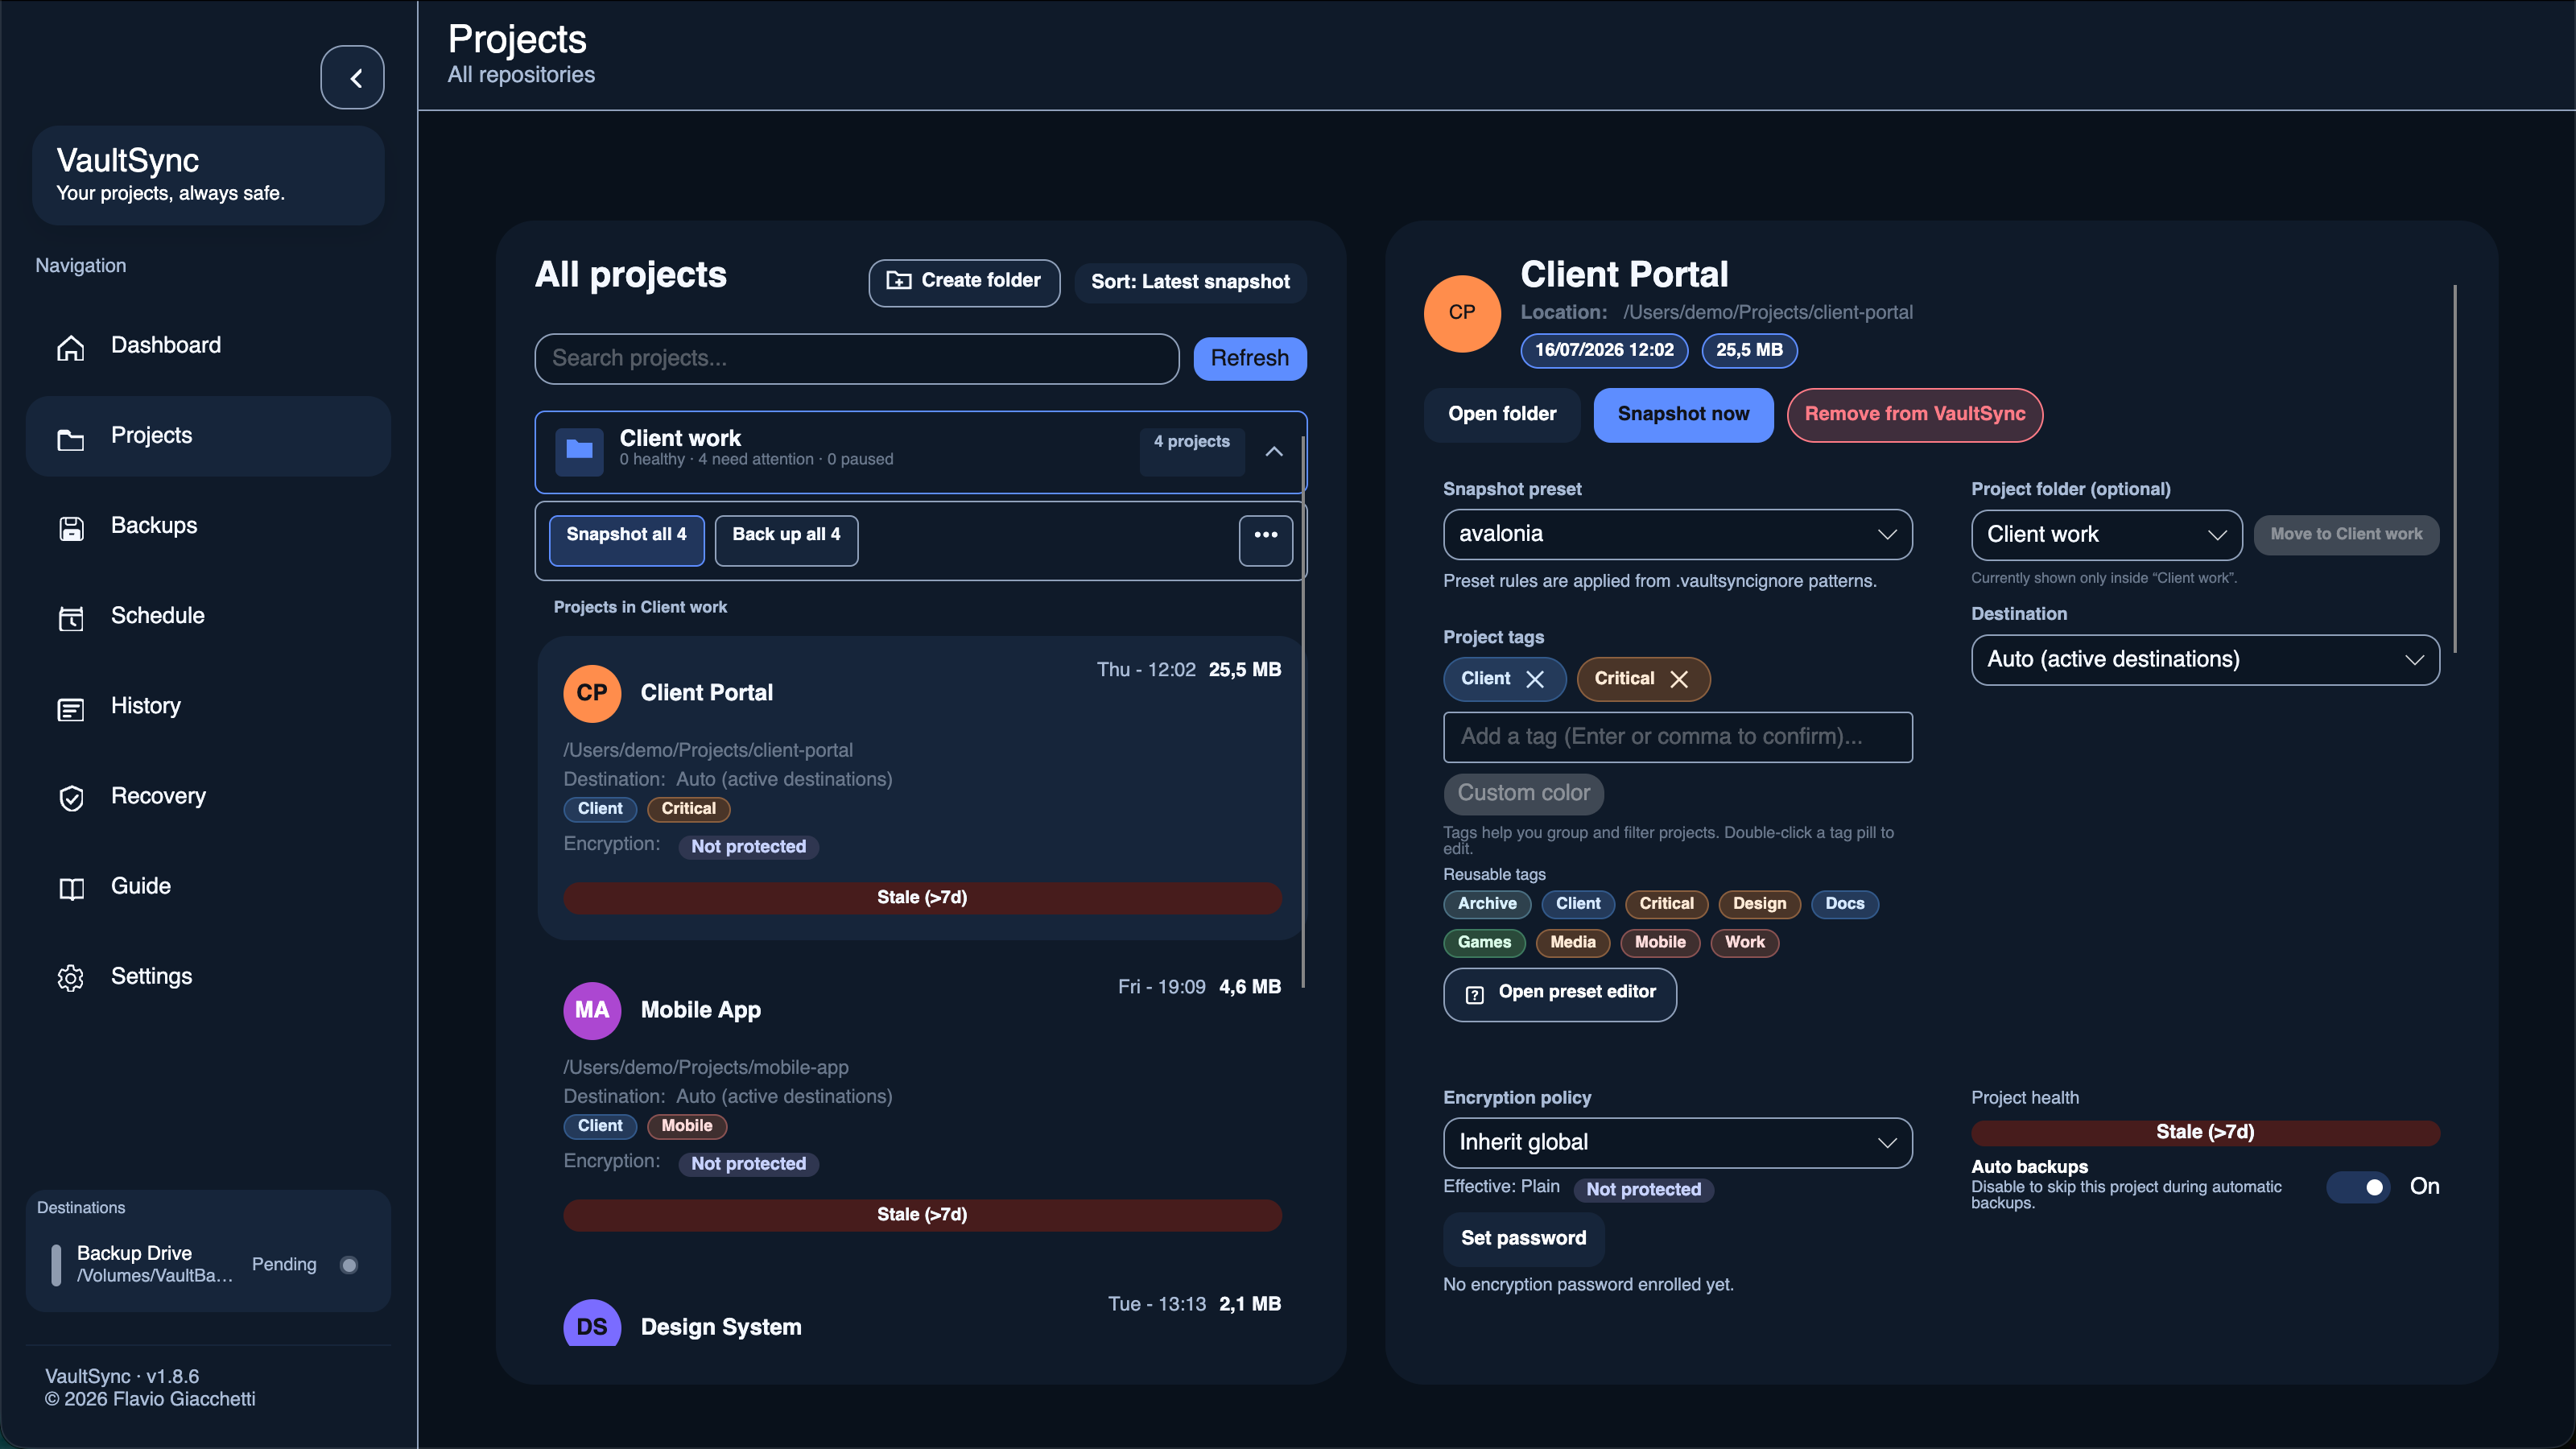
- Go to Projects.
- Register a discovered folder or add it directly.
- Choose the closest preset so caches and generated files can be ignored.
- Give the project a clear name; it appears in Backups, History, Recovery, and the tray menu.
- Open Backups.
- Select Backup for the project to create its first restore point.
- Keep VaultSync open until the run reaches a completed or actionable error state.
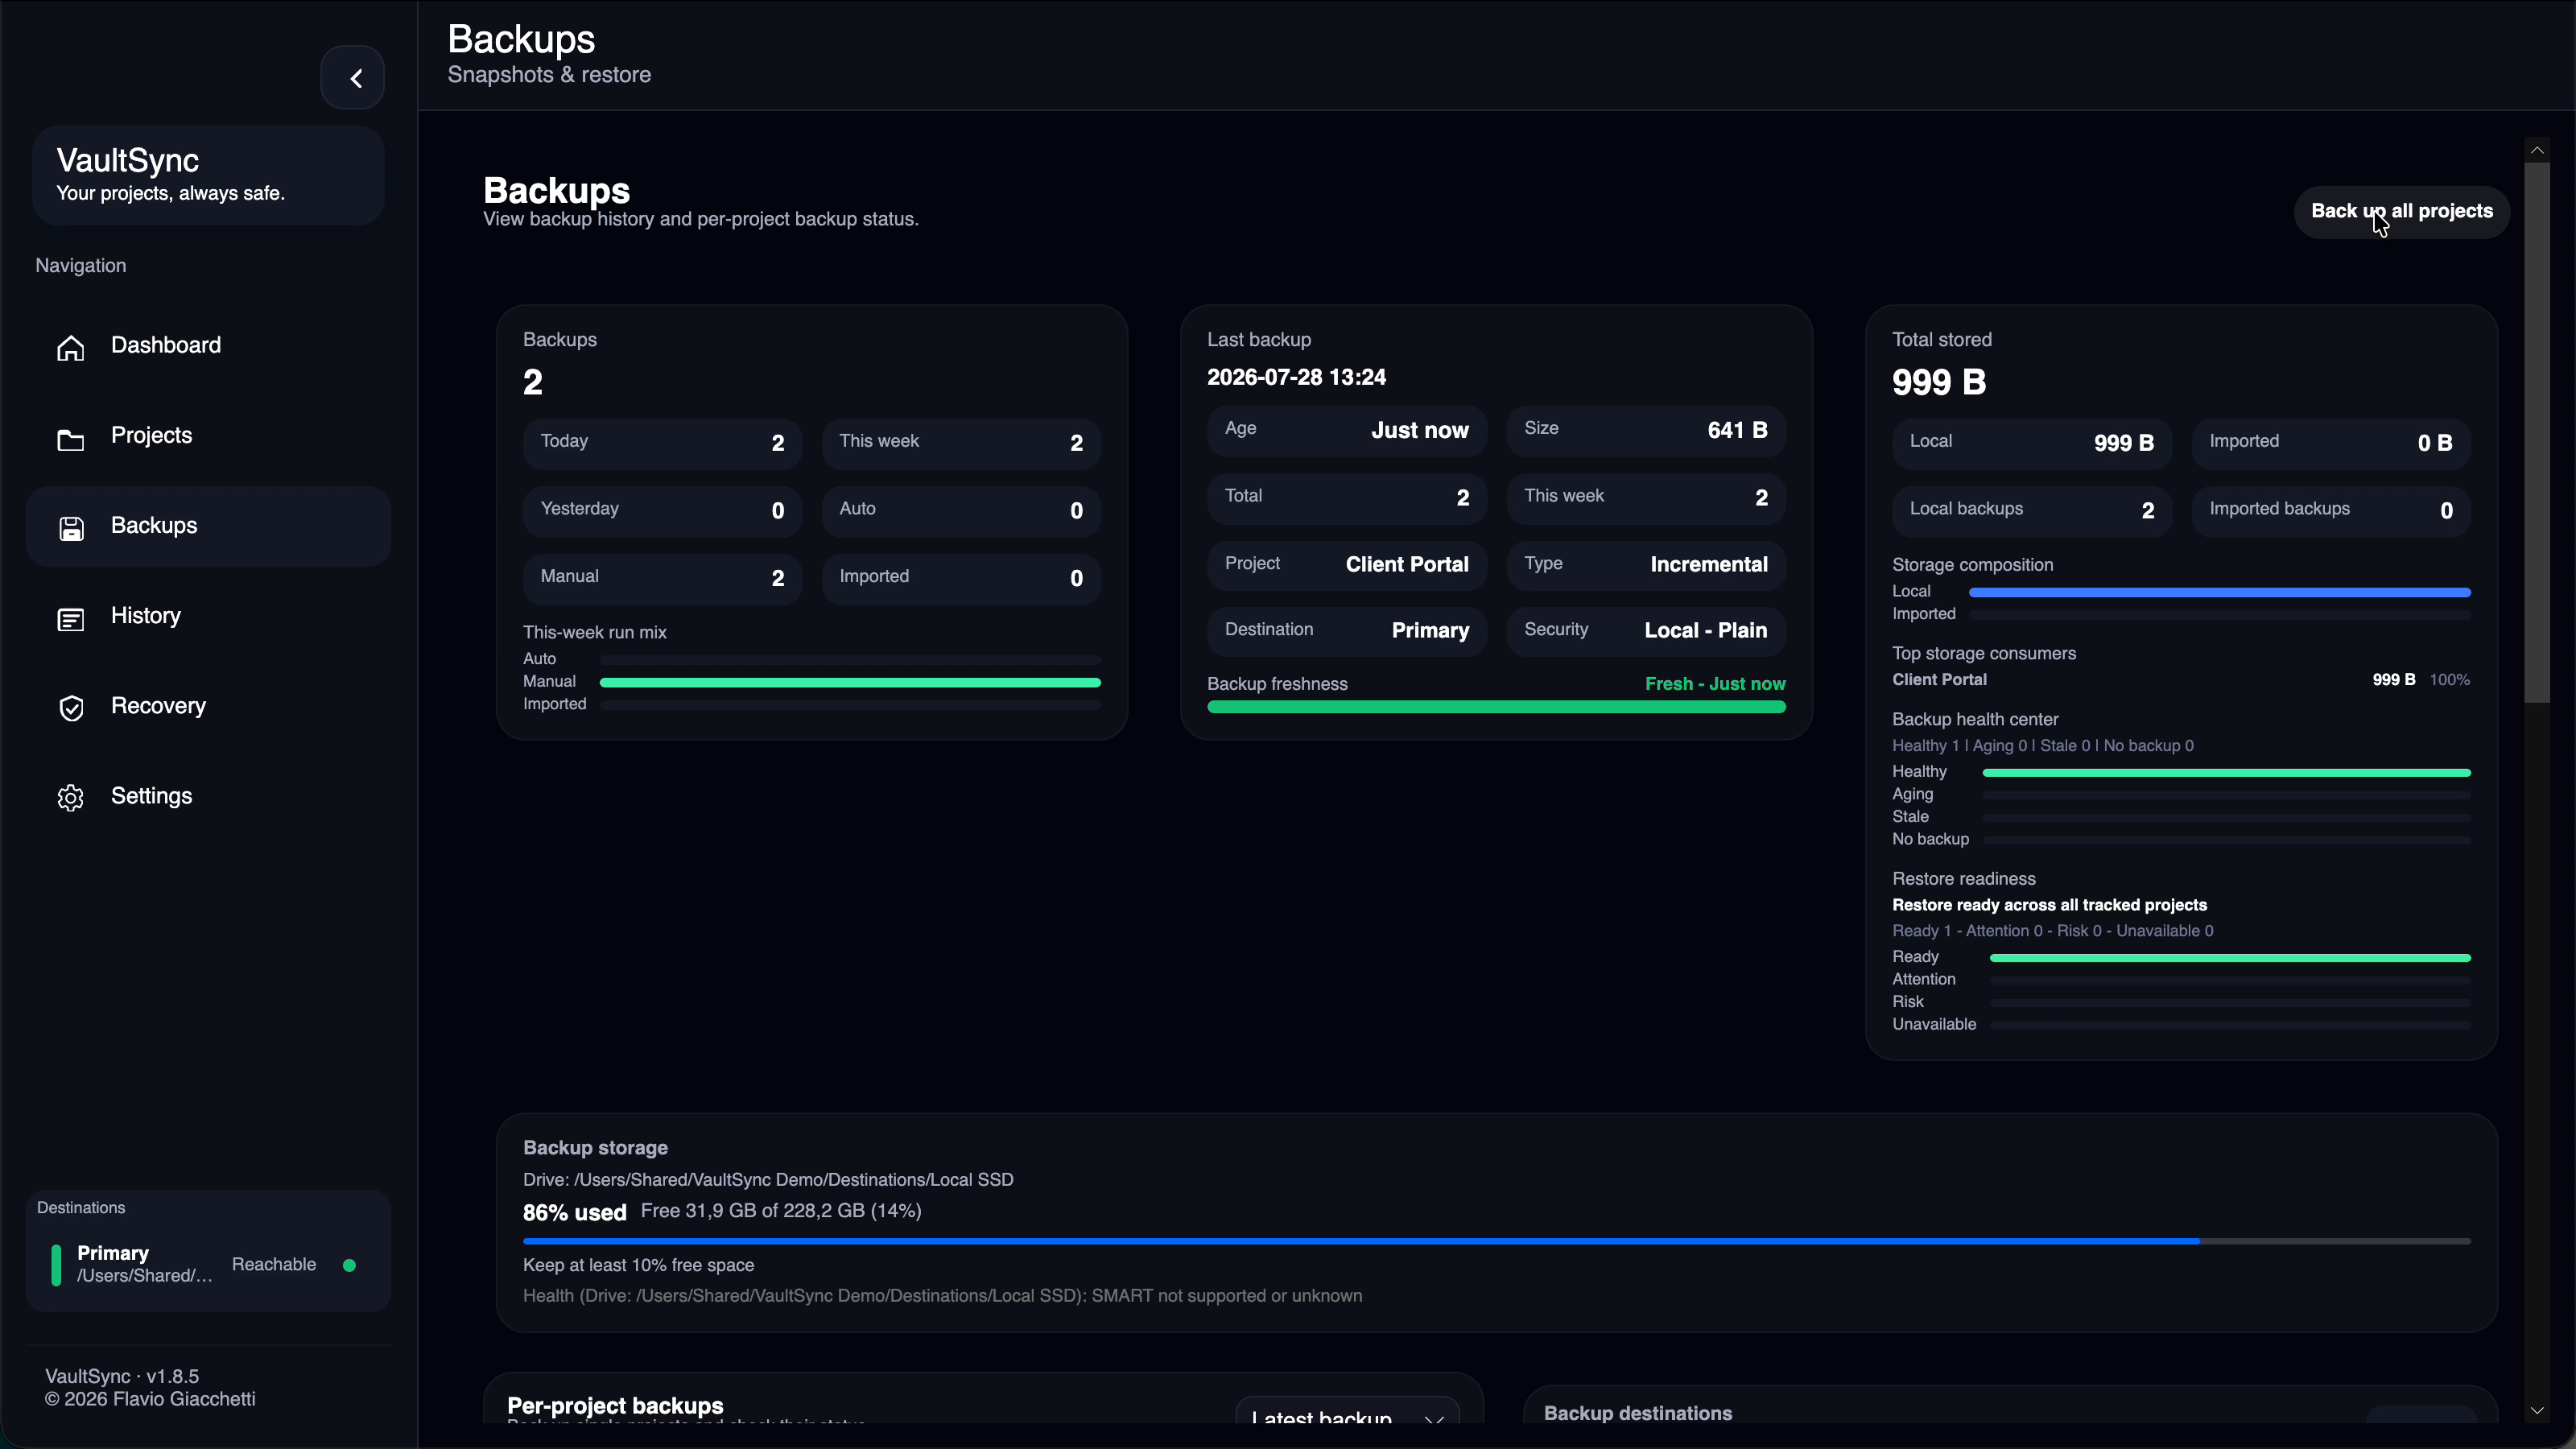
- Confirm the new point appears in Backups and History.
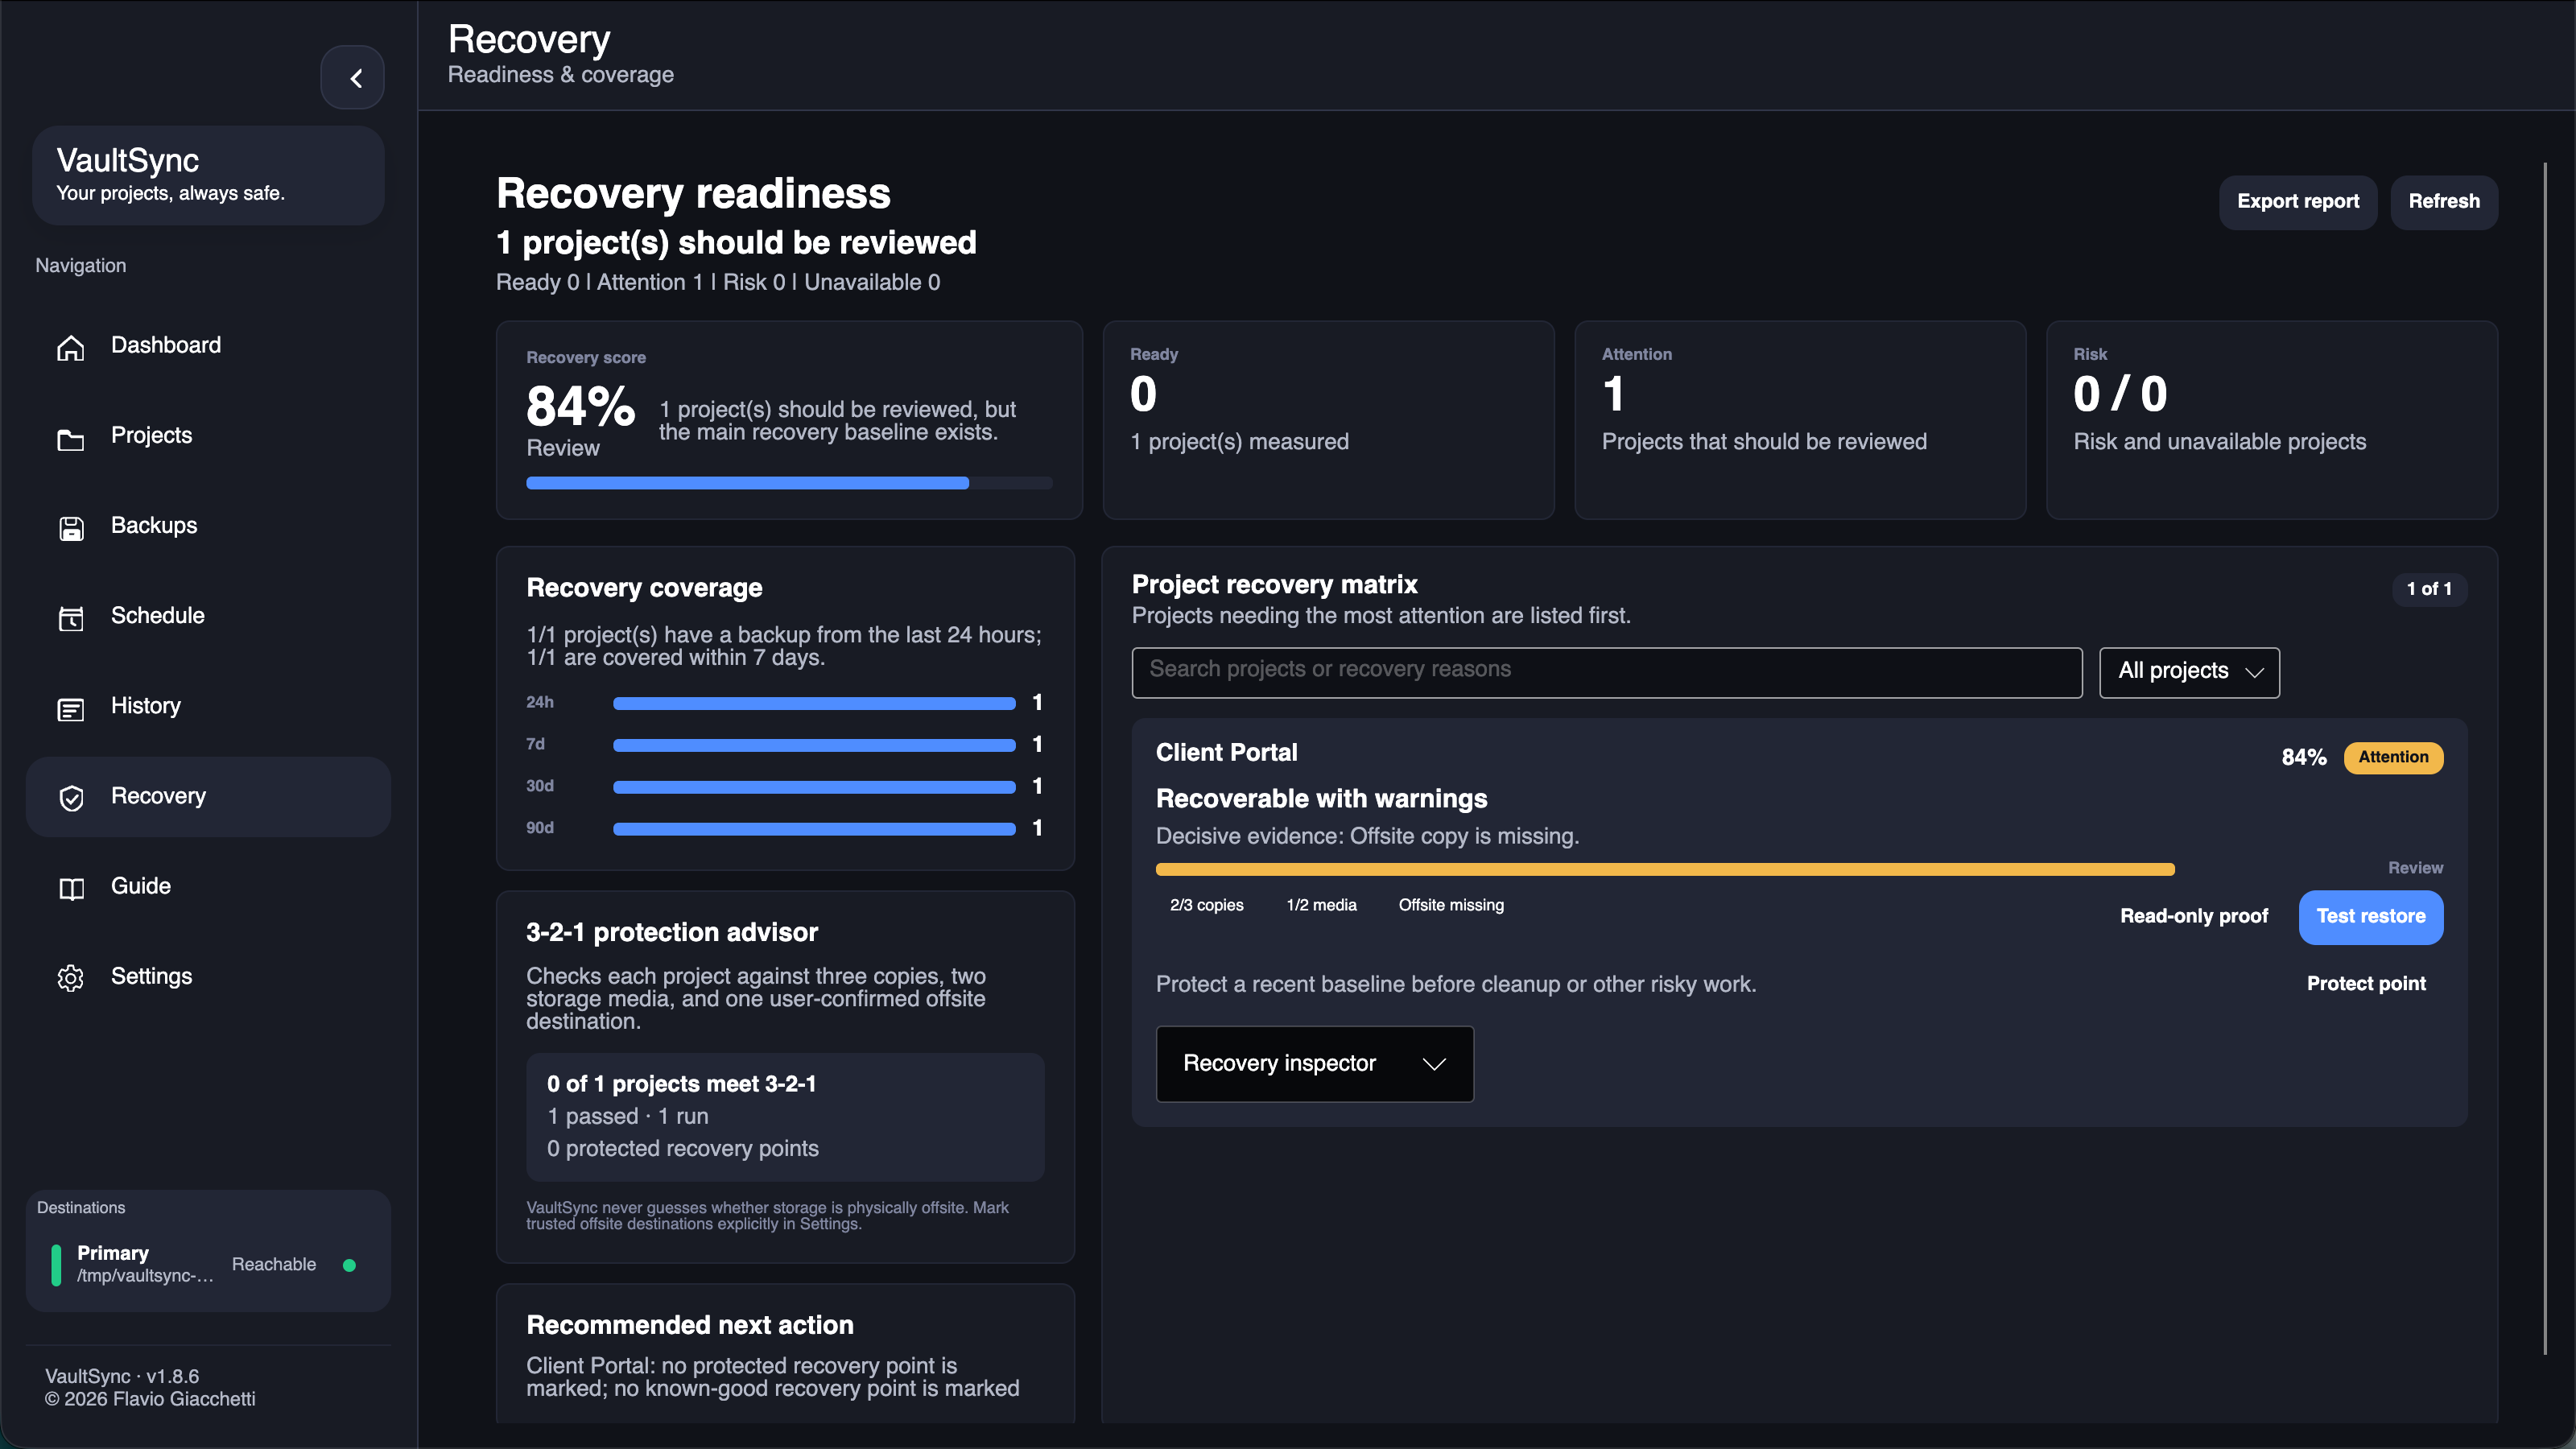
- Open Recovery and run a drill to check that the stored payload is reachable and readable.
- Review the 3-2-1 advisor. Mark a destination as offsite only when it is physically offsite.
- Create a second point after a small change and use Compare.
- Use a local SSD for fastest backups.
- For NAS or SMB, see Network shares.
- If you change paths, credentials, encryption, or mount options, test the destination again and rerun affected Recovery drills.
- See Settings reference before enabling performance shortcuts such as aggressive scan cache or parallel archive uploads.