5. Examples
The keys on your Michi are same to those written on it by default when you use this example, but you may change them at any time in the settings.h file. Just make sure to access that file in the tab above in the Arduino IDE.
The settings.h file's comments explain what input you are monitoring. For instance, the D5 pin by default sends the character "w," but you may modify it to any other letter, number, or symbol to alter the key.
Here is an illustration of how to change any of the keys on the Michi to your preferred key.
int keyCodes[NUM_INPUTS] = {
// top side of the michi board
KEY_UP_ARROW, // up arrow pad
KEY_DOWN_ARROW, // down arrow pad
KEY_LEFT_ARROW, // left arrow pad
KEY_RIGHT_ARROW, // right arrow pad
' ', // space button pad
MOUSE_LEFT, // click button pad
// female header on the back left side
'w', // pin D5
'a', // pin D4
's', // pin D3
'd', // pin D2
};
Here, it will be demonstrated how it should seem to replace the direction arrows with mouse movements.
int keyCodes[NUM_INPUTS] = {
// top side of the michi board
MOUSE_MOVE_UP, // up arrow pad
MOUSE_MOVE_DOWN, // down arrow pad
MOUSE_MOVE_LEFT, // left arrow pad
MOUSE_MOVE_RIGHT, // right arrow pad
' ', // space button pad
MOUSE_LEFT, // click button pad
// female header on the back left side
'w', // pin D5
'a', // pin D4
's', // pin D3
'd', // pin D2
};
You may view additional keys to replace in your Michi by clicking on this link.
https://docs.arduino.cc/language-reference/en/functions/usb/Keyboard/keyboardModifiers/
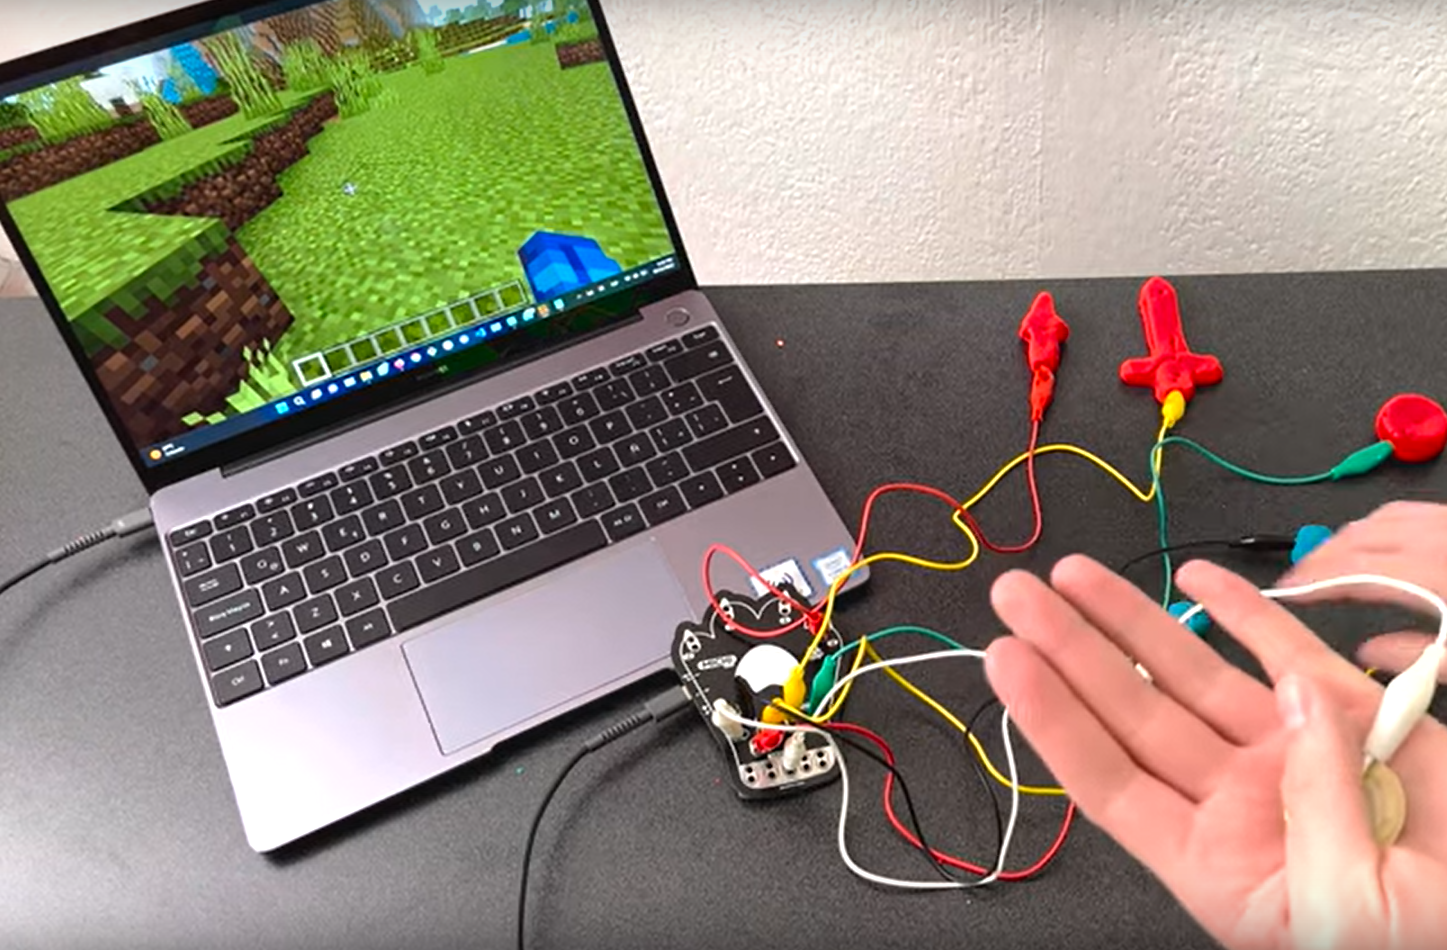
Also, here is a video demonstration of how to play the popular computer game Minecraft with Michi.

Thank you for reading our Wiki!