1. Overview EN
Language: Deutsch | English
Contents
Another DIY film scanner?
Yes, but this one is different: the Filmkorn Raw Scanner is an open‑source project that enables digitizing small‑gauge films at breathtaking quality for a very low price. The project began in 2020 after a bet on the German Filmvorführerforum, when the infamous but similarly priced “Wolverine” film scanner from China (aka Somikon, aka Winait, aka Kodak, aka Hammacher‑Schlemmer) turned out to be an irredeemable film‑scratching disaster: Is it even possible to build a truly high‑quality scanner for under €500?
Yes, it is. And this wiki explains how—so anyone can digitize their films gently and in fantastic quality.
The most significant difference between this scanner and almost all other DIY scanners is that it produces uncompressed video files with 12‑bit resolution per color channel, and at 4K. Put simply: that’s four times the dynamic resolution (not pixel resolution) that a ProRes 422 file can store. This brings some major advantages:
- The scanner can run completely unattended; any exposure or color corrections can be done later without any quality loss
- Even color negative film can be digitized in excellent quality with fantastic colors
- Because there is no scanner‑ or camera‑side post‑processing or automatic “enhancements,” the film look is preserved
- Any frame rates can be produced without duplicating, blending, or re‑interpolating frames—an 18 fps film remains 18 fps digitally and plays at the correct speed
All components of the scanner (data formats, hardware, software) are open and documented (“open source”).
- 4K or 2K scans in uncompressed 12‑bit CinemaDNG format, ideal for color negatives
- Scan speed approx. 2-5 fps with a Raspberry Pi 4B, depending on resolution and projector mechanics
- Standalone operation without another computer; only a USB drive is needed for the scans
- Optional network mode, where scans land directly on your computer so you can start processing while scanning (currently tested on macOS only)
- Over‑the‑air software updates at the push of a button (including rollback to older versions if required)
- Automatic sleep mode to save power and enable instant readiness
- Automatic end‑of‑film detection
- Fully automatic installation, no computer special knowledge required
Here’s a rough overview. Detailed pages cover the relevant topics.
- The image sensor is the Raspberry Pi HQ Camera. For about €60 you get a very good 1/2.3″ CMOS sensor (IMX477) from Sony’s Exmor RS family. With an 11 mm diagonal, it roughly matches the size of a Super 8 frame. It offers 4K at 12 bits per color channel, is very low‑noise, and is prepared for C‑mount lenses.
- The camera is connected—unsurprisingly—to a Raspberry Pi 4B single‑board computer, which turns the raw camera data into pristine frames without information loss.
- For framing and focusing, a small 5" HDMI monitor at 840×400 is used, which is more than sufficient. Feel free to experiment here.
- The link between all components is a controller board based on an ATmega 328P (aka “Arduino”), which provides the required connections and voltages plus control buttons and knobs for scanning. It is (together with software) freely available and intended to be extended, improved, and modified. I also offer a small‑batch, fully assembled and programmed controller board.
Step‑wise film transport is handled by a solid, partially cannibalized projector, which does this better, more gently, and more precisely than any 3D‑printed mechanism. No stepper motor is used, because projectors usually already include a strong, suitable motor.
For the overall build you only need a stable base plate (e.g., 22 mm MDF) plus a few screws and small parts.
The heart of the optical system is an enlarger lens. These lenses have ideal properties for scanning: they’re optimized for close‑up use (not infinity), show little vignetting, and are extremely sharp. We also use the lens in reversed configuration for optimal performance, because unlike in an enlarger the image lies only a few centimeters in front of the lens. Lastly, they’re usually cheap on the used market.
A lot of effort went into flexibility and optimal operation of different light sources.
Because the film moves much more slowly while scanning than in normal projection, we need a light source that puts far less heat onto the film than the usual 100 W halogen bulb. An LED is an obvious choice. It also makes sense to illuminate the film with daylight (~5300 K), since the sensor is tuned for that and delivers the best dynamic range. Finally, the LED must not be pulsed (which is often the case with dimmed LEDs), but must emit continuous light—otherwise you’ll get bands sooner or later.
I recommend building a light source based on a good white power LED—this project’s controller board (“Scan Controller”) makes it easy by supplying precisely regulated constant current from 0–5 A at 1.5–32 V. A CRI of 95 is good; more doesn’t hurt. But there’s no need to be overly esoteric—most film benefits from a slight, global (not scene‑specific) color correction as a “base” anyway.
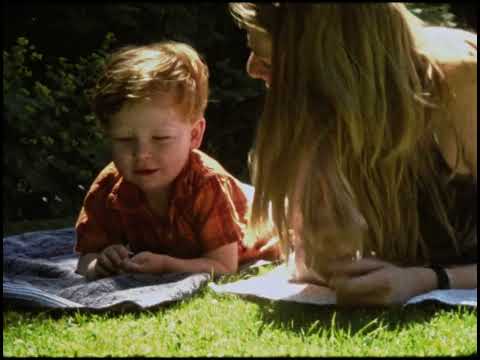
 JPEG with auto settings: highlights/shadows clip, colors are off.
 Same scene as RAW: detail in highlights and shadows, more natural skin tones.
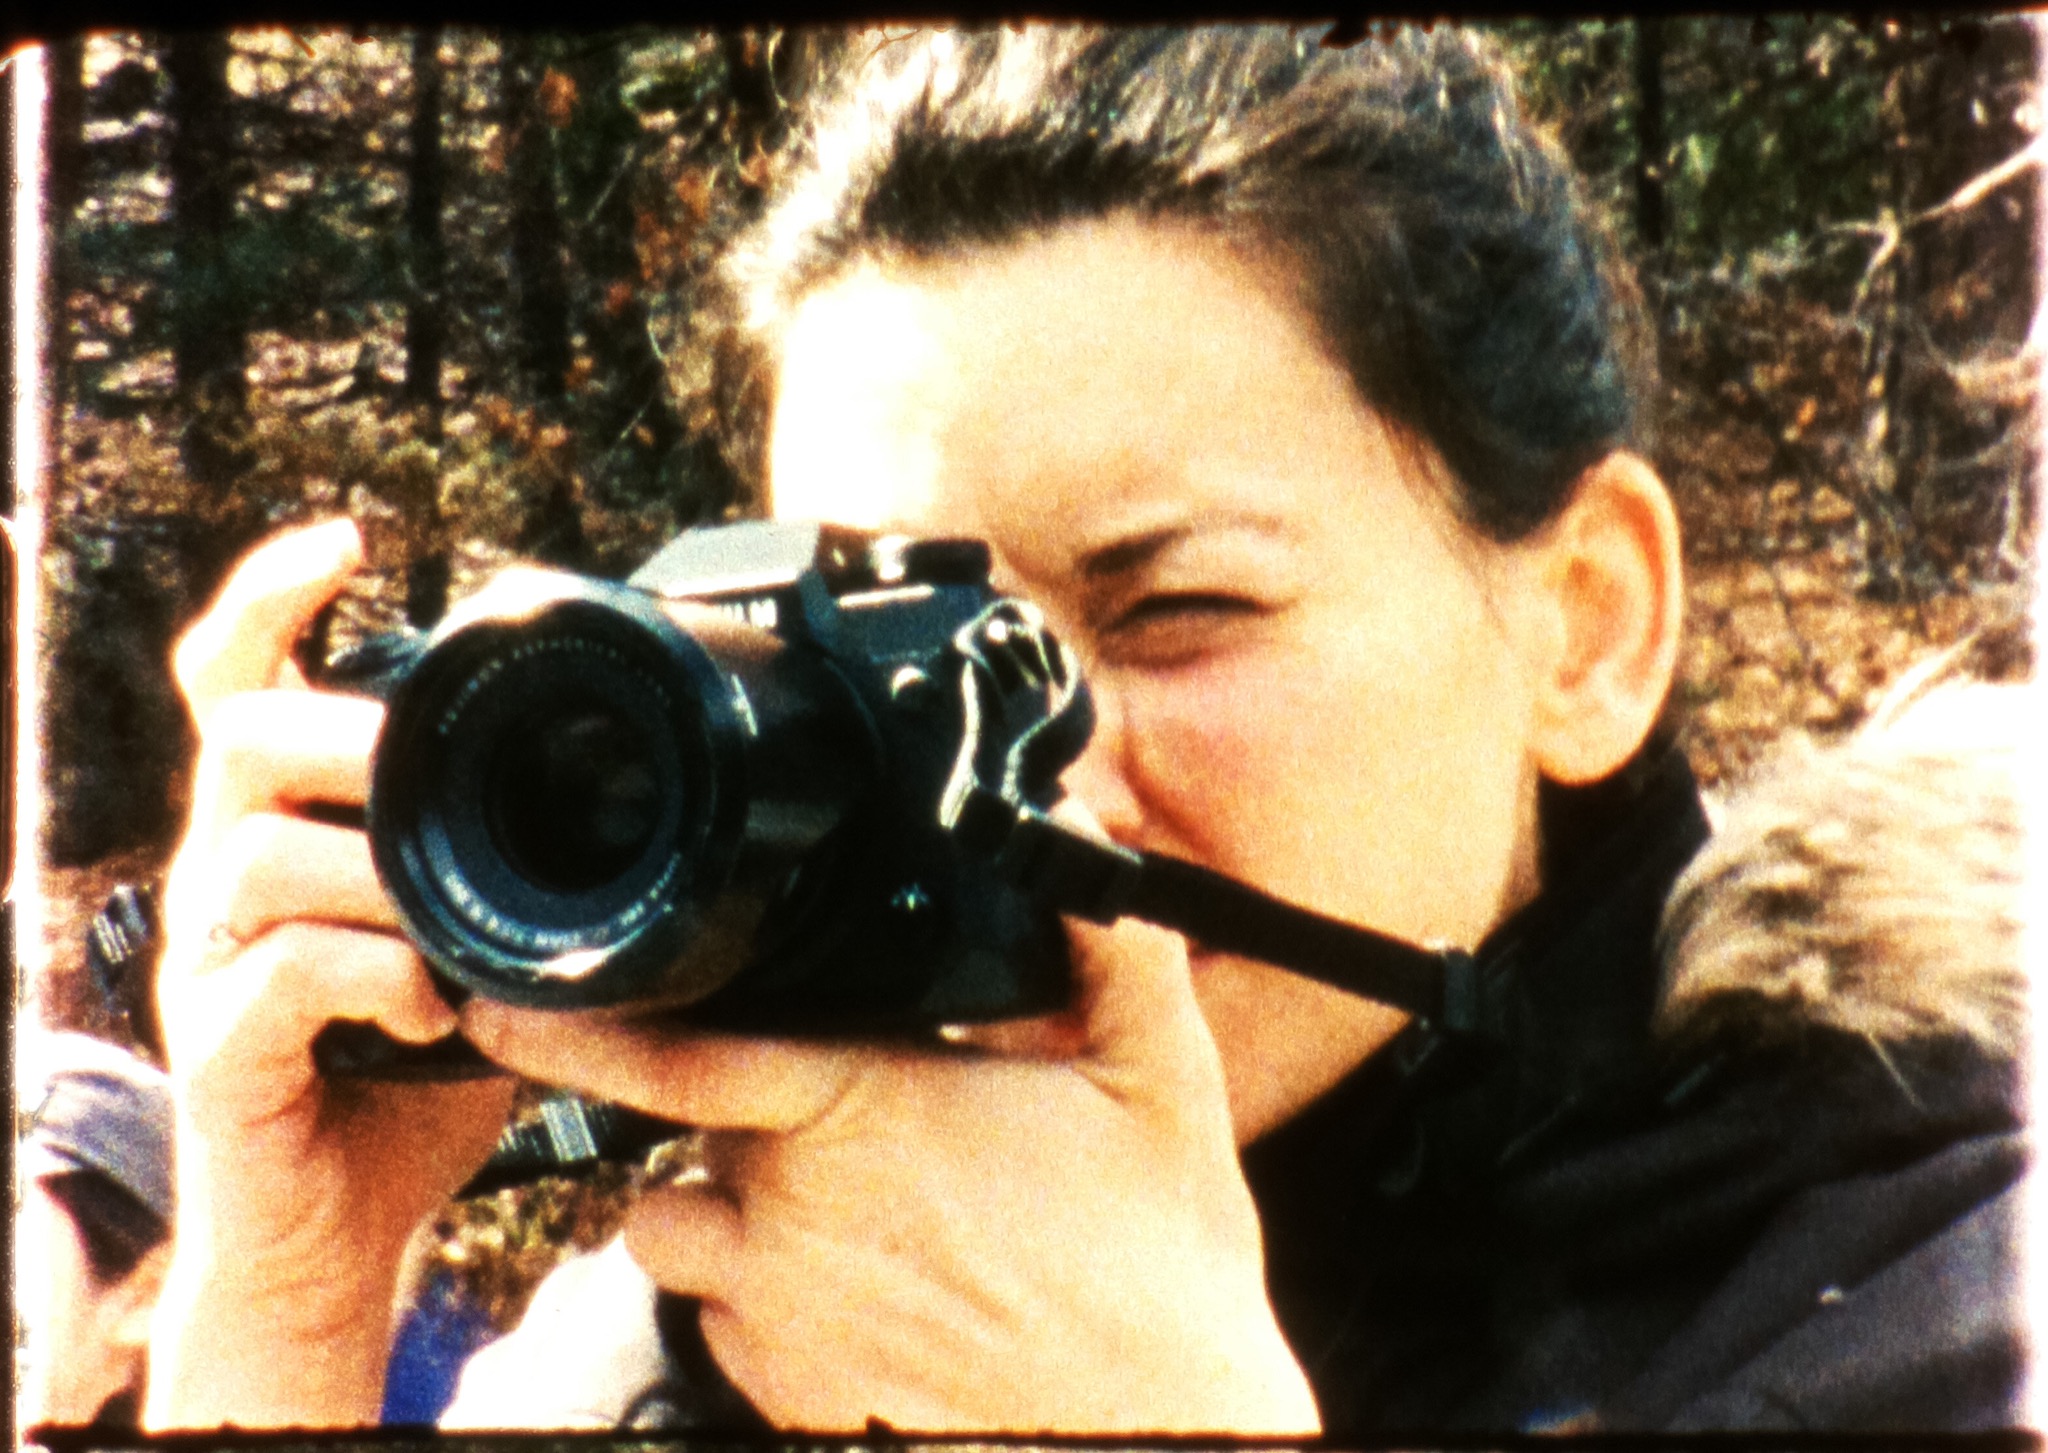
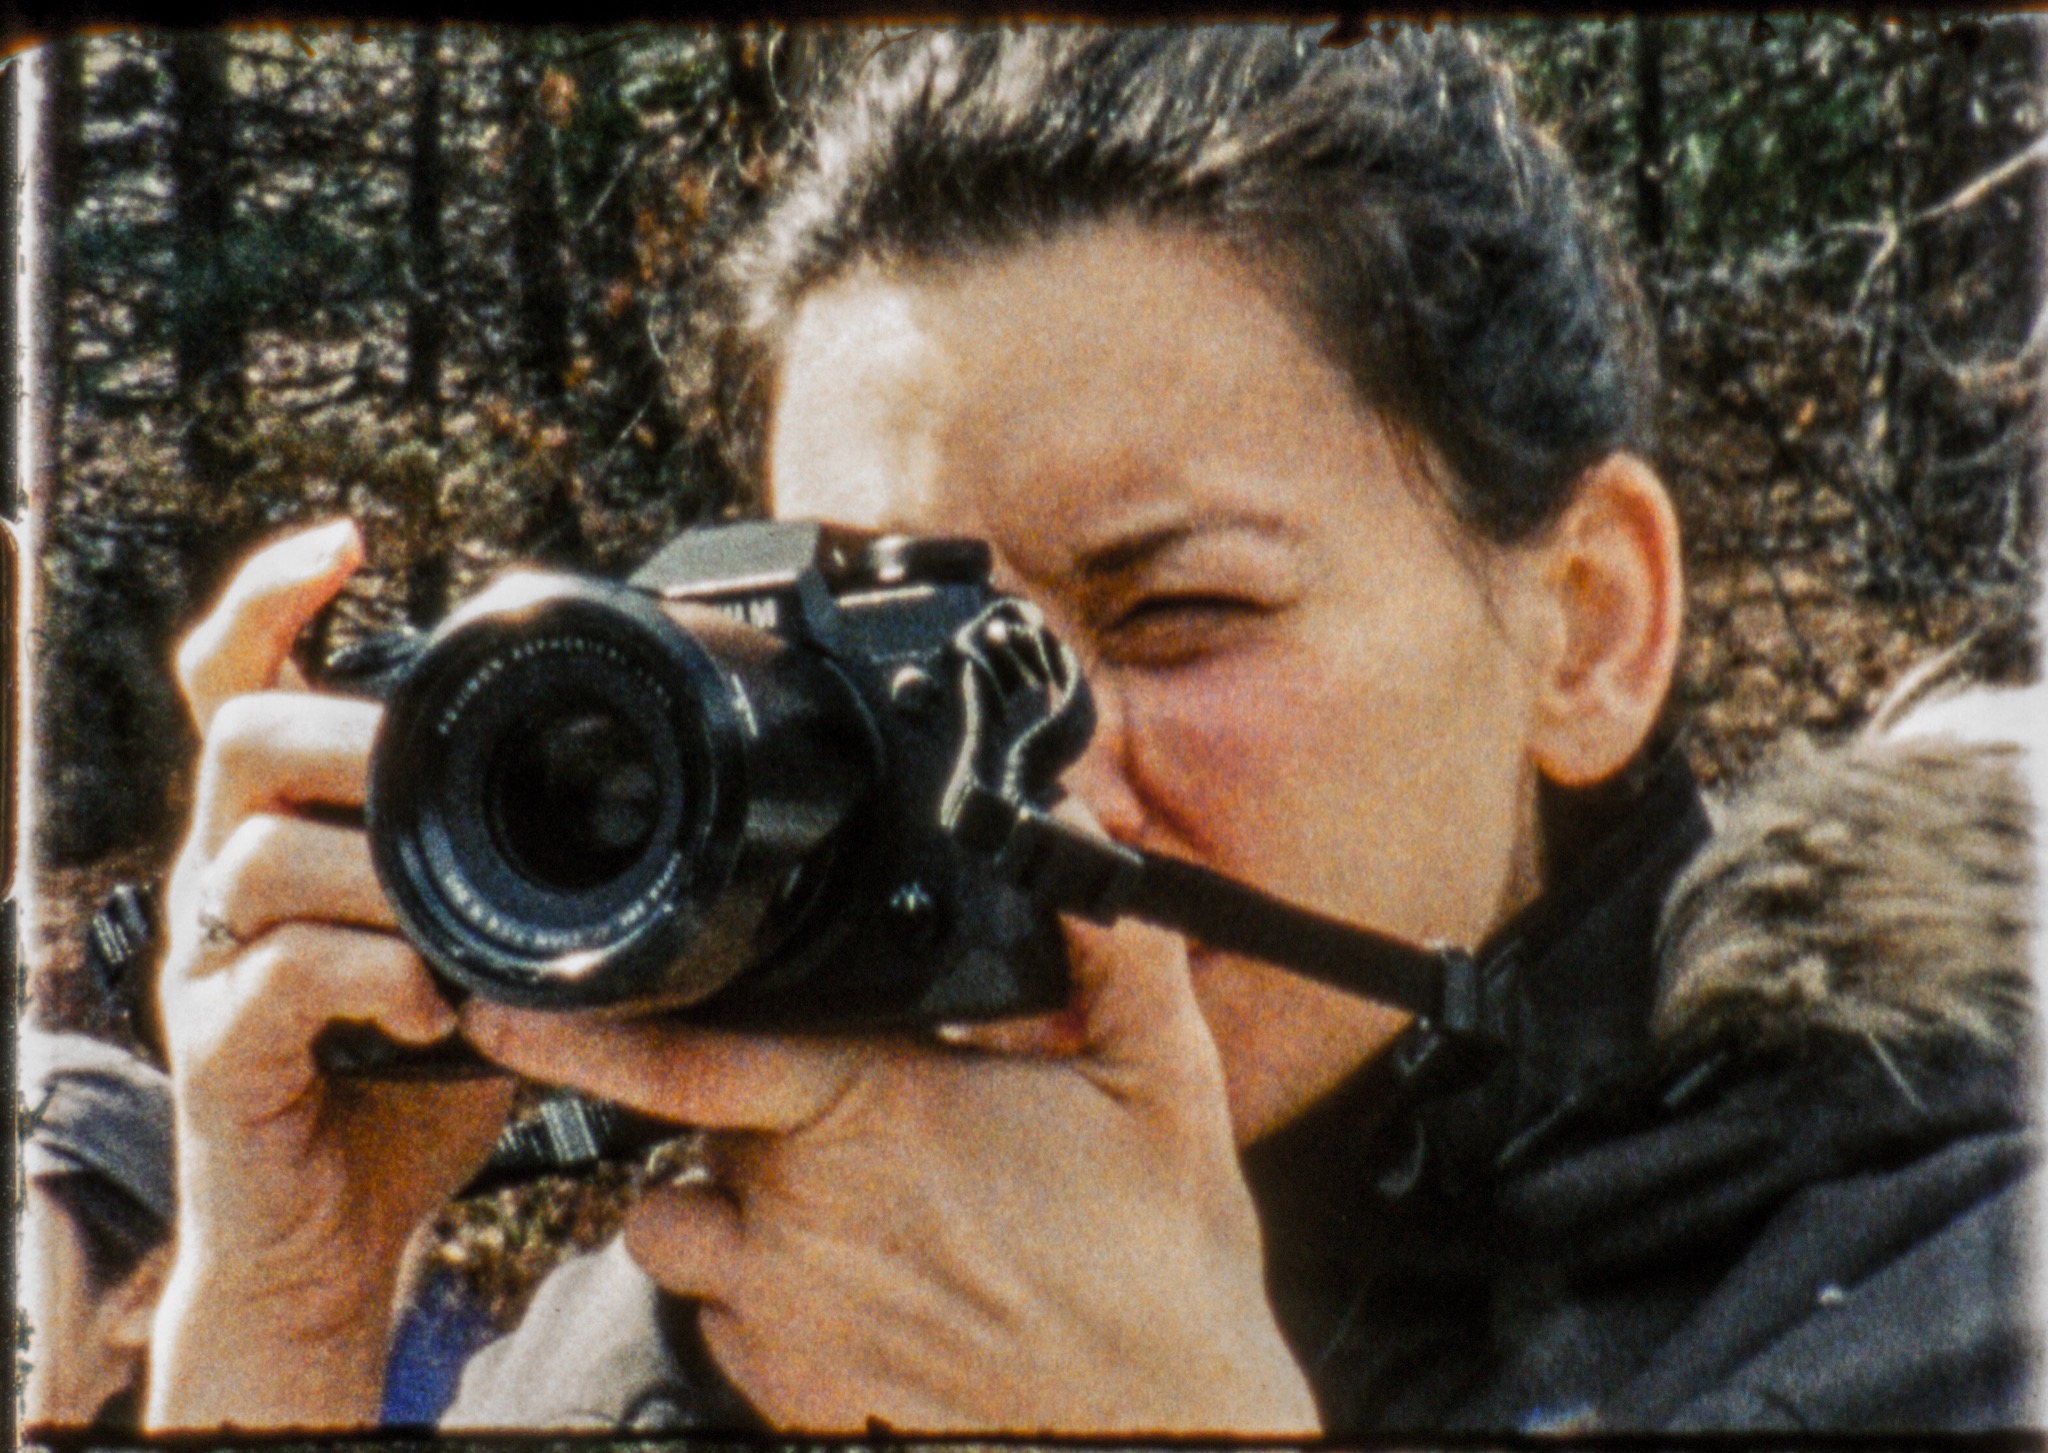
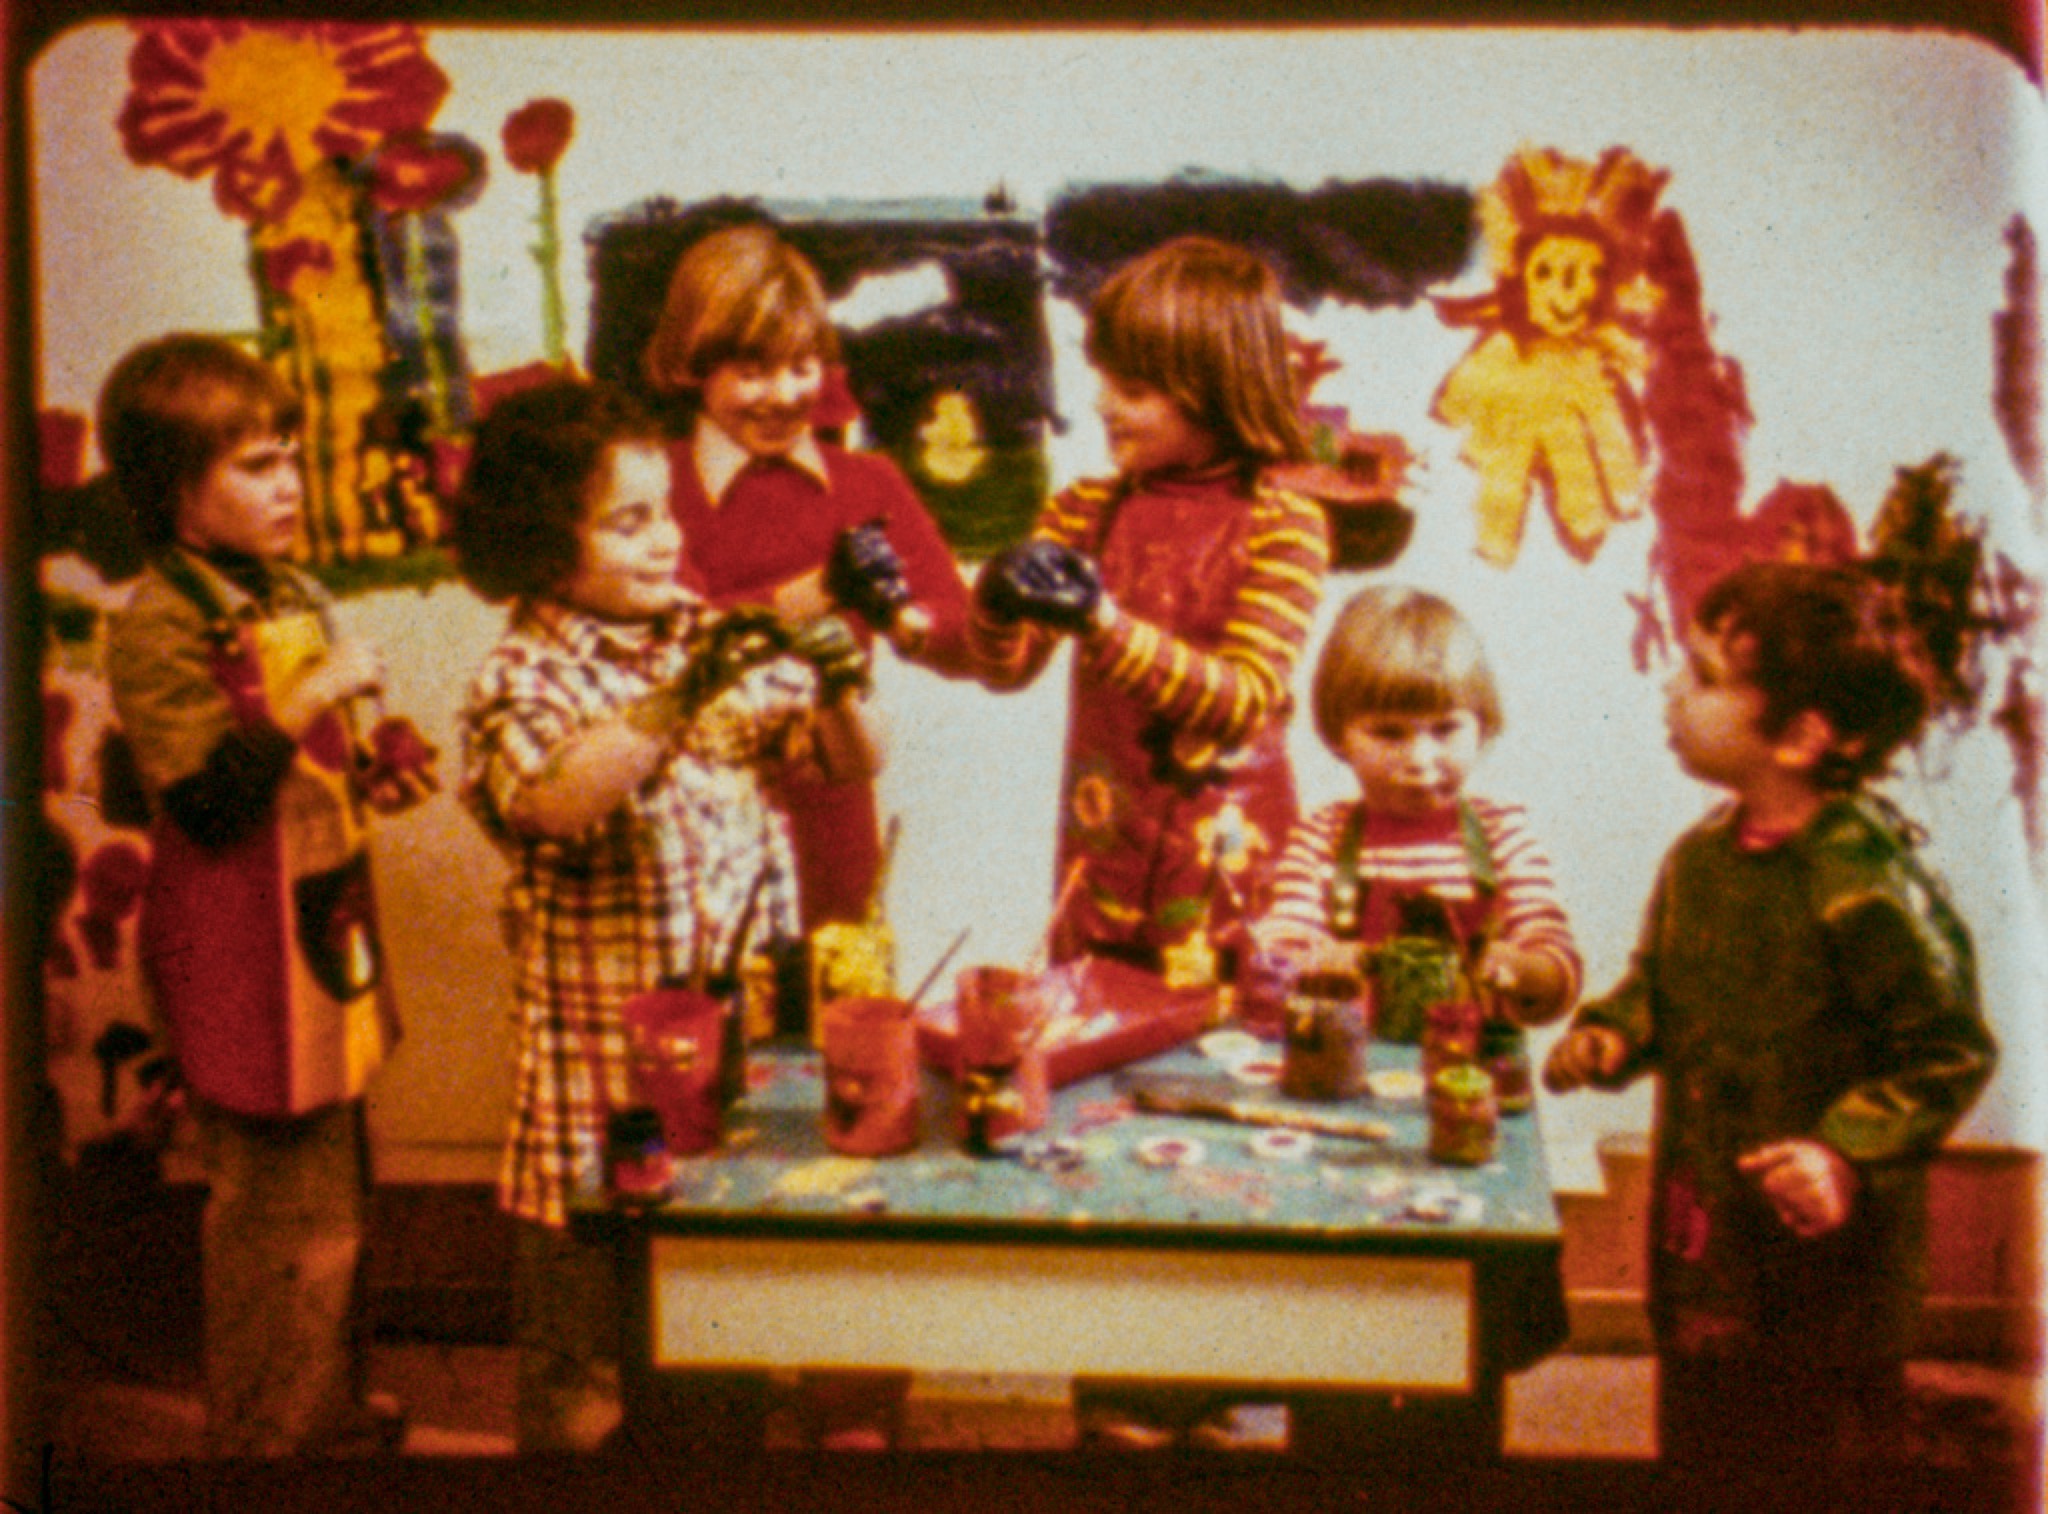
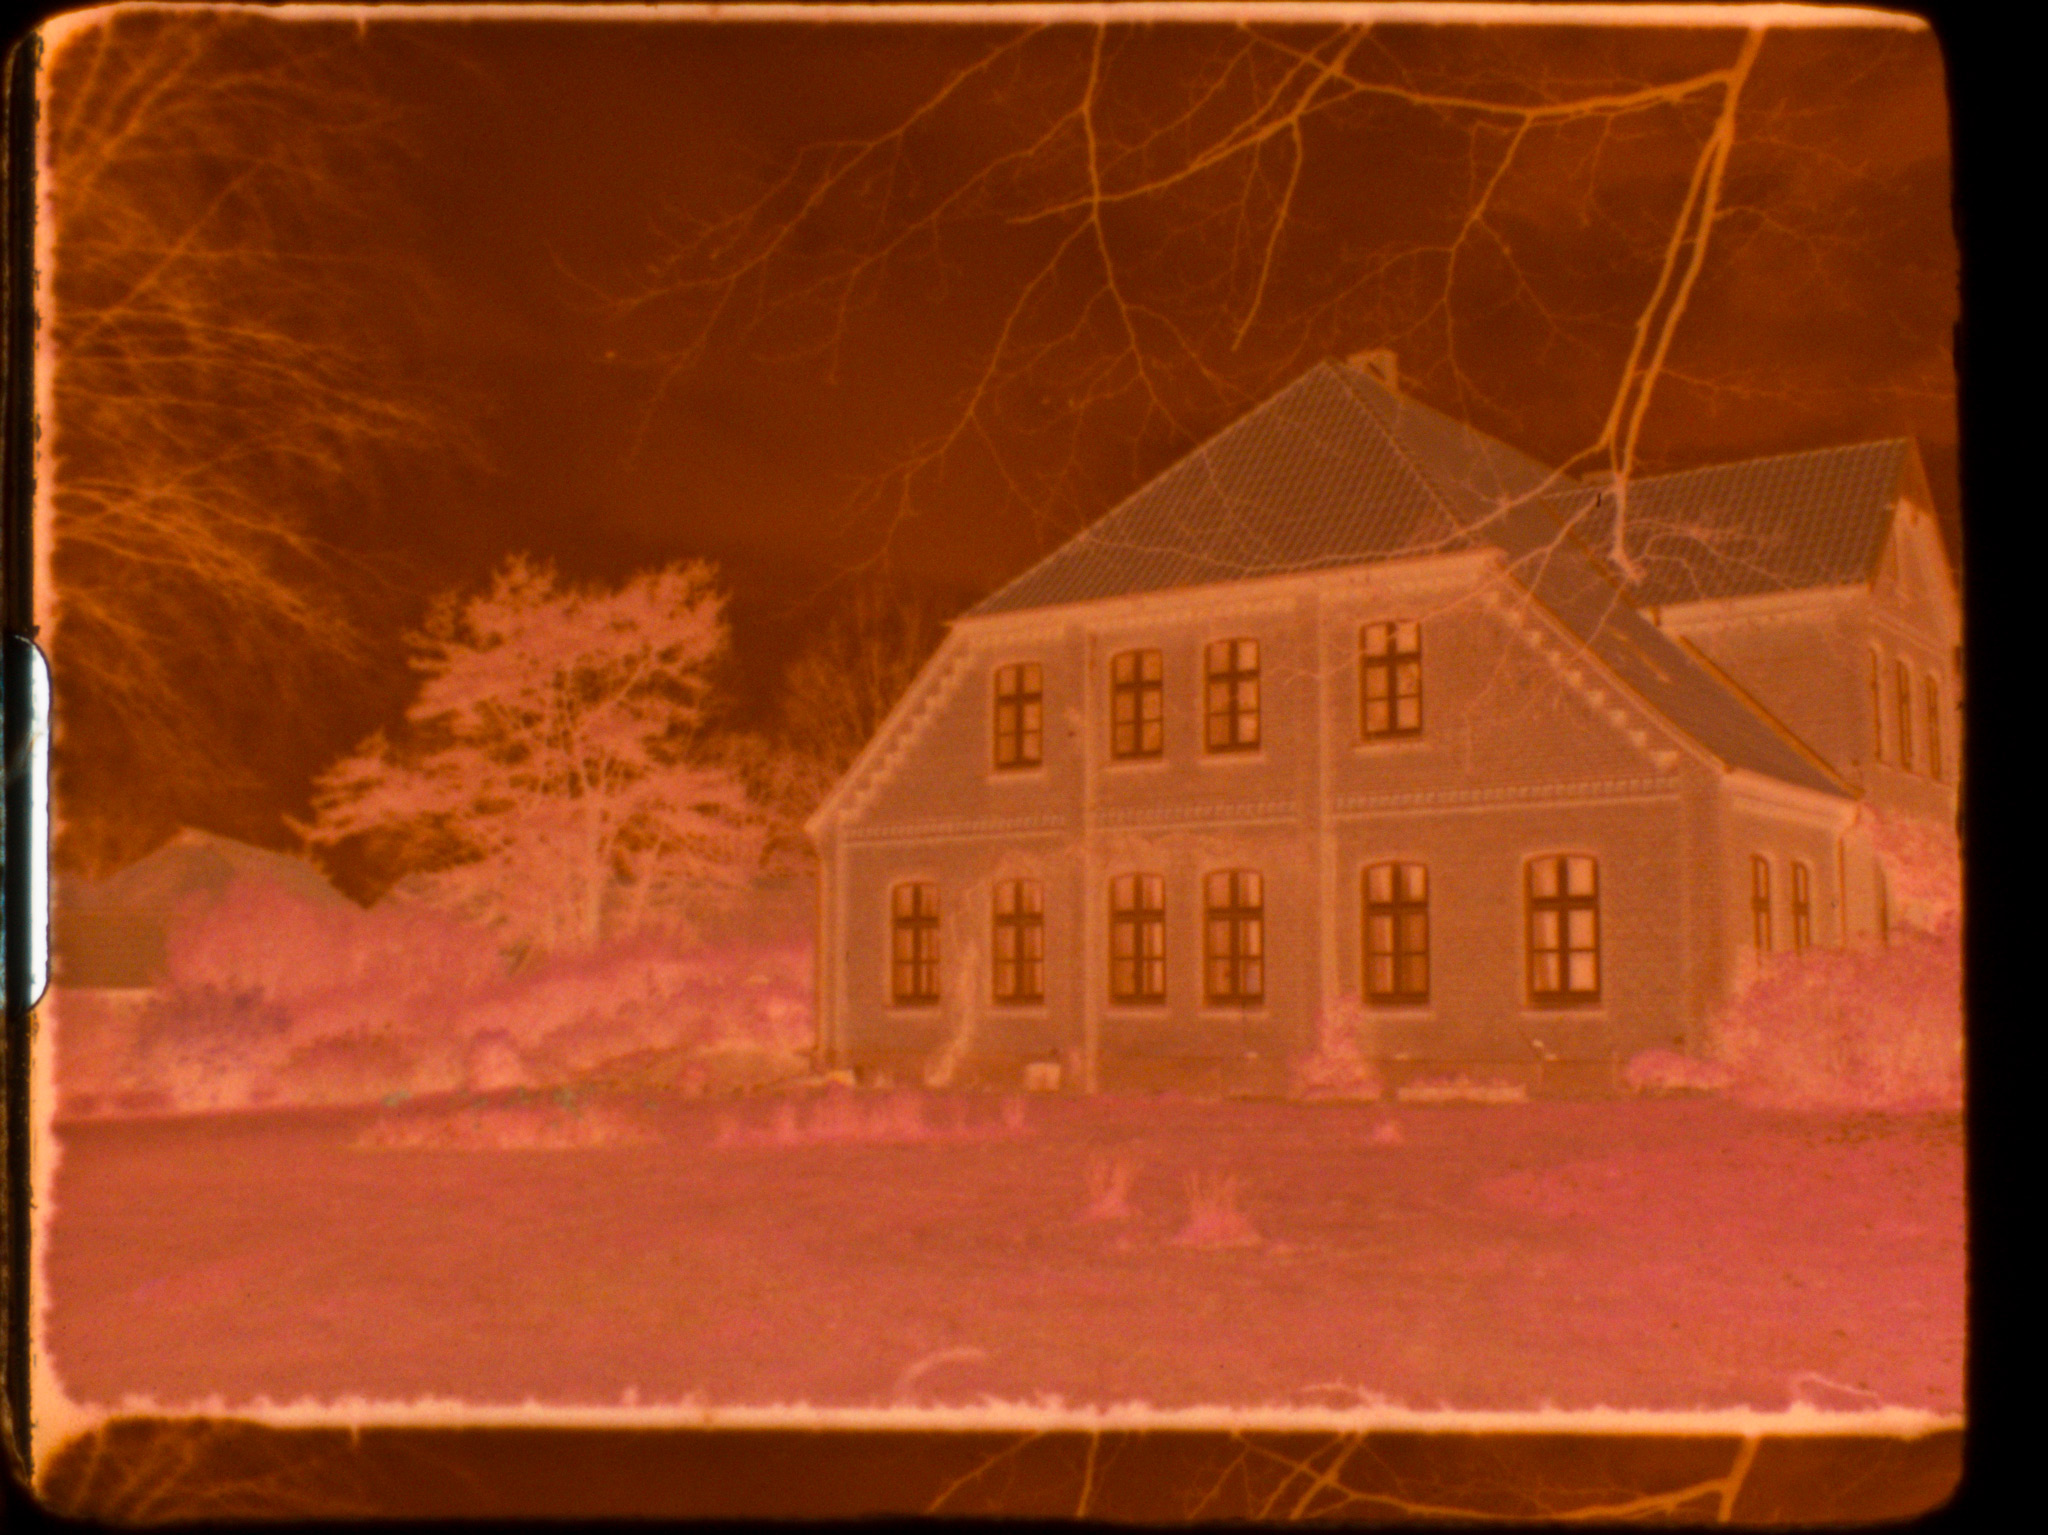
 Uncorrected frame from a fully red training film.
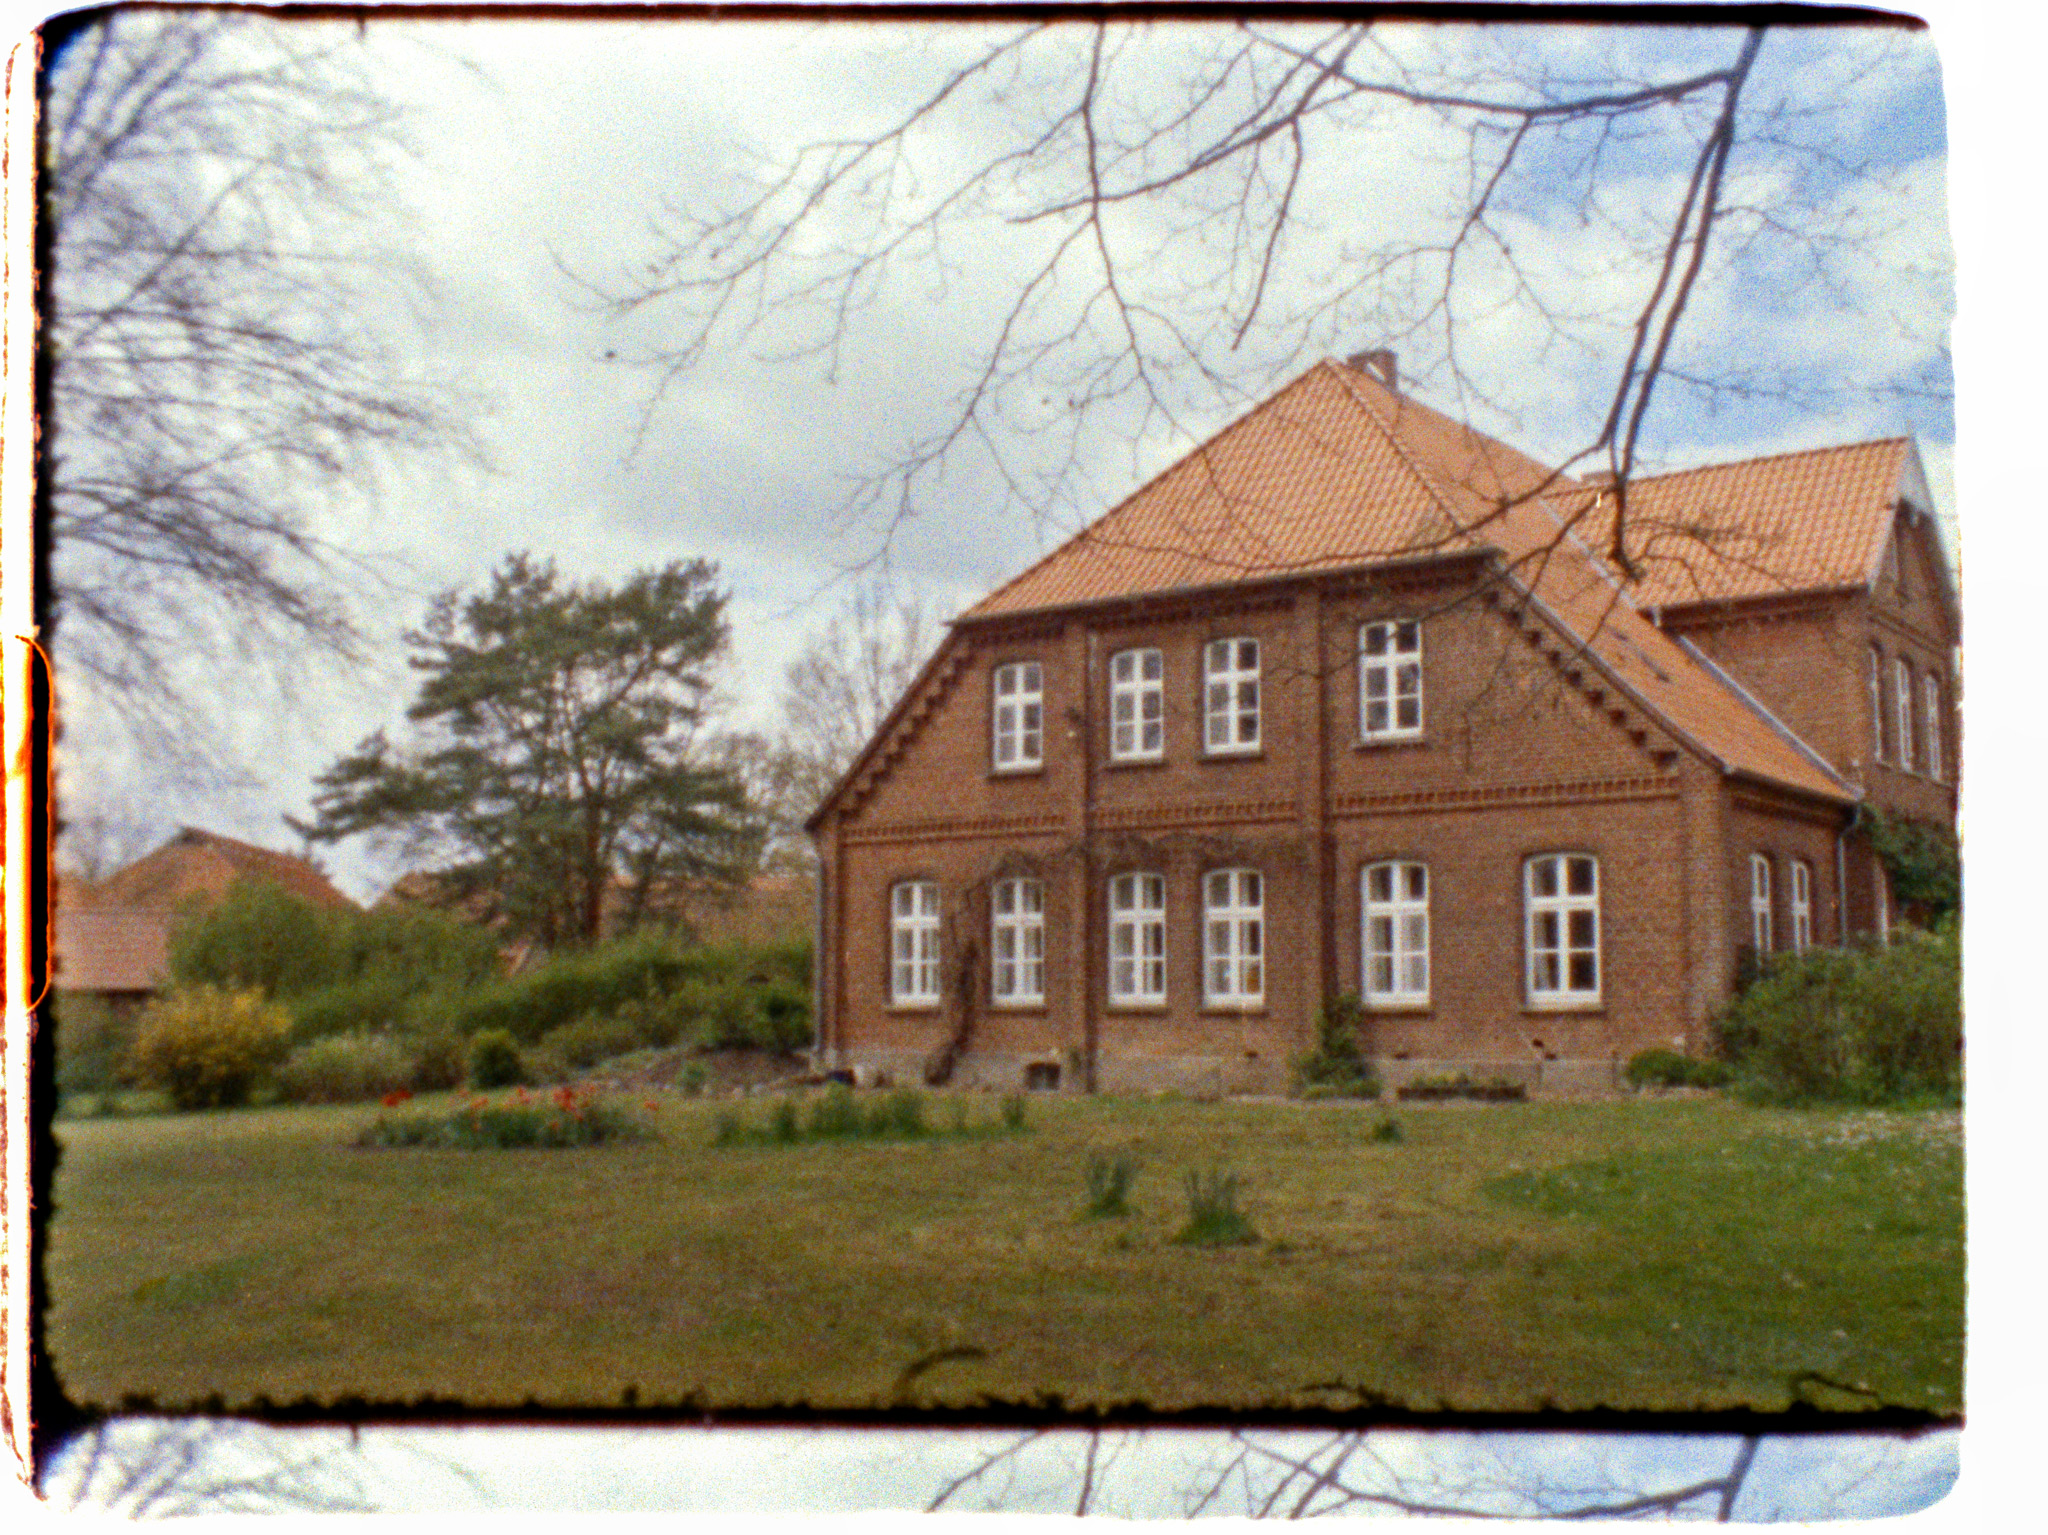
 Blue channel bent, no invented details: everything comes from the RAW scan.
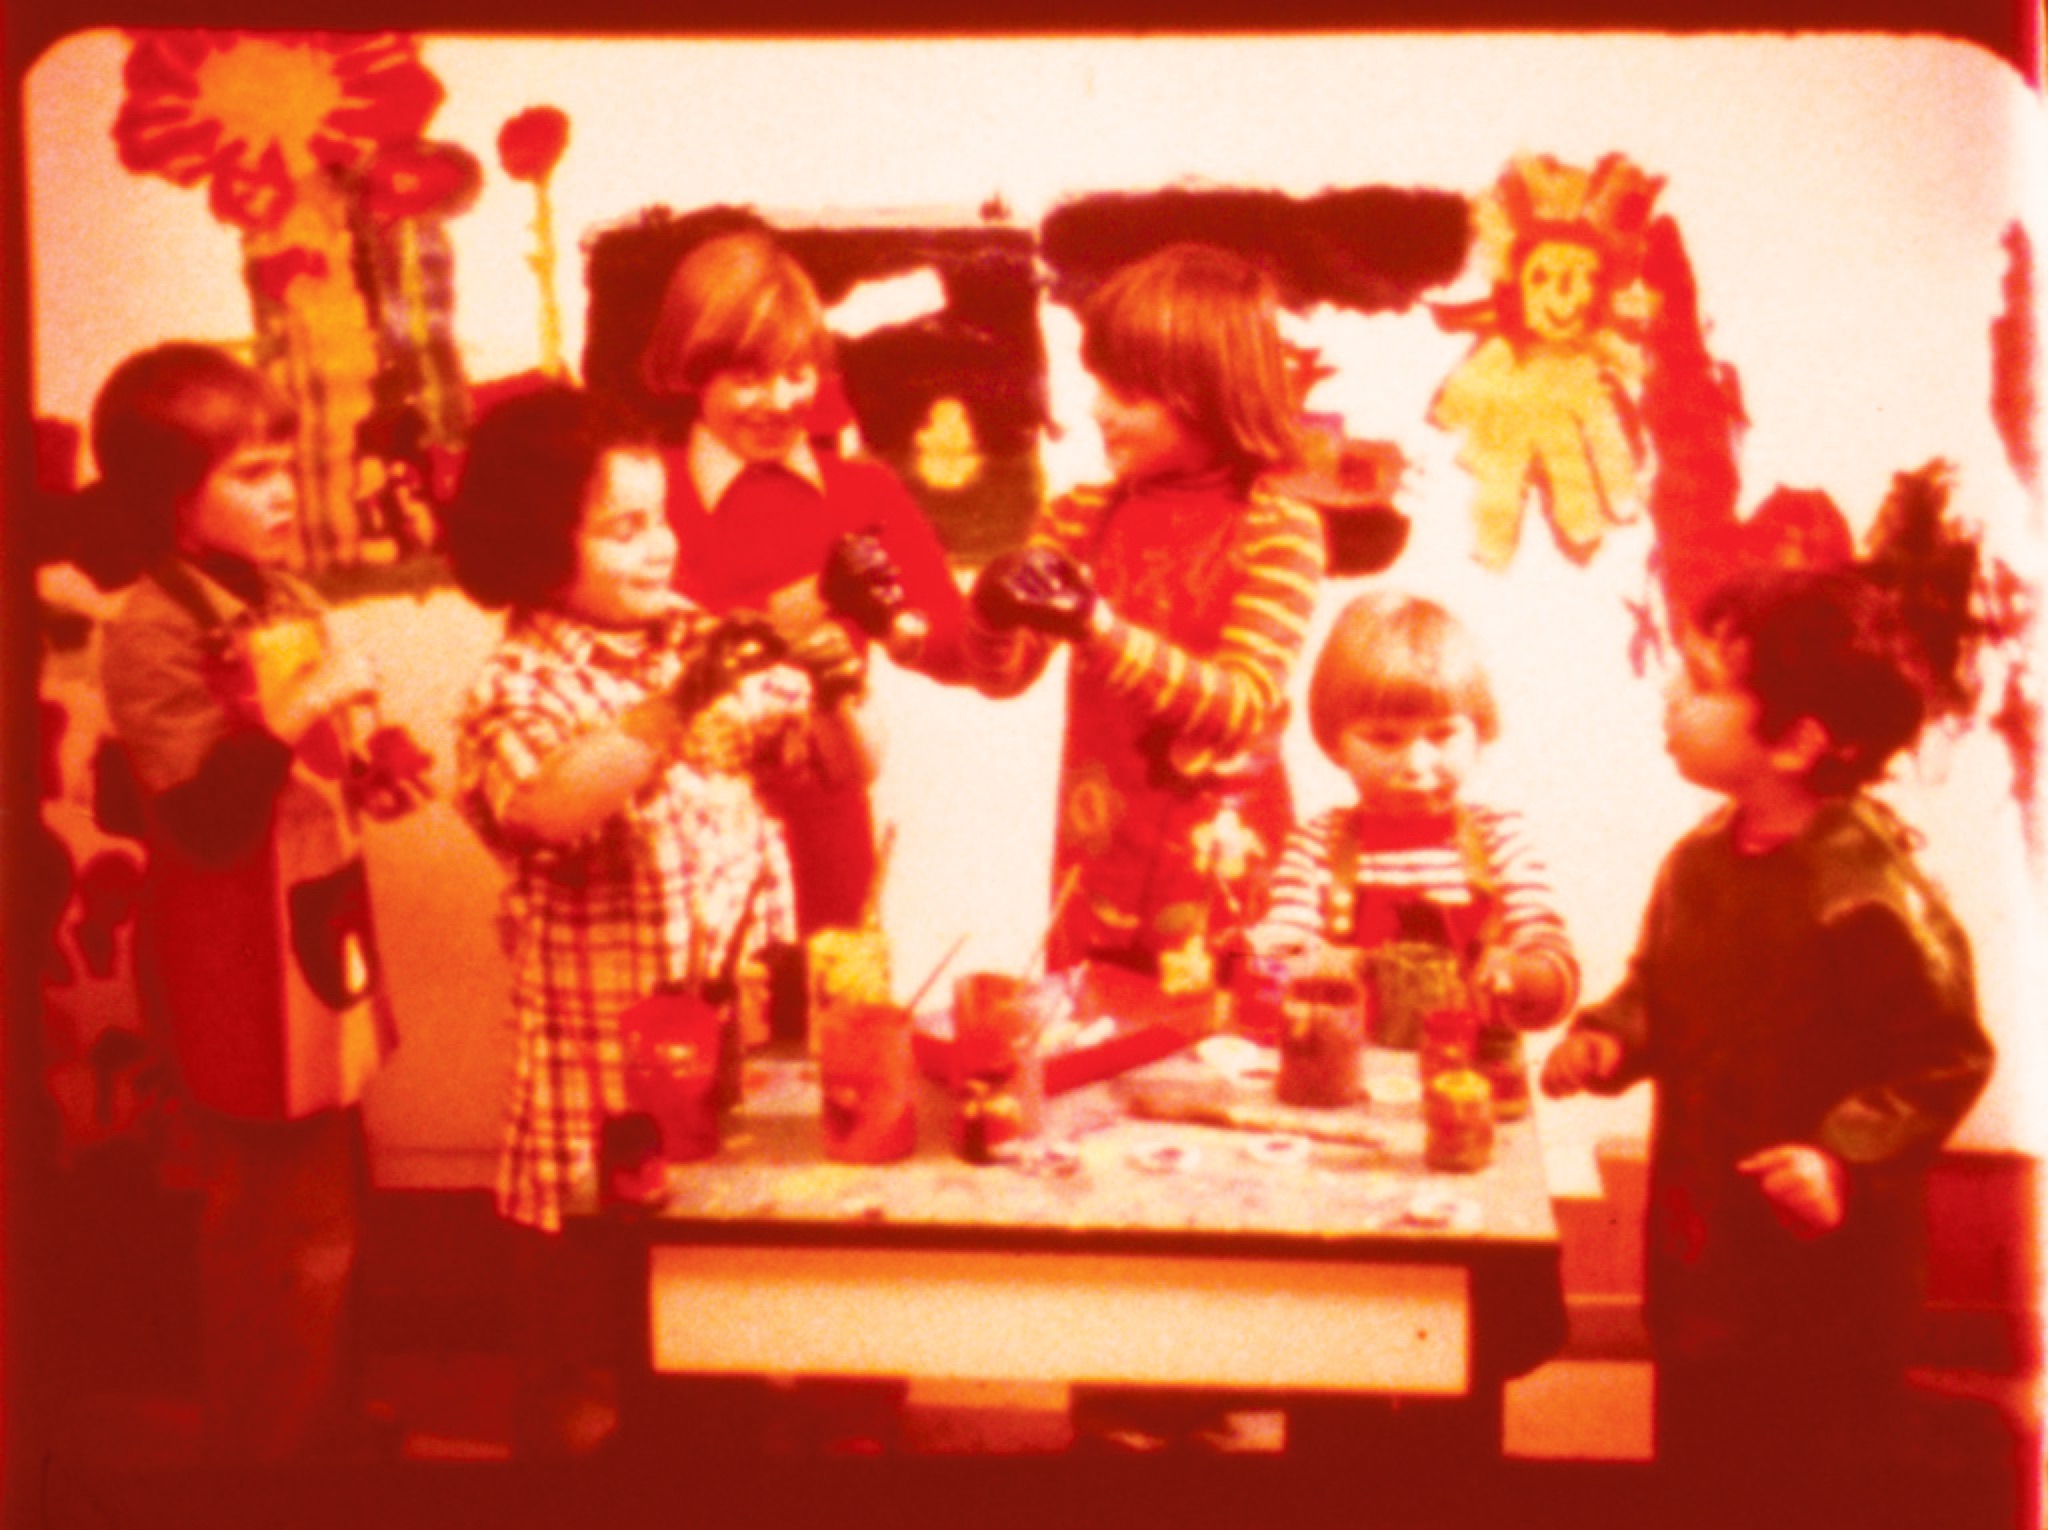
 Color negatives are masked and flat‑graded.
 RAW scan provides enough dynamic range for natural colors without banding.
« Home | Assembly Guide »