Admin FAQ How to use Metadata sharing
The metadata is data which must be present in the system prior to the start of a productive work. It consists, but is not limited to, entities, configuration and configuration files.
The go-to method of exporting and importing metadata in Connect for Life™ is the OpenMRS Metadata sharing module.
The detailed guide on how to use the features provided by the module to export and import metadata objects are provided here. The short guide of how to use the module in a context of Connect for Life™ is covered in the next chapter.
This chapter shows the basics of how to export and import metadata objects using the Metadata Sharing module.
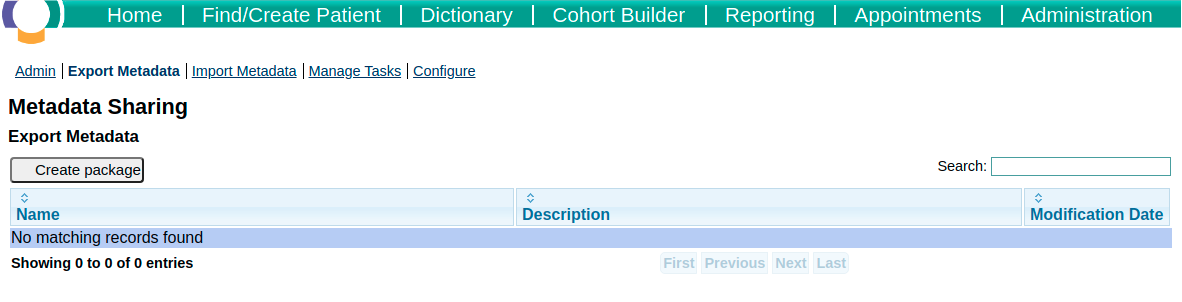
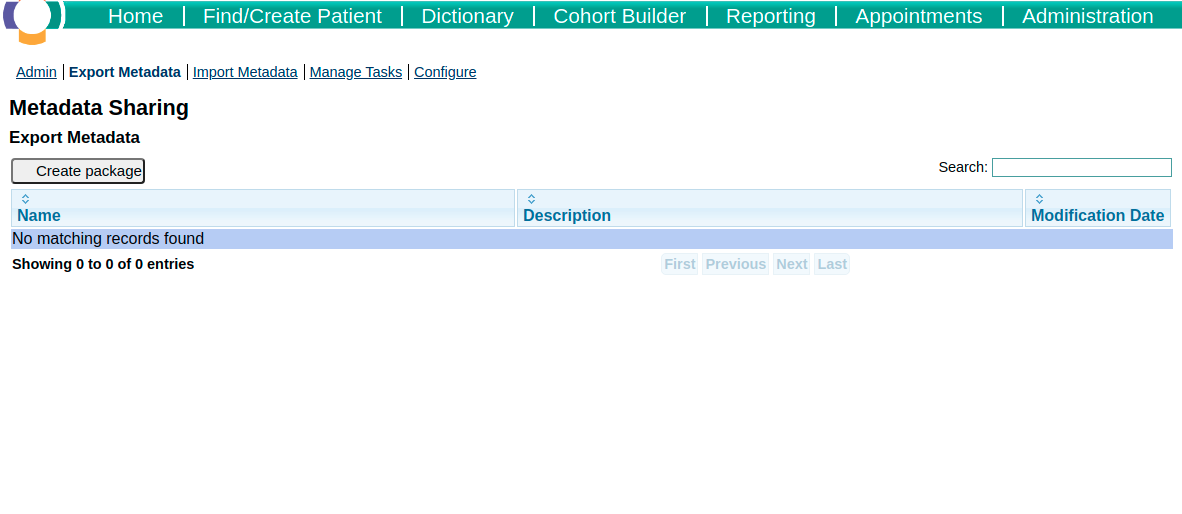
The metadata package export page allows the creation of an export package and contains an overview of an already created packages. The page is available at "Advanced Administration", "Metadata Sharing" section, the "Export Metadata" link.
The configuration of an export package informs the system what objects to export and creates the downloadable file. The configuration consists of the three steps:
-
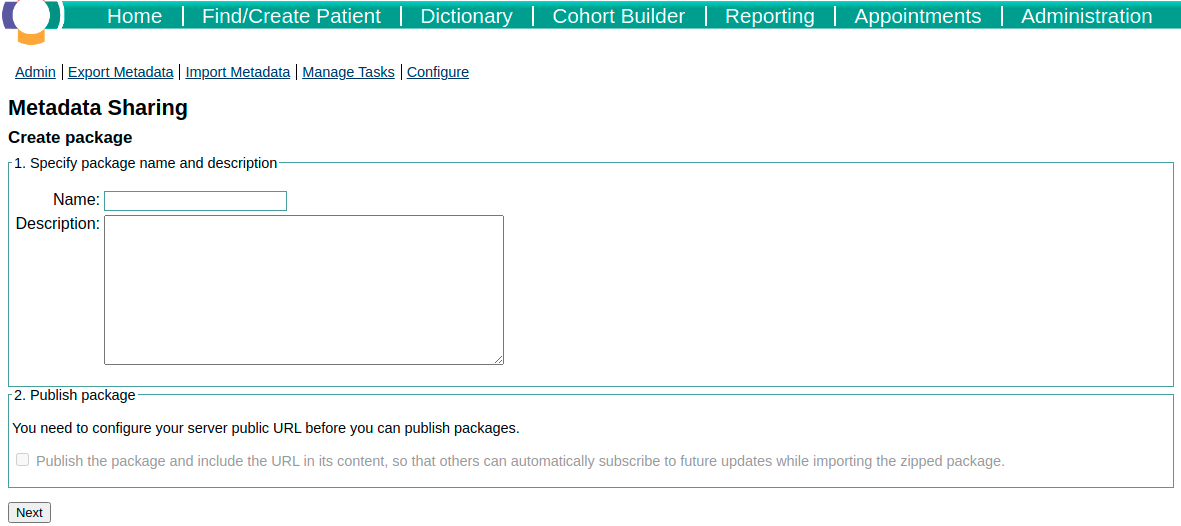
At the "Metadata Export" page, click “Create Package” button, decide upon "Name" and "Description" of the package (it cannot be changed later) and click the “Next” button to continue to the second step.
-
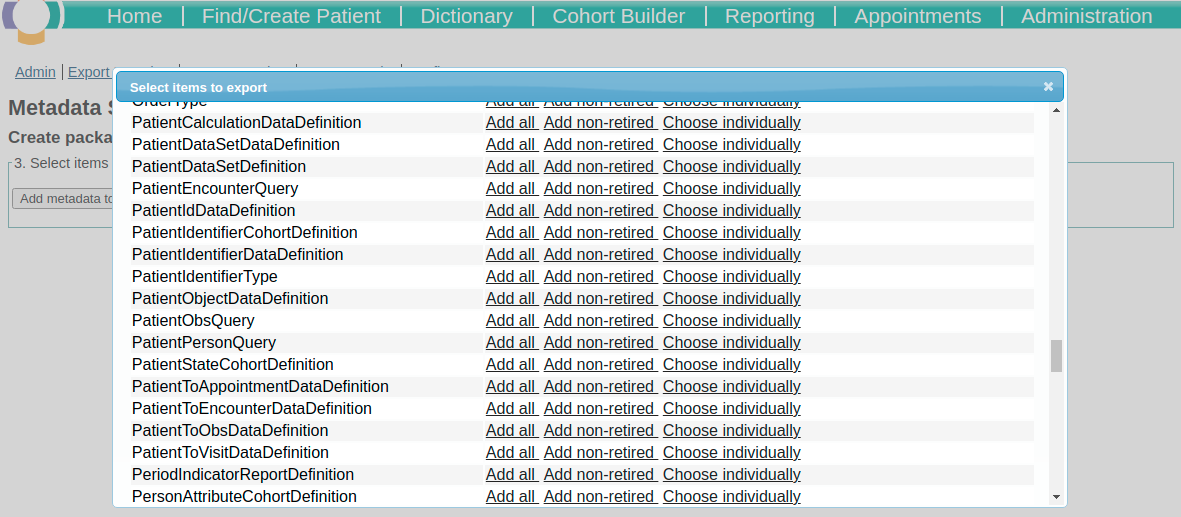
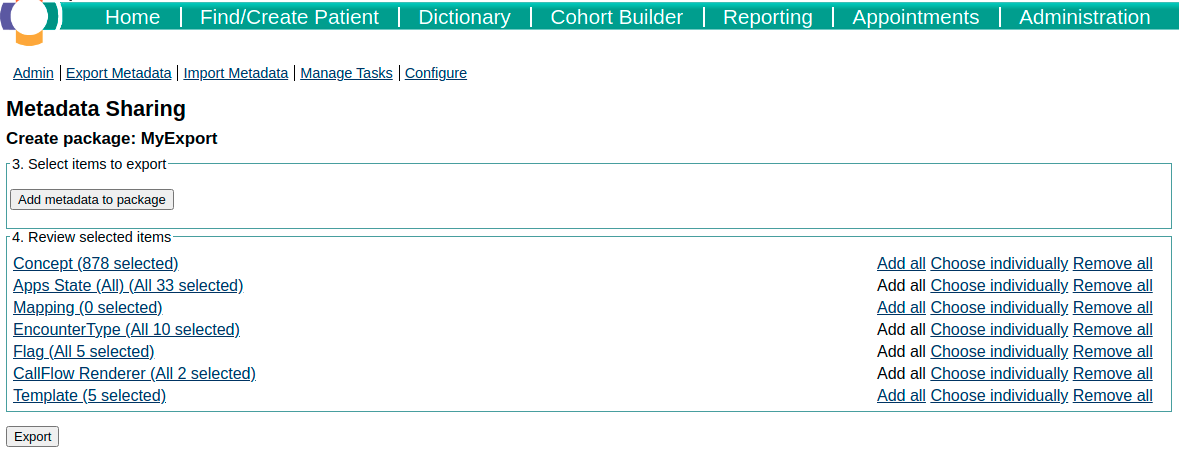
In the second step, you decide which objects need to be included in the package. Clicking “Add metadata to package” button shows the list of all object categories which can be exported. To select objects for export click one of these:
- “Add all” – adds all objects of the given category
- “Add non-retired” – adds all objects of the given category which ware not deleted
- “Choose individually” – allows selection of individual objects within the category
The list of all CfL-relevant objects is covered in chapter “(CfL Metadata)(#cfl-metadata)”. Most users should choose option 2 (Warning: Always use option 1 for role category!). When all objects you want to export are added, click “Export” to begin the last step.
-
At the last step, the page shows progress of the package export process. It will also show any errors encountered during the export process. Once export completes, the creation of an export package is concluded.
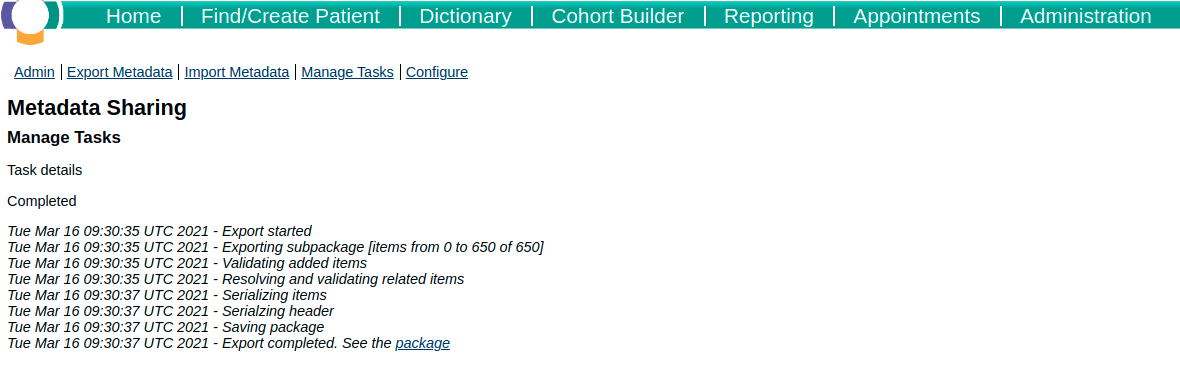
The above steps are shown here:

The export package is a ZIP file containing exported metadata. It can be downloaded immediately after exporting or later.
To get the package immediately after export completes, click the “package” link visible on the package export result page. The link will redirect you to the package overview page, then click on the "download" icon.

To get the package later, navigate to the Metadata Module export page, select the package you want to download by clicking its name. It will redirect you to the package’s overview page, then click on the "download" icon.

Once you have your metadata package file – a ZIP – you are able to import it into any Connect for Life™ application.
The import process consists of four steps:
-
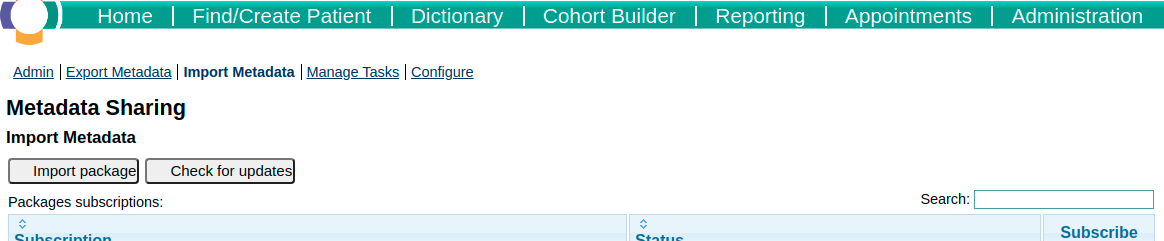
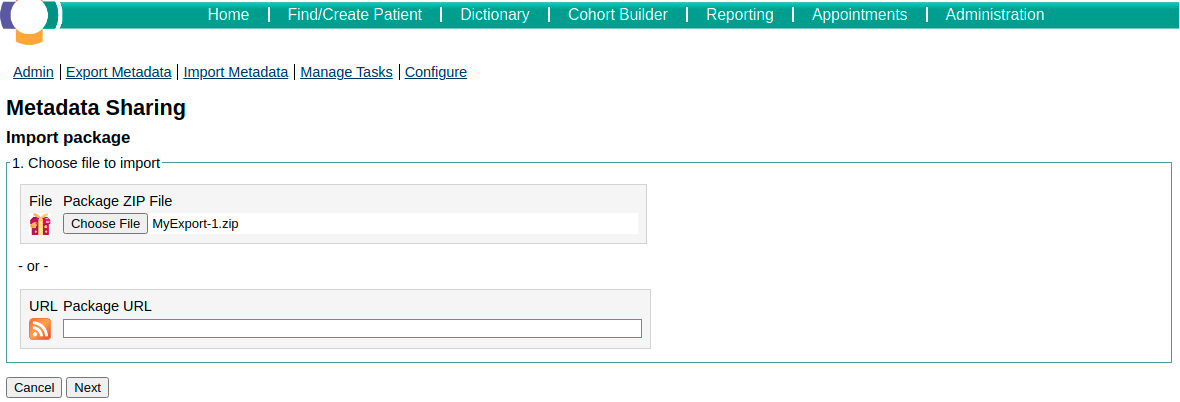
Navigate to the Metadata Sharing import page. Click the “Import package” button, use the “Choose” button to select a file to import, click the “Next” button. On the following page, you can review the basic information about the package. Click “Next” to continue to the next step.
-
At the second step, you decide on the mode of the import to make. Each type is described on the page. For details, check the original documentation of the Metadata Sharing module, for the most use cases select “From Master” option and click “Next” to continue to the next step.
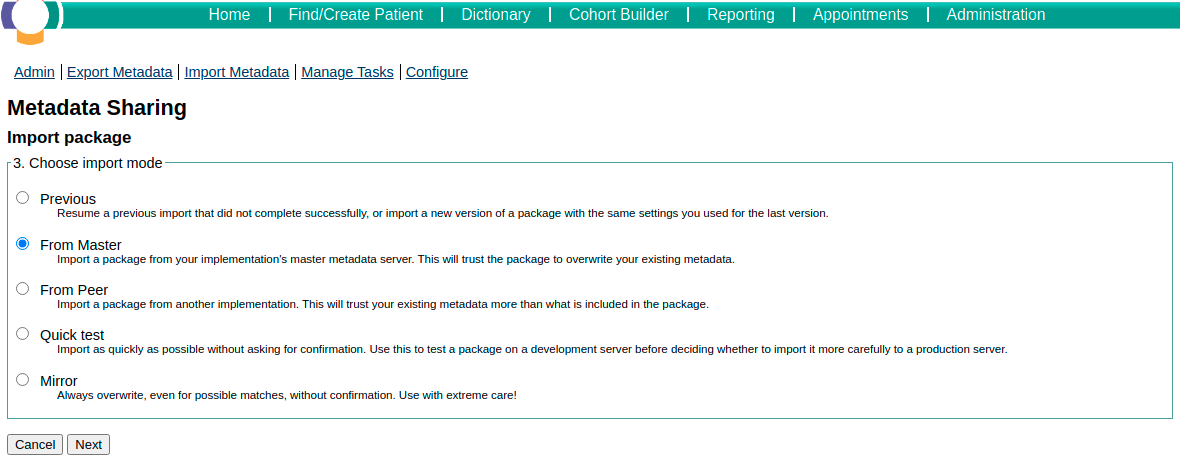
-
At the third step, you can customize the import mode (Warning: If your import contains Location or PersonAttributeType, it is advised to use “Omit” option at the “Exact Match” section). Check the “Skip Assessing” option and click the “Next” button. Optionally, leaving the “Skip Assessing” option unchecked leads the user to the page which shows an overview of all individual objects which will be imported into the system and their respective import mode (whether it’s a new object or edited object) and allows to customize the import for each individual object.
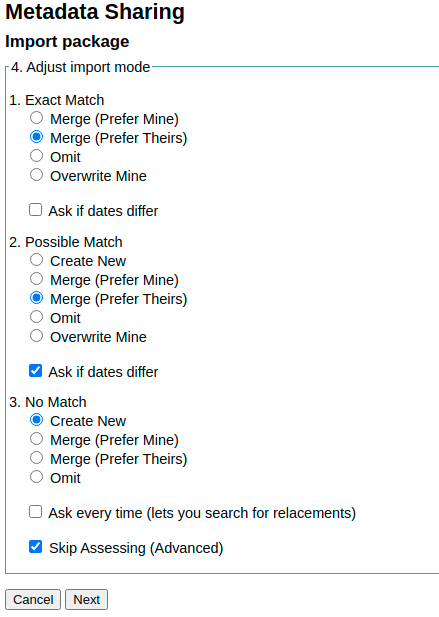
-
The last page shows the progress of the package import process. Once it completes the package import is concluded.
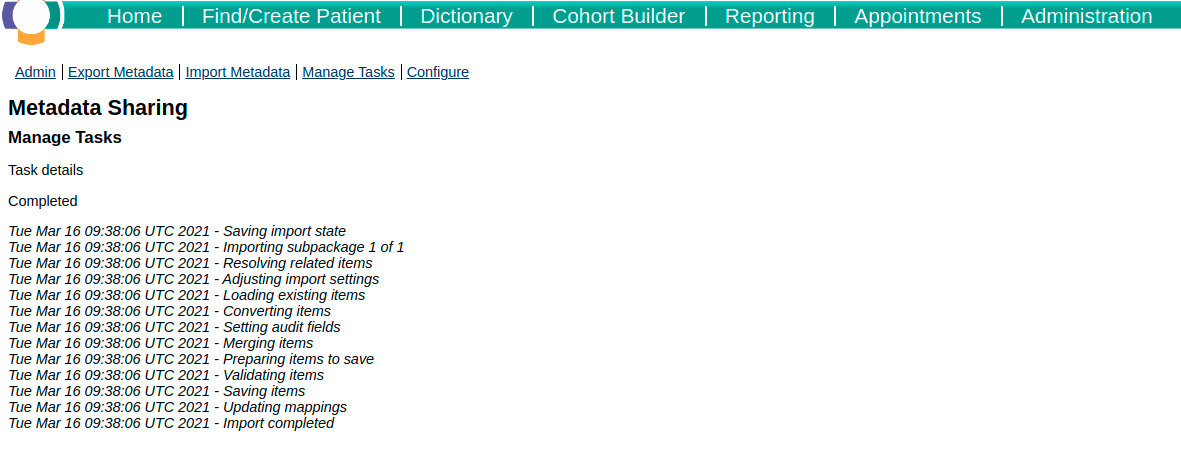
The above steps are shown here:

This chapter contains a list of all exportable object categories which are relevant in the Connect for Life™ application.
- Apps (User) – the custom app configuration, extension points, e.g. Additional links on a Patient’s dashboard
- Apps State (All) – the state (enabled or disabled) of custom and build-in app configurations, e.g. Disabling apps build-in into OpenMRS which are not used by particular implementation of the Connect for Life™
- CallFlow – the call flow designs
- CallFlow Renderer – the call flow renderers
- Concept – the concepts directory (Includes all concepts and any related object)
- EncounterType – the encounter types
- Flag – the configuration of flag to apply to the patient if some criteria are met, e.g. “Missed last 3 visits” flag when user has 3 or more last visits in status “Missed”
- Form – the configuration of visit’s form (Includes any related object, usually should be selected for export together with the HtmlForm)
- Global Property – the settings of the application (Includes all the settings in the system)
- HtmlForm – the configuration of visit’s form (Includes any related object, usually should be exported together with the form)
- Location – the list of available locations (Warning: if your metadata package contains locations, it’s advised to use “Omit” option for the exact matches)
- LocationAttributeType – the list of available attributes of a location
- Mapping – the ETL Lite mappings
- PatientIdentifierType – the list of available patient identifiers, e.g. ART Number
- PersonAttributeType – the list of available types of person attributes, e.g. Telephone number, Best contact time
- RelationshipType – the list of available types of relationship between patients or/and persons in the system, e.g. Caregiver to Patient relation
- ReportDesign – the report designs
- ReportDesignResource – the configuration of report resources
- LocationTag – the list of available location tags, e.g. Visit Location Tag for locations where visits can happen
- Role – the list of all roles in the system (Warning: do not use “Add non-retired” option!)
- SMS Provider Template – the list of available provider configuration templates, each template allows the administrator to configure specific SMS providers, e.g. a template for configuring turnIO connection
- Template – the messages template configuration, e.g. a Visit reminder template
- VisitType – the list of available types of visits
- VisitAttributeType – the list of available types of attributes a visit can have