Engine
- Yanmar 4JH2E, 50 hp inboard, freshwater-cooled diesel
- Repowered 1998 (current engine)
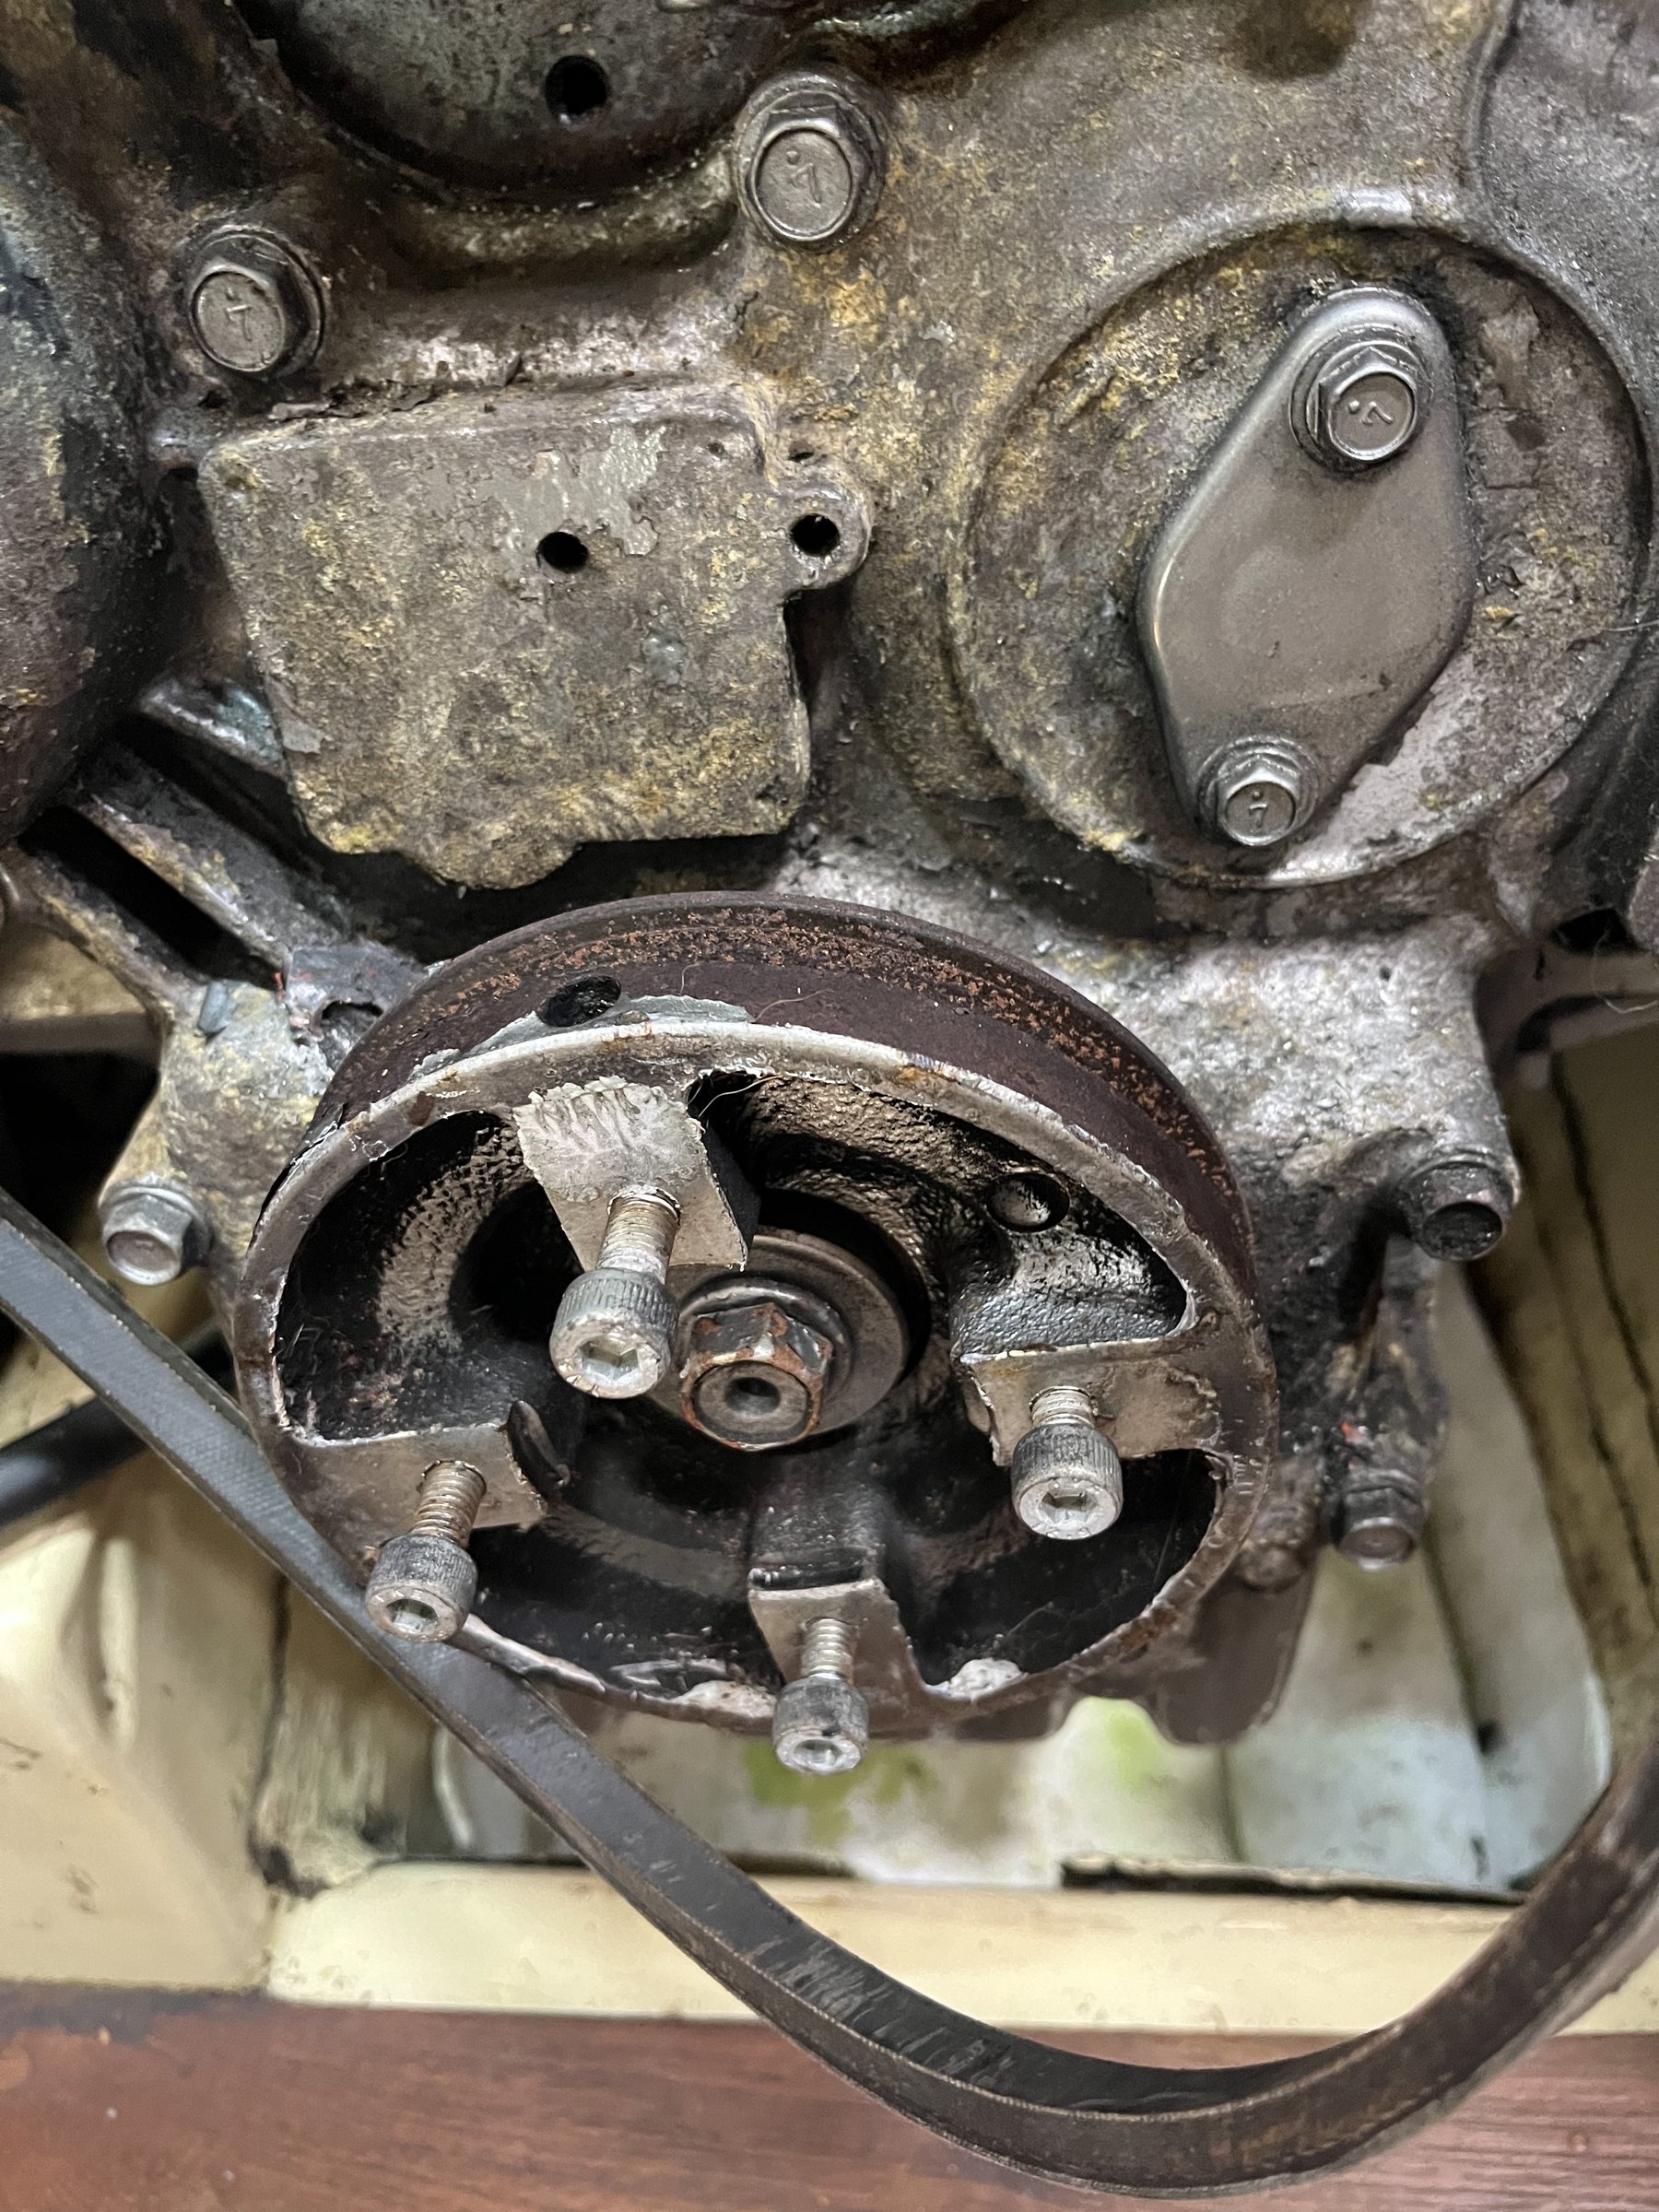
- Crank pulley: stock single-groove (confirmed correct for stock alternator setup)
- Alternator: stock Yanmar 55A Hitachi (reverting from Balmar 120A serpentine conversion)
The previous owner installed a Balmar 120A with serpentine belt conversion. This has been removed. The crank pulley is the stock single-groove Yanmar part — not a multi-groove conversion pulley. The conversion kit (PK-4JH2-E or Balmar 48-YSP-4JH-E) slips a multi-groove pulley over the stock one using extra bolt holes. When removing the conversion, the multi-groove pulley must come off and the stock single-groove one left in place.
The engine sits in a baking-pan-shaped recess in the bilge:
- Pan dimensions: 18" long × 14" wide × 7" deep (to bottom of motor)
- Usable clearance under motor: 4" (pan sides come up, reducing working space)

Good to know for oil drain pans, drip trays, and any work requiring access underneath.
- Capacity (with filter): 4.8 L (5.1 qt)
- Grade: Chevron Delo 400 XLE 15W-40 CK-4 (or any 15W-40 CD or higher)
- Filler cap: Yanmar 124160-01751 (32.5mm thread, includes O-ring)
- Groco filter and main thru hull are in the quarterbirth forward panel.

Front top of the motor. When replacing drain all the coolant out of the elbow (you won't get a good gasket seal otherwise).
You have to get all that gunk out, including the thin paper ring gasket that looks like it should be rubber. Tip: put a paper towel in there and run a shop vac right at it while you scrape to keep the gunk from getting in there and clogging the exchanger.
When changing the coolant, there are three spots that need to get drained.
This is the easy one.

(hook up a little hose to this, make sure to take the cap off the heat exchanger so it can vent or nothing will come out)
These bastards are hard to get to and hard to find. They have little plastic knobs that you can hand-screw in or out. The starboard one has a hose on it (leading nowhere?) so plug that hose into your drain hose. The port one you'll plug directly to the port on the bottom.

(there's the little bastard)

(the starboard one is almost to the back of the motor, right below the mixer elbow)

(port is easier, just follow that wire loom)