Repository navigation
Getting Started
Use bossconsole.ai/downloads or the official release downloads.
| Platform | Installer |
|---|---|
| macOS | Universal DMG for Apple Silicon and Intel, or Homebrew. |
| Windows | MSI for x64 or ARM64. |
| Linux | DEB, RPM, or JAR for AMD64 or ARM64. |
On macOS, Homebrew installation is:
brew install --cask bossPick the installer matching your system architecture. The README download table also provides links that resolve to the latest stable release.
- Launch BOSS and sign in when you need account-backed features. Use the same account across BossConsole, BossTerm, and cli.risaboss.com.
- Open Toolbox and install or enable the tools you need. Browser, Terminal, and Code Editor are provided by plugins.
- Open a project folder, then arrange your browser, terminal, and editor in split panes.
- If you use an agent CLI, open Toolbox → MCP and attach your installed client. See Agents and MCP.
- Review the exposed tools and turn off the ones you do not want the agent to use.
The external agent CLI must be installed separately. BossConsole supports attachment workflows for Claude Code, Codex, Gemini CLI, and OpenCode; you can also use compatible MCP clients.
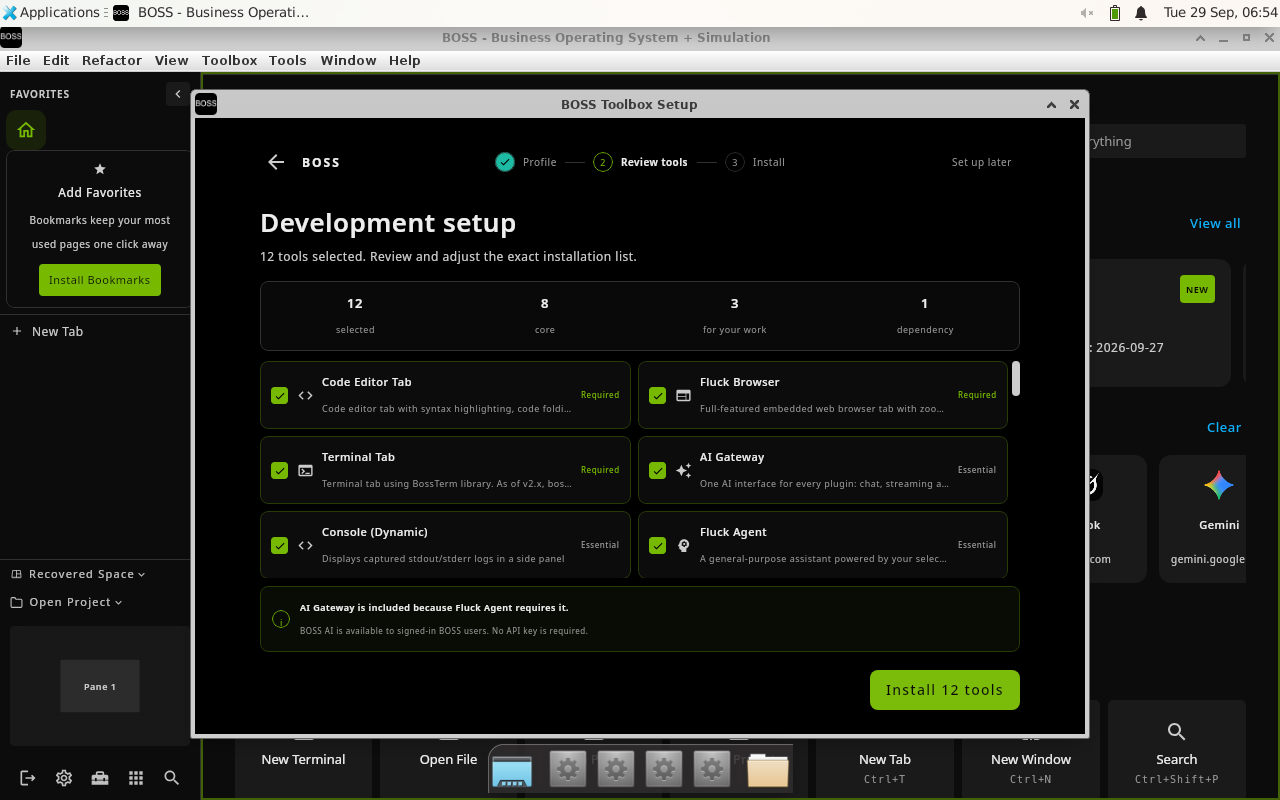
The setup wizard lets you review a suggested plugin selection before installing. This example is BOSS v9.5.32 on Linux, published on risaboss.com in September 2026. Available plugins depend on version and account access. Click for full size.

Open cli.risaboss.com and sign in with the host's BOSS account. The page separates BossTerm live sessions from BossConsole live sessions.
Terminals must have sharing active to appear. BossConsole window sharing starts automatically after sign-in when the local sharing settings and capture permission allow it. Full-window publishing currently requires macOS 14 or later; see the sharing guide before setting it up.
Save your layout as a Space · Install more plugins · Learn the local CLI · Troubleshoot a missing feature
Source: installation and agent setup in the README.
Continue: Home · ← Product walkthrough · Spaces and everyday use →