Skip to content

en How to Integrate mailjet Using MCP

Alexandre edited this page Jul 20, 2026 · 5 revisions

How to integrate mailjet using MCP

Send transactional email via Mailjet. This guide creates an MCP server from Arthur's mailjet template — tools preconfigured against https://api.mailjet.com/v3.1 — and finishes by sharing the server's MCP swagger documentation.

Steps

  1. Open the Secrets vault and create a secret named MAILJET_API_KEY holding your access token. Use the Mailjet API key as the Basic-auth username and the API secret key as the password. Store the credential pair in Arthur MCP Secrets.

    Open the Secrets vault to store the mailjet credential before using the template.
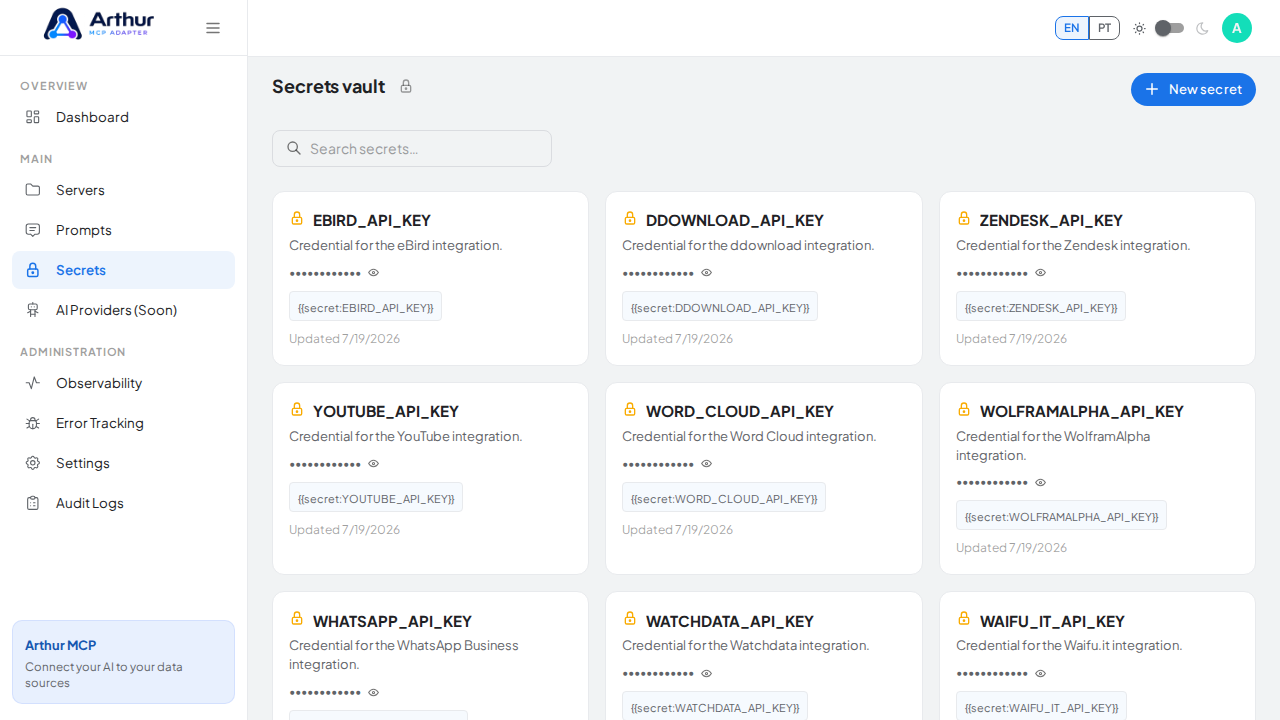
    Open the Secrets vault to store the mailjet credential before using the template

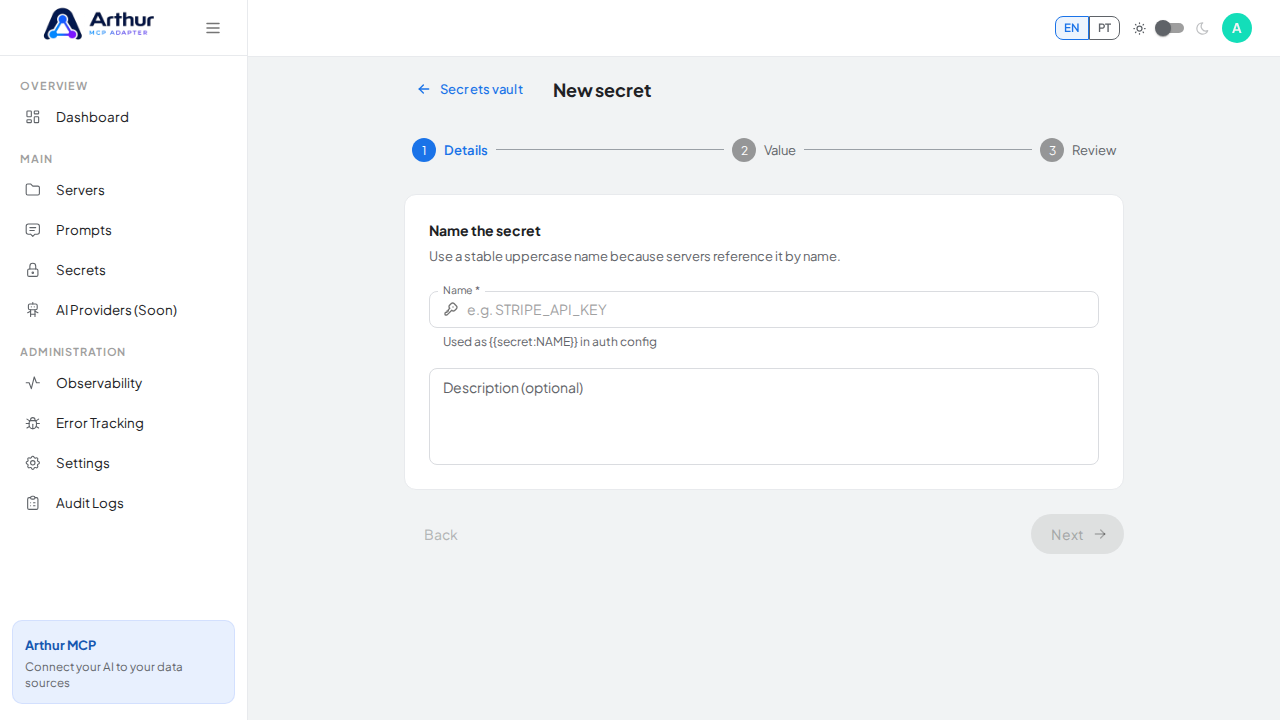
    Start the New secret wizard.

    Start the New secret wizard

    Name the secret MAILJET_API_KEY — servers reference it by this name.
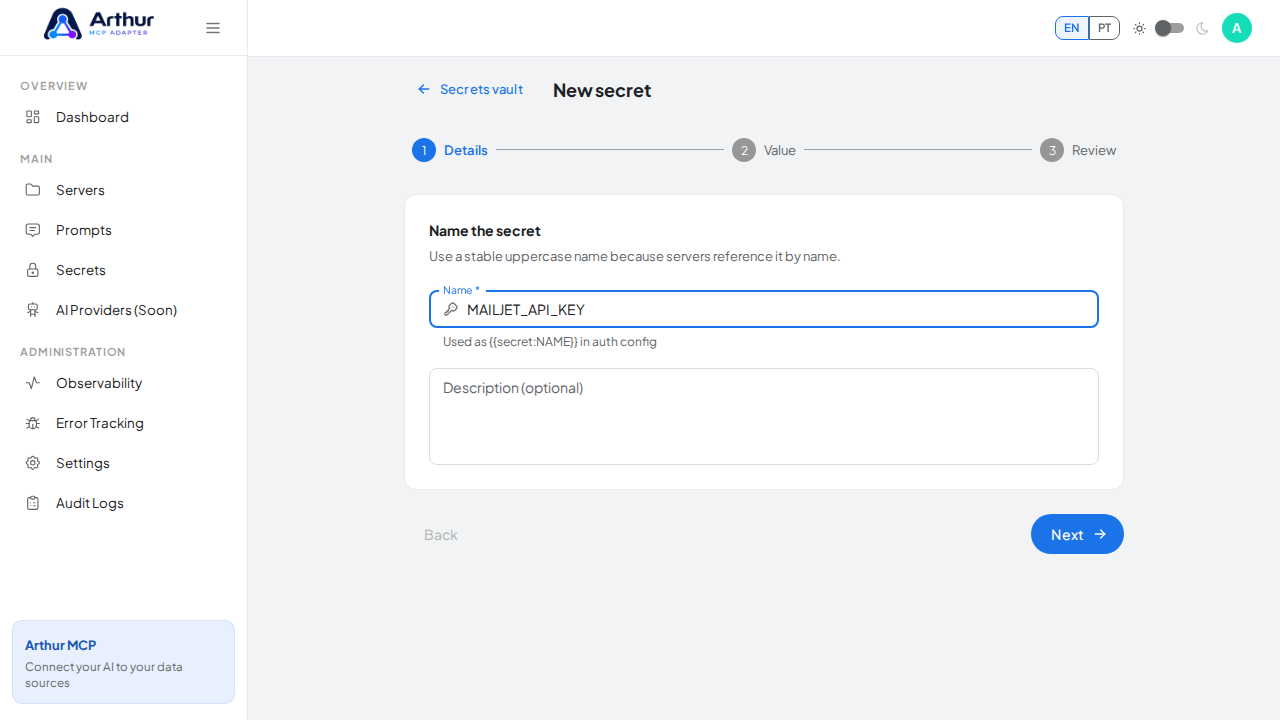
    Name the secret MAILJETAPIKEY — servers reference it by this name

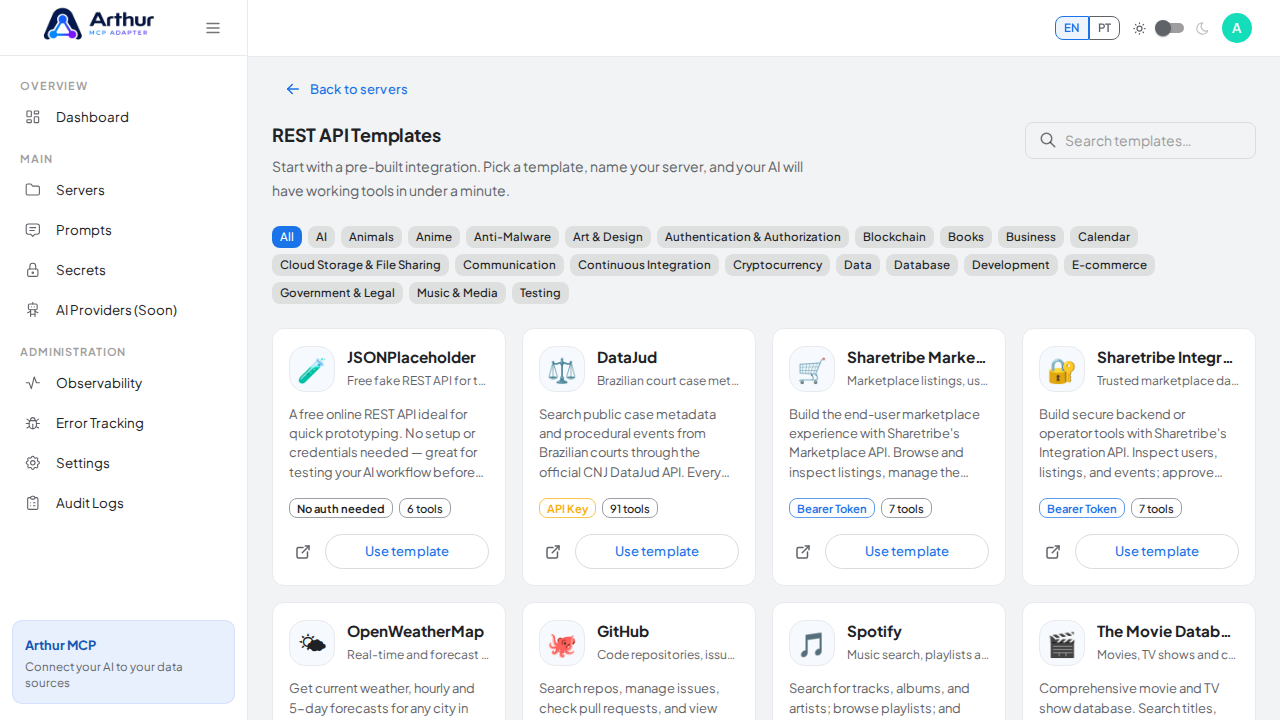
  2. Go to the REST API Templates gallery and search for mailjet.

    Record what the credential is for so it stays recognizable.
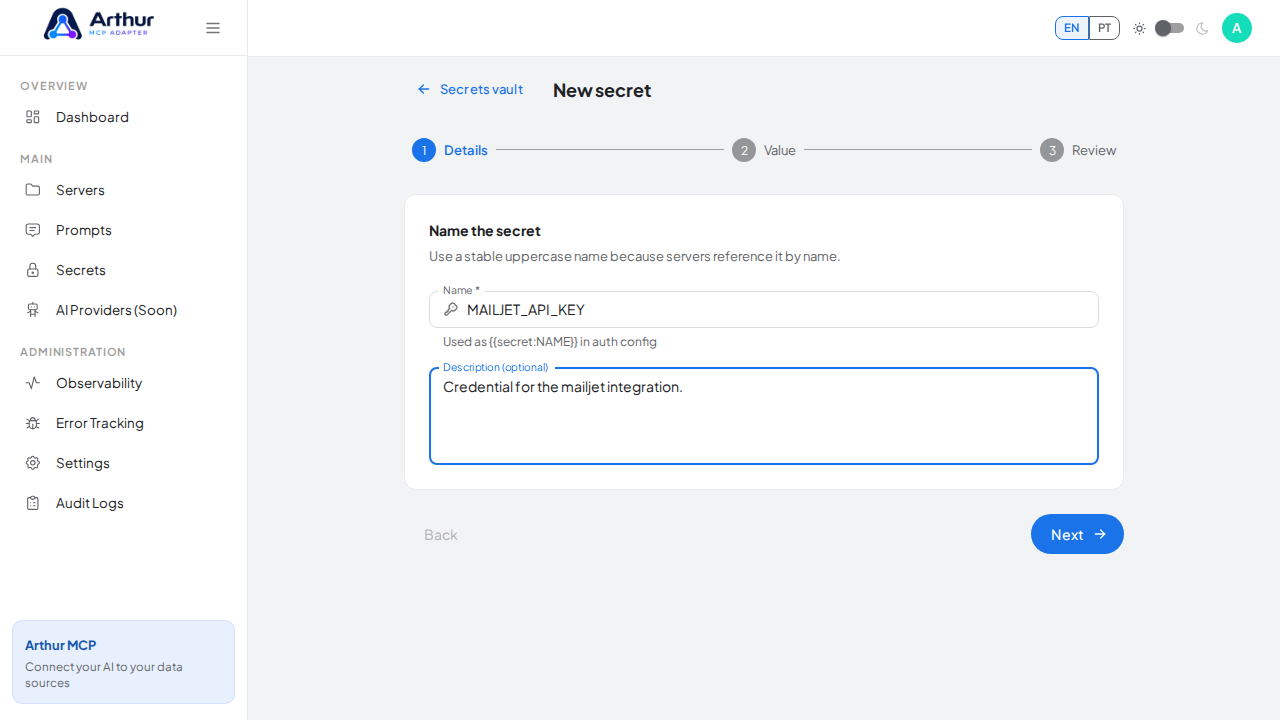
    Record what the credential is for so it stays recognizable

    Continue to the protected value step.
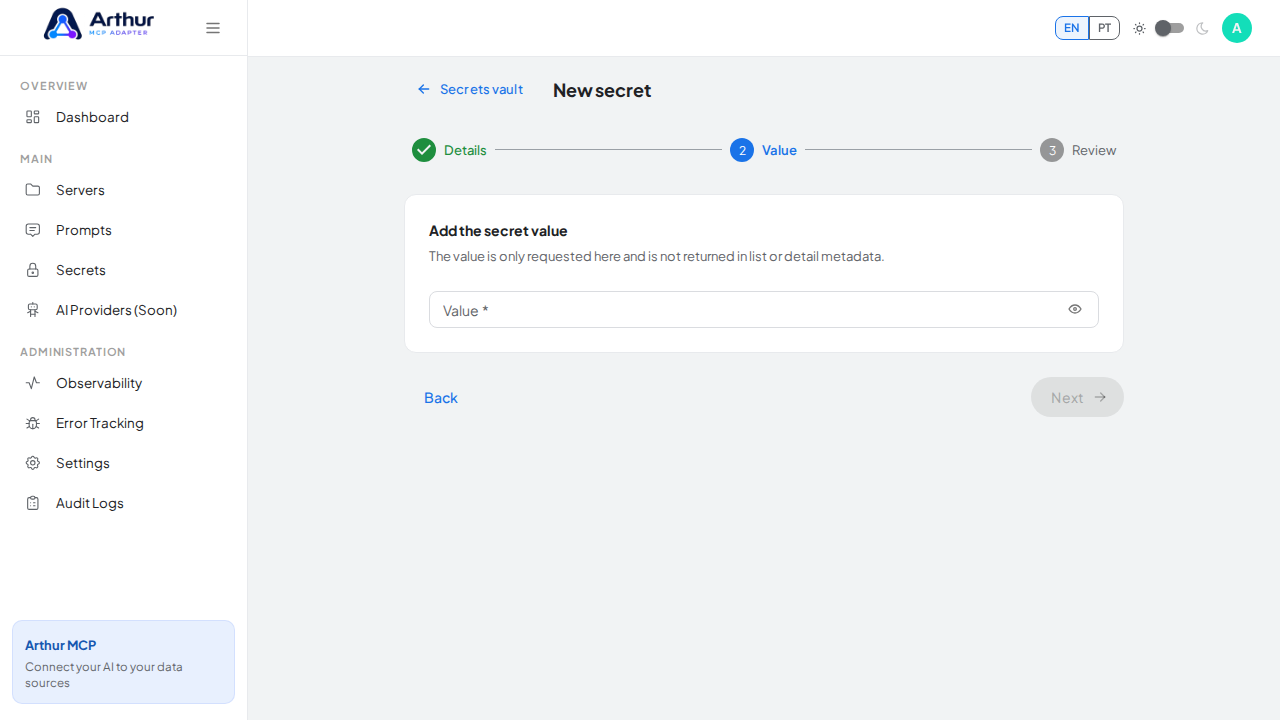
    Continue to the protected value step

  3. Click Use template on the mailjet card to open the server-creation dialog.

    Enter the credential value — a demo value here; use your real key when adopting the integration.
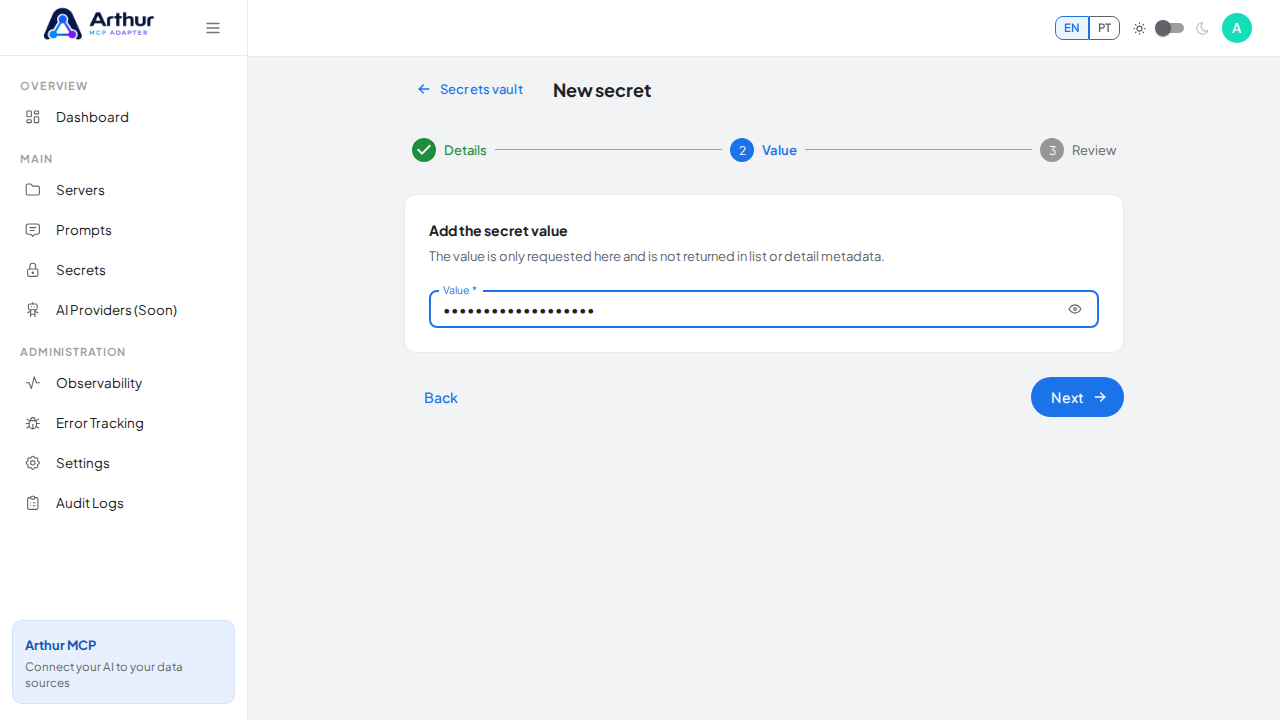
    Enter the credential value — a demo value here; use your real key when adopting the integration

    Review the generated secret reference syntax.
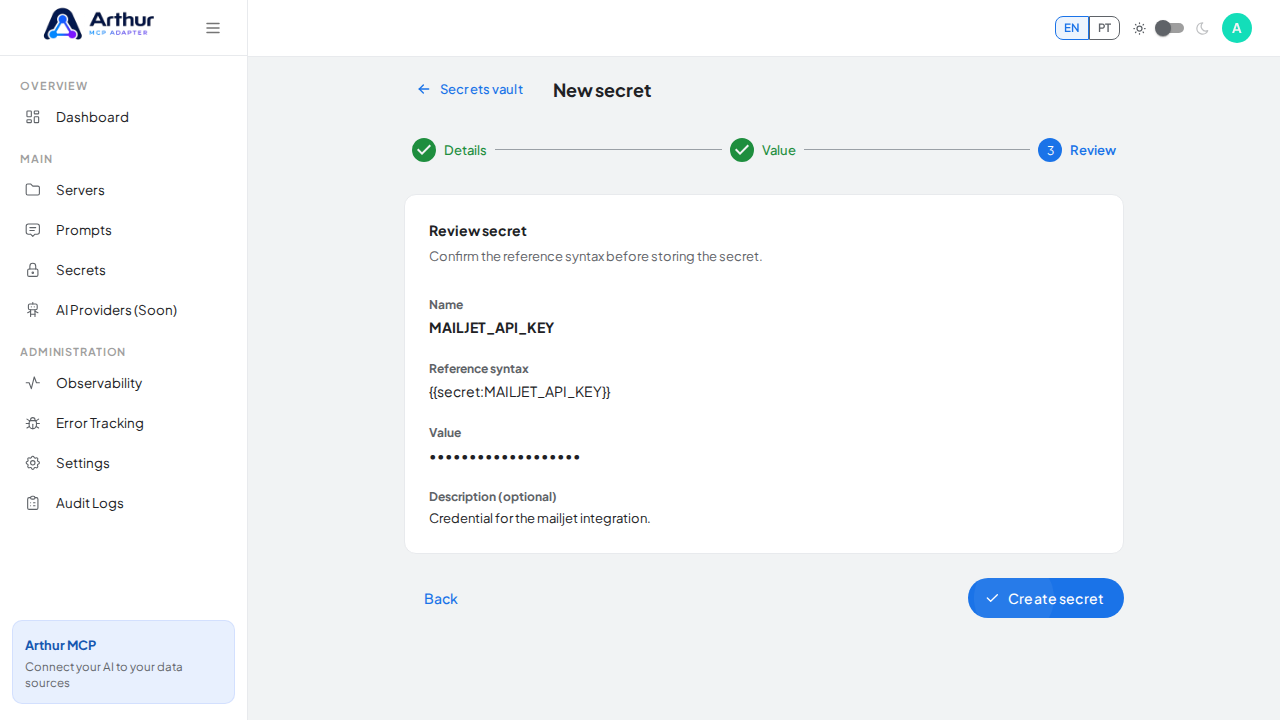
    Review the generated secret reference syntax

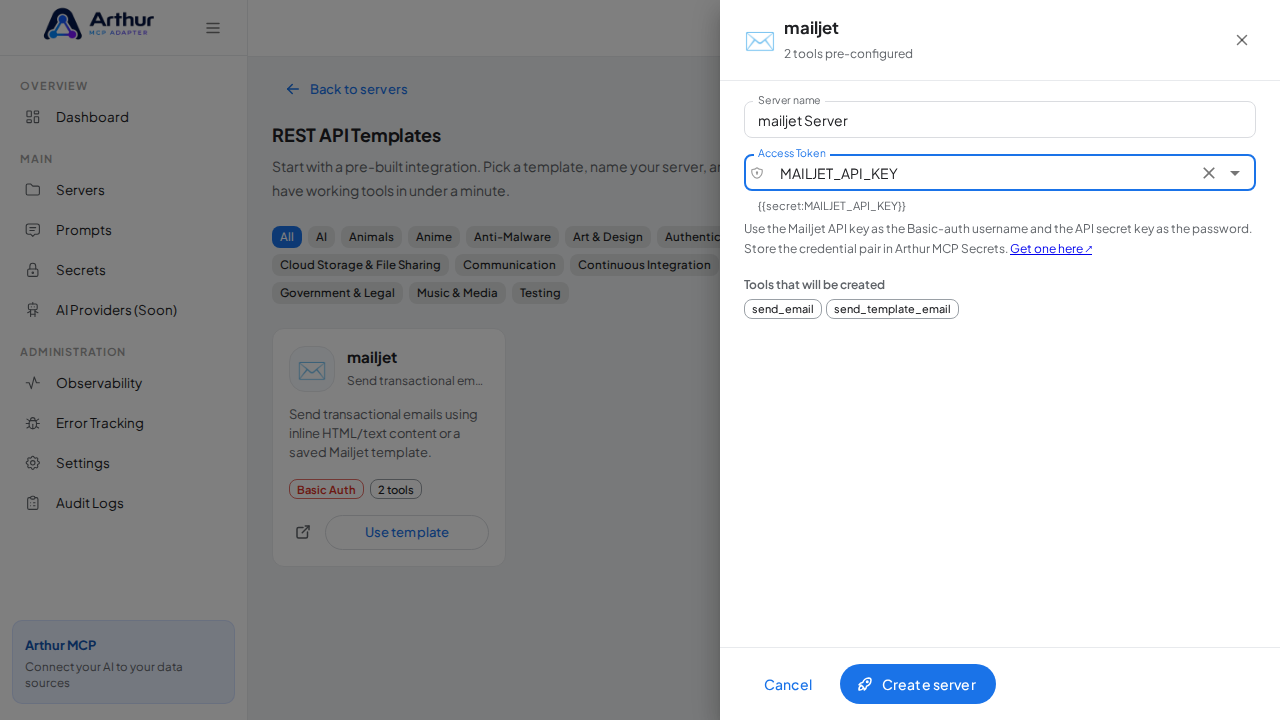
  4. Review the server name and select MAILJET_API_KEY in the credential field — the dialog only accepts vault secrets, and it lists every tool that will be created.

    Store the MAILJET_API_KEY secret in the vault.
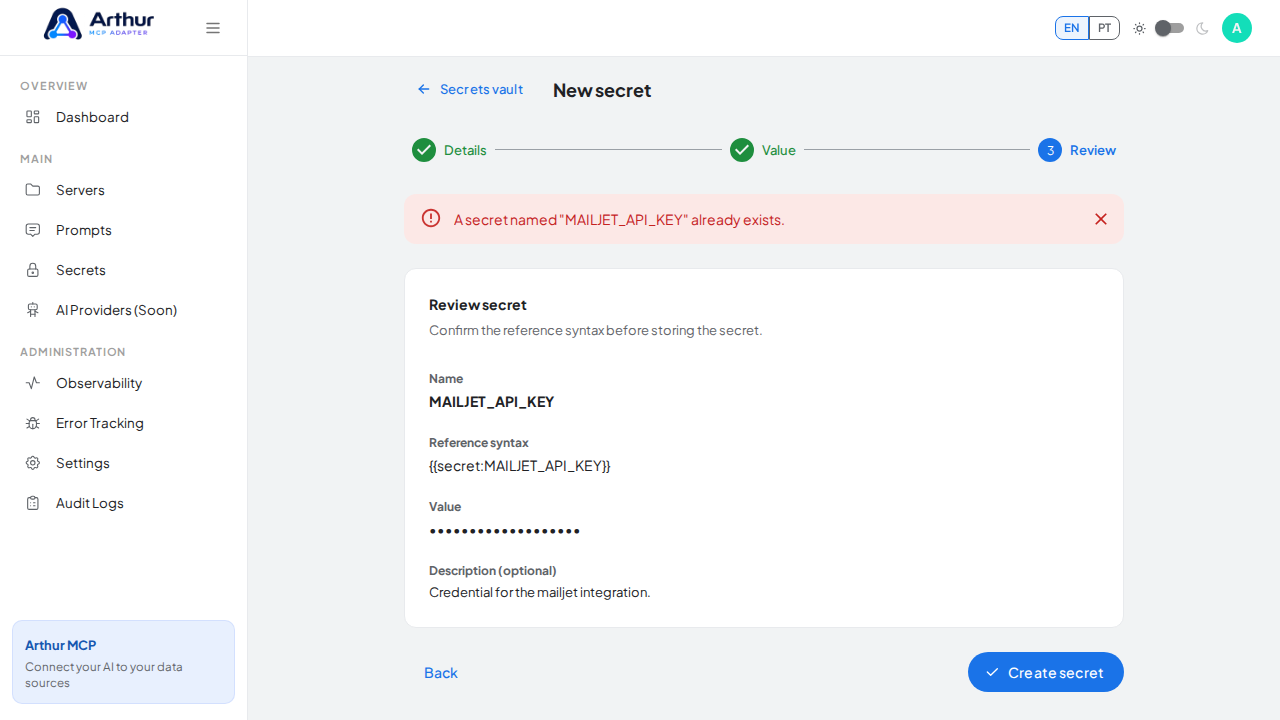
    Store the MAILJETAPIKEY secret in the vault

    Open the REST API template gallery.

    Open the REST API template gallery

    Search the gallery for the mailjet integration.
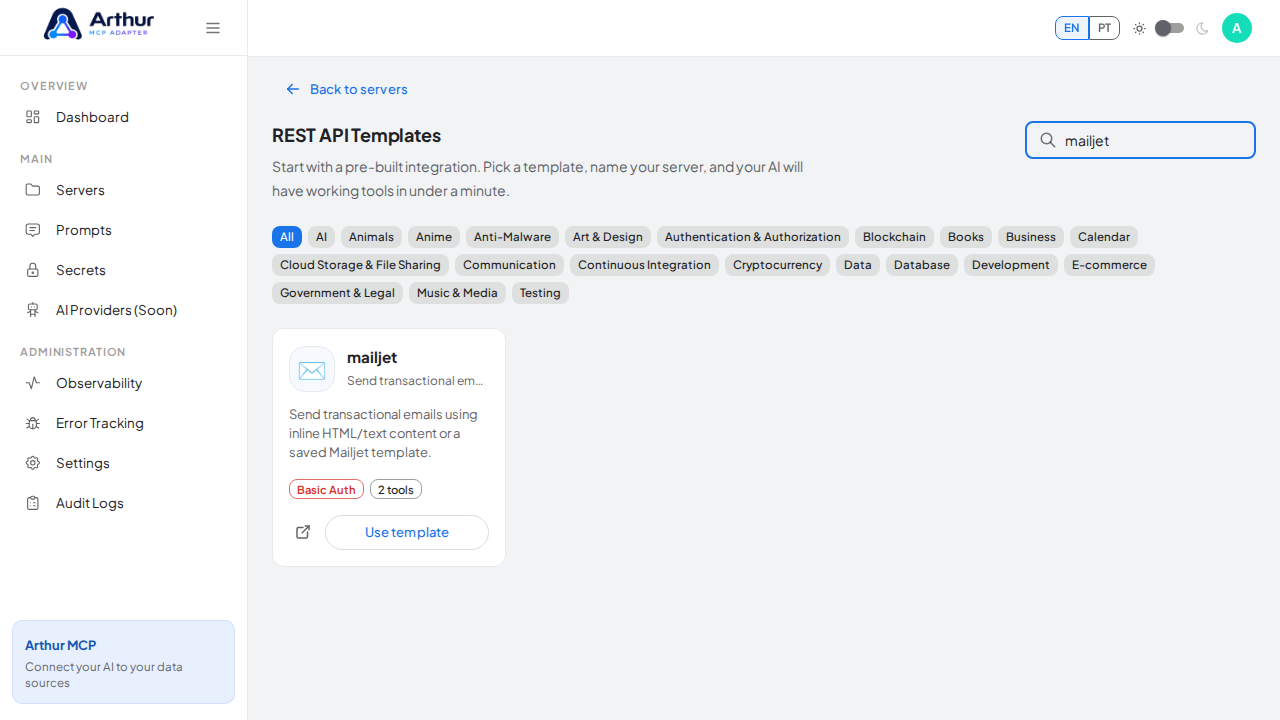
    Search the gallery for the mailjet integration

  5. Click Create server. Arthur creates the server, applies the authentication, and generates all the tools.

    Open the mailjet template with its preconfigured tools.
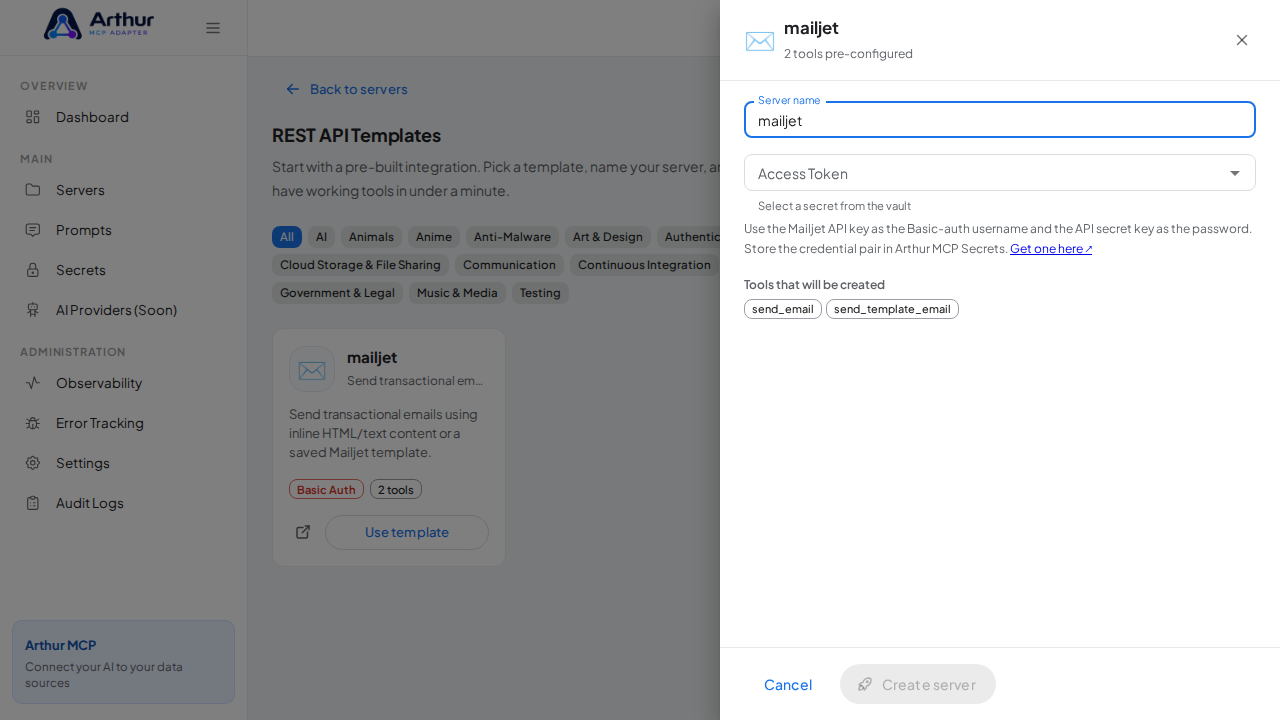
    Open the mailjet template with its preconfigured tools

    Name the server after the integration it provides.
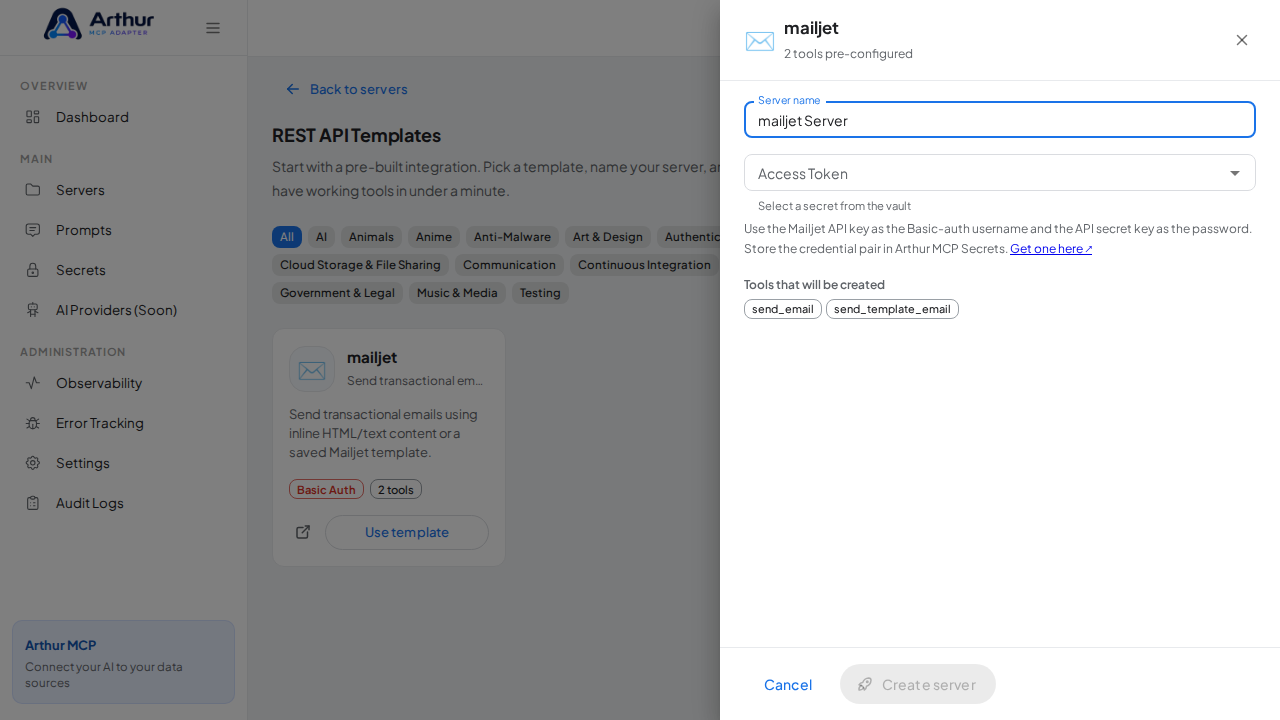
    Name the server after the integration it provides

    Pick the MAILJET_API_KEY secret from the vault suggestions.
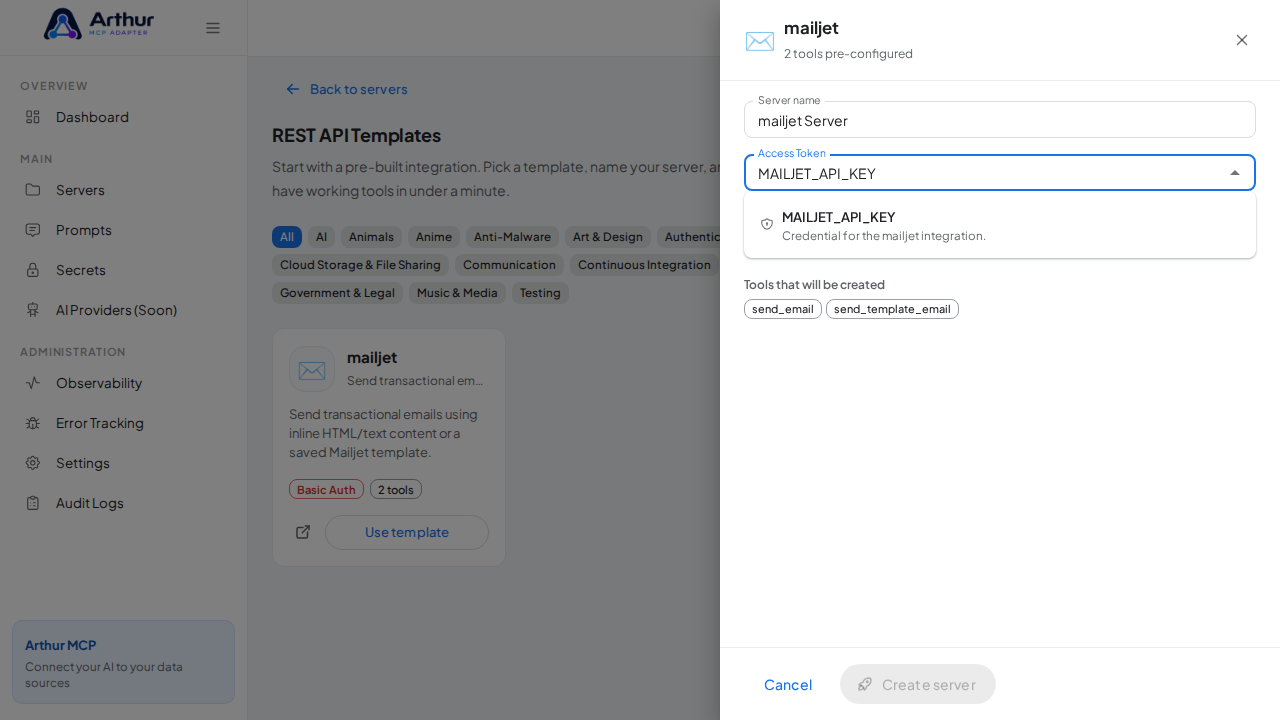
    Pick the MAILJETAPIKEY secret from the vault suggestions

    Select the stored credential.

    Select the stored credential

    Create the mailjet server with its preconfigured tools.
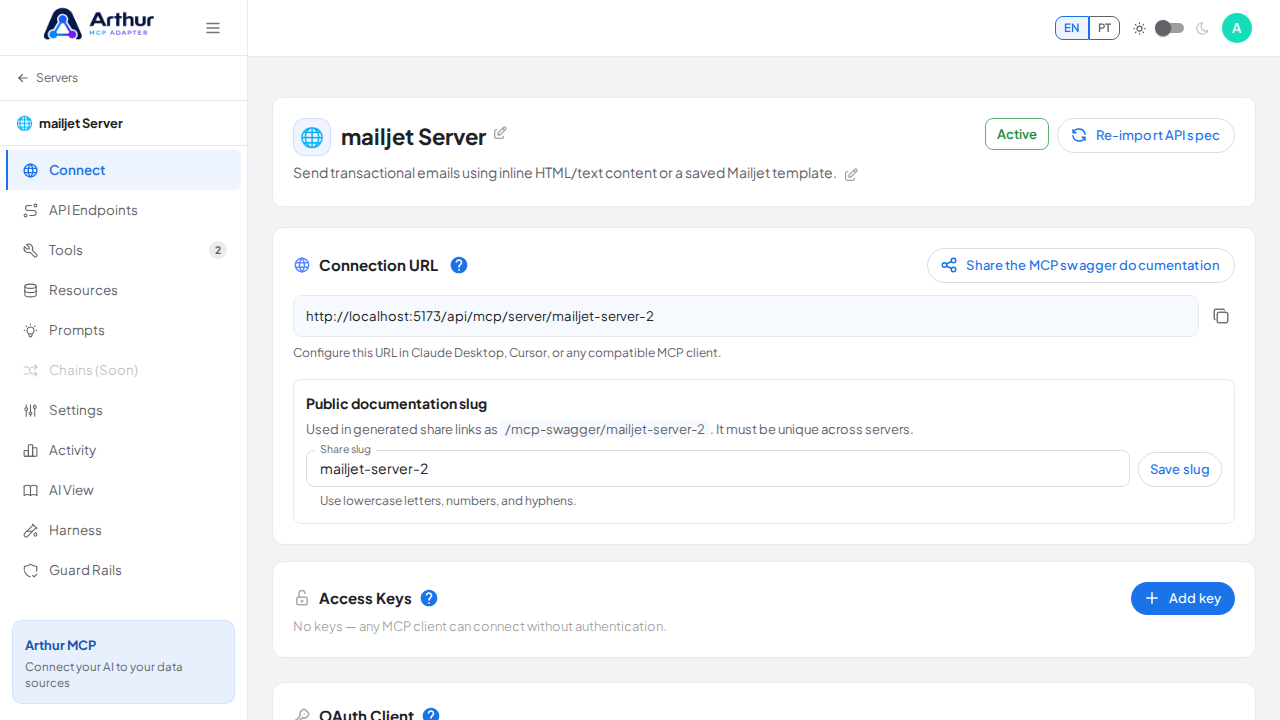
    Create the mailjet server with its preconfigured tools

  6. Open the server's Tools tab to review the generated tools.

    Review the tools generated from the mailjet template.
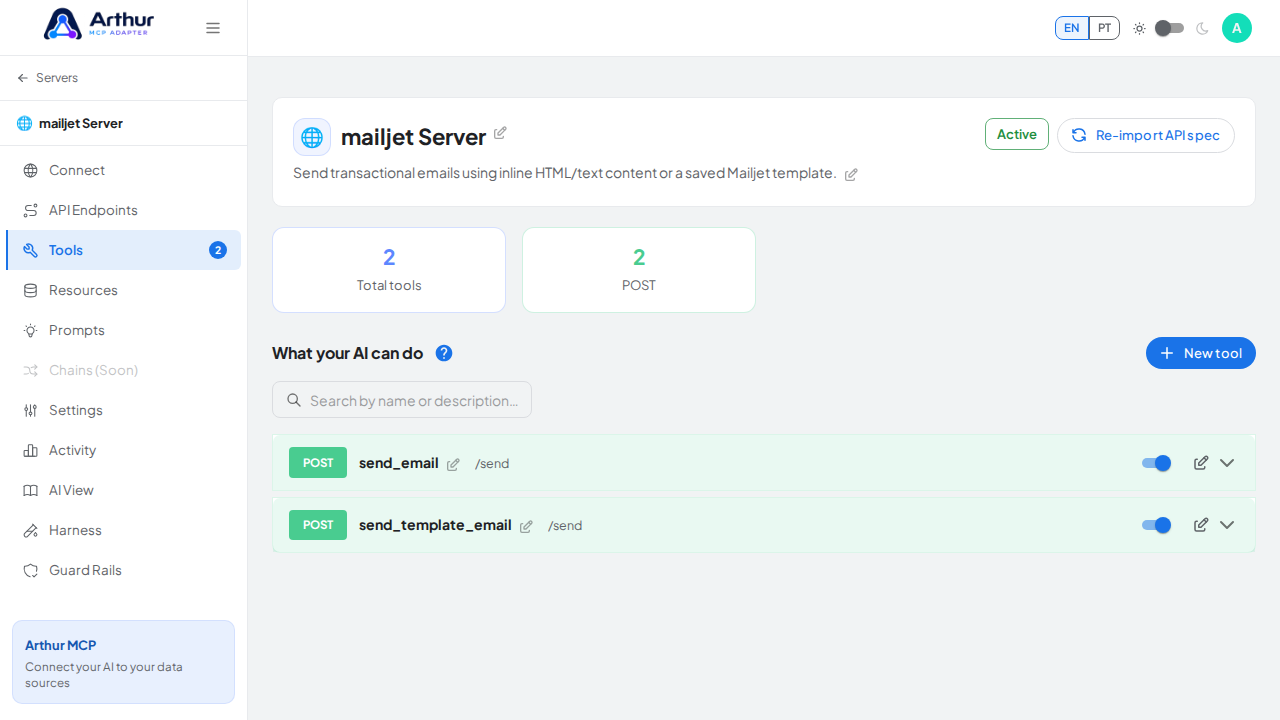
    Review the tools generated from the mailjet template

  7. Open the server's Connect section and click Share the MCP swagger documentation — Arthur generates the public documentation link and QR code for this server.

    Open the server's Connect section, where the MCP endpoint and its documentation live.
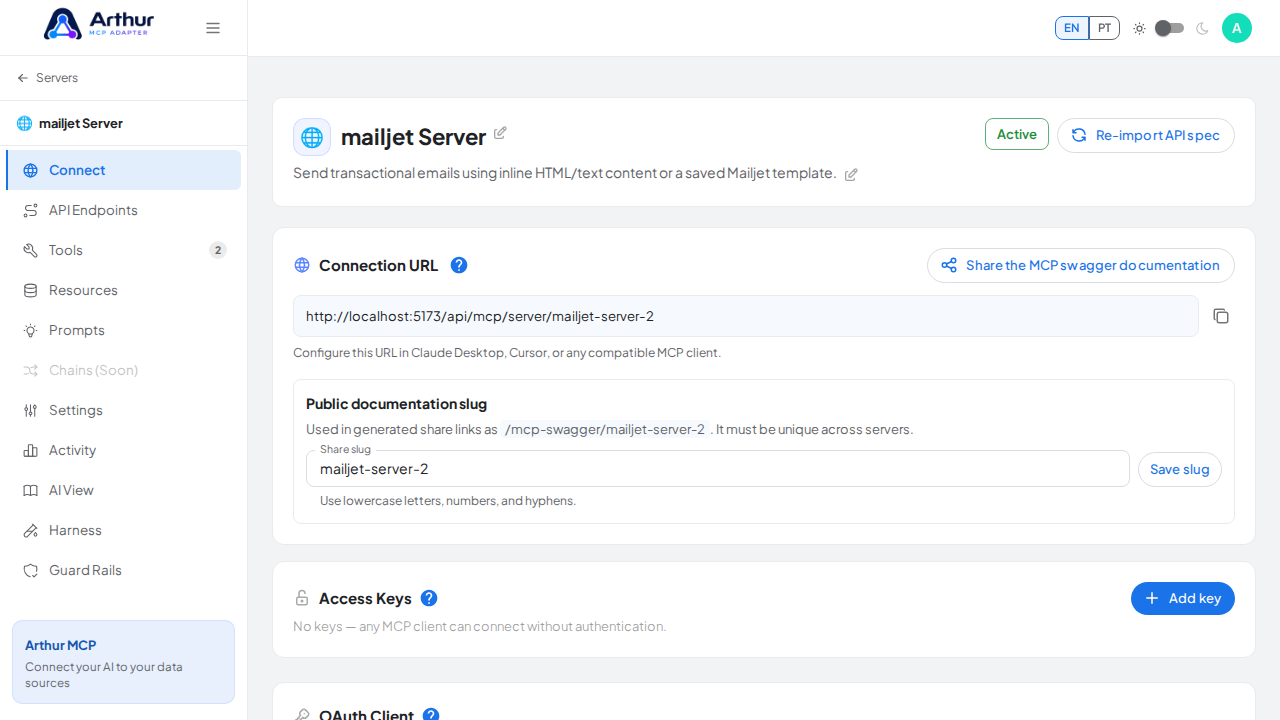
    Open the server's Connect section, where the MCP endpoint and its documentation live

    Open the MCP swagger documentation share panel.
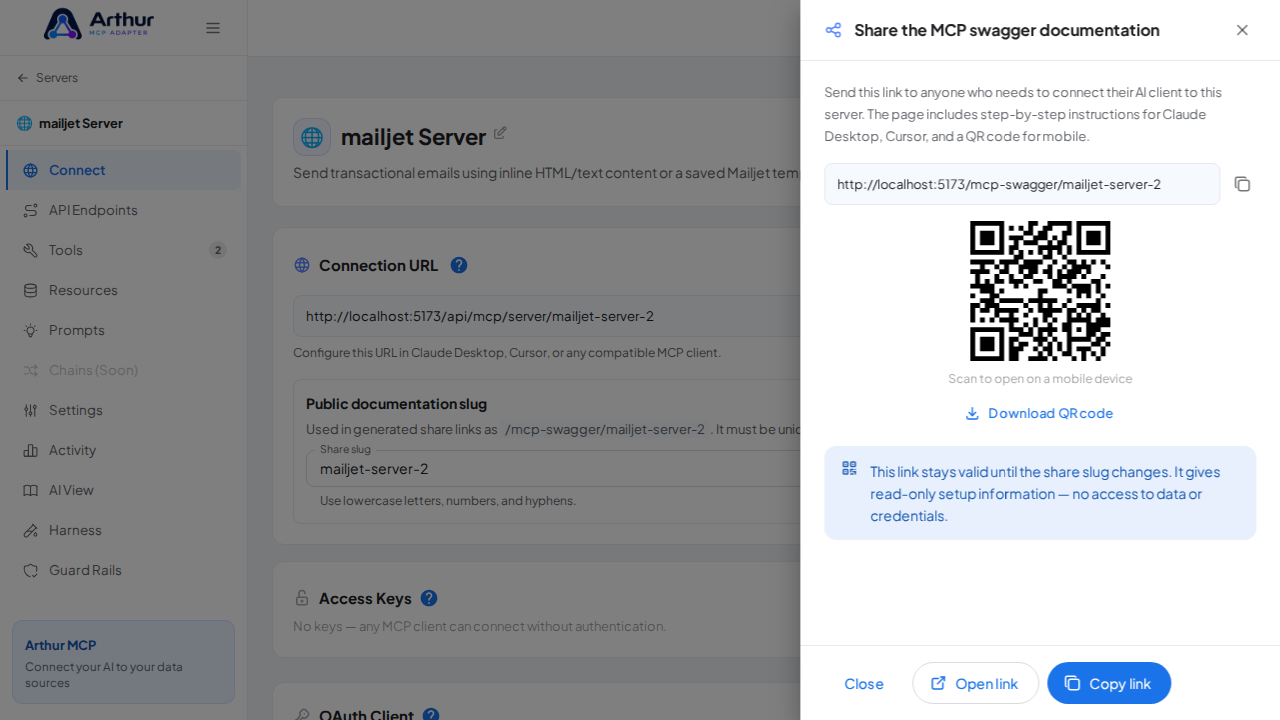
    Open the MCP swagger documentation share panel

    Show the generated swagger documentation link and QR code for this server.
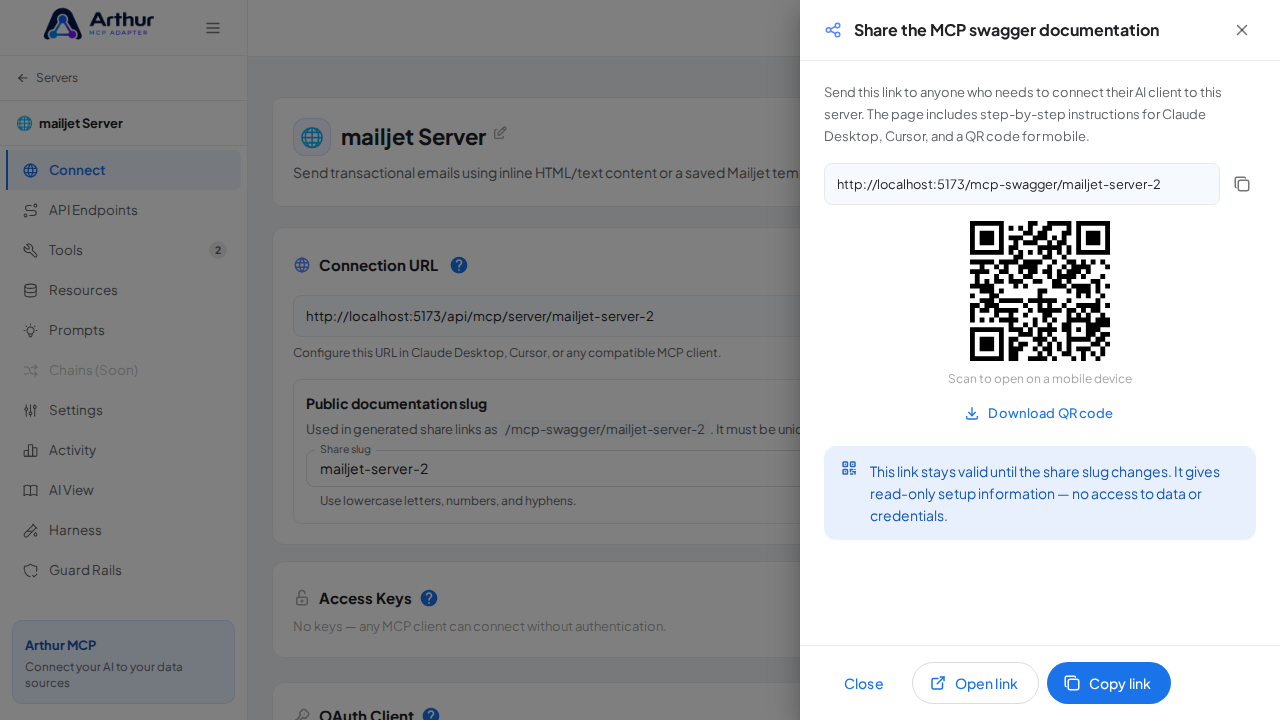
    Show the generated swagger documentation link and QR code for this server

Confirm it worked

The server appears with 2 preconfigured tool(s): send_email, send_template_email. The Connect section offers the MCP swagger documentation — a shareable page with setup instructions for any AI client.

Good to know

Related

Arthur MCP Wiki

Home


🇬🇧 English

Home · Getting Started · FAQ

⚙️ Features

Servers & Tools

Security & Access

Platform

Operations

Coming Soon

📚 Guides (46)

Connect AI Clients

Security & Access

Harness & Limits

Platform & Operations

Tools, Resources & Prompts

Servers & Import

🔌 API Integrations (230)
AI (28)
Animals (19)
Anime (14)
Anti-Malware (10)
Art & Design (23)
Authentication & Authorization (5)
Blockchain (9)
Books (16)
Business (27)
Calendar (14)
Cloud Storage & File Sharing (10)
Communication (9)
Continuous Integration (5)
Cryptocurrency (2)
Data (15)
Database (3)
Development (8)
E-commerce (5)
Government & Legal (1)
Music & Media (5)
Testing (2)
✨ Prompt Templates (90)
Analysis (6)
Code (9)
Customer Support (6)
Data Extraction (6)
DevOps (5)
Education (5)
Finance (5)
HR & Recruiting (5)
Legal (4)
Product Management (5)
Research (5)
Sales (5)
SEO & Marketing (5)
Social Media (5)
Summarization (6)
Writing (8)
💡 Concepts (37)

Connect AI Clients

Security & Access

Harness & Limits

Platform & Operations

Tools, Resources & Prompts

Servers & Import


🇧🇷 Português

Início · Primeiros Passos · FAQ

⚙️ Funcionalidades

Servidores & Ferramentas

Segurança & Acesso

Plataforma

Operações

Em Breve

📚 Guias (46)

Conectar Clientes de IA

Segurança & Acesso

Harness & Limites

Plataforma & Operações

Ferramentas, Recursos & Prompts

Servidores & Importação

🔌 Integrações de API (230)
AI (28)
Animals (19)
Anime (14)
Anti-Malware (10)
Art & Design (23)
Authentication & Authorization (5)
Blockchain (9)
Books (16)
Business (27)
Calendar (14)
Cloud Storage & File Sharing (10)
Communication (9)
Continuous Integration (5)
Cryptocurrency (2)
Data (15)
Database (3)
Development (8)
E-commerce (5)
Government & Legal (1)
Music & Media (5)
Testing (2)
✨ Templates de Prompt (90)
Analysis (6)
Code (9)
Customer Support (6)
Data Extraction (6)
DevOps (5)
Education (5)
Finance (5)
HR & Recruiting (5)
Legal (4)
Product Management (5)
Research (5)
Sales (5)
SEO & Marketing (5)
Social Media (5)
Summarization (6)
Writing (8)
💡 Conceitos (37)

Conectar Clientes de IA

Segurança & Acesso

Harness & Limites

Plataforma & Operações

Ferramentas, Recursos & Prompts

Servidores & Importação

Clone this wiki locally