Repository navigation
Getting Started
sudo snap install mc-server-installer
Open a terminal (on Ubuntu: press Ctrl+Alt+T) and type:
mc-server-installer
The first time, a short setup walks you through it:
- The Minecraft EULA. You must agree to it to run a server: https://aka.ms/MinecraftEULA
- A name for your server. Your family sees it in their Minecraft server list.
- Memory. The setup suggests an amount for your computer.
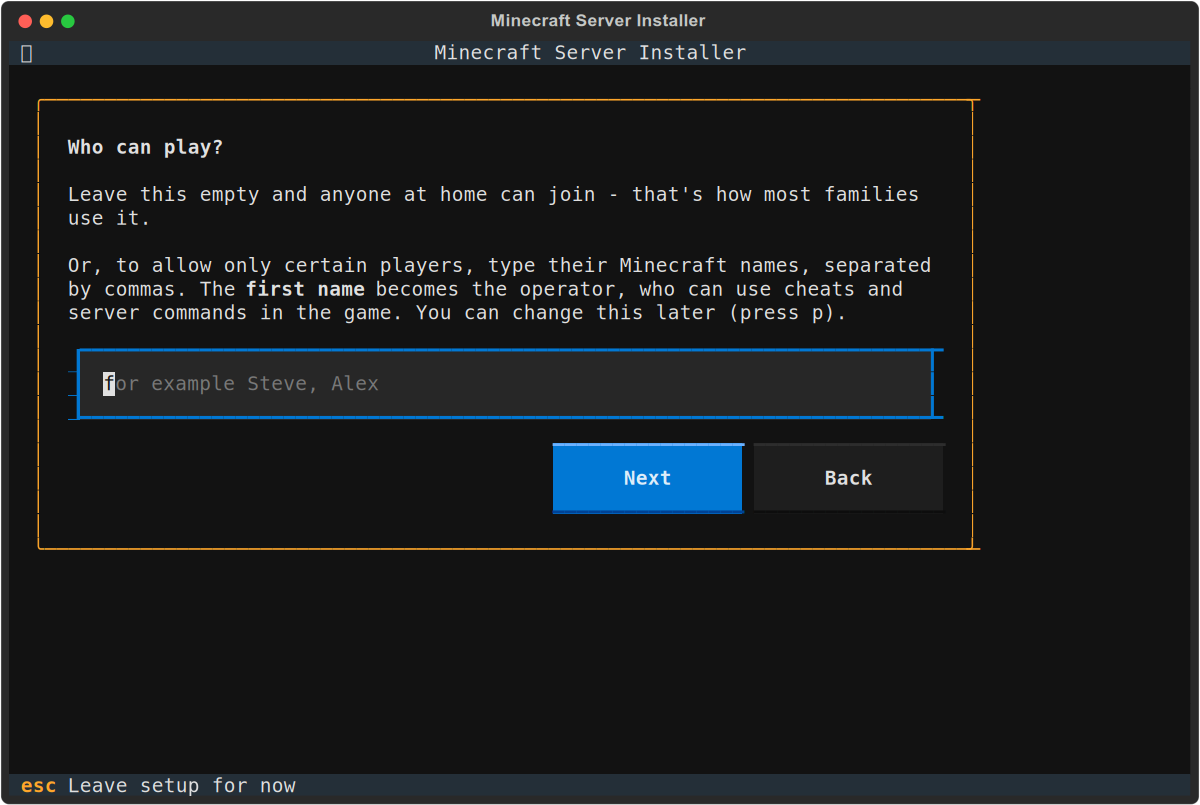
- Who can play. Leave it empty, and anyone at home can join - that's how most families use it. Or type Minecraft names, separated by commas, to allow only those players; the first name becomes the operator, who can use cheats and server commands in the game. You can change this any time (see Players and Operators).
Then it downloads Minecraft and starts the server. This takes a minute or two.
The setup, and the top of the menu, show the address to use - something like 192.168.1.23. On every computer that should play:
- Open Minecraft and choose Multiplayer.
- Choose Add Server, and type the address.
- Join!
Press q. The server keeps running in the background - also when you log out, and after the computer restarts (see Settings).