Repository navigation
1. Adding LCC Slaves
In keeping with my "keep it stupid simple" design philosophy, adding new LCC Slaves to the system is so simple, even a caveman could do it. Get yourself a decent USB-C data cable and you can make it 100% fool-proof. If you have changed the private WiFi network name and password, you'll want to make sure that the Mission Control settings reflect these changes since WiFi configuration is part of the USB pairing routine.
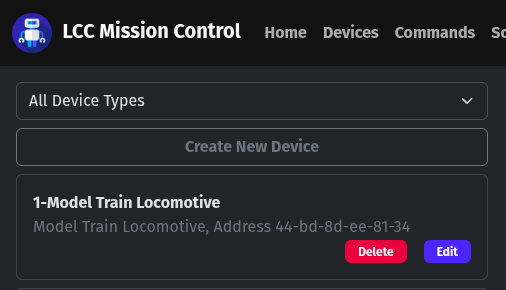
- Click on Devices in the menu bar and then click on the Create New Device button.
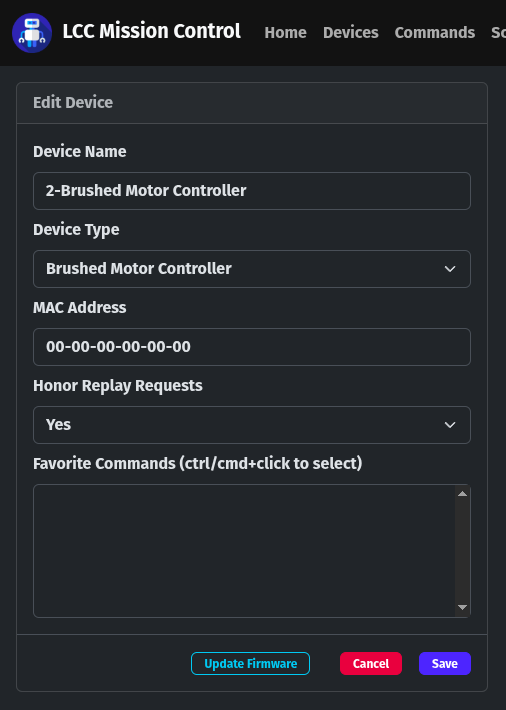
- Fill in the device editor form parameters.
- Give the device a name
- Select the LCC Slave device type
- Add the MAC address or leave it set to all zeros for now
- Choose whether or not you want it to honor command/script replay requests
- Favorite Commands will be covered in the next section
- Click the Save button
NOTE: Regarding the "Update Firmware" button at the bottom of the form, refer to this page for more information.
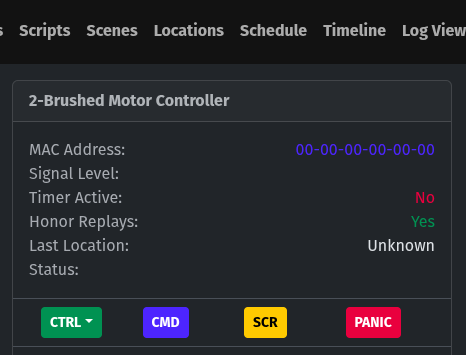
- Connect the LCC Slave to a USB-C data cable connected to the USB port on the front of the Mission Control server. Wait until the yellow heartbeat LED on the LCC Slave begins pulsing and then click on the 00-00-00-00-00-00 MAC address under the device name.
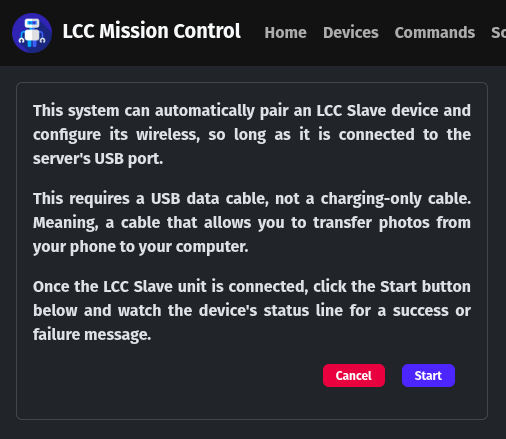
- After this page loads, click on the Start button.
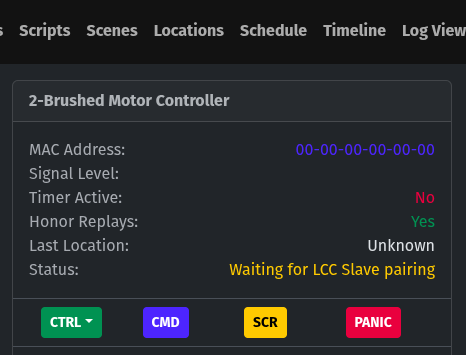
- You will notice that the status line on the device turns yellow with a new message.
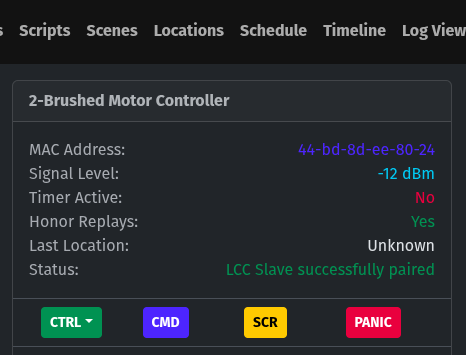
- After about 10 seconds you should see a new message in the status line displayed in green, indicating that the LCC Slave has been successfully paired with your new device record and its WiFi has been configured as well. This can actually up to 20 seconds if you have a questionable USB cable and will display a failure message in red if it can't pair the LCC Slave.
NOTE: Power cycle the LCC Slave to force it to update its signal level or wait until the top of the next hour.