Repository navigation
9. LCC Sound Server Usage
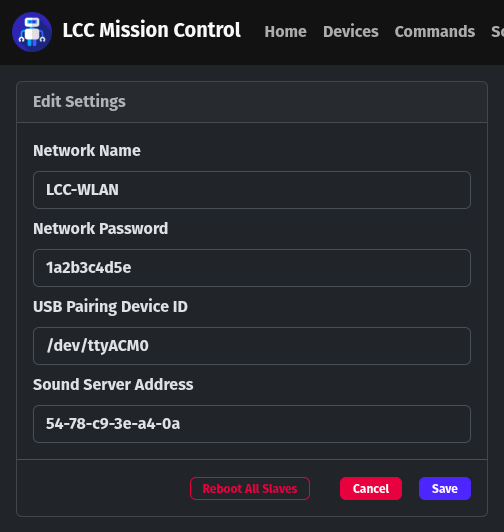
Once you have followed the Sound Server setup instructions, you are ready to link it to your Mission Control server, which is also so easy that even a caveman could do it. At the end of the Sound Server installation script, you were provided its MAC address which needs to be added to the settings below.
-
Network Name - Unless you changed your hostapd.conf the default WiFi network name is LCC-WLAN. This is used in USB pairing and must match your current Mission Control access point settings.
-
Network Password - Unless you changed your hostapd.conf the default WiFi network password is 1a2b3c4d5e. This is used in USB pairing and must match your current Mission Control access point settings.
-
USB Pairing Device ID - Seeed Studio XIAO ESP32-S3 based LCC Slave units appear at /dev/ttyACM0 when connected to a USB data cable plugged into the mission control server. Waveshare ESP32-S3FH4R2 should also appear there as well unless they change their standards.
-
Sound Server Address - By default, this is set to 00-00-00-00-00-00 and is ignored by the system undercarriage. Replace this with the MAC address of your Sound Server (provided at the end of installation) and MP3 playback requests will be redirected to your server.
If you are connected to the LCC-WLAN network, you can open the web base file manager on the Sound Server at:
http://sound-server-address.lcc.local:8080
Otherwise, replace sound-server-address with your server's LAN IP address if you have its ethernet port connected to your internal network. Then log in with the credentials shown below.
Username: admin
Password: sound-server
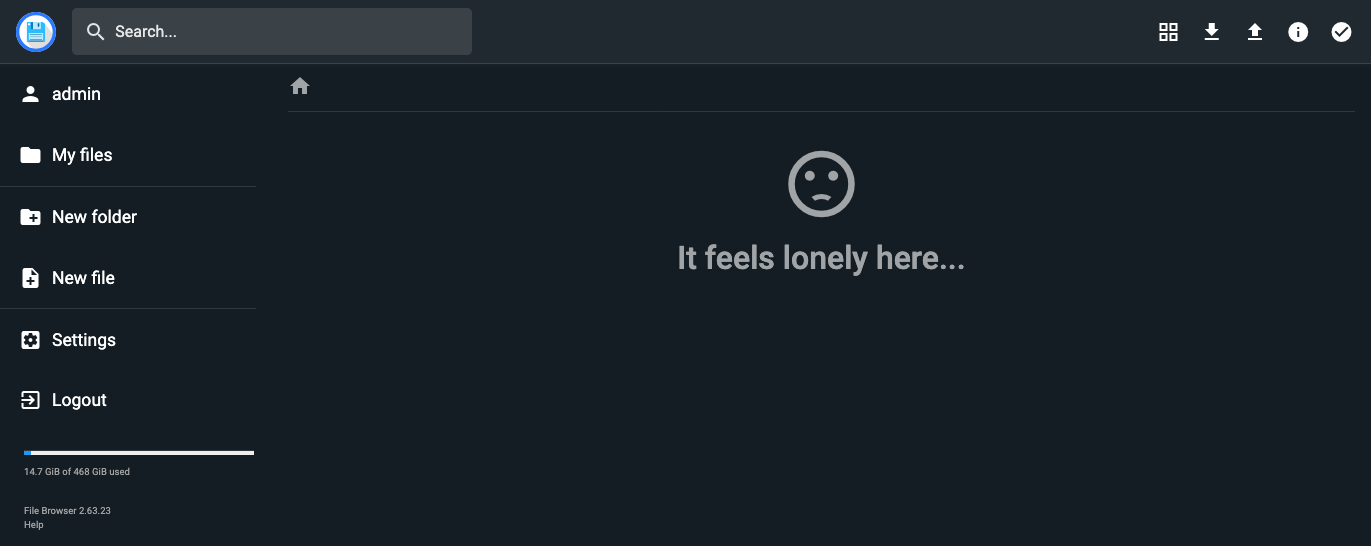
After you're logged in, you can change the password by clicking on Settings and then the Profile Settings tab. If your Sound Server is only accessible on the LCC-WLAN network, you can safely ignore this.
The file upload button is the up-arrow in the upper right corner of the page. Simply upload all of your MP3s to the main folder and be sure that their file names are a number followed by .mp3 in lower case letters. Unlike the files used in the DFRobot DFPlayer, you don't zero-pad the file names and you don't store the files in separate numbered folders.
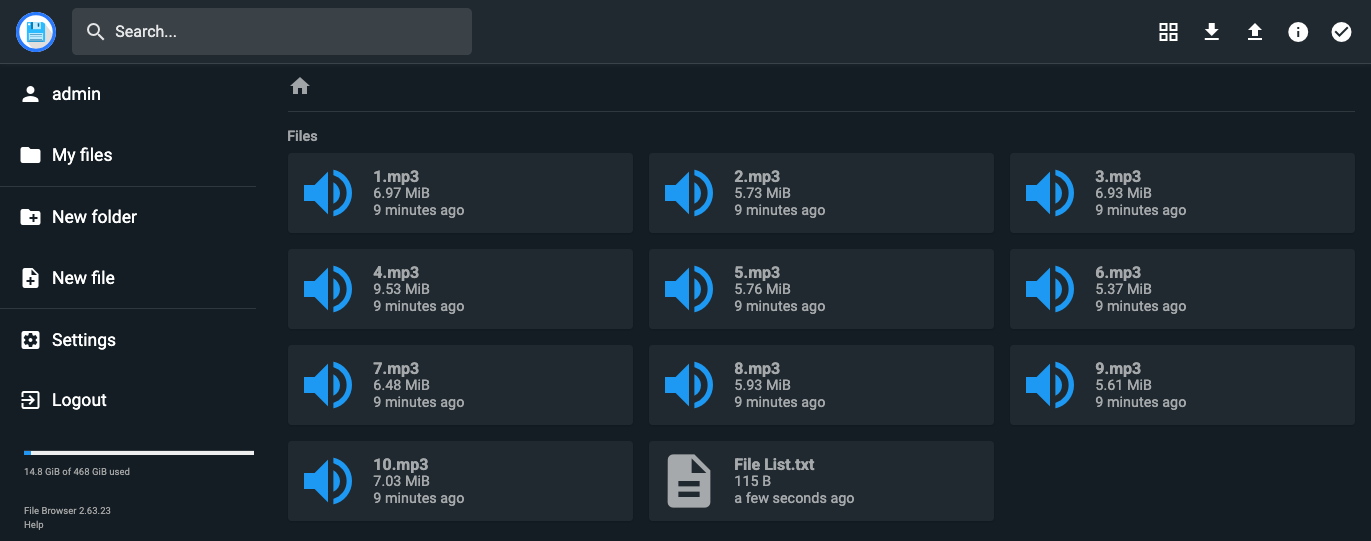
Click on the New File link on the left and create a text file so you can create a list that tells what each MP3 file is. Mine is named File List.txt but you can name it whatever you want. This just makes it easier to keep track of what file is what.
At this point, you can eject the SD card from any LCC Slaves that are currently using a DFRobot DFPlayer to play MP3s locally and they will forward all future sound effect requests to the sound server.
Depending on your setup, you may use Server Driver speakers, a PA system, or an FM transmitter for your sound. If you're using your Sound Server in a holiday light show, you should dedicate one LCC Slave (usually, a switching controller) to the task of playing the main background sound track. This allows other slaves to play sound effects over top of that audio track without pre-empting it.
Remember, if you send two sound effect commands to the same LCC Slave, the second one will pre-empt the MP3 that's currently playing. If you need to play two MP3s in sequence, you need to use the device timer function, the task scheduler, or the timeline. This would actually be a natural use case for the timeline so you can fine tune the timing of sound effects to match what's actually happening in a light show.