Repository navigation
AI tutorial
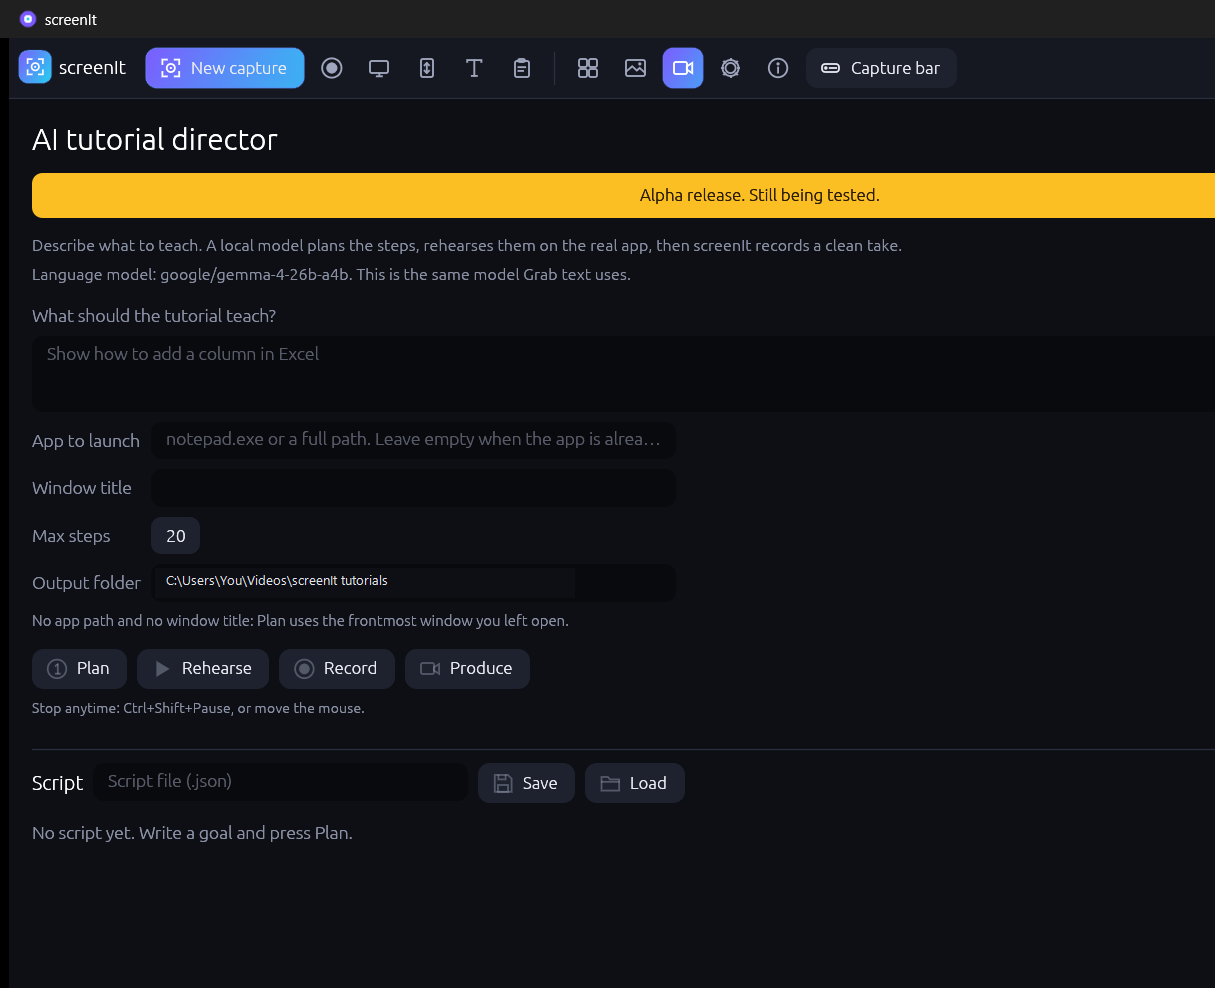
AI tutorial is an experimental feature. The screen shows an amber banner: Alpha release. Still being tested. Expect it to change while it is being tested.
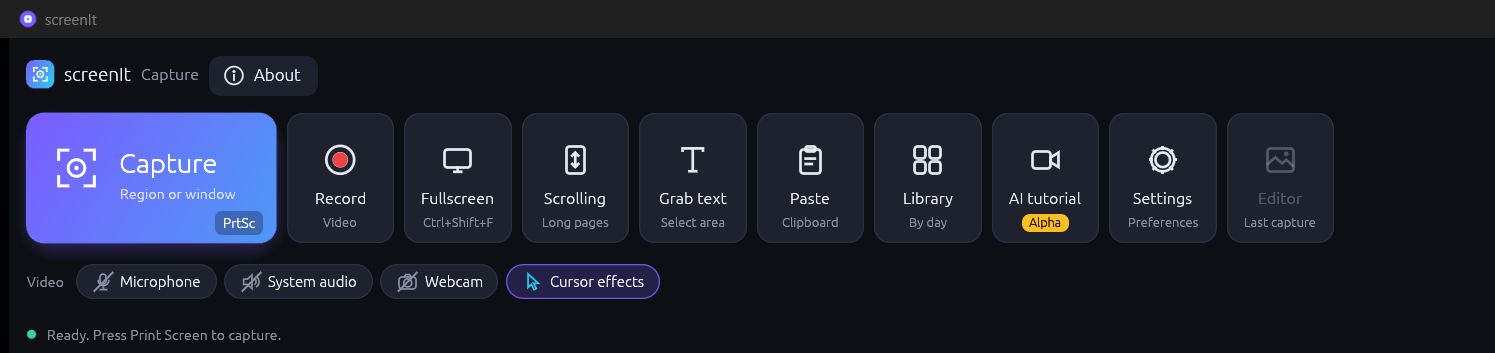
Open it from the AI tutorial tile on the capture bar. The tile has a video icon and an amber Alpha chip. The same video icon in the top bar opens it from any other view.
The tutorial uses the same language model as Grab text.
- Open Settings → Text recognition.
- Set the LM Studio URL, the model name, and the API key.
- Press Test connection. The model has to be running on that server before you press Plan. screenIt does not download a model.
If nothing is set, the tutorial screen says to choose the model under Grab text.
| Field | What to put |
|---|---|
| What should the tutorial teach? | Required. One task, in plain language. |
| App to launch | Optional. notepad.exe or a full path. Leave it empty when the app is already open. |
| Window title | Optional. Empty means the frontmost window that is not screenIt. |
| Max steps | How far planning may go. The default is 20. |
| Output folder | Where the plan, the chapter recordings, and the finished movie are written. The default is Videos\screenIt tutorials in your user profile. |
With no app path and no window title, Plan uses the frontmost window you left open. Put that window in front, then press Plan.
Plan does not write the whole script up front. The model looks at the window it can see and chooses the next move. It points inside that picture. A step is kept only when the screen actually changes.
An always-on-top bar shows a timer and how far the job has got, the same idea as the recording timer. screenIt comes back to the front when planning finishes, when it fails, or when the model asks a question.
The model stops and asks when it is stuck, when the same move keeps missing, or before a step that could change or delete something. You can:
| Button | What it does |
|---|---|
| Answer | Send the hint you typed, or type yes to allow the step. |
| I did it myself | You did that part. Planning continues from what is on screen now. |
| Skip chapter | Drop the rest of this chapter. |
| Finish here | Stop planning and keep the steps gathered so far. |
The script is saved as JSON. If the script box is empty, the file is tutorial-<time>.json in the output folder. Otherwise it is written to the path in that box. The path is shown when the plan is ready. You can edit the narration lines under each step, then Save. Load reads a script back in.
| Button | What it does |
|---|---|
| Rehearse | Plays the script on the real app and marks each chapter that worked. Record refuses a chapter that has not been rehearsed. |
| Record | Films each rehearsed chapter from the screen. Each clip is {name}_ch01.mp4, {name}_ch02.mp4, and so on, in the output folder. Each clip is added to the library as a video tagged tutorial. |
| Produce | Builds one movie from those clips: chapter cards, captions, and zoom. The file is {title}.mp4 in the output folder, and it is added to the library the same way. |
Rehearse, Record, and Produce stay disabled until a script exists.
Stop a running job with the Stop button, with Ctrl+Shift+Pause, or by moving the mouse. Moving the mouse means you have taken over.
Finished videos show up in the Library, tagged tutorial.
| If you want to… | Read |
|---|---|
| Set the language model | Settings and languages |
| Find the video afterwards | Library and files |
| Record a video yourself | Recording |