Repository navigation
First Run Setup
Streamline is installed and the page loads. This gets you from a blank library to something that downloads films by itself, in about fifteen minutes.
Important
Steps 1–5 are required — without a login, metadata keys, library folders, a download client and an indexer, Streamline has nothing to search with and nowhere to put what it finds. Step 6 (quality profile) already ships with a sensible default, and step 7 (media server) is opt-in — both can be revisited later.
- 1. Log in
- 2. Get metadata API keys
- 3. Set your library folders
- 4. Add a download client
- 5. Add an indexer
- 6. Check your quality profile
- 7. Connect a media server
- Which settings live where
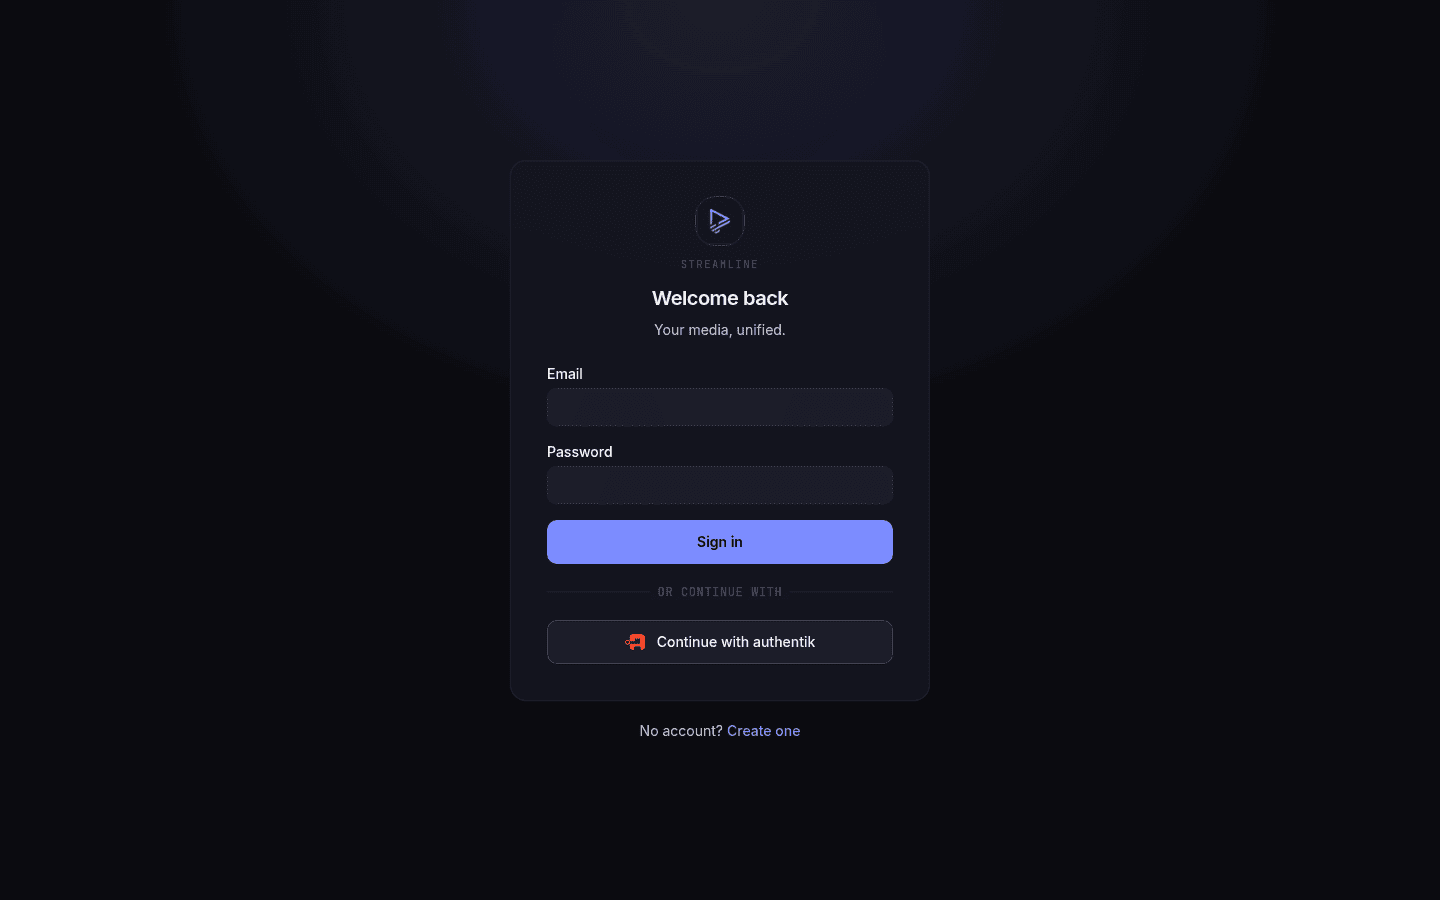
An admin account is always created on first boot — the database is never empty, so there's no "register the first user" flow to race someone to.
If you set credentials in advance, use them. In config.yaml:
auth:
  seed_admin:
    email: you@example.com
    password: choose-something-long
    # or, better:
    # password_file: /run/secrets/streamline-admin-password
If you didn't, Streamline created admin@streamline.local with a randomly generated password and wrote that password back into your config file. Open config.yaml and read it out of auth.seed_admin.password:
grep -A 3 seed_admin config/config.yamlLog in, then change the password from the account menu (top right → Account settings).
Warning
The generated password is sitting in a plaintext config file. Treat it as a bootstrap credential, not a permanent one — change it as soon as you've logged in.
Note
Locked yourself out by fat-fingering the password? Streamline rate-limits logins per IP (5 attempts / 15 minutes) and locks the account after 10 failures in a 15-minute window. Clear the account lock from the command line:
streamline auth unlock you@example.comThe per-IP rate limit isn't clearable — wait it out.
Streamline doesn't ship with metadata credentials. Without them it can't look up titles, posters, or episode lists — searching for a film returns nothing and the library stays empty. This step is not optional.
You need two free keys:
| Service | Used for | Where to get one |
|---|---|---|
| TMDB | Movies | https://www.themoviedb.org/settings/api — free, requires an account |
| TVDB | TV shows | https://thetvdb.com/api-information — free tier available |
If you only ever want films, TMDB alone is enough. Put them in config.yaml:
metadata:
  tmdb_api_key: "your-tmdb-key"
  tvdb_api_key: "your-tvdb-key"
  language: en          # BCP-47 tag: en, fr, de…
  tmdb_region: US       # ISO 3166-1 alpha-2, uppercase — affects release dates
tmdb_region matters more than it looks: it decides which country's digital release dates drive the Calendar and the "is it out yet" logic. Set it to where you actually live. The default is FR.
Restart Streamline after adding these.
Prefer keeping secrets out of the config file? Every key has a _file twin — tmdb_api_key_file, tvdb_api_key_file — that reads the value from a path. See Configuration Reference.
Streamline needs three paths, and they're config-file only — the Settings → General page shows them but won't let you edit them.
library:
  movie_path: /srv/data/media/movies
  series_path: /srv/data/media/series
  download_path: /srv/data/downloads
  import_mode: hardlink     # hardlink | copy | move
download_path is where Streamline reads finished torrents from. It has to be the path as Streamline sees it, which is not necessarily the path your torrent client reports. If they're mounted differently (very common in Docker), fix the mounts rather than fighting the config — see the folder rule.
Restart after changing these.
Settings → Download clients → Add.
Streamline talks to qBittorrent, Transmission and Deluge, and also ships its own built-in torrent engine if you'd rather not run a separate client.
| Field | Notes |
|---|---|
| Name | Any label you like; it's how the client is referenced elsewhere |
| Type |
qbittorrent, transmission or deluge
|
| Host / Port | As reachable from Streamline. In Docker that's usually the service name, e.g. qbittorrent, not localhost
|
| Auth | Username + password, or an API key depending on the client |
| Priority | Lower number wins when several clients are enabled |
Hit Test before saving. A green result means Streamline reached the client and authenticated; it does not prove the paths line up — that shows up later, at import time.
Streamline tags everything it adds with the category (qBittorrent) or label (Transmission) streamline, and it only manages torrents carrying that tag. Anything else in your client is left completely alone. Usefully, this cuts both ways: if you manually add a torrent into the streamline category yourself, Streamline notices and offers to import it — see Activity and Calendar.
Set the type to builtin and Streamline downloads torrents itself, no external client at all:
download_clients:
  - name: builtin
    client_type: builtin
    download_dir: /srv/data/downloads
    listen_port: 6881
    max_upload_kbps: 0        # 0 = unlimited
    max_download_kbps: 0
    seed_ratio: 2.0
    seed_time: 48h
Live torrents get their own page at Activity → Torrents, with per-file control. This is the newest part of Streamline — if you have a working qBittorrent, there's no urgency to switch.
Off by default (download.selective_files: false, runtime-editable). Grabbing an episode-scoped release that happens to be a whole-series pack normally downloads the entire pack for one episode. With this on, Streamline downloads only the files an episode grab actually needs — the rest of the torrent's files are skipped at the protocol level, not deleted after the fact.
Once turned on, it applies automatically to every episode grab; there's no per-grab toggle. Every client behaves slightly differently:
| Client | Behavior |
|---|---|
| Built-in engine | Selects at add time for a .torrent release; a magnet downloads nothing until Streamline knows what's inside, then selects |
| qBittorrent | Adds the torrent stopped, applies the selection, then starts it — qBittorrent refuses to accept a file selection in the same request as a .torrent upload. A magnet is added with a stop-after-metadata flag, selected, then started |
| Deluge | Resolves a magnet's file list before admitting it to the session, so it can select on the very first add — no waste either way |
| Transmission | Selects immediately for a .torrent release. For a magnet, Transmission has no way to defer, so it downloads normally until Streamline's next selection pass (every 5 seconds by default) catches up and trims it — a small, bounded amount of extra data rather than the whole torrent |
If nothing in a release actually matches what's wanted, the grab is dropped rather than downloading a pack that would help nobody — for a .torrent source before it's even sent to the client, for a magnet by removing the torrent once that becomes clear. A selection that hasn't resolved after 10 minutes (download.selection_grace) gives up and downloads the release whole rather than leaving it stuck.
One related behavior does not depend on this flag. When the missing-episode search grabs a season pack to fill gaps, any episode you already have that the release beats under your profile's upgrade rules is replaced on import — if it still beats yours once the file itself has been probed, since the importer re-checks each pack member rather than trusting the grab-time decision. With selective_files on, the pack downloads the gaps plus exactly those beaten episodes' files; with it off, the whole pack downloads and at least those episodes are replaced — the importer re-decides over every file that arrived, so it can take one the grab-time pass had excluded. See Upgrades.
The torrent drawer (Activity → Torrents) still shows every file with its priority and lets you flip one back on manually before the download finishes — the same control that existed before this feature, now driven automatically as well.
Settings → Indexers → Add.
Indexers are where Streamline searches for releases. Two protocols are supported:
Prowlarr (recommended). Run Prowlarr, configure your trackers once there, and point Streamline at it. One entry covers every tracker Prowlarr knows about.
Name:     prowlarr
Protocol: prowlarr
Host:     prowlarr        # container name, or an IP
Port:     9696
API key:  from Prowlarr → Settings → General
Torznab. Any Torznab-compatible endpoint directly — Jackett, or a tracker that speaks it natively. One entry per tracker.
Name:     my-tracker
Protocol: torznab
Host:     jackett
Port:     9117
Path:     /api/v2.0/indexers/<tracker>/results/torznab
API key:  from Jackett
Test each one. Priority works like the download clients: lower number is tried first.
Settings → Quality profiles.
A profile is deliberately small — three fields:
| Field | Meaning |
|---|---|
| Minimum resolution | Anything below this is refused, always |
| Preferred resolution | What you actually want |
| Upgrade allowed | If on, accept anything from minimum upward. If off, accept only the preferred resolution exactly |
Streamline ships one profile named default at 1080p / 1080p / upgrades allowed. That's a sensible starting point.
The one behaviour worth internalising: a release whose title doesn't state a resolution is always rejected. Streamline reads quality from the release name, and would rather grab nothing than grab something unknown. If a search shows results but nothing is ever grabbed, this is usually why.
Full detail — including how 720p/1080p/2160p rank against each other — in Quality Profiles and Naming.
Settings → Media servers → Add. Optional, but it's what makes "Play on…" buttons appear and stops you waiting on Plex's own scan timer.
Streamline supports Plex, Jellyfin and Emby. Whenever it imports, renames or deletes something it pokes the server to rescan the affected library, and it can deep-link you straight into playback.
For Plex, authentication is a PIN pop-up rather than a pasted token — click Connect, approve at plex.tv, done. Then click Discover and fill in the two section fields:
| Field | What it is |
|---|---|
| Movie library section | The Plex library holding your films |
| TV library section | The Plex library holding your shows |
Plex rescans one library at a time, so these are what let a film import poke only your film library and an episode import poke only your TV one. Each dropdown lists only sections of the matching type, so you can't pick a TV library as your movie one by accident.
Both are optional. Left blank, Streamline tries to work the section out by matching your library path against the paths Plex reports — which only lines up when Plex sees the library at the same path Streamline does. In Docker or Kubernetes it usually doesn't (Streamline's /srv/streamline/movies is Plex's /data/movies), and Streamline falls back to rescanning every section. That works, but it means each import also kicks a scan of libraries that have nothing to do with Streamline. Fill the two fields in and it stops guessing.
For Jellyfin/Emby, generate an API key in that server's dashboard and paste it in. Neither has a section concept — they take a single "rescan everything" call, so there is nothing to pick.
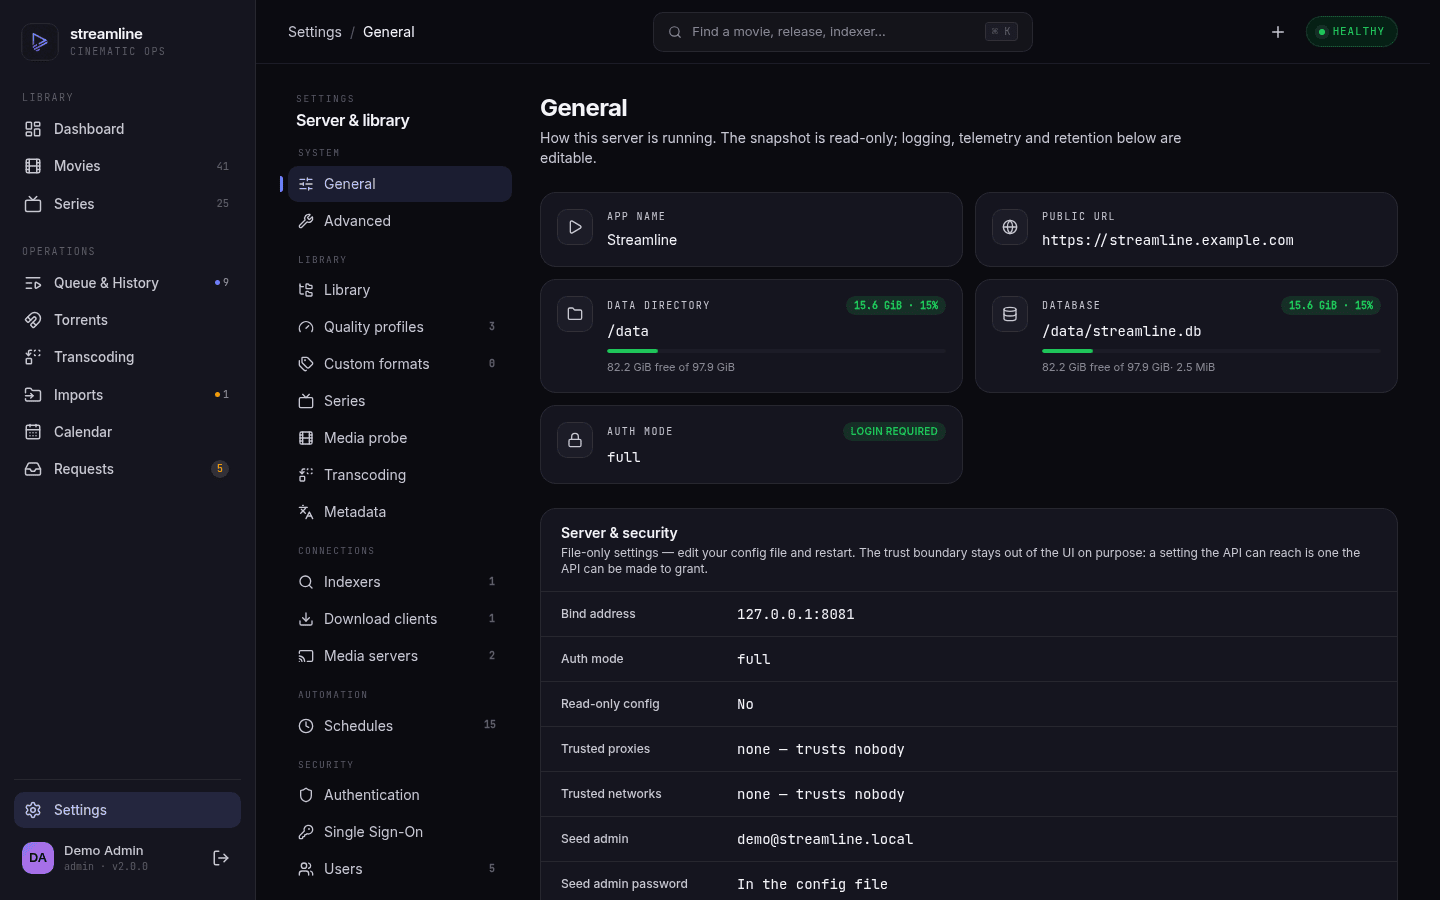
Streamline splits configuration in two, and knowing which half you're in saves a lot of confusion.
Editable at runtime — change it in the web UI, takes effect immediately, no restart:
- Indexers, download clients, media servers, quality profiles
- Schedule intervals (and pausing/resuming/running jobs)
- Registration mode, session lifetime, default OIDC role
- Users, invites, API keys
library.monitor_specials
Config file only — edit config.yaml and restart:
- All library paths and
import_mode -
data_dir, server host and port - Metadata API keys, language, region
- Logging and OpenTelemetry
- Account lockout thresholds, seed admin
OIDC providers are a special case: you can add and edit them in the UI, but they're only discovered at process start, so a restart is required before a new provider works.
If your Settings pages are greyed out with a "This instance is configured externally and runs read-only" banner, read_only: true is set — every runtime write is refused by design. That's the GitOps mode.
Next: Adding Movies and TV, or Importing an Existing Library if you already have files on disk.