Repository navigation
Quick Start
Open the live studio to try it immediately. To run a local copy, follow the steps below.
Download the repository and keep its folder structure intact. The main app is a static website: index.html loads the scripts in src/ and the bundled Tone.js library in lib/. There is no installation or build step for the app itself.
For a consistent local address, open a terminal in the project folder and run:
python -m http.server 8000 --bind 127.0.0.1Visit http://localhost:8000 in Chrome or Edge. This command requires Python; any static web server is suitable. Keep using the same hostname and port to retain access to that origin's saved setups. Directly opening index.html is also supported by the core app, but browser media and storage behavior can differ on a file URL.
Use a desktop browser with WebGL and hardware acceleration. Chrome/Edge are the tested path for H.264/AAC exports; encoder support is checked at runtime. See Troubleshooting if a control reports unavailable support.
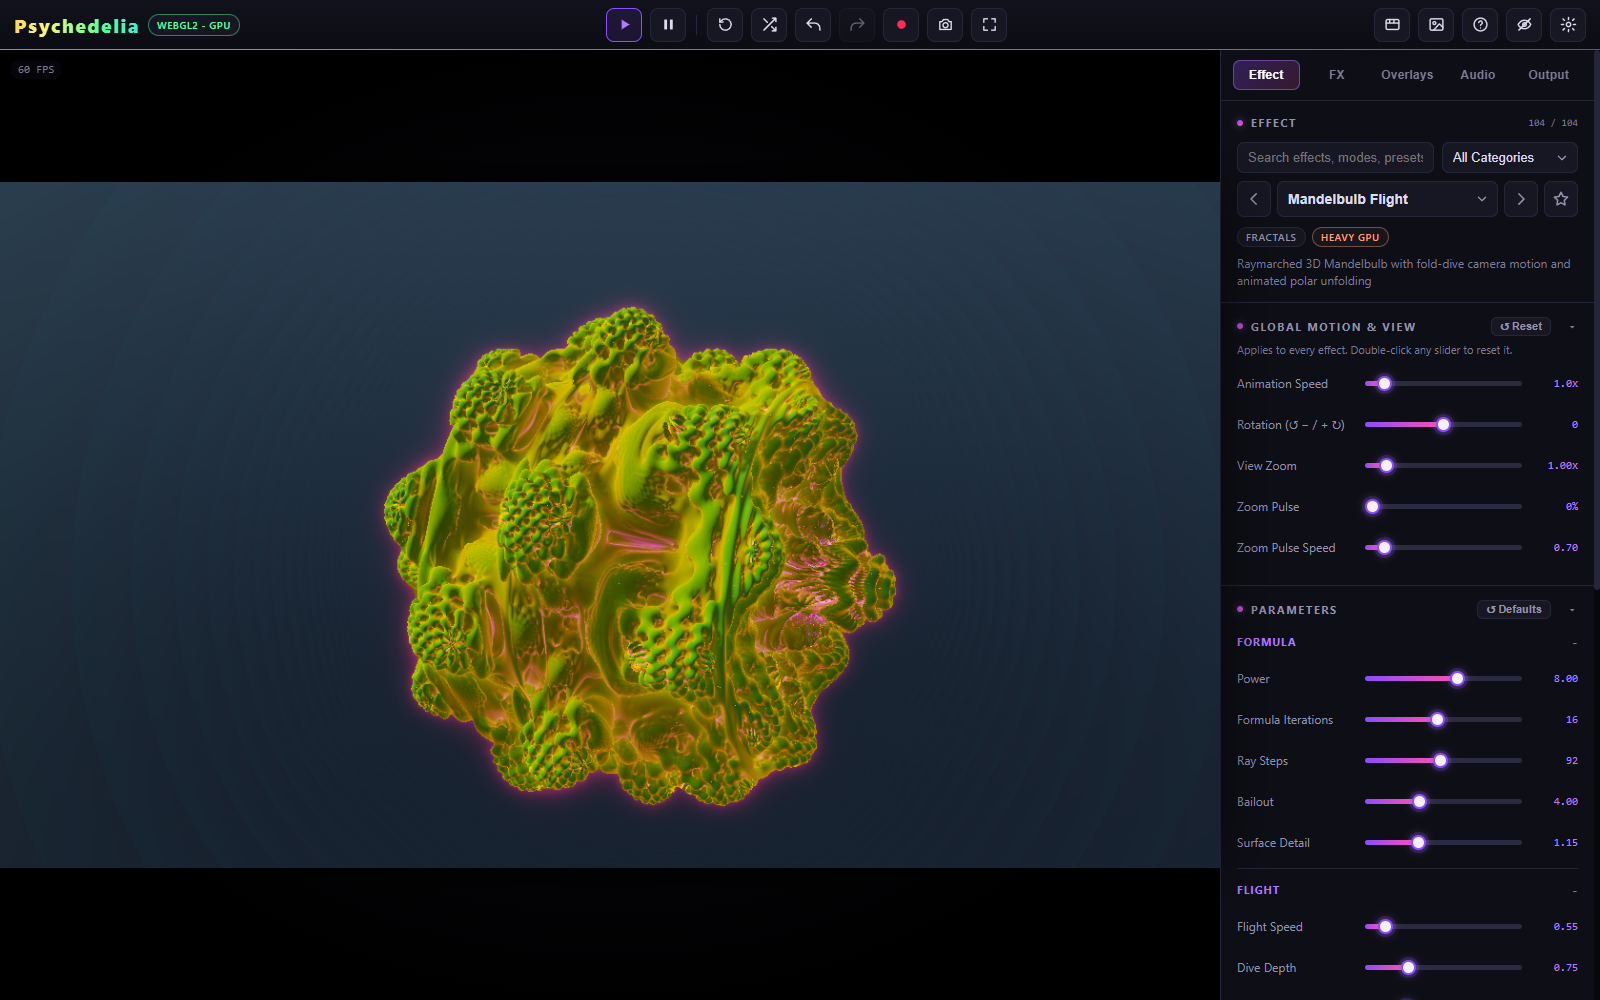
- Open Effect and search for Crystal Geode, Robot Foundry, or Glow Lab.
- Choose a Starter Preset, when available, before editing individual controls.
- Open the color group and choose a palette. Effect Originals appear before the shared library.
- Adjust one or two structural controls, then the scene's speed. Use Undo to compare a change.
- If the entire view rotates or pulses, check Global Motion & View and Audio → Beat Reactor → Fine Tune.
Open Audio. Leave Audio Source on Studio Music and press the Music Play button. Choose a genre and adjust BPM. The first play action also gives the browser permission to start its audio context.
To use your own track, choose Audio File, press Choose, select a local file, and use the file's play button. Studio transport and file transport are separate. Stop any source you do not want audible during a live recording.
For restrained movement, try Subtle under Global Style. Open Parameter Links to inspect the suggested per-effect links. Those suggestions favor suitable light/color controls instead of large structural changes. More about audio.
- Open Output.
- Set Resolution to 720p or 1080p for a first test.
- Set Video FPS to 60 and Video Quality to High.
- Choose Record app audio under Sound to include the selected Studio/file soundtrack and its reactions. Choose No sound for a video-only render without audio-driven reactions.
- In Render MP4, choose Custom duration, enter 10 seconds, and click Render MP4.
- Wait through rendering and file saving. The MP4 downloads and is added to Gallery for this session.
The dedicated Render MP4 button always uses full-detail MP4 output. It does not require pressing Record or watching the clip for its playback duration. A heavy effect may take longer than 10 seconds to create a 10-second video.
With Studio Music, direct rendering generates a new take from the current music settings. It does not rewind and reproduce the exact song you were just hearing. To render a known soundtrack from its beginning, upload the file and choose Match full audio track. All soundtrack and timing rules.
Open Audio → Saved Setups, give the scene a name, and press Save. The latest working setup also autosaves locally. Saved setups do not resume sound automatically after reload. Keep important exported videos and original media files outside the browser.
Next: Interface Guide, Endless Scenes, or Beat Reactor.