Repository navigation
Comic Production
How a chapter actually gets made, from the iPad to the published episode.
These pages describe one way of working — the author's. Platemaker imposes very little of it: folder layout, naming and where things live are your choice. What is written down here is the reasoning behind the choices, and the few places where the tool genuinely does care.
Drawing app (iPad)
    │  export pages as PNG
    ▼
Google Drive  ──sync──►  Google Drive for desktop (Windows)
    │
    ▼
Platemaker  ──render──►  output slices
    │
    ▼
Webtoon
The obvious question for a vertical-scroll comic is why draw separate pages at all instead of one continuous strip — Platemaker joins them anyway.
Because the drawing app will not let you. Procreate, for example, caps a canvas at 16 384 px, so a chapter-length roll is not possible even in principle. Layer count is the tighter limit in practice: on an iPad Pro 5th generation, a 1600 × 7680 canvas allows about 53 layers, and at the maximum 1600 × 16 384 that drops to roughly 36.
So you draw in page-sized chunks and let Platemaker do the joining. That is the whole reason the virtual strip exists — see Concepts.
- Define your canvas profiles — one per page size you intend to draw at
- Generate templates from them, once per workspace
- Put the templates where the iPad can reach them
- In your drawing app, create a canvas at the profile's absolute size and import the template
- Draw; export each finished page as PNG to Drive
- Import into Platemaker whenever you like — the chapter does not have to be finished
- Render, and look at the result
- When the chapter is complete, render it one more time and upload
Steps 6 and 7 are worth repeating early and often. A render is cheap once the first one is done — only what changed is redone — so there is no reason to wait until the end to find out that pages are slicing badly.
Short recordings of the whole thing, in order — not screenshots, but each step run start to finish. The setup happens in Platemaker; the drawing happens in your drawing app on the iPad.
Create a workspace and a project:
Create_Workspace_And_Project.mp4
Create a canvas profile:
Create_Canvas_Profile.mp4
Generate a template from the profile:
Create_Template.mp4
Assign canvas profile to the project
Assign_Canvas_Profile.mp4
Create the canvas at the profile's absolute size:
Create_Project.mov
Import the template:
Apply_Template.mov
Duplicate the canvas-with-template for each further page:
Making_Projects.mov
Draw underneath the template:
Drawing.mov
Export the finished page:
Saving.mov
Import the exported pages:
Import_Inputs.mp4
Switch to the Output tab and choose the output profile — the built-in preset is enough:
Select_Output_Profile.mp4
Set the output directory:
Select_Output_Directory.mp4
Render:
Render.mp4
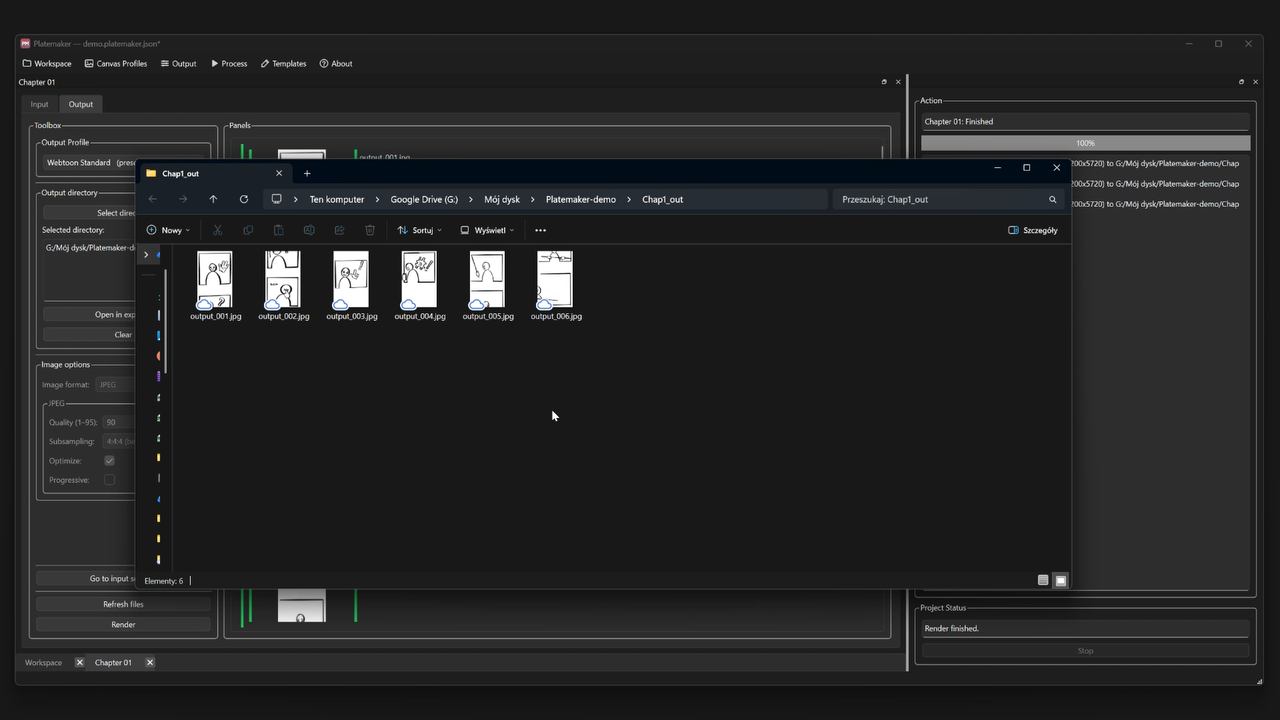
The output folder fills with numbered slices:
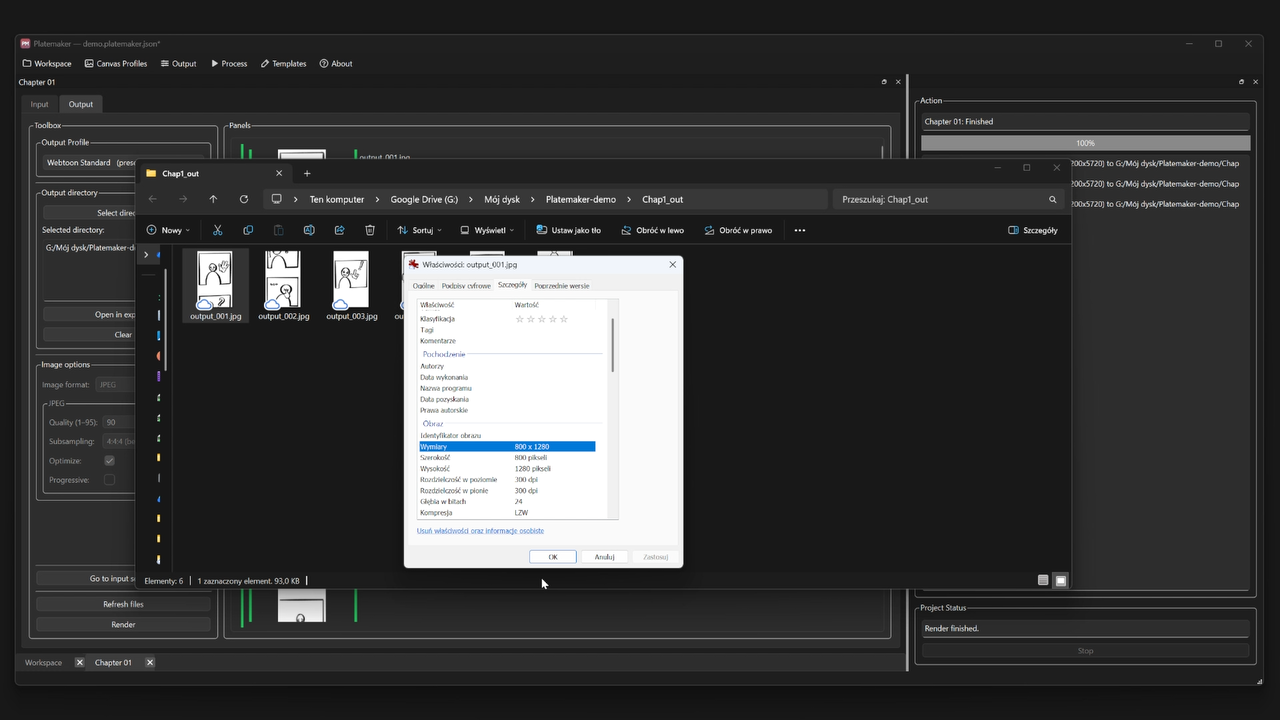
Each slice is the output profile's slice size — 800 × 1280 here:
Delete a slice on disk and it shows red (Missing) when you reopen the project; rendering again recreates it:
Delete_And_Rerender_Missing.mp4
The recurring fight is file size, not layout. Individual JPEG slices rarely trouble the 2 MB per-slice cap, but the ~20 MB per-chapter budget can take several passes at different compression settings before a chapter fits.
Platemaker does not cap or warn, but since 1.4.0 the render summary reports the total output size and the heaviest slice, so the loop is render, read the summary, adjust the profile, render again — no adding up the folder by hand. See Output profiles.
Since 1.4.0 this is a first-class workflow. Render a chapter for one platform, then right-click its project and choose New from this…: the copy carries the same input pages and profile links but none of the output, so you point it at a different output directory, switch its output profile to another preset — Tapas, GlobalComix, and so on — and render again. The pages are drawn once; each platform gets its own project, its own output profile and its own folder.
See Projects and Output profiles.
| Page | Covers |
|---|---|
| Drawing & export | Canvas setup, layers, export settings, naming |
| Google Drive setup | Drive for desktop, and the drive-letter trap |
| Workspace on Drive | Keeping the workspace in a synced folder |
| Chapter checklist | The routine, start to finish |
| Publishing | Getting slices onto the platform |
See also: Manual · Quick start · Templates


Overview
Manual
- Manual overview
- Installation
- Quick start
- Concepts
- Main window
- Workspaces
- Projects
- Canvas profiles
- Templates
- Output profiles
- Rendering
- File statuses
- Menu reference
- Troubleshooting
Comic production
Development
- Overview
- Environment
- Building
- Architecture
- Main window
- Workflows
- Releasing
- Contributing
- Windows hardening
Strip editor