Repository navigation
Model Toolkit Mesh
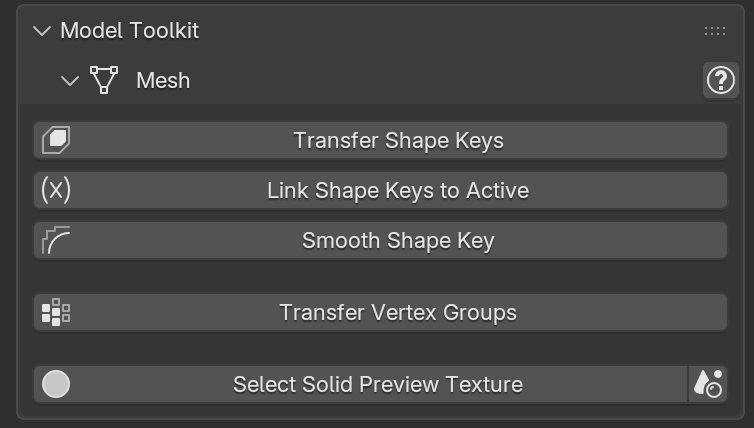
Tools to transfer and edit Shape Keys and Vertex Groups between meshes.
Transfers the Shape Keys from the Active Object to the other selected Objects (e.g. body morphs to an outfit). The Shape Keys to transfer are chosen from a list.
- Method — Nearest Surface interpolates the Shape Keys on the closest point of the source surface; Nearest Vertex copies them from the closest source vertex, useful when the meshes share the same vertices.
- Max Distance — vertices farther than this from the source are not affected (0 for no limit).
- Smooth — distance the transferred Shape Keys are smoothed over, to reduce artifacts.
- Threshold — Shape Keys moving the target less than this are not created.
- Overwrite — overwrite the Shape Keys already on the targets.
- Vertex Group — restrict the Shape Keys to a Vertex Group of the targets.
-
Link — how the values of the new Shape Keys are driven:
- None — not driven.
- Source — driven by the source Shape Keys.
- Custom Property — linked to the Body Custom Property with the same name, if it drives the source Shape Key with that name. The others are driven by the source Shape Keys.
- Custom Property (Exclude) — as above, but the others are not driven.
Links, with drivers, the Shape Keys of the selected Objects to the Shape Keys with the same name on the Active Object.
Smooths the active Shape Key of the Active Object. This is a live preview tool.
- Mode — Deformation smooths the movement of the Shape Key, keeping the details of the mesh; Shape smooths the shape of the mesh where the Shape Key moves it, removing roughness (e.g. irregular topology) but also details.
- Smooth and Strength — distance the deformation is smoothed over, and blend between the original and the smoothed Shape Key.
- Keep Borders — do not change the Shape Key on the open borders of the mesh.
- Vertex Group — restrict the smoothing to a Vertex Group.
Transfers the listed Vertex Groups from the Active Object to the other selected Objects.
- Build the list of Vertex Groups to transfer: add them one by one, add All Groups of the Active Object, or add the groups From Bones (selected or deform bones). Clear empties the list.
- Adjust the settings and run the tool.
Settings:
- Max Distance and Max Angle — limits on the distance and on the angle between the normals to copy the weights. The weights of the vertices outside the limits are filled smoothly.
- Both Sides — also copy the weights where the normals point in opposite directions.
- Overwrite — replace the listed Vertex Groups already on the targets.
- Smooth and Smooth All — smoothing iterations of the filled weights (and of all weights with Smooth All).
- Limit Influences — maximum Vertex Groups per vertex (0 for no limit).
- Mark Filled Vertices — add the vertices with filled weights to a dedicated Vertex Group, to check them.
Selects the correct Image nodes to be used for the Texture color in Solid mode. This ensures the intended textures are shown when the Viewport shading is set to Solid with Texture color.
- The main button acts on the model (or on the selected objects when no model is selected).
- The Scene button on the right acts on the materials of every object in the scene.