Repository navigation
Model Toolkit Physics
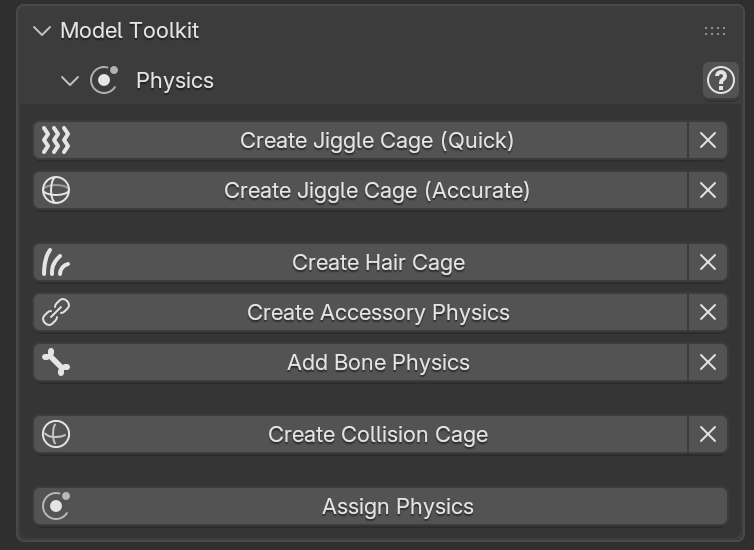
Physics tools for creators are available.
Each tool has an X button on its right to remove what it created: select the generated object (e.g. the cage), or the mesh it drives, and click the button.
Tip
Most tools have an Add to Physics Panel option, to add the generated objects to the Physics panel, and physics presets to choose the simulation settings.
Tool to quickly create a jiggle cage from the selection of vertices on edit mode. This cage might be good if no collision with the body mesh is expected, otherwise more precise solution than this tool might be preferred.
Tip
If the direction of the pin group is inverted, try to use the opposite sign, e.g. "-Y" if you tried "+Y". If needed, you can also change the axis, e.g. "+Z" if you need the pin group to increase from up up to down.
Warning
Sometime the cage generation might fail to bind, and it happens if the model body has dependency cycles. This is not a bug of the tool, but a Blender constraint to avoid the Surface Deform modifiers to create further dependency cycles. In order to solve the issue, the dependency cycles must be fixed, and then the cage generation can be re-attempted.
Similar to the tool above, a jiggle cage is created, with more accuracy than the previous tool. This can be used if advanced collisions are needed, at the cost of a bigger viewport overhead.
- Cage Type — Closed simplifies the selection and closes its border, best for volume parts (breasts, belly, hair clumps, ears); Open leaves the border open, best for cloth-like parts (skirts, capes, sleeves, long hair).
- Merge Cages — generate a single cage from the whole selection, even when it is made of disconnected parts.
- Multiple Pin Boundaries — pin every open border of the cage.
This tool can also be used to quickly add accurate physics to any outfit.

Create a cage around a very dense mesh, in order to get cheaper physics simulations. One notable example is the hair, from which the name of the tool.
Example video.
Adds physics with collisions to an accessory (necklaces, chains, pendants, earrings). A low poly proxy is generated along the accessory and simulated with Cloth, and the accessory follows it with a Surface Deform modifier.
- Pin Group — Vertex Group of the parts following the armature (e.g. the back of a necklace). If empty, the top part of the accessory is pinned, by the Auto Pin Height fraction.
- Rigid Group — Vertex Group of the parts moving without deforming (e.g. a pendant).
- Resolution and Strand Width — distance between the proxy vertices, and width of the proxy along the strands (e.g. the chain).
- Collisions — collide with the body, using the Collision Object or, if empty, a collision mesh generated around the accessory (with Collision Margin).
Tip
Use Fit to Body first if the accessory intersects the body.
Tool to assign cloth physics simulation to a chain of bones. There is also an option to create bone physics for several disconnected bone chains.

Warning
Do NOT parent the armature to the model armature by Child Of constraints: this will break the Bone Physics tool! Use the correct Parent option in Blender. For instance, in the video above, select the Hair Armature in Object mode (not in Pose mode!), select the head bone, press Ctrl + P and select Bone.
Tool to create a cage collision from the selected object in Object mode, or from part of a body using the vertices selected in Edit mode.
Warning
Adding a whole body collision cage might create issues with the jiggle and other body cages, especially if those collides at frame 0 by default. It is highly suggested to create a Collection and assign it to all cages that collides with the body collision cage, as the Collision Collection in the Physics settings. In this way only the object within this collection will act as colliders. For instance, cages for thighs collides with full body collision cages, and should have a Collision Collection assigned; but a hair cage might not need a Collision Cage as in general it does not collide with the body (and if it does, it can be quickly solved with a bit of sculpting).
Assigns the physics of a preset to the selected meshes. This is the same simulation the cage tools add, on any mesh and without generating anything: it replaces the physics the meshes already have.
Enable Use Active Vertex Group as Pin to use the active Vertex Group of each mesh as the Pin group.