Repository navigation
Rails and bridges
A Field Rail projects toward a second rail facing it. For a bridge, mount the rails on two walls across the gap. For a tall doorway, mount them on the floor and the underside of the lintel. Either pair can be up to 20 blocks apart, measured between the two rails. Rail recipe
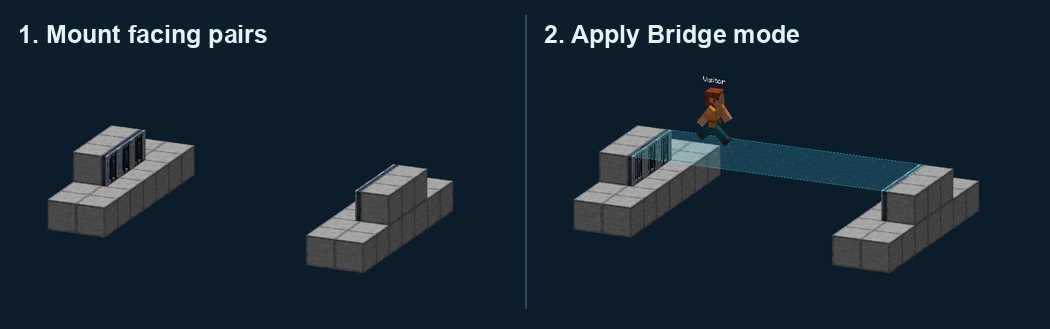
- Start with a shallow gap so you can reach both sides. Place a solid mounting block on each bank at walking height.
- Click the inside vertical face of each mounting block with a Field Rail. Stand in the gap if that makes the face easier to reach. The two rails should look directly at one another across the gap, at the same height.
- For a wider bridge, add more mounting blocks alongside the first pair and place a matching pair of rails on each row. Three pairs make the three-block-wide bridge below.
- Supply energy to any rail in the connected group. Right-click a rail, open Connections, choose Editing: Network defaults, then click Bridge mode.
- Wait for the surface to form. Step onto it from the bank. It meets the top of the mounting blocks and supports the owner too. From below you can jump up through it.
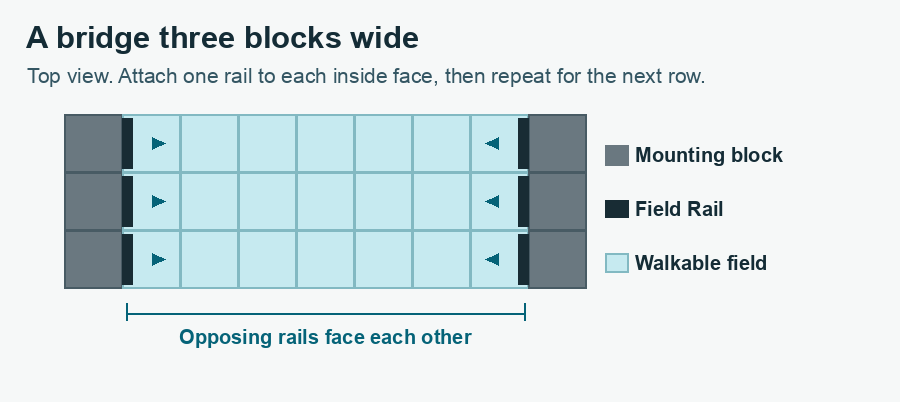
Bridge mode changes the blocking rules. It blocks downward movement, includes the owner and turns contact damage off. Use it before adding custom filters. If you later turn on Skip owner, you can fall through your own bridge. Losing power also removes the walking surface.

- Place a rail on the floor inside the doorway, facing up. Attach the second rail directly above it to the underside of the lintel, facing down.
- Repeat across the width of the doorway. Each floor rail needs a partner above it.
- Connect energy and open Connections → Field shape. Choose the vertical wall that runs across the opening. North / South and East / West name the sides the wall faces.
- Pick what the door stops under Blocking. Test by walking through the doorway in the selected travel direction with an entity the filter matches.
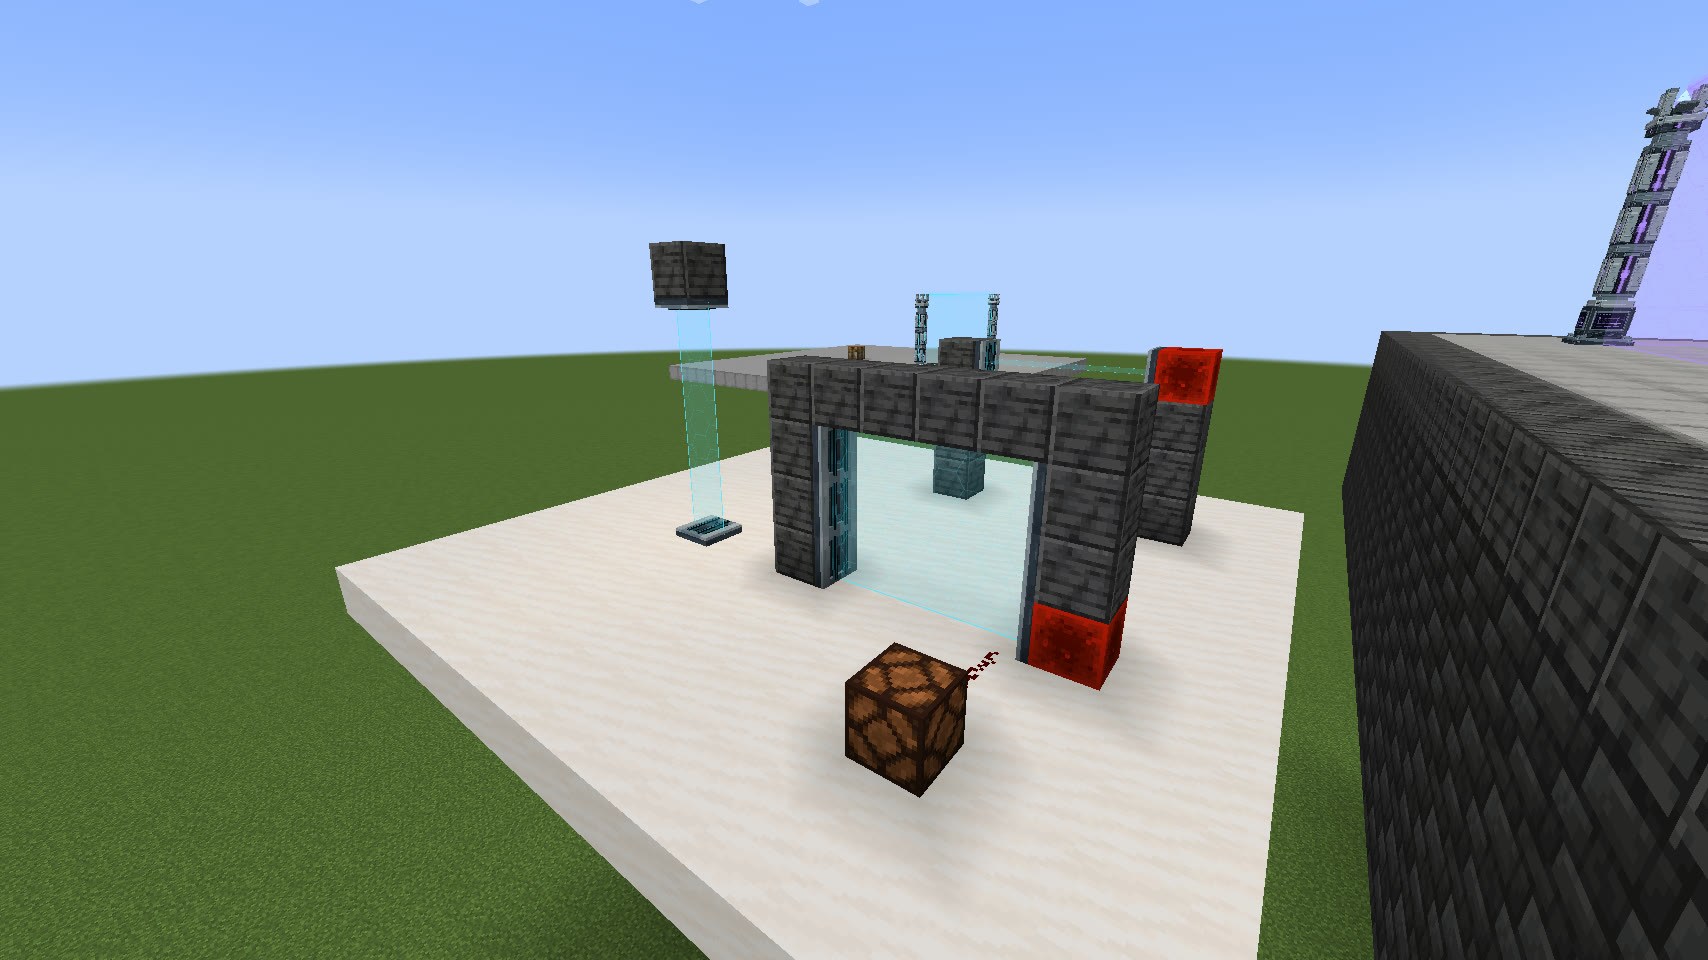
Field shape changes the orientation only. Bridge mode also sets up the walking rules and is available on wall-mounted rails. If you're wiring a sensor to several rails, Connections gives you the coordinates of the rail that sends the signal. Wire the sensor