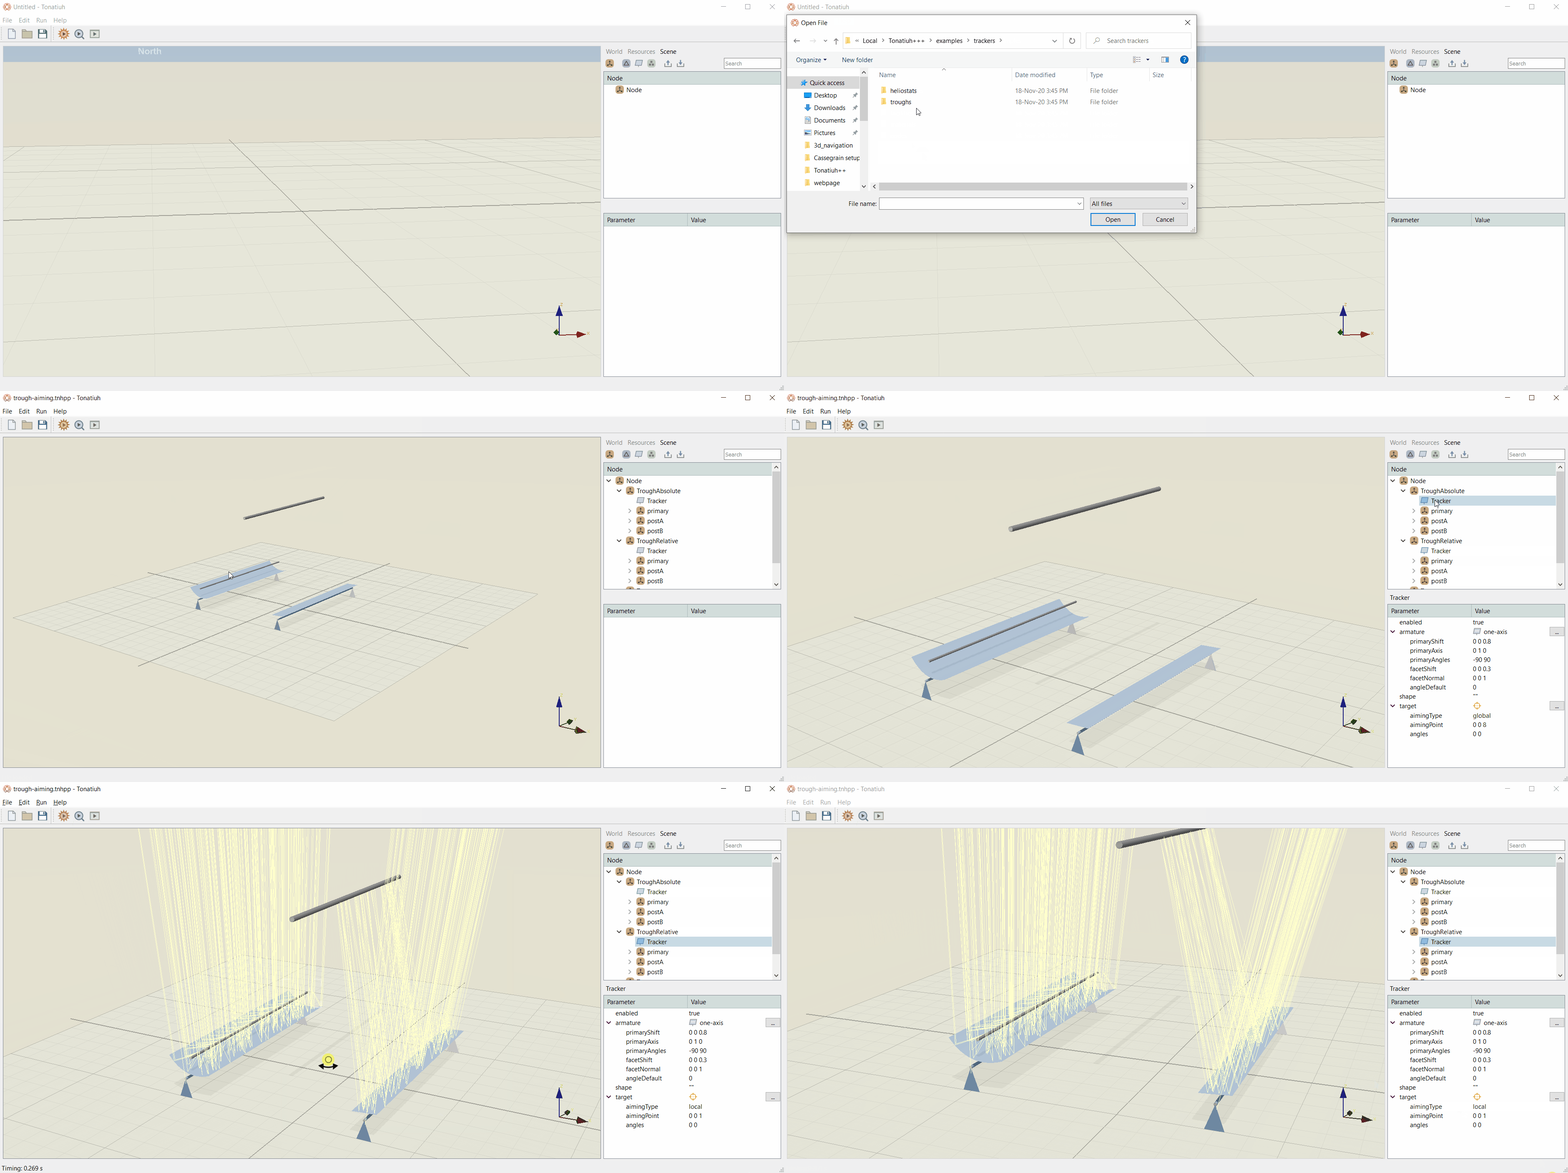
Realistic heliostat implementation
To create realistic heliostats with actual drives and frames as shown in Figure below, the user needs to have the CAD geometry of the heliostat in a Wavefront .obj file format.
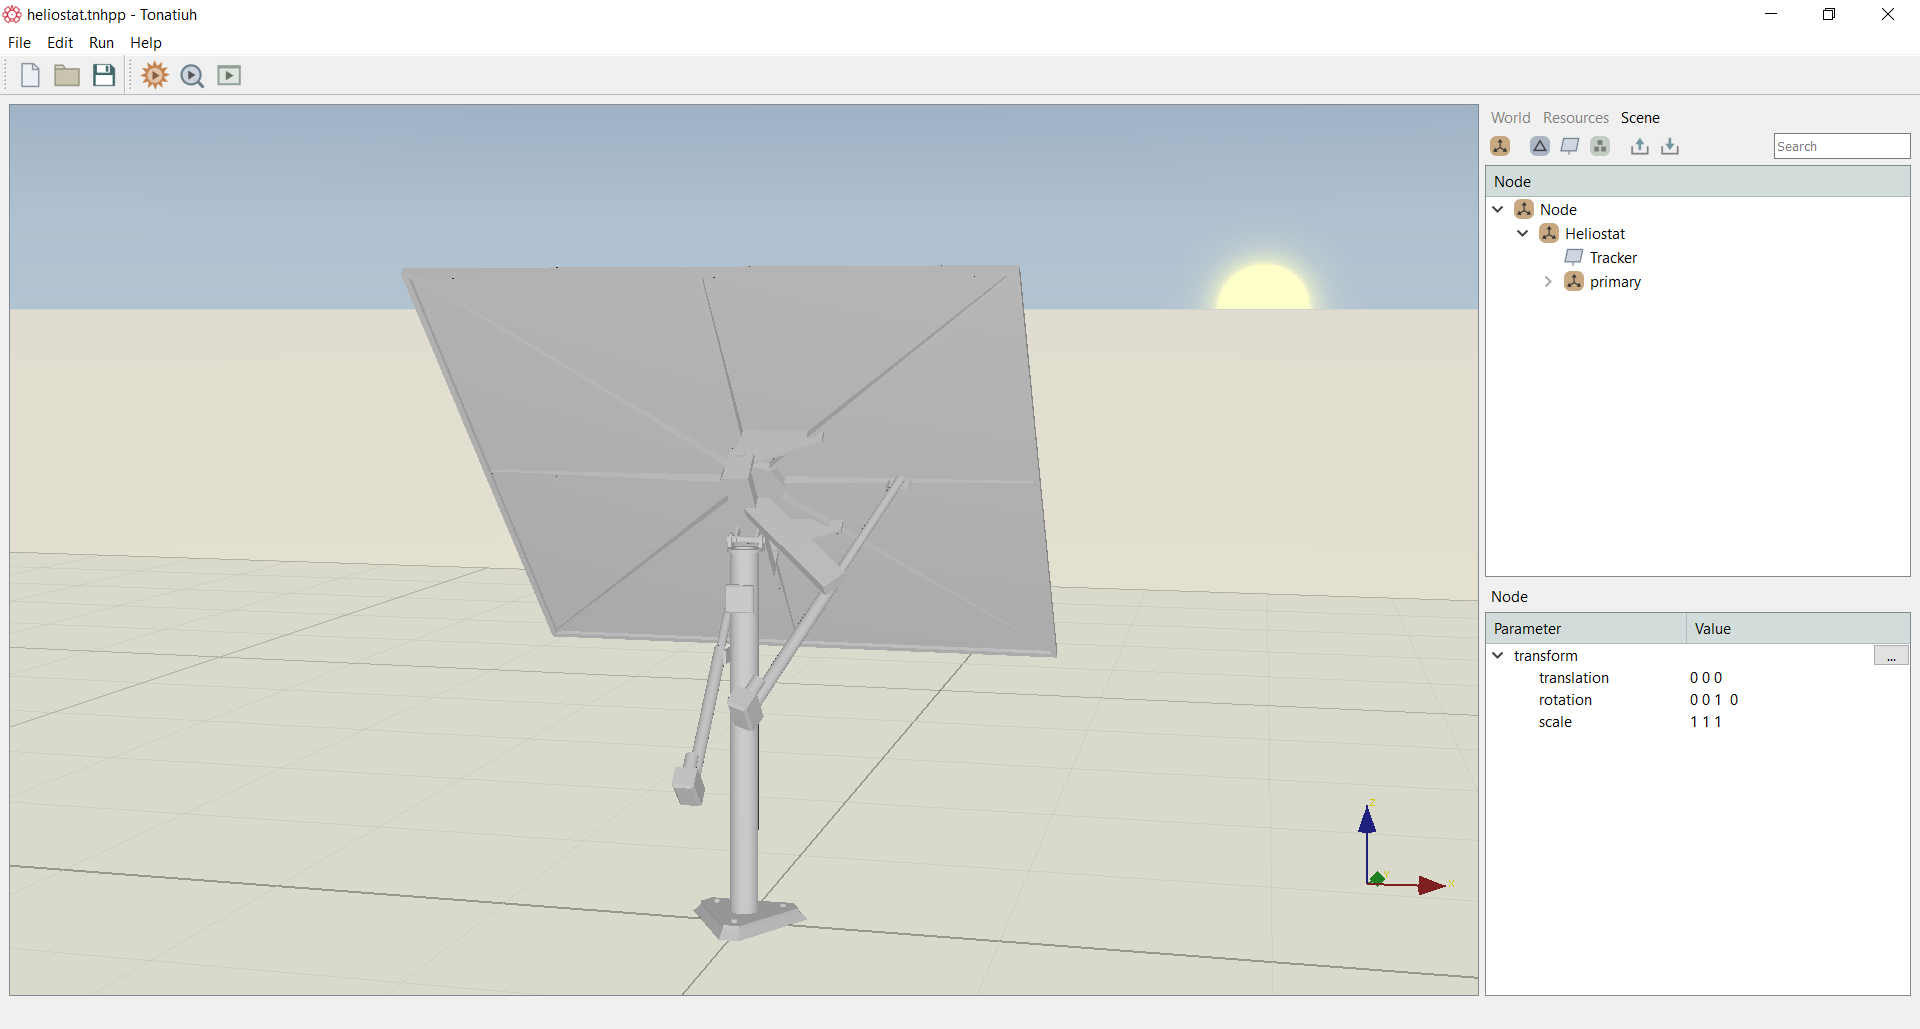
Once the .obj file representing the heliostat is available, it can be then imported in Tonatiuh++ using the shape import parameter in the right vertical panel of the screen as shown in the Figure below. To choose the tracking mechanism, first add a new Node and on the new node add a tracking component. The tracker parameters will be then pop-up in the bottom right panel. Within the panel, the user can fill the geometrical characteristics o the tracker. For this CSIRO example, as an armature select the ''two-axes with drives'' and set the characteristics as shown in Figure below. These characteristics are the actual ones used in the real geometry of the CSIRO heliostat. To import the exact frame and drives geometry, click the value in the shape parameter and this will prompt you to specify the name of the .obj file of the heliostat design. For this example the name is ''heliostat.obj''. The actual .obj file should be in the exact file location as the Tonatiuh++ scehe file (i.e. heliostat.tnhpp in this case) in order for the software to recognize it. This will load the file and show the detailed heliostat.
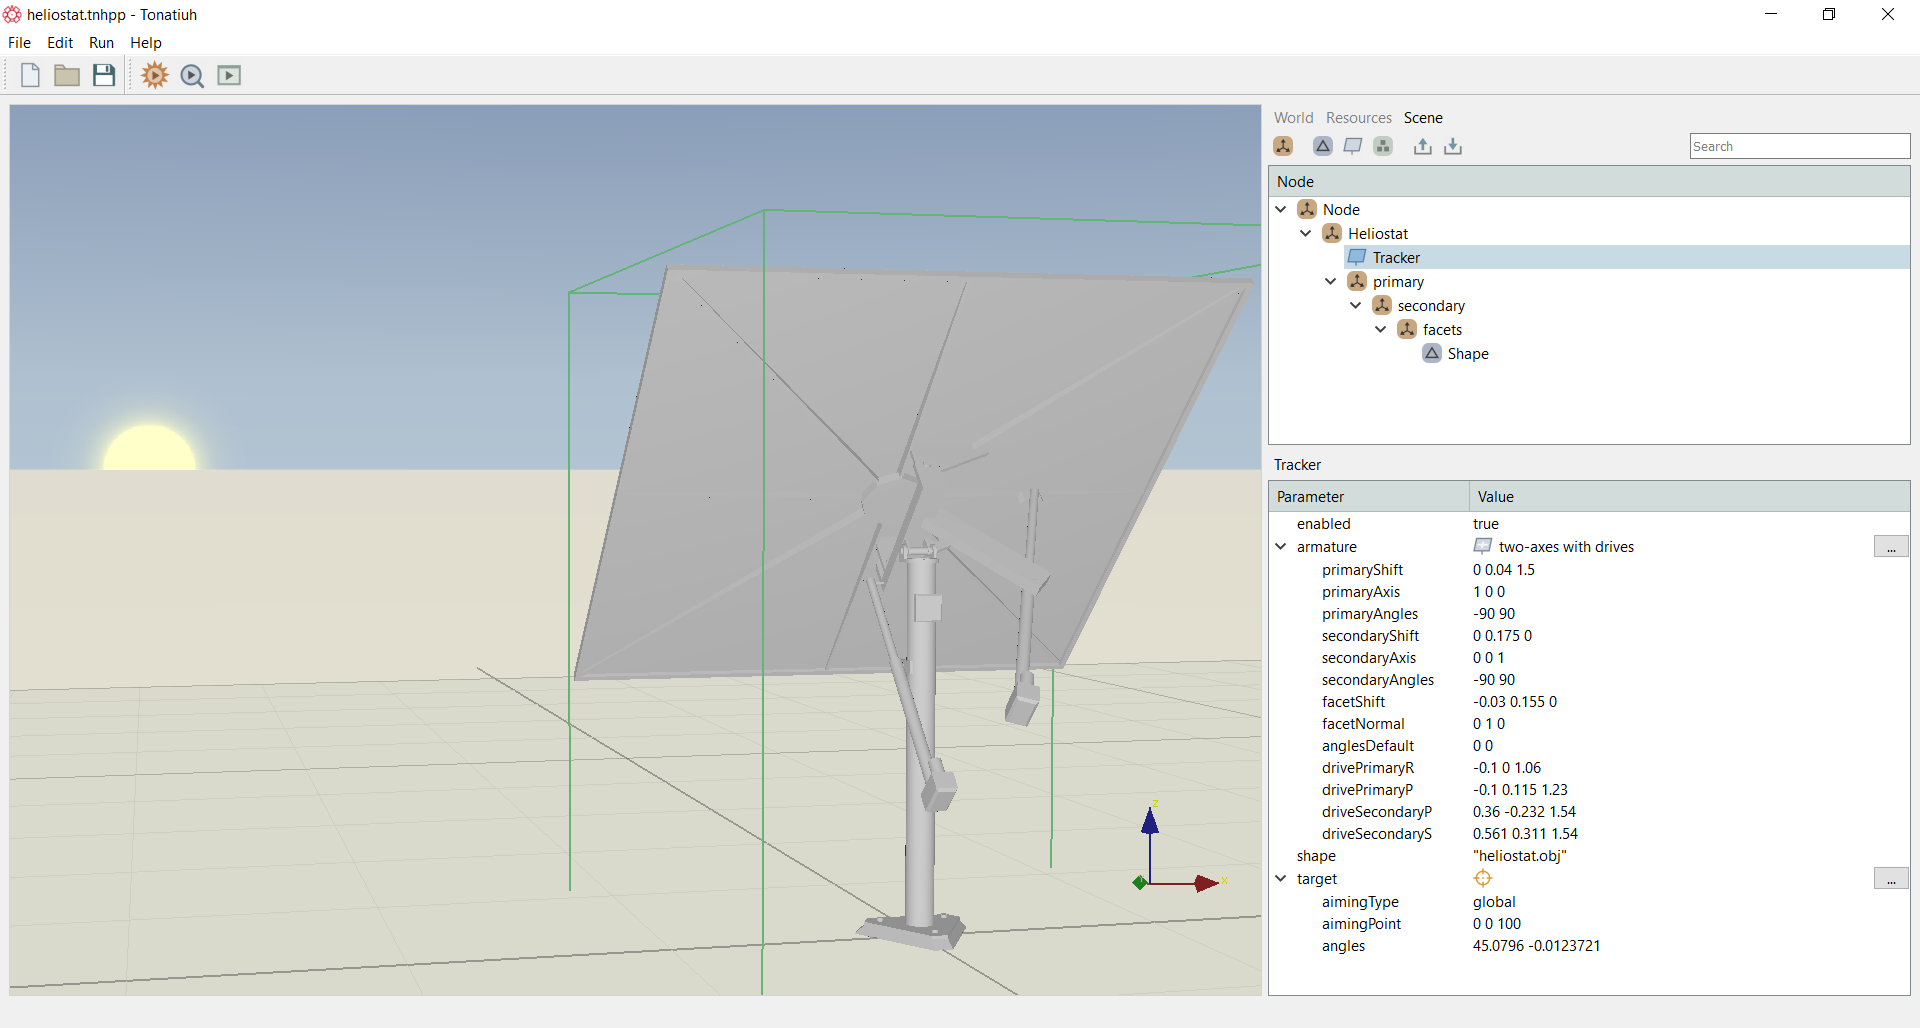
Then, to add a mirror on the frame, create another node, add the necessary transformations of the mirror facet and insert the shape and optical properties of the mirror as shown in Figure 3below.
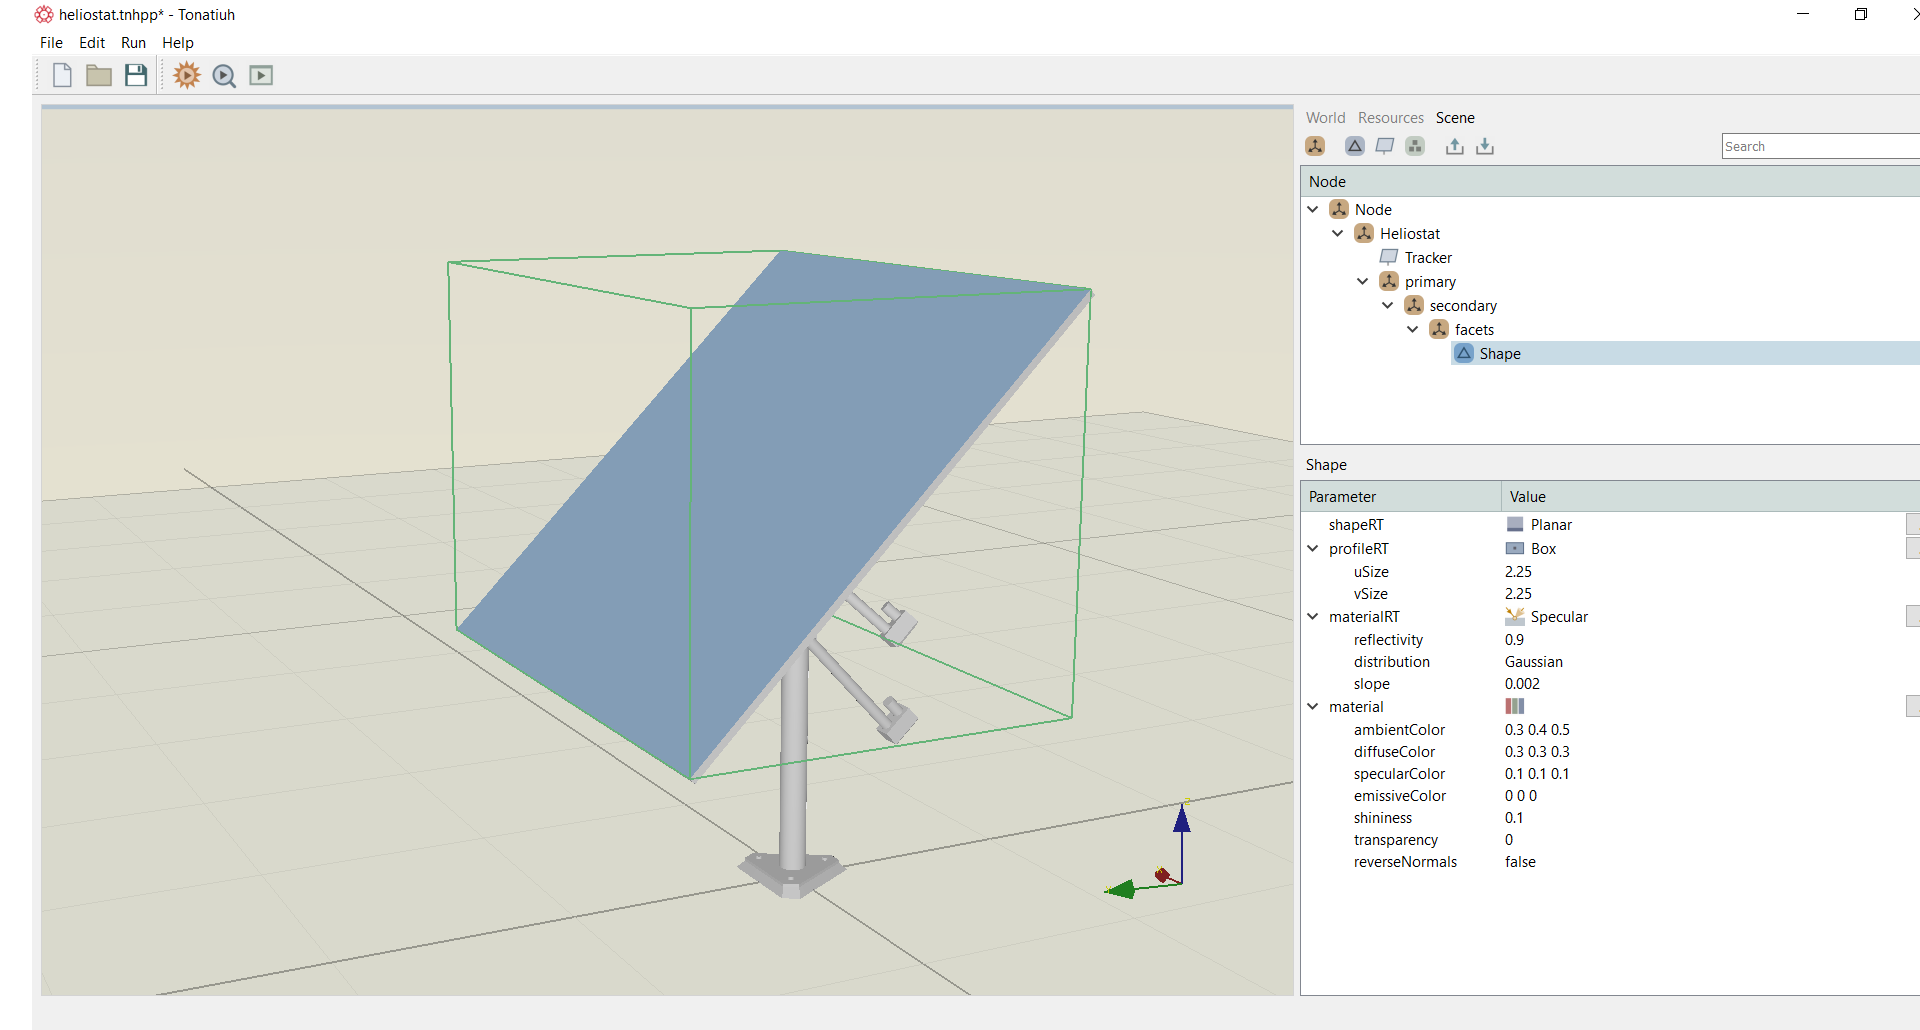
The above example is included in the examples folder of the Tonatiuh++ installation directory. A how to video in shown below on how to recreate the above example. The .obj is also included in the folder.