Repository navigation
Settings and Vehicle Setup
On a wide screen, choose the map's gear to open Settings. On a phone, choose More → Settings and Named Places. Expand the section you need. Settings opens above the workspace panels.
Regular users see personal display units, theme, Email Alerts, and SMS Alerts. Shared connections, vehicle/profile configuration, places, tags, provider imports, and account administration require administrator access. Shared configuration sections such as Vehicle Catalog use a screen at least 1024 CSS pixels wide; follow the width notice on narrower screens. A tablet may need landscape orientation.
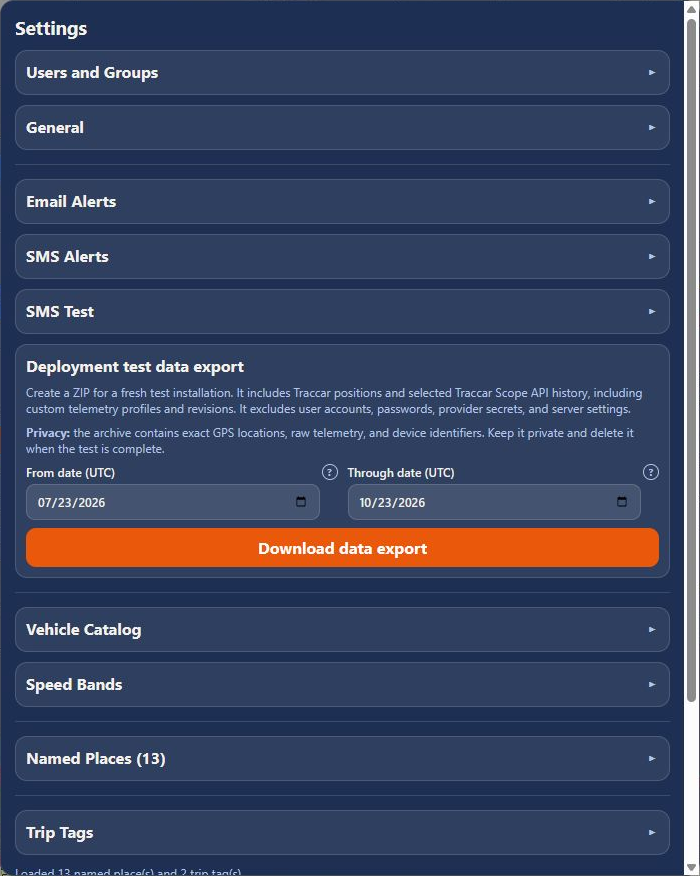
For regular users, General provides display units and theme. For administrators, it also contains API Base URL, Traccar Scope API Base URL, Traccar connection credentials, Poll Interval (ms), Realtime Hours, Movement Threshold (m), Display Units, Theme, and Device Source.
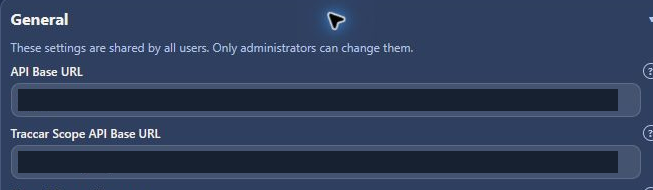
The Traccar API and Traccar Scope API are separate services. Deployments using a reverse proxy commonly use /api and /traccar-scope-api; follow the values supplied for your installation. Traccar Scope API sign-in is separate from the Traccar connection credentials.
Polling controls refresh frequency, realtime hours controls the lookback window, and movement threshold affects route-distance filtering and fallback trip detection. Display units selects Imperial or Metric; theme offers Auto, Light, and Dark.
- Expand Vehicle Catalog.
- Choose an existing vehicle under Edit vehicle, or select New vehicle.
- Enter its name, VIN, year, make, model, and notes as appropriate.
- Choose its Device Protocol Profile and Traccar Device.
- Review Profile effective from and Device binding effective from, then choose Save Vehicle when ready.
The catalog vehicle and the Traccar tracker are separate records. Current Device Assignments, inside Vehicle Catalog, shows their current mapping. Choose Refresh Assignments to refresh it. Assignment dates affect which vehicle owns historical trips; review them carefully when hardware changes vehicles.
The available field list combines the selected profile with fields found in the vehicle's history. Light-green labels mark received fields. Show only received fields narrows the list after the history scan completes; switch it off to return to all known choices. The text filter works alongside that switch. Filtering changes the displayed choices, not the saved selection.
The field checkbox controls visibility on the Vehicle Status card. The adjacent switch controls map point popups. Choose Save Status Card Fields to save those preferences.
The illustrated Vehicle Catalog guide covers the vehicle form, assignments, and both field controls.
Email sender for this vehicle can override the default sender mailbox. A blank override uses the default configured under Email Alerts.
- Speed Bands configures per-vehicle speed ranges and colors. Save with Save Speed Bands.
- Named Places defines reusable locations and their matching radius, with global or vehicle scope. This version enters radii in yards. It also supports start, finish, and split-point track roles; see Named Places and track markers.
- Trip Tags defines reusable classification labels and colors. Apply labels from a selected trip's Add Tag control.
See Trip Tags for creating labels and applying them to trips.
Device Protocol Profile Editor translates tracker attributes into useful field labels, units, and conversions. A profile can be shared by multiple vehicles. See the profile editor walkthrough.
Users and Groups manages application access. Email Alerts, SMS Alerts, and SMS Test configure communication features. Bouncie REST Import provides provider connection and import controls. Test sends and imports perform actions beyond viewing settings; review their destination or date range before running them.
Button names and persistence behavior can vary between deployed versions. Use the save control shown for the section you are editing.