Repository navigation
Vehicle Catalog
Vehicle Catalog describes the app-owned vehicle. A Traccar device describes its tracker. Their assignment connects tracker history to the vehicle, while the protocol profile explains how to interpret its telemetry.
- As an administrator, open Settings → Vehicle Catalog on a screen at least 1024 CSS pixels wide.
- Choose a record under Edit vehicle, or choose New vehicle.
- Enter Name, VIN, Year, Make, Model, and Notes as needed.
- Choose a Device Protocol Profile for the tracker, or None (no translation) where appropriate.
- Choose its Traccar Device, then review Profile effective from and Device binding effective from.
- Choose Save Vehicle.
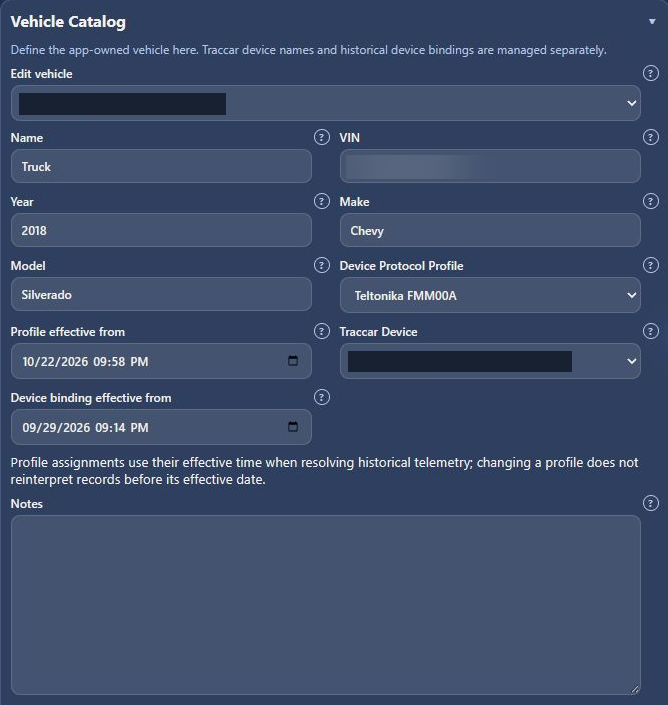
The profile and device effective times are part of their assignment histories. When moving hardware between vehicles, use the actual changeover time and review existing assignments. Overlapping assignments can conflict with historical trip ownership.
Scroll to Current Device Assignments within Vehicle Catalog. The list identifies assigned and unassigned Traccar devices. Choose Refresh Assignments to reload it.
An unassigned tracker can exist in Traccar without being linked to a catalog vehicle. Check this section when a vehicle's imported trips or status do not match the hardware you expected.
The field list combines the selected protocol profile with fields found in this vehicle's recorded history. The inventory count tells you how many received keys were found; the larger available-choice count can include profile fields that have not been received.
Light-green labels mean this field was observed in the vehicle's history. This does not mean it was recorded in every point or that it is selected for display. Search by field name or received key using Filter available fields.
The field grid has two controls for each measurement:
- Checkbox: show the measurement in the Vehicle Status card.
- Switch: show the measurement in map point popups.
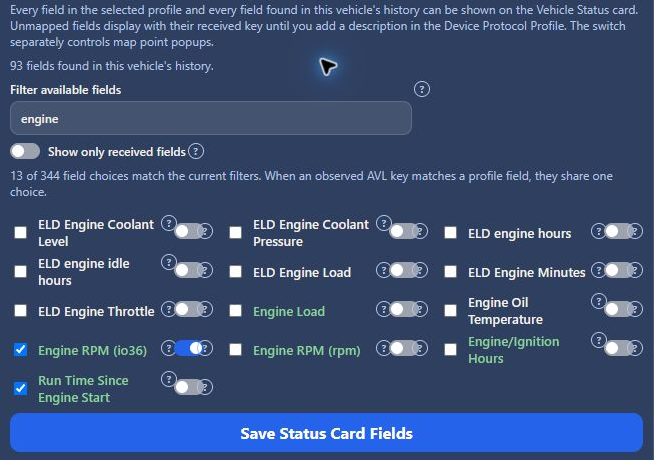
Turn on Show only received fields to hide choices without history evidence. It becomes available after the inventory scan completes. It combines with the text search; switch it off to show all known choices again. These filters do not change the field selections you have made.
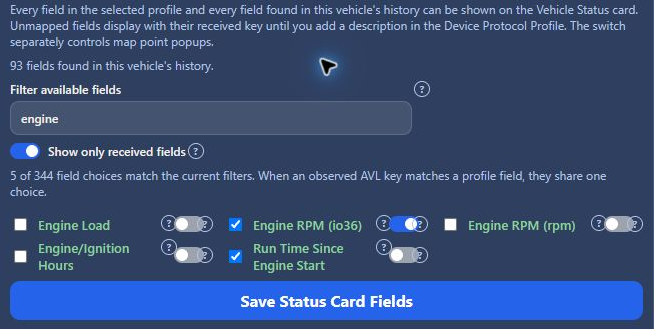
Choose Save Status Card Fields after changing the selection. A selected field still needs corresponding recorded data and a suitable mapping before it can display a value.
See Map point telemetry for an example of reading both displays together.
Email sender for this vehicle offers an optional Sender mailbox override. Leave it blank to use the default configured in Email Alerts. Choose Save Vehicle Sender to save an override. The configured Graph application must be permitted to send from that mailbox.
For broader setup, see Settings and vehicle setup. For translations shared by several vehicles, see Device Protocol Profile Editor.