Repository navigation
Recording a Meeting
Recording is the core of the app, and it never depends on AI. Audio goes to disk in 5-second chunks while you talk, so a crash or power cut can't take the whole meeting.
Click New meeting in the top bar or press Ctrl+N (Cmd+N on macOS).

| Mode | Records | Use it for |
|---|---|---|
| Speaker | Your microphone | In-person meetings, voices in the room |
| Device Audio | Everything your computer plays (call audio, videos). In the desktop app this is recorded directly, with no screen sharing. | Webinars, recordings of a call you only listen to |
| Mic + Device | Your microphone and the computer's audio, mixed into one recording | Zoom, Google Meet, Teams and other online calls |

Wear headphones for Mic + Device. On speakers, your microphone picks up the call a second time, slightly delayed. The recording gets an echo and transcription gets worse.
Under the mode cards you can choose the Microphone (and, for device modes, the output device) to record from. The app remembers the last mode you used.
How system audio is captured on each platform:
| OS | Method |
|---|---|
| Windows | WASAPI loopback |
| macOS 14.2+ | CoreAudio tap. On older macOS, Device / Mic + Device may not be available; use Speaker or Import audio file instead. |
| Linux | PulseAudio / PipeWire |
For example Weekly planning. You can rename it later.
Click + Add agenda to plan topics. Each topic can have an owner, minutes and notes. Reorder topics with ↑/↓ and remove them with ✕. Paste list… turns a pasted list into topics. The agenda appears while you record and on the meeting page, and it's included in exports.
If Live transcription is turned on (here or in Settings → Models), text appears a few seconds after each sentence, using a small, fast model on your device. That text is saved as the meeting's transcript. You can Re-transcribe later from the whole recording for better accuracy.
Press ● Start Recording. The bar with Start, ⬆ Import audio file and Cancel stays at the bottom of the window while you scroll.
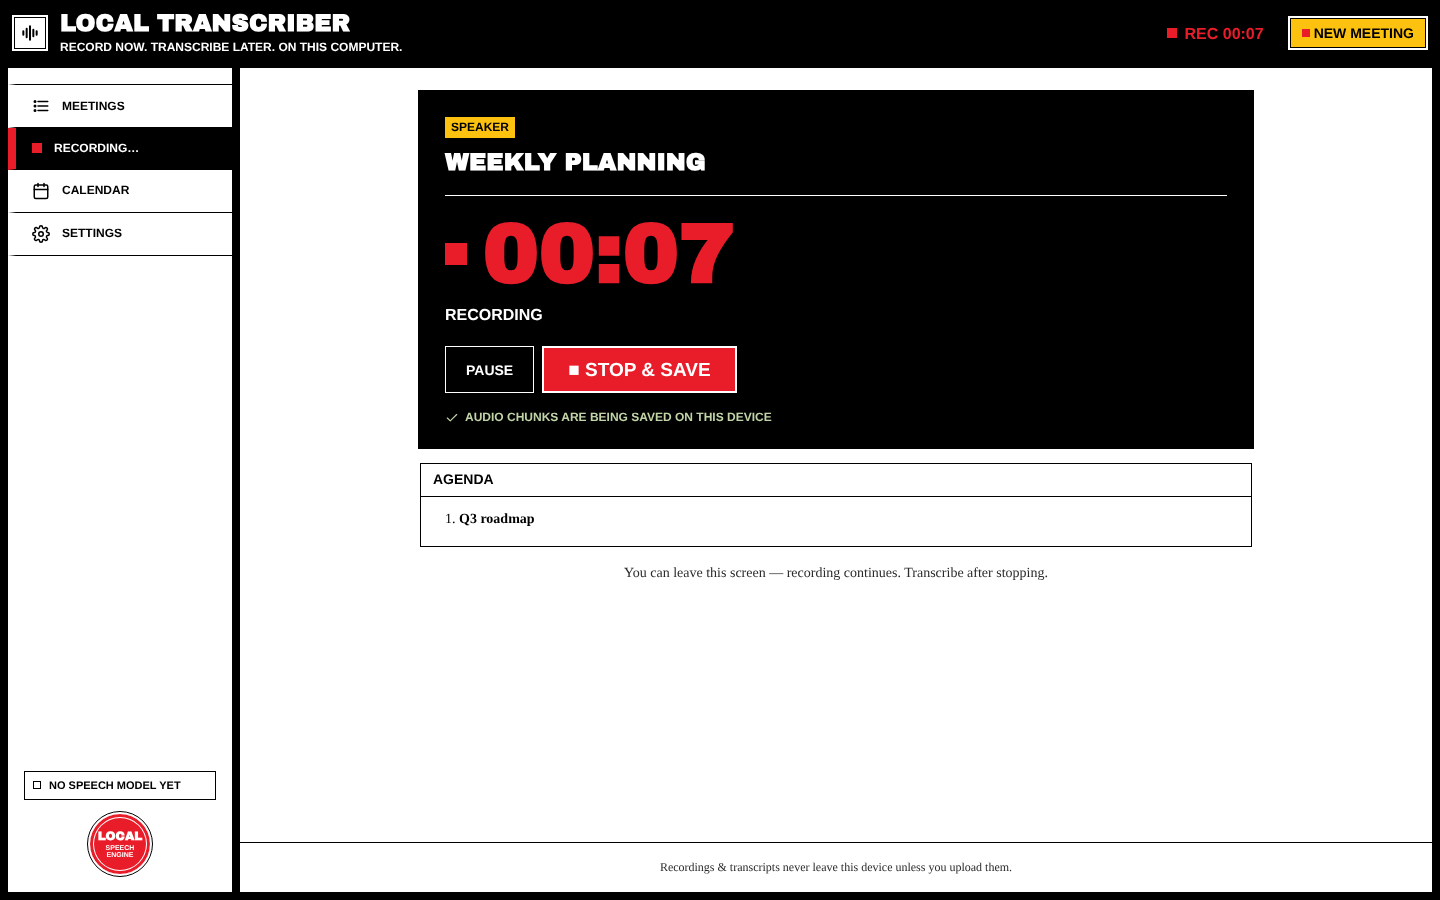
- The big red clock shows the elapsed time. The top bar shows REC 00:07 on every screen.
-
Pause / Resume (or press
P) stops and restarts capture without ending the meeting. - "Audio chunks are being saved on this device" means the crash-safe writing is working.
- Audio problem detected warns you about things like clipping (too loud) or silence while it can still be fixed. Recording carries on either way.
- Your Agenda and, if it's on, the Live transcript appear below.
- You can leave this screen, and recording continues. Click Recording… in the sidebar or the red clock to come back.

Press ■ Stop & save and confirm. The app finishes the audio file ("Saving recording…") and opens the meeting page. Stopping is quick even after hours of recording.
If some audio couldn't be written to disk (for example, the disk was full), you'll see Recording interrupted and Stop & keep what was saved. The meeting is kept with whatever was saved.
On the New Meeting screen, click ⬆ Import audio file and choose any audio file (also .m4a and .mp4). It becomes a meeting marked Imported audio, and you can play it and transcribe it like any recording.
If the app or your computer stops during a recording, the meetings list shows this the next time you open the app:

- Recover Recording puts the saved chunks back together into a meeting. The duration is estimated from the chunks.
- Delete (then Yes, delete this audio) throws the partial audio away.
Next: Transcription