Quick Start
Get from a fresh install to your first dictation in a few steps: pick a transcription model, set your hotkey, and start talking into whatever app has focus.
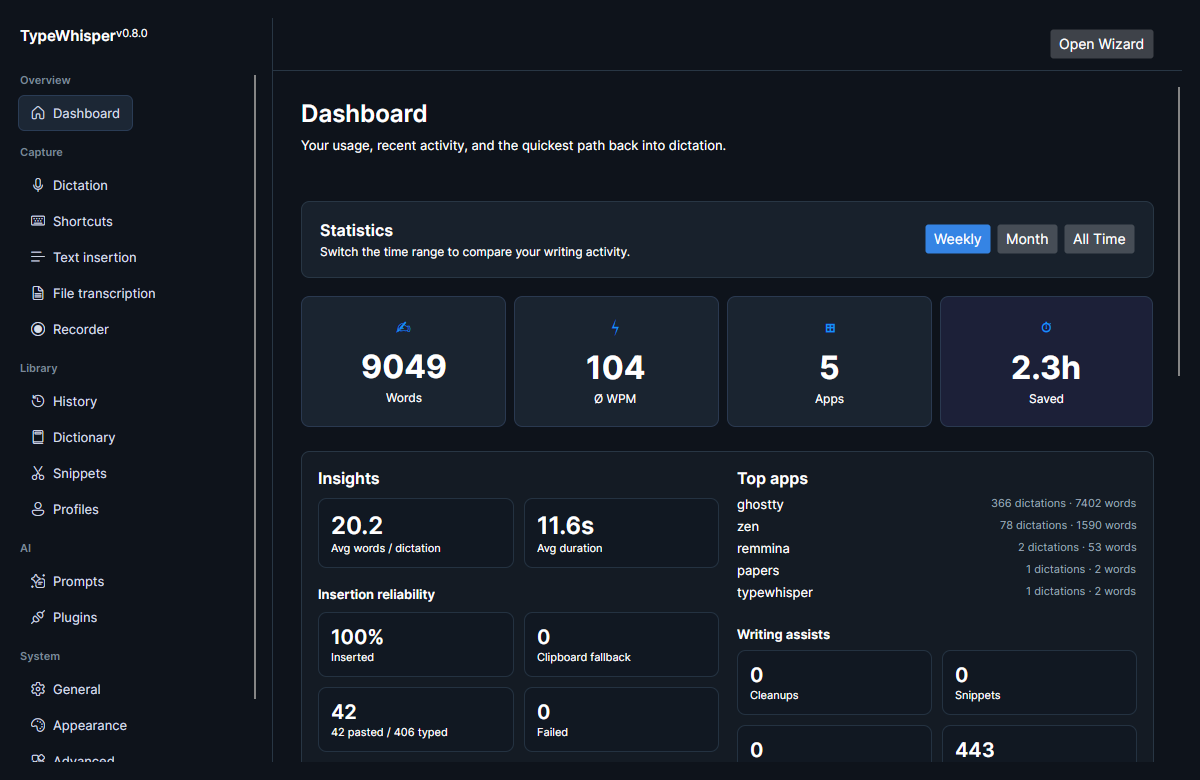
Start TypeWhisper from your application menu, or run it from a terminal if you installed the AppImage or built from source (see Installation). On first run, the bundled plugins are copied into your user plugin directory.
The first time you launch, the Setup Wizard opens automatically and walks you through the model, hotkey, and per-session setup below. You can follow it instead of these manual steps, and reopen it anytime from the Open Wizard button in the top-right.
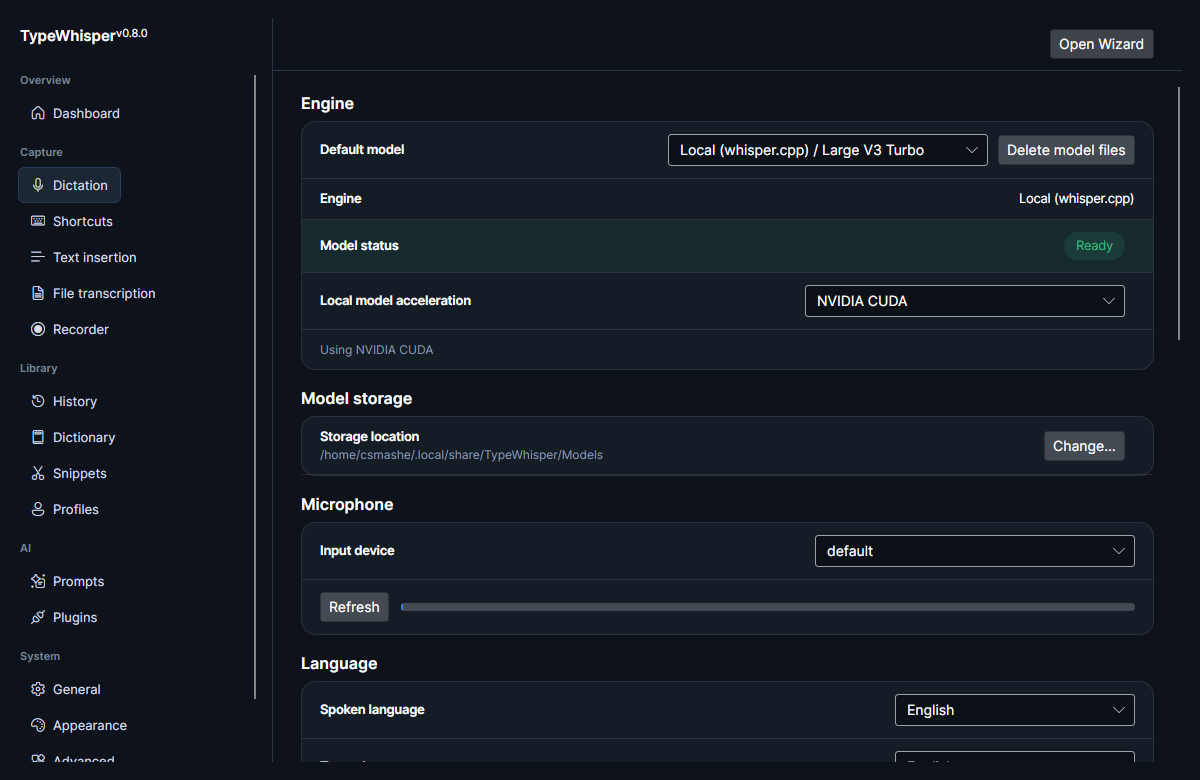
Open the Dictation page and choose a transcription engine and model. Models come from the bundled or installed transcription plugins — see Transcription engines for the available engines (local engines like WhisperCpp and cloud engines like OpenAi, Groq, and Deepgram).
The Dictation page reports the model state as Ready, Loading, Downloading <percent>, or Error. If you select a model that has not been downloaded yet and the plugin supports downloads, selecting it triggers the download.
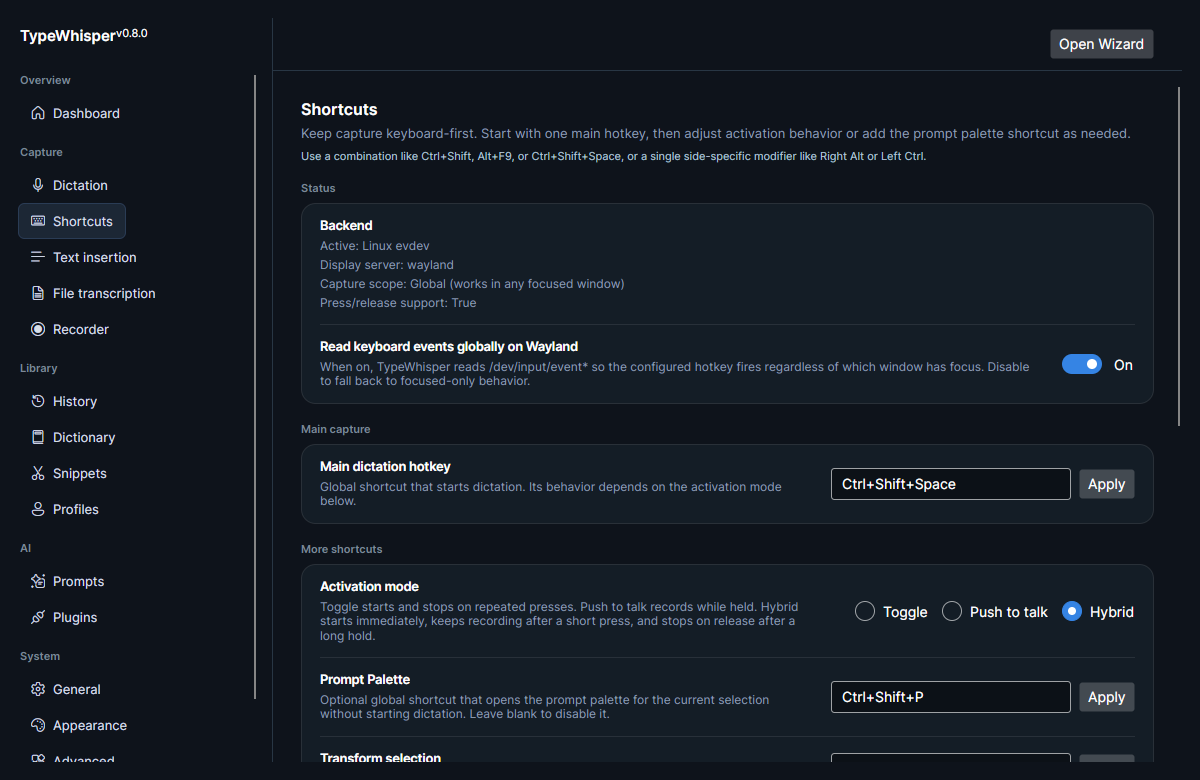
Go to the Shortcuts settings panel and set your main global dictation hotkey. This is the key you press to start and stop recording from anywhere. See Global hotkeys for details, and Wayland notes if you are on a Wayland session.
With the default Toggle activation mode:
- Focus the app you want text to land in (a text editor, browser, terminal, etc.).
- Press your dictation hotkey to start recording — the recording overlay appears.
- Speak.
- Press the hotkey again to stop. TypeWhisper transcribes your speech and inserts the text into the focused app.
You can cancel an in-flight dictation with the Escape key during recording, transcription, or post-processing.


See Text insertion for how text gets delivered to the focused app and how to tune per-app strategies.
TypeWhisper offers three activation modes for the dictation hotkey:
| Mode | Behavior |
|---|---|
Toggle |
Press to start, press again to stop. |
Push to talk |
Hold to record; release to stop. |
Hybrid |
Starts on press; a short tap keeps recording, holding past ~600 ms stops on release. |
Cleanup is optional. TypeWhisper can run an optional transcription cleanup pipeline with Light, Medium, and High levels — Medium/High route through your configured LLM provider. See Text cleanup and LLM providers to set this up.
| Date | Change |
|---|---|
| 2026-06-17 | Initial version. |
| 2026-06-17 | Added Quick Start screenshots (reused). |
| 2026-06-17 | Added inserted-text screenshot. |
| 2026-06-17 | Linked the Setup Wizard page. |